YES! We’re on a pie high! CurvyMama came home sadly from her pie-making week in New York, but perked right up again when drafted to make more pies.
You watched yesterday as I made a lemon meringue pie. When we left off, I was going to bed with my fingers crossed that the filling would be firm enough to hold its shape when sliced. This morning, I placed a clear dome over the pie and took it to work, where I presented it to Techie Pie. She ate a couple pieces, proving what a Real Woman she is (i.e. Real Women don’t just pick at good food. They eat nice portions. And they enjoy it.). Then she put the rest in the office kitchen to share. So I got to check out the texture of the filling.
And it didn’t thrill me. The flavor was fabulous; intense, tart, and just sweet enough. But it was oozing into the center of the pie pan, leaving disturbing voids under the meringue. Upsetting. The co-workers who made it into the kitchen in time to get a piece were raving about it. But the oozy thing bugged me. I quietly resolved to take another stab at it that night, especially since I had baked two crusts yesterday and used only one.
So, I had a lovely evening all cut out for me: Lemon Meringue Pie #2, and cherry lattice-top, which, as you might recall from yesterday, I had been hired to make for tomorrow.
I made a different lemon filling recipe this time, one that required me to introduce the egg yolks one at a time after the water-sugar-cornstarch mixture was already simmering and quite thickened. I whisked each yolk in, being careful to really get serious about it so that the eggs didn’t cook in chunks in the mix. Then I whisked in the lemon juice, and a couple tablespoons of butter, and the lemon zest, and poured it into a bowl with Saran wrap on top, the same way I did yesterday, to keep warm while I made the meringue. It’s easy and quick to put together at that point: pour in the warm lemon filling, spoon the meringue on top, spread it so you get a nice seal between the meringue and the crust, and then pop it back in the 350-degree oven to brown the meringue (until I get a mini butane torch! Then I won’t brown it this way anymore!).
I feel more optimistic about this lemon pie because of the feel of the filling when I put it in the crust. It’s chilling in the fridge now, so we won’t know for sure until tomorrow. I’ll keep you posted. In the meantime, I’ll share the cherry pie adventure, which I’m pretty friggin’ thrilled about, because I did a new thing and I’m lovin’ it.
Okay. So. The lattice-top cherry has inadvertently become something of a symbol for CurvyMama, because everyone loves it whenever I serve it, and because people adore the photo they saw from one of my pie socials. Being the sort to fixate on details and be critical, I’ve always had a silent gripe about the way the cherries look in that photo. I want them to have a richer, glossier appearance, without having to make a pie that is all gloppy and goopy like the canned filling you get in the store.
So tonight I decided to try something new, disregarding the age-old wisdom about not using customers as guinea pigs. I decided to use the basic principle of a glaze for a fresh-fruit pie and apply it to a baked-fruit pie. (In summer, I make amazing pies simply by baking a crust and taking fresh blueberries or peeled, sliced peaches and folding them into a light sweet glaze and piling them into the unbaked crust. To die for.) I wasn’t sure it would work; maybe the glaze would get all hard and nasty when it was baked. But I decided to try.
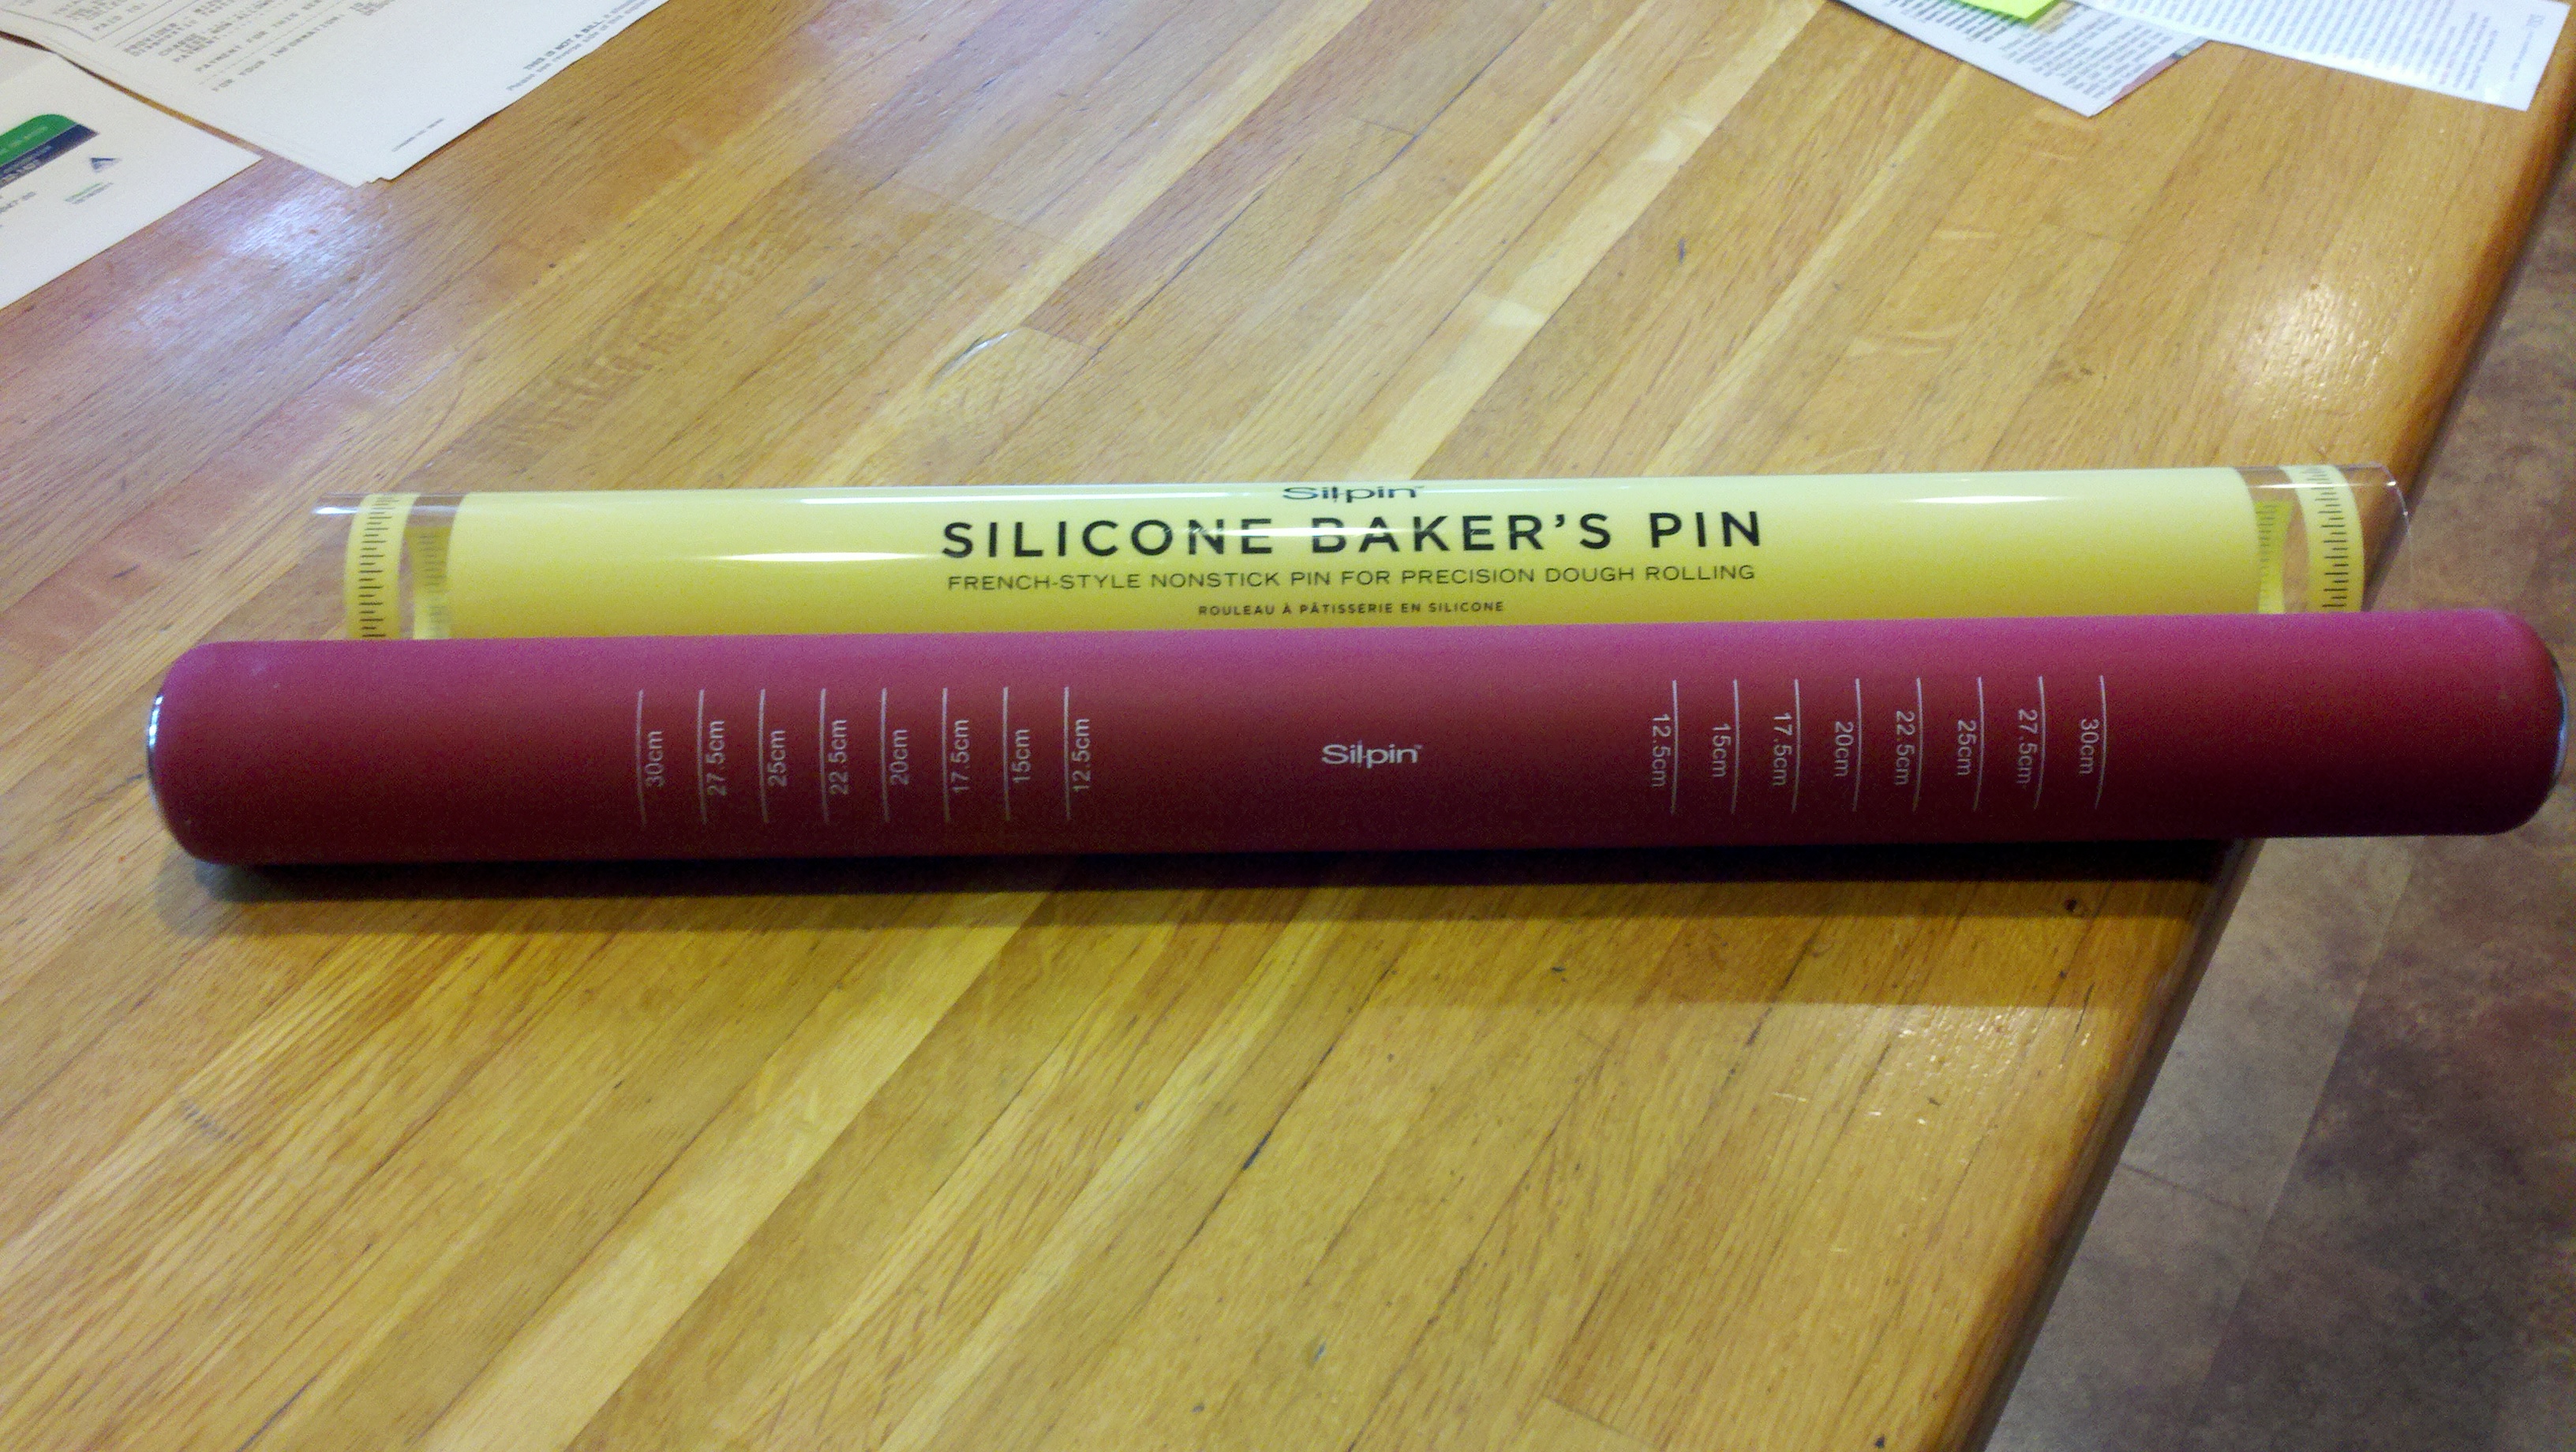
So I did the typical steps you do for a cherry pie: Get your bottom crust rolled out and laid in the pie tin, and back in the fridge; (by the way, I tried a new wide silicone rolling pin. Very cool.) 
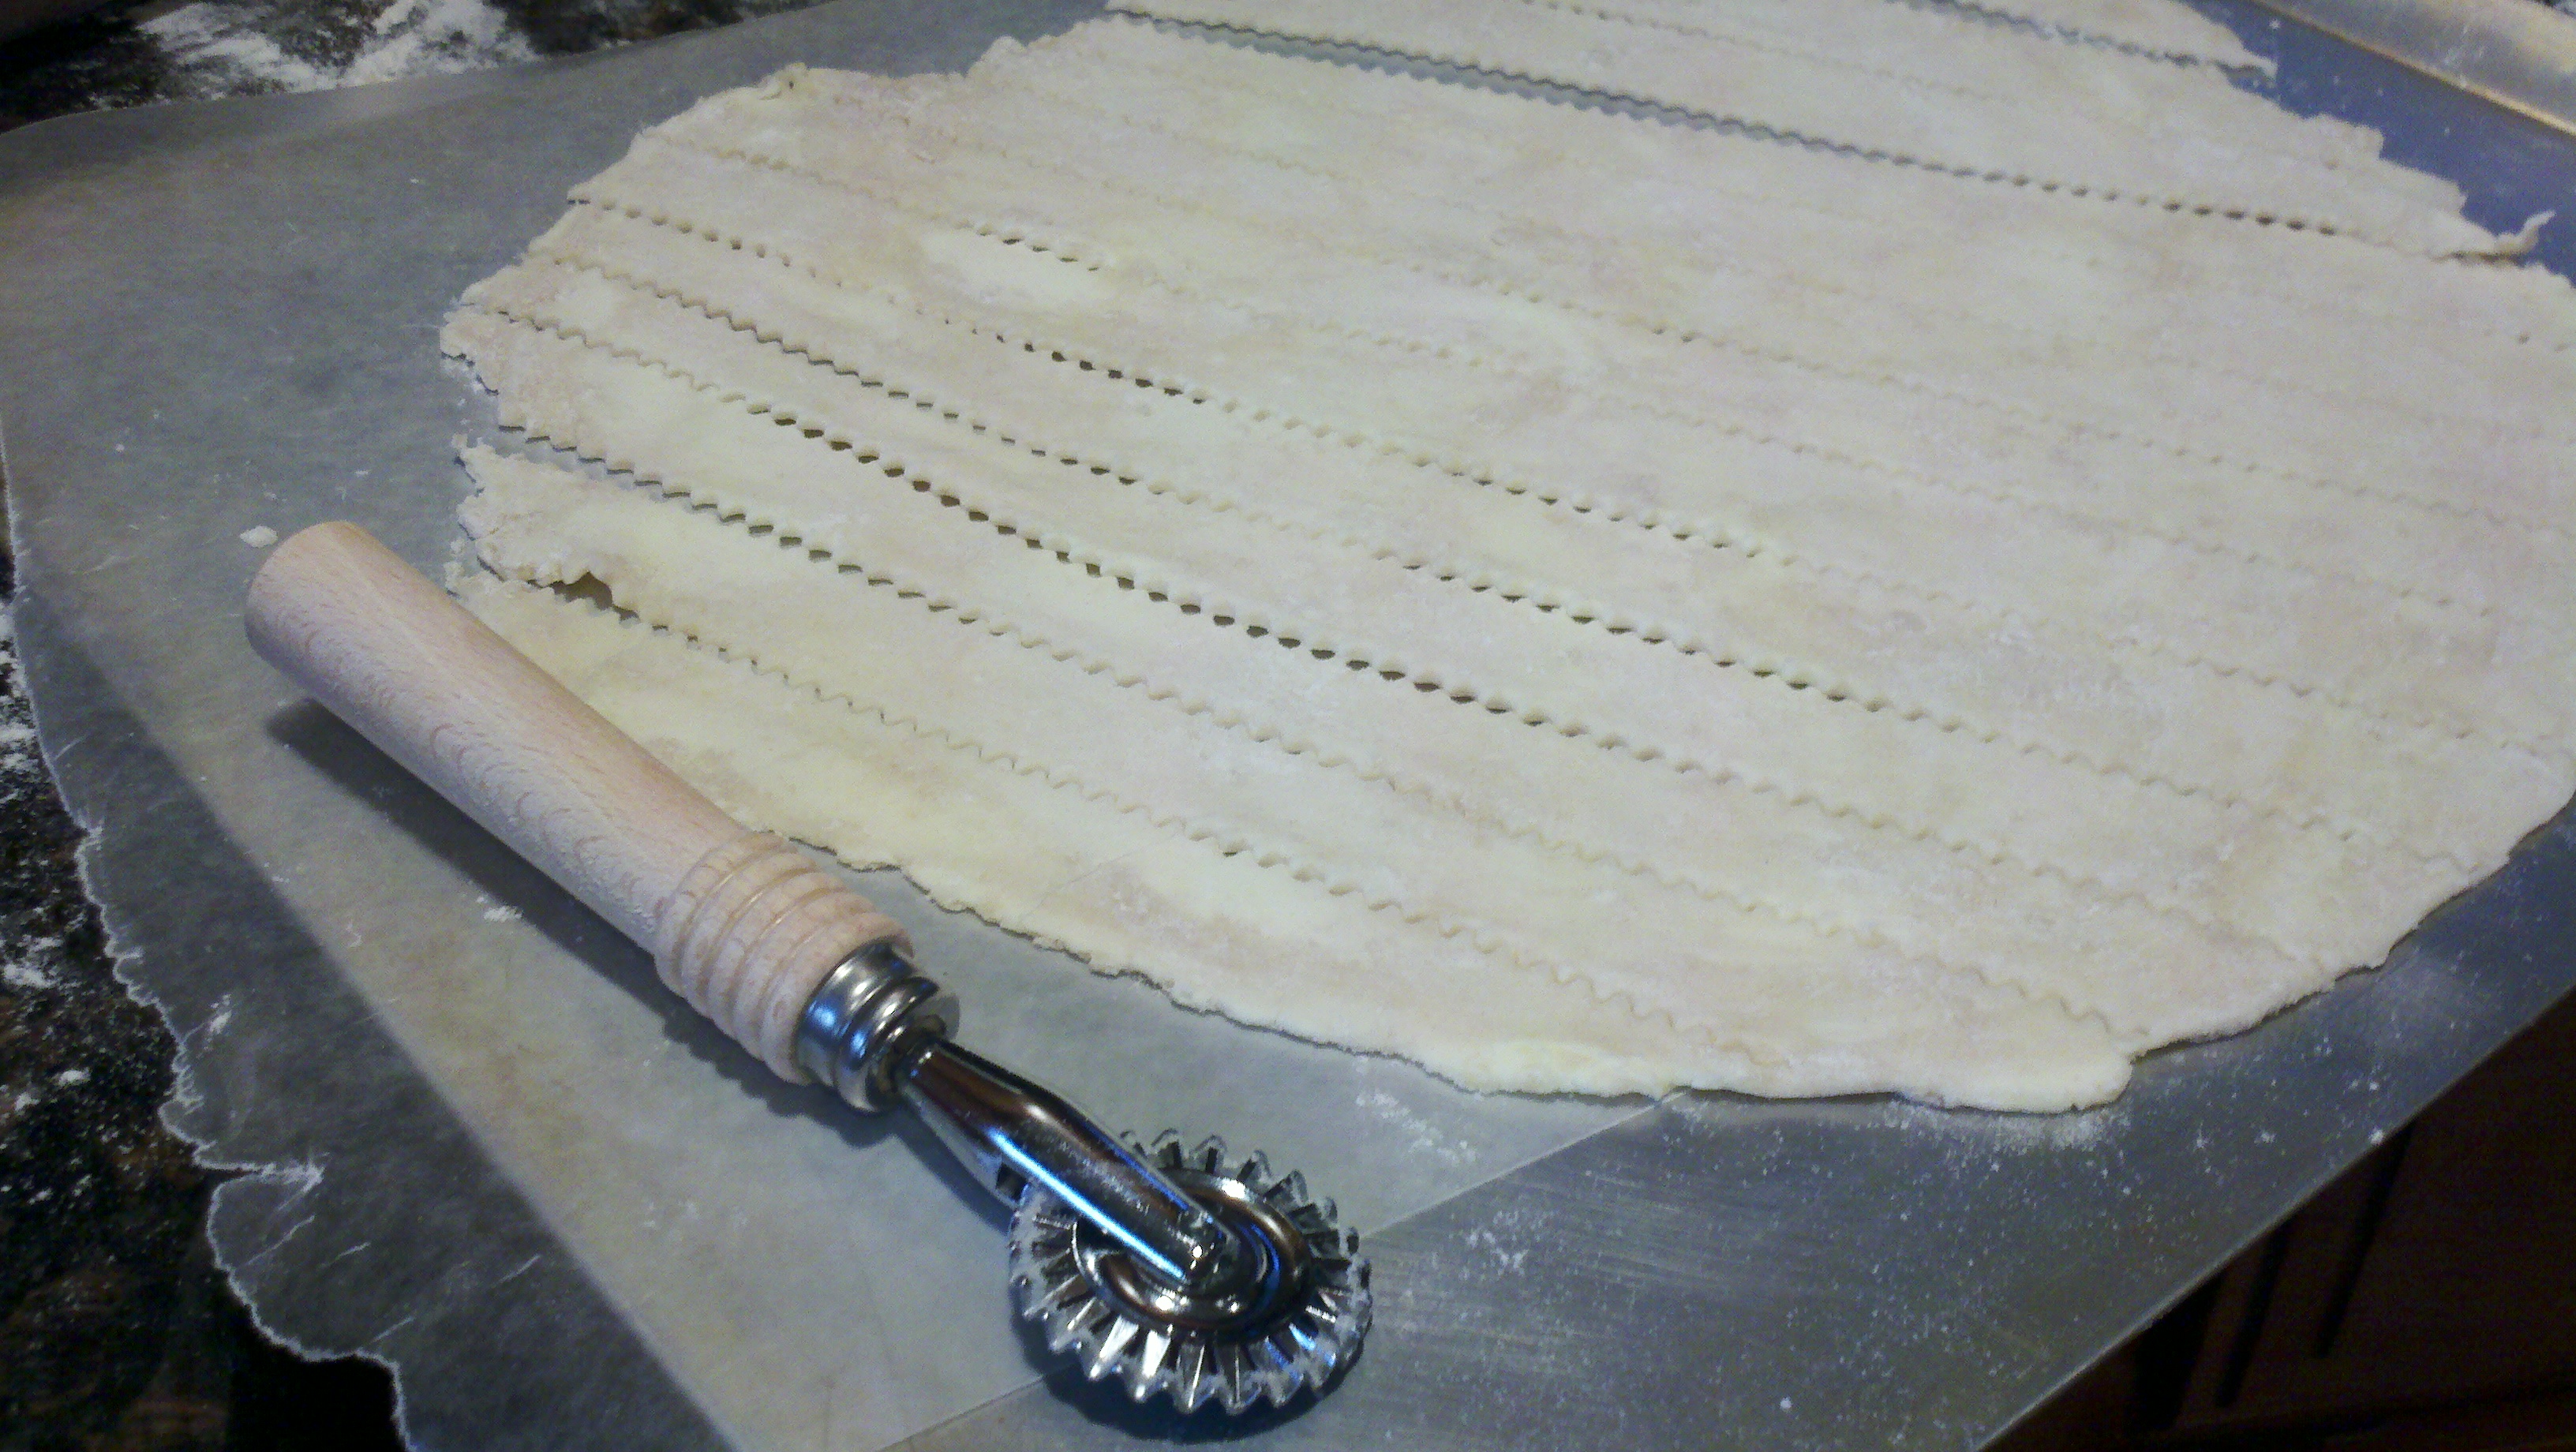
I got my top crust rolled out, and cut with a little ziggy-zaggy cutting wheel, then put it on a wax-paper-covered cookie sheet and back in the fridge. 
I drained the sour cherries, retaining one cup of the juice they’re bottled in. Measure the fruit out in a big bowl; measure and combine the sugar, cornstarch, and salt that I’ll mix the cherries with, and set that aside. Then I made my glaze. Take that cup of cherry juice and mix it with cornstarch and sugar to simmer into a nice thick glaze in a saucepan on the stove. It comes out intensely, appealingly red.
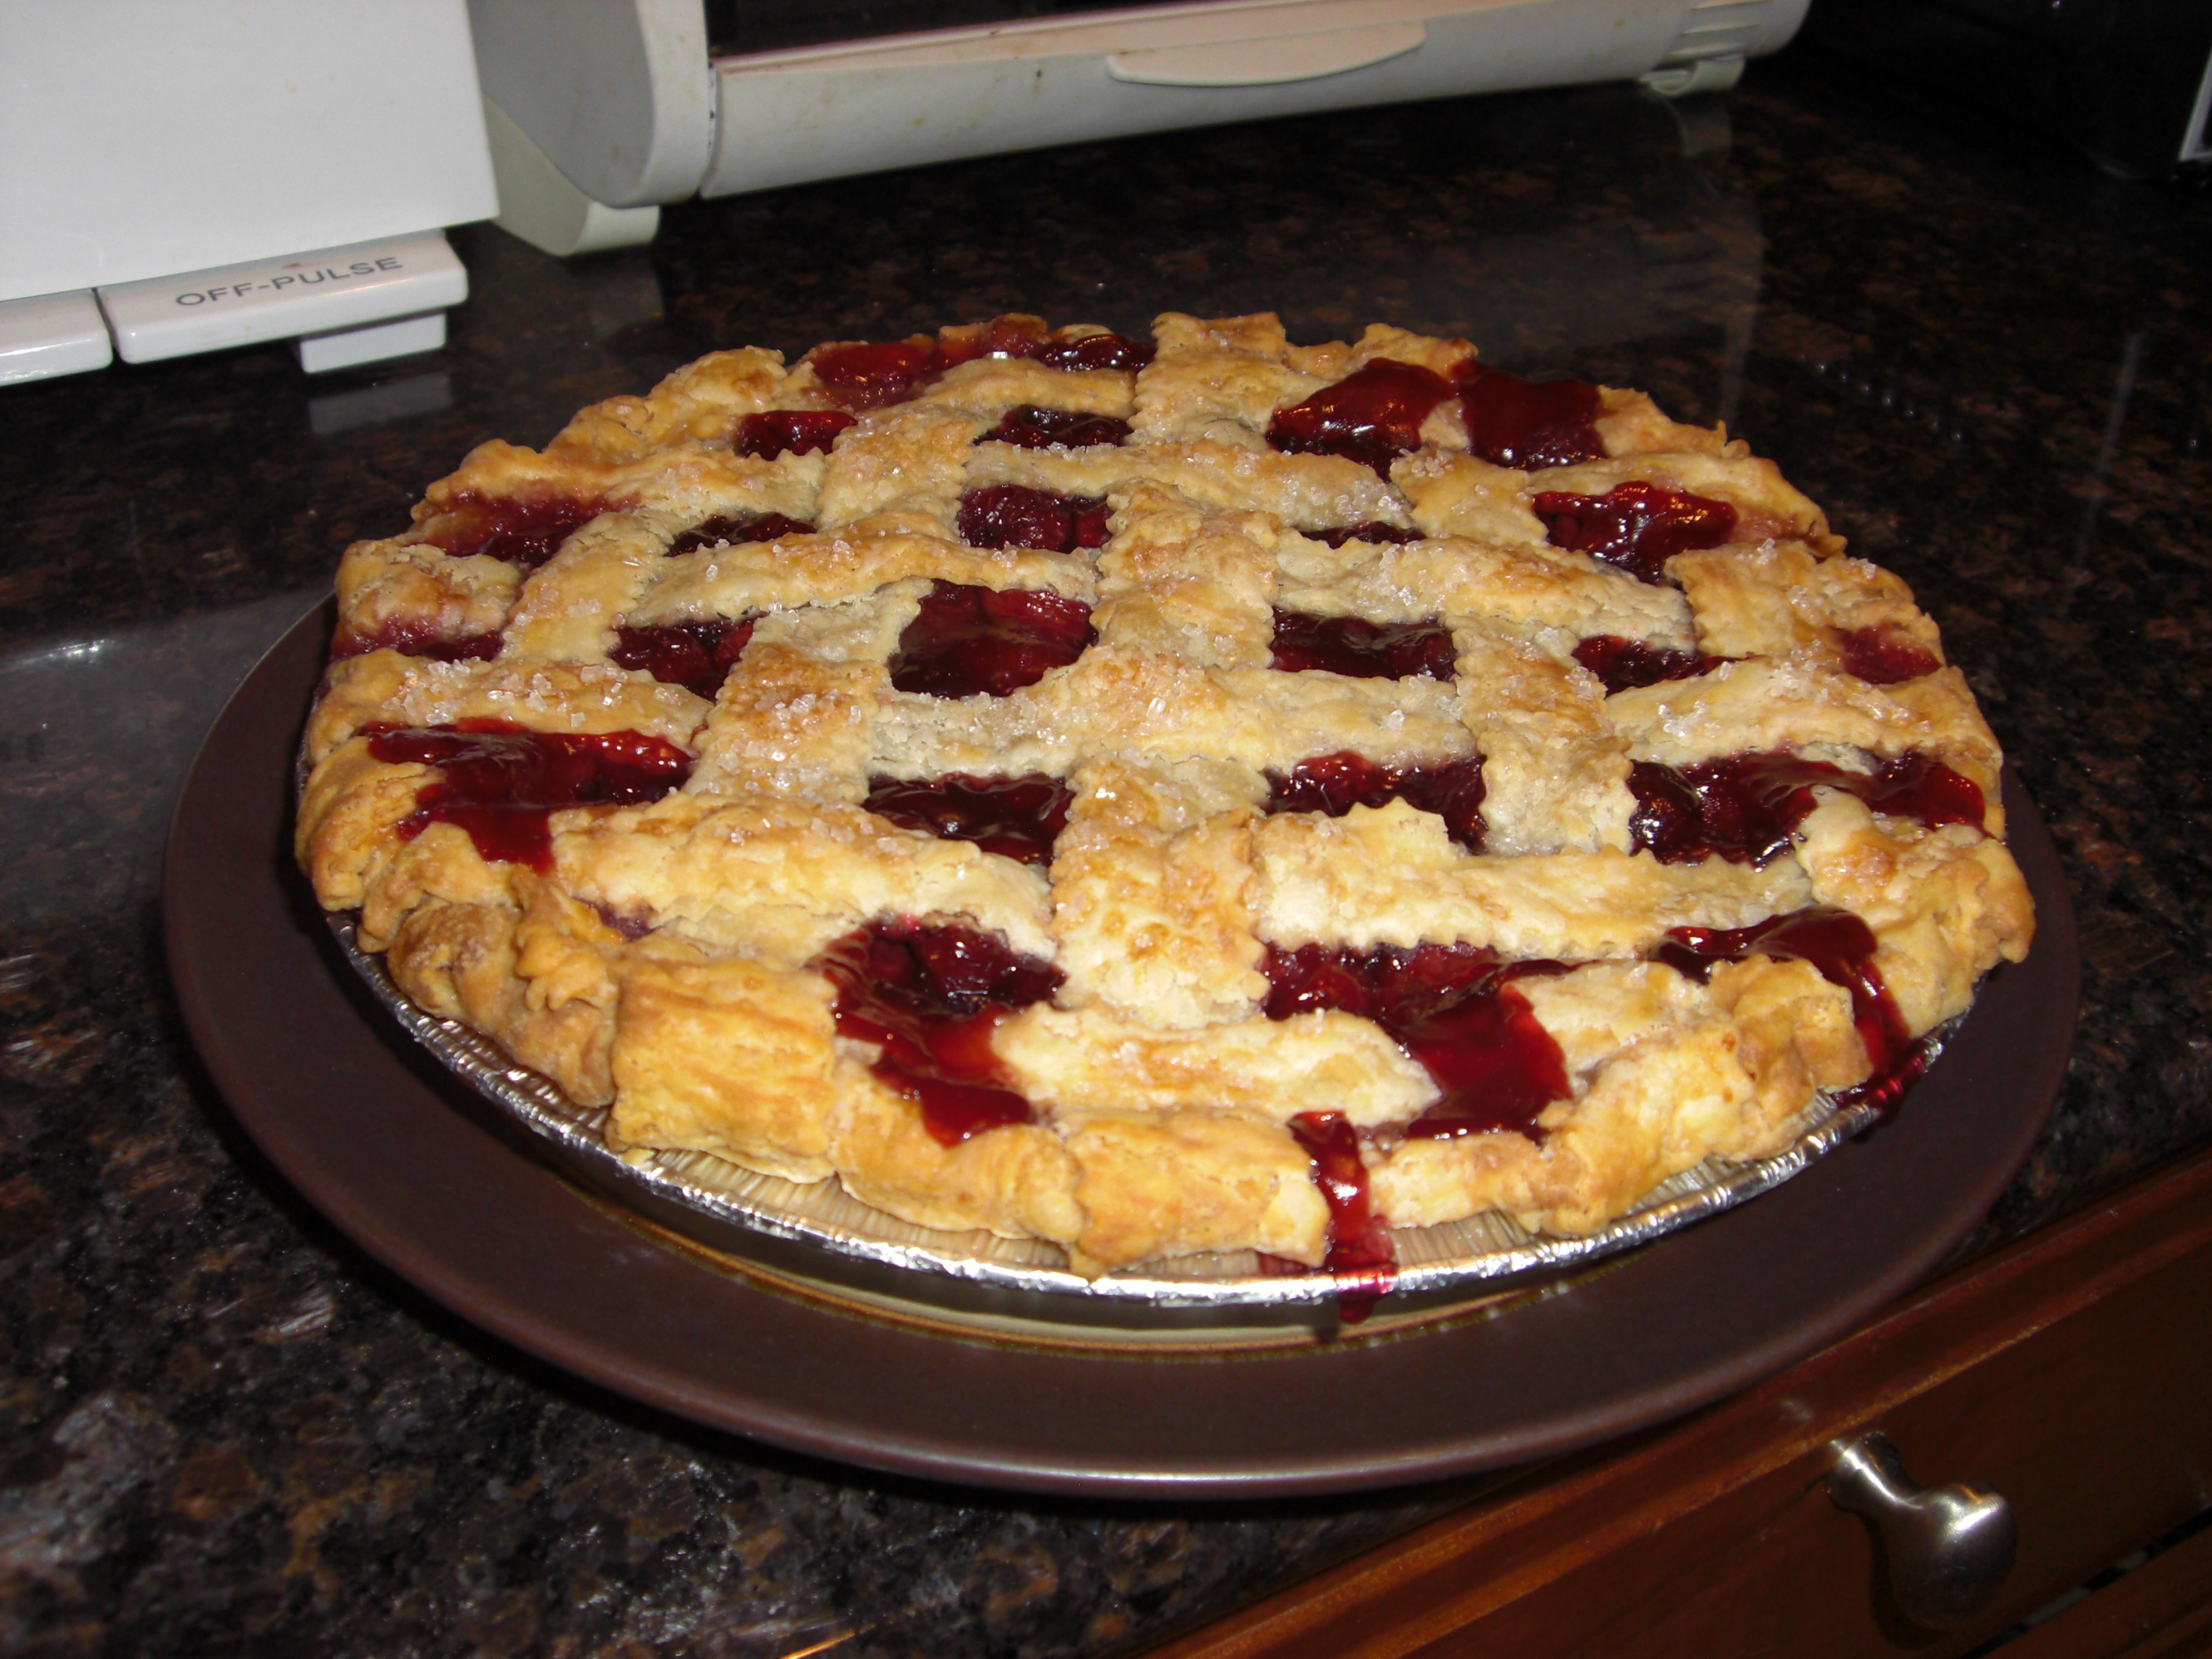
So now we’re all set to rock and roll. We whip the pie together right before it goes in the oven: Get out the chilled bottom crust. Toss a dash of almond extract into those cherries, given em a mix and pour em into the crust. Spoon the glaze over the tops of the cherries, spreading it so you have good coverage without too much goop. Weave your top dough strips into a lattice. Trim and seal the edges. Sprinkle cold water over the top and dribble extra-coarse sugar on the lattice strips. Put the pie on a parchment-lined, lipped baking sheet (trust me, you will regret it if you dont’ do this.) Pop it in the oven at 425 for about 15 minutes, then reduce the temp to 350 and bake another 40 to 55 minutes, til brown and bubbling. 
I am totally delighted with the look of this pie. If it passes the taste and texture tests tomorrow, I will have improved upon a winner. YES!! Stay tuned.
UPDATE: This pie was indeed a winner. And gorgeous. But in all honesty, since then I’ve used a much simpler approach to cherry pie that produces just as good a result. See my post here for the recipe.


Hi Cath!! I’ll be over on the next flight out of SFO…..in my dreams!! I’m so loving reading the blog…keep it up!!
Thanks SO much for the Lemon Meringue. It was really delicious. Started off my day right! The cherry pie looks amazing here. — Techie Pie. 😀