
If, when you read that headline, you envisioned towering walls of silky buttercream, just waiting to tumble delightfully down on you, you are forgiven. Because if you fantasized lovingly about that for even one second, then you’re just like me. And that’s why I got seriously distracted when Chef Claude told us in pastry techniques class this week that we were going to build a buttercream dam.
It didn’t turn out exactly like I imagined. It was more like this:
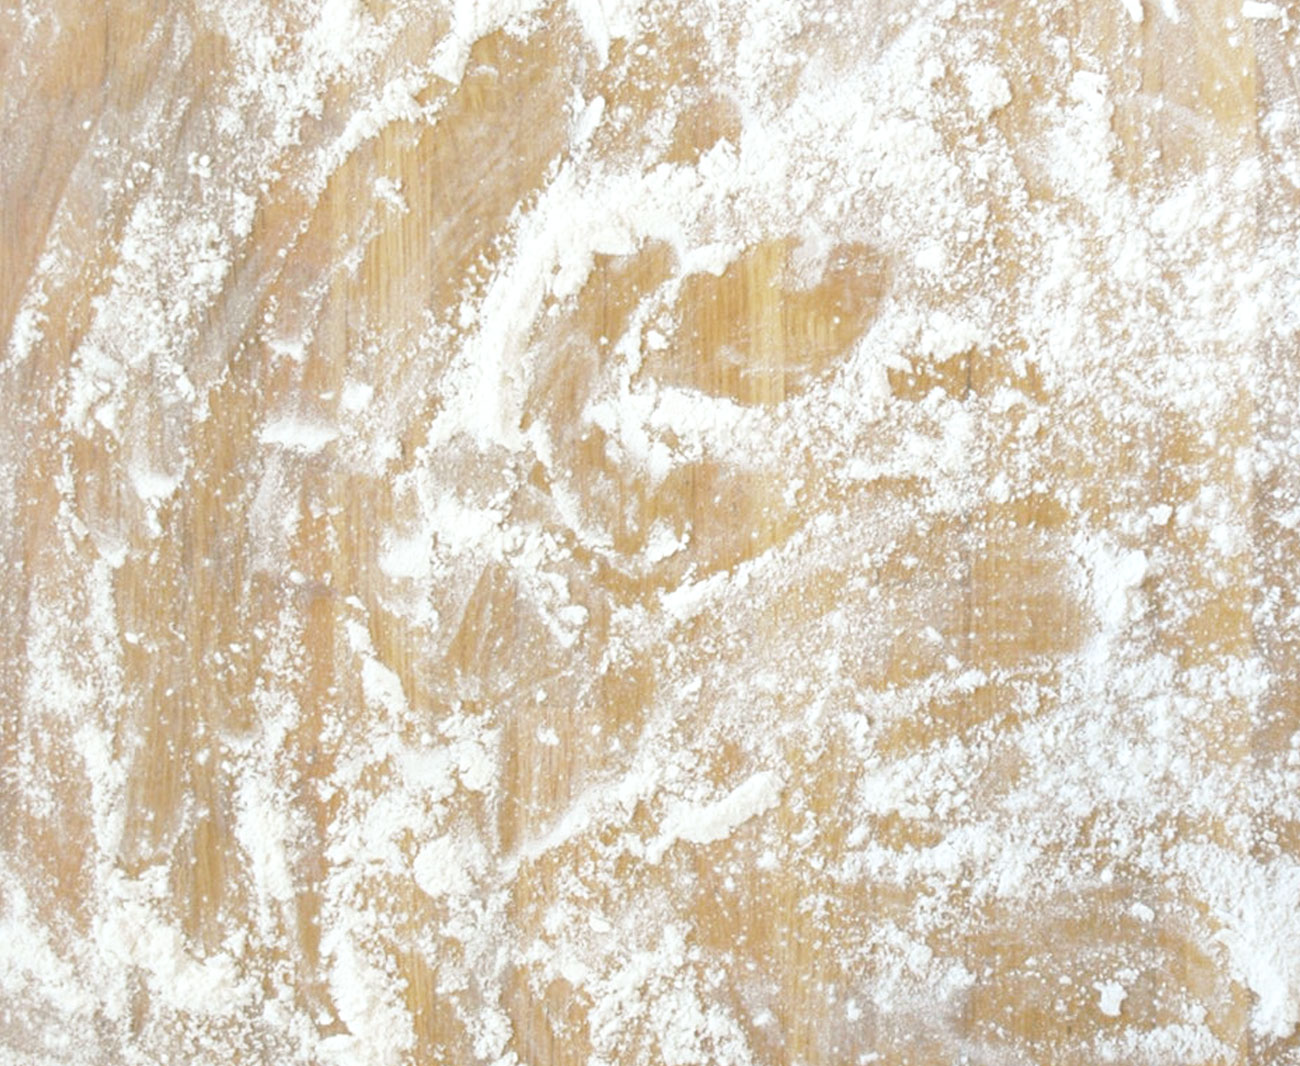
 See that ring of lovely white stuff? That’s the buttercream, resting on a layer of yellow cake that we made on the first night of our cakes-and-buttercreams unit in the 20-week pastry class I’ve been telling you about (see here if you’re just joining us for the first installment in my “pastry class adventures” series.).
Chef Claude taught us this cool dam trick to use if we are planning a dark filling (such as ganache, which we used) between layers of light cake that will take a light icing. Building this dam keeps the ganache from oozing out and disrupting the white flow of buttercream that will soon coat the top and sides of the cake.
That’s how this yellow cake took shape. First, the dam, above. Then the ganache filling:

Then Chef inverted the other layer of cake on top, so the flattest part faced the ceiling (no need to trim away precious cake to make a nice flat surface this way). Then he spread a simple syrup on the cake and began the first coating–called the “crumb coat”–of vanilla buttercream.

getting started on the crumb coat

finishing the sides

... and the top...
When it was all smoothed out, the cake went into the fridge to let the buttercream set. When the assistants took it out, Chef put on a second and final coat of buttercream, and he made it look easy to get it perfectly smooth. Having tried this at home, I already know that when the class does this next week, that perfect smoothness will prove, um, elusive.
It’s almost done:

Smoothing those edges
Then it was ready for decorating. Chef made a pastry bag out of parchment paper, poured in some warm chocolate and applied decoration to the cake, freehand. When I tried this on a lonely stretch of stainless steel tabletop, I got an embarrassing set of cranky-looking curves and jagged edges. But this took Chef about 30 seconds, without one false move:

Amazing. sigh.
Making the buttercream was very cool. I’ve made buttercream, so this wasn’t a huge surprise. But it was still totally fun. Especially if you’re the kind of person who likes to handle butter. I am one of those people, and I totally claim it. To those of you who squinch up your face at the prospect, I say this: You gotta let your hair down. It’s awesome.
You might be asking, what’s the deal with buttercream? Like, why do you gotta touch the butter? Here’s the bottom line: buttercream starts with a meringue. When you’ve made the meringue, you pour hot sugar syrup into it. Then you plop pieces of softened butter into it, one at a time, until it’s blended. And there you have buttercream. I’ve never seen anyone do the butter-plopping with an instrument; they just grab pieces of butter and drop ’em in. Nice!
But not as nice, of course, as the finished product. Look:

Let me back up a second, though, and tell you in a bit more detail how we got here. Cuz there was another very cool tidbit or two, in addition to the handling-butter part.
To make the parts of buttercream, we have to start the syrup and the meringue. So we’ve got a saucepan of water and sugar (2 cups of sugar and 1/2 cup of water, in this case), and we used our fingers to brush the sides of the pan with water, to make sure there’s nothing on there that will crystallize as we cook the sugar. We put a high heat under the sugar and water, and waited for a boil.
You have to get the syrup to “soft-ball stage.” That means 238 degrees. (This is where baking gets all specific and anal-retentive. Yes: 238 degrees. We’re not just being uptight. It’s chemistry. That’s the point at which cooked sugar reaches the texture of a firm-but-still-pliable ball. For all the stages of cooked sugar, see one of the many charts online, like this one.)
You can tell when it’s at soft-ball stage two ways: with a candy thermometer, or by hand. Chef Claude is a big believer in training the eye to know when things are ready, so we didn’t use a thermometer. He taught us to watch for the big bubbles of the full boil, and to keep watching for the big bubbles to give way to smaller bubbles (did you know that happened if you kept syrup at a full boil? I didn’t). When that happened, it was time to check for soft-ball stage.
To do this by hand takes guts: you put your fingers in a cup of icewater for a few seconds, then you reach into the saucepan, grab a bit of boiling syrup, and dunk it immediately into the icewater. The syrup instantly transforms into a more solid state, and you can tell by squeezing it a little if it’s firm enough (or, sadly, too firm, which can happen if you wait a few seconds too long).
We watched in awe as Chef did this for us. He told us he endured an unspecified number of burns when he was young, trying to get this right. Despite that hair-raising tale, my pastry partner, Michael Edwards, decided to go for it. And he got it right on the first try: he dunked his fingers in the icy water, and went right in there and grabbed that boiling syrup. What a guy! (I was too awestruck, and it went by too quickly, to get pictures for you. Sorry.)
While the syrup was coming to a boil, we were whipping egg whites, with a little bit of sugar, til they were almost stiff peaks. As soon as the hot sugar reached soft-ball stage, we slowed down the mixer whip and poured the hot syrup slowly into the meringue, being careful to avoid pouring it on the whip and send it flying all over us.

Once the syrup is incorporated into the meringue, it’s time to start handling the butter (had you fallen asleep wondering when I was going to get to the butter?). With the mixer whip going on speed #2 or 3, we dropped pieces of softened butter into the meringue, pretty quickly, one after another, until it was all blended. A teaspoon or two of vanilla extract, and voilà, buttercream.
That’s how we got to the cake-decorating photos that began this blog post. We devoured slices of the wonderful layer cake, along with ice cream we had made earlier in the evening. And now you’re probably shouting, WHAT? Ice cream? They made ice cream? I know, I didn’t tell you about that part. It was easy: we made a basic crème anglaise, and it went into the ice cream maker.
And what? No pictures of the nice soft butter being plopped into the meringue?? What, are you kidding? No way could I handle a cell phone camera and softened butter at the same time. And I know what my priorities are. 🙂
Gawd I love reading this food porno. It’s outstanding writing.
A few interesting thoughts:
1. According to the interwebs, “The first modern thermometer, the mercury thermometer with a standardized scale, was invented by Daniel Gabriel Fahrenheit in 1714.” This would mean that such buttercream frosting was possible pretty early on. I was thinking it wasn’t until Madame Curie came along that we’d have had thermometers, but hell, what do I know about science?
2. The ice cream part astounded me. You did all this and THEN when you weren’t doing all this, you had made ice cream earlier in the evening!? OMG. What a class…this class is serious, man.
Awesome.
I agree with Matthew. It is outstanding writing… and also inspiring.
Is there a recipe for the buttercream frosting? I have to give it a go.
Hi, Kathy, thanks for reading! Yes, I can post the buttercream recipe. Will do very soon!