I promised I would show you how to shape those Danish pastries we made in class the other night, and I am here to keep my promise.
First let’s do a quick bit on making the Danish dough, because, well, you can’t shape them if you haven’t made the dough, can you? I’ll keep it brief though (even though the process is anything but brief), so we can get right to the shaping.
As I told you in an earlier post, making Danish dough is very similar to making puff pastry or croissant dough, except it’s the only one of the three that has eggs, and it has more yeast–and less milk–than croissant dough. So the dough is the richest and yeastiest of the three.
But the basic approach to making all three pastries is similar: you make a dough that encases a block of butter, and you roll it out, fold it, leave it to rest and chill, and you do that again. Danish dough also requires fewer “turns” than croissants or puff pastry: only two, compared with three for croissants and six for classic puff pastry.
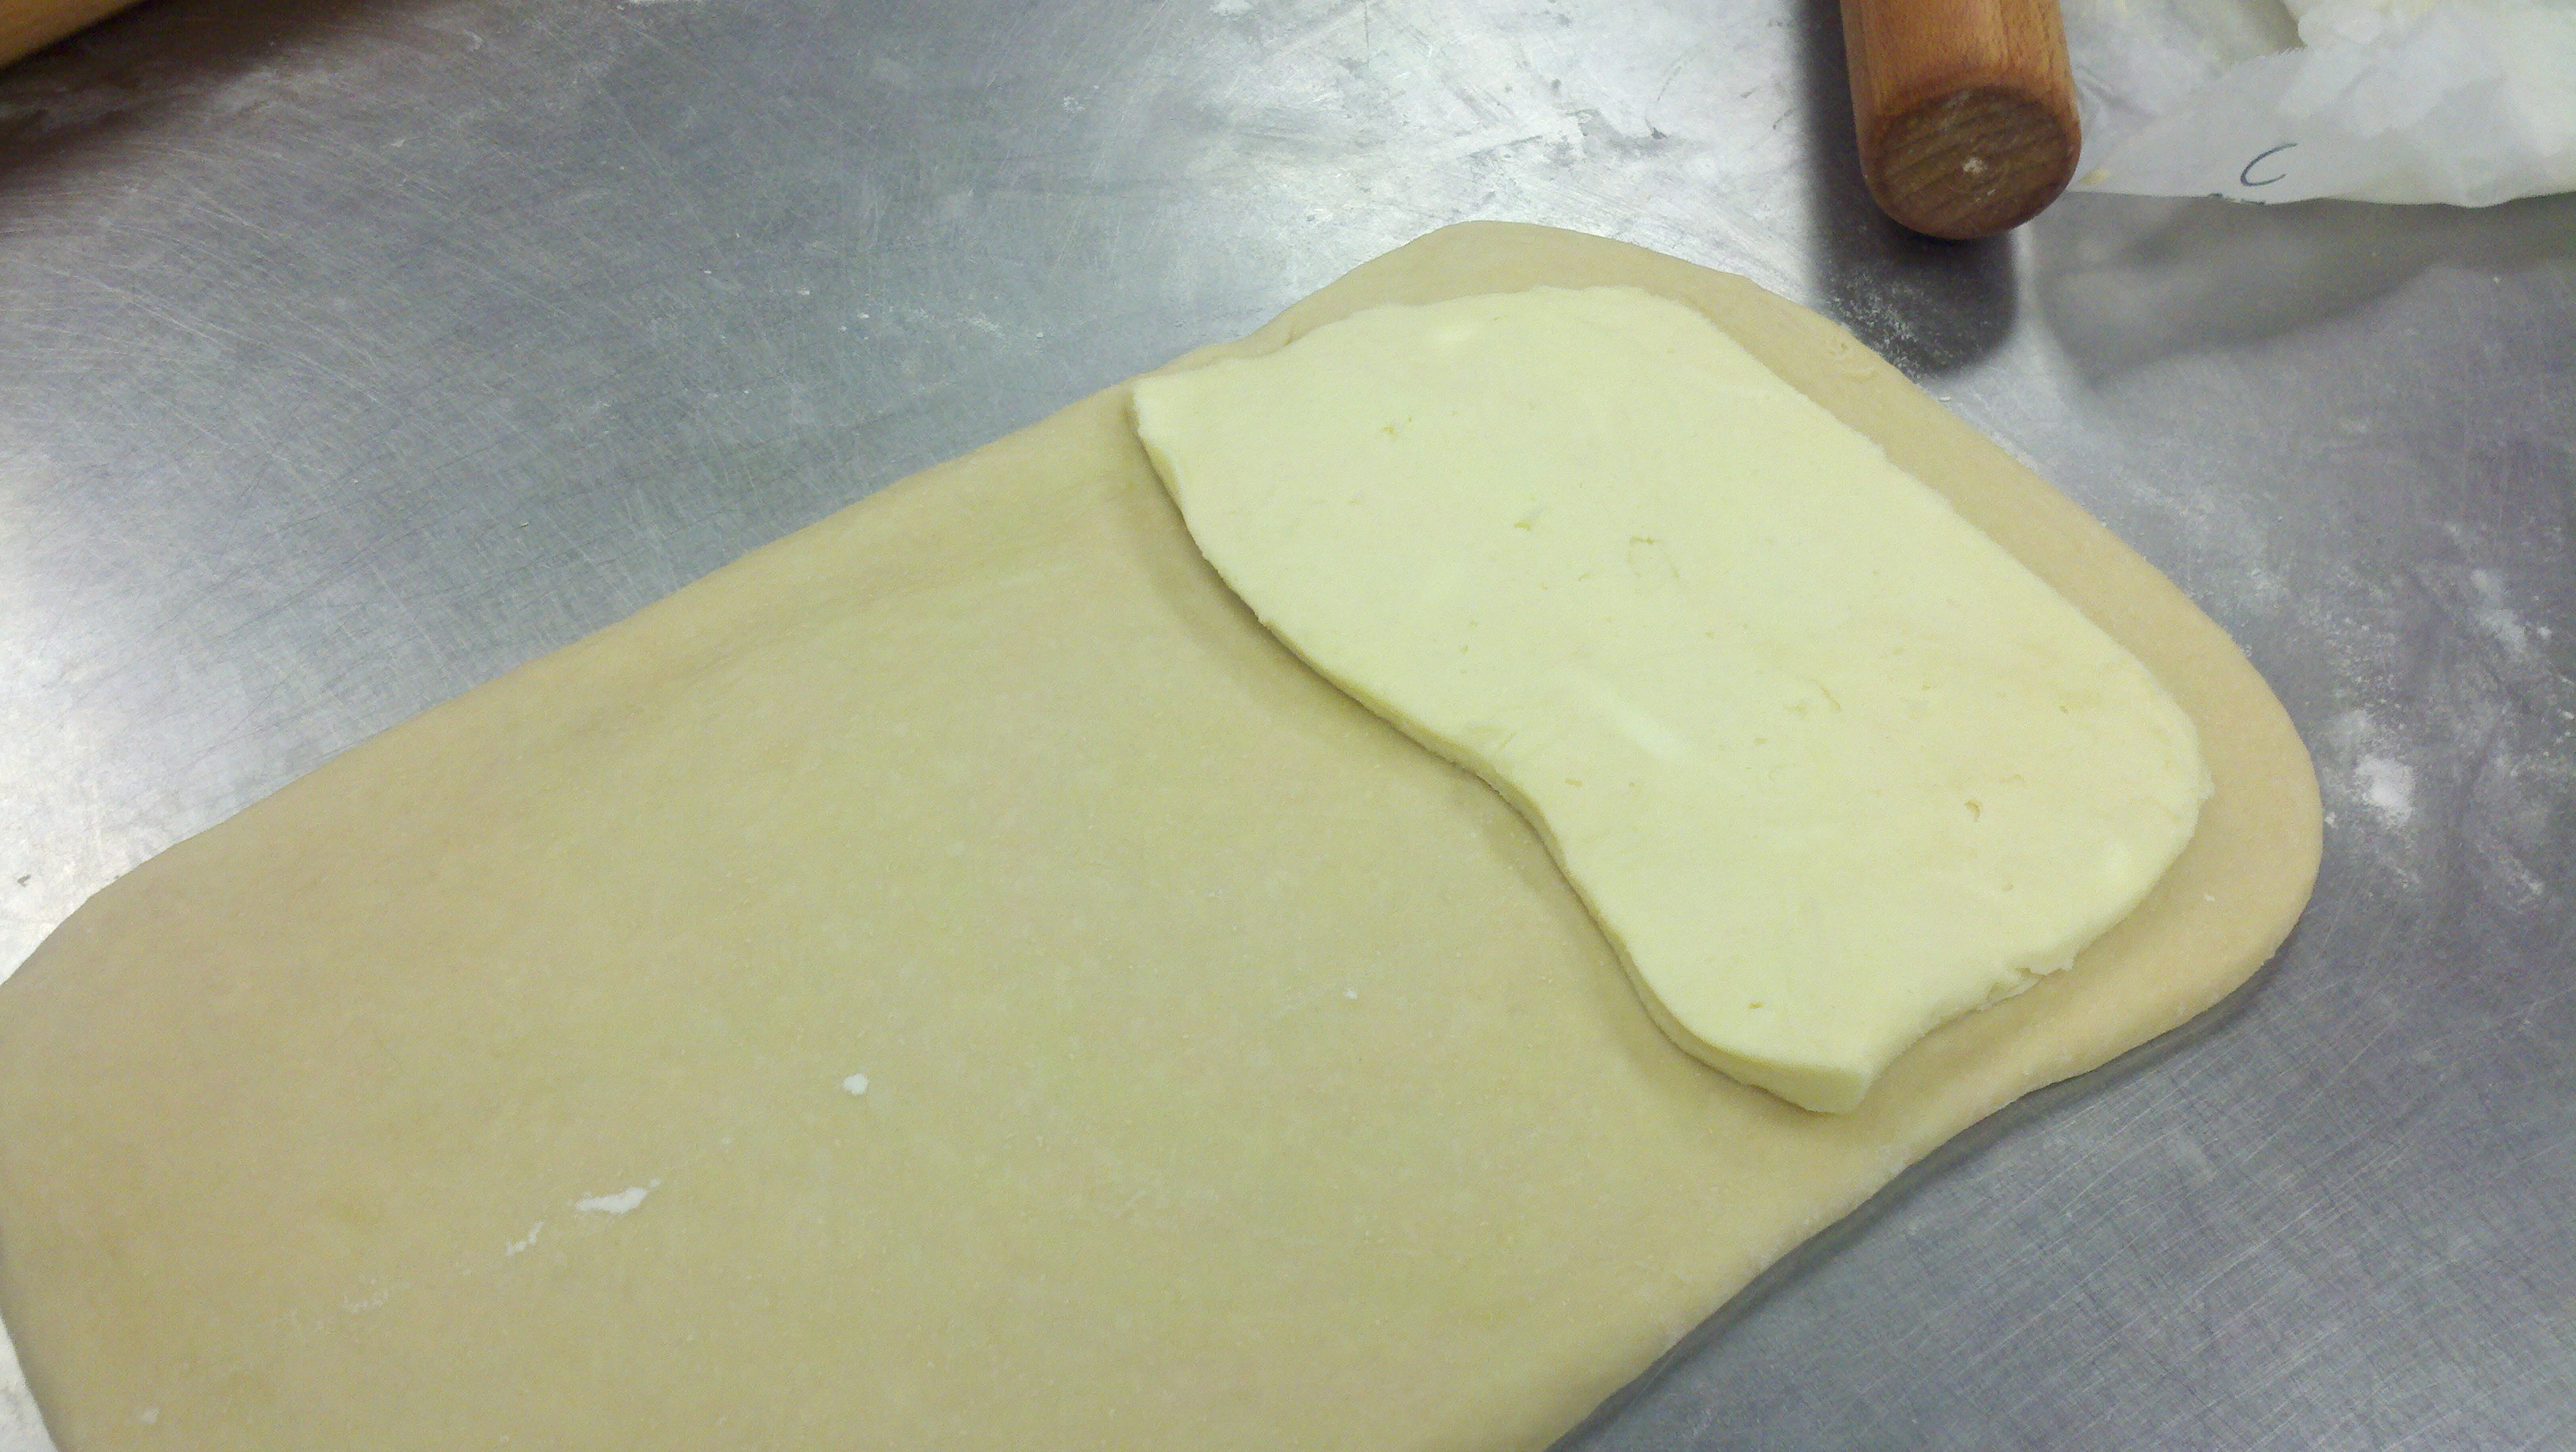
We did “package” the butter block (beurrage) inside the dough (détrempe) a bit differently for the Danish, though, than for the croissants and puff. So let me show you here. Instead of putting the beurrage in a big fat block in the middle of the détrempe and folding it up, we took a flatter approach:
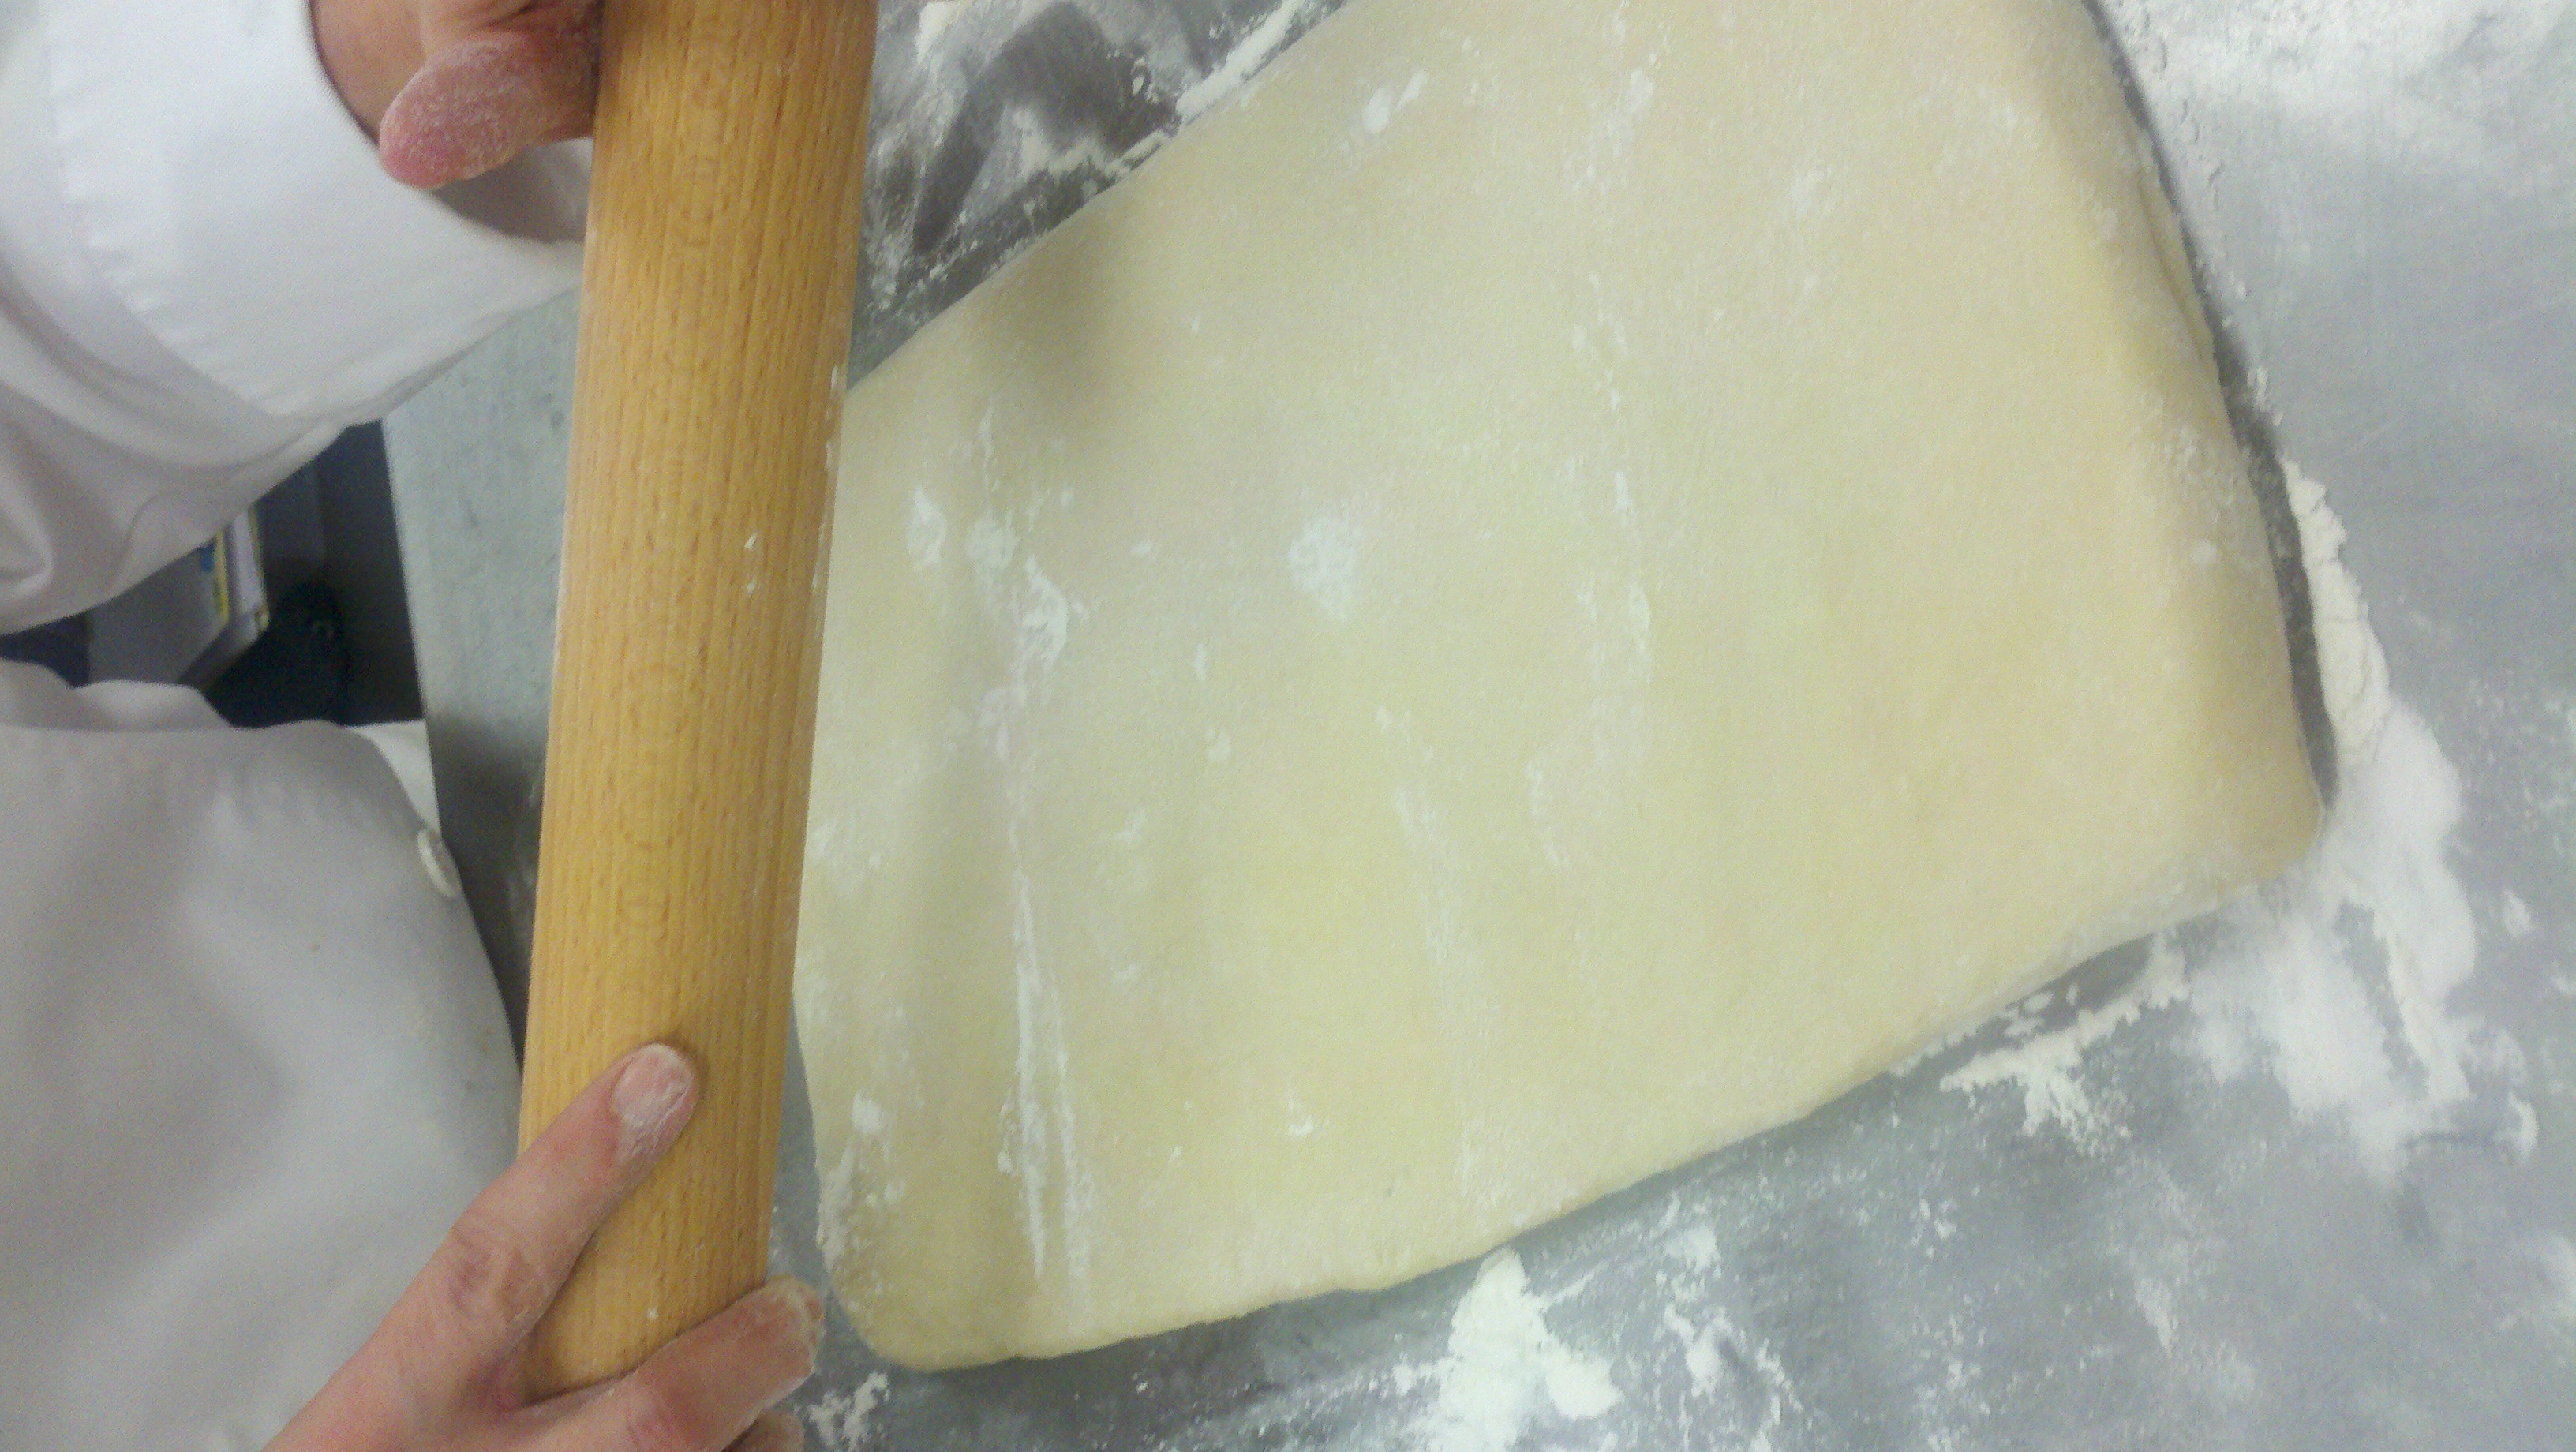
We folded that larger section of dough up over the beurrage as if we were closing a book, and sealed the edges all around. We rolled that out out…
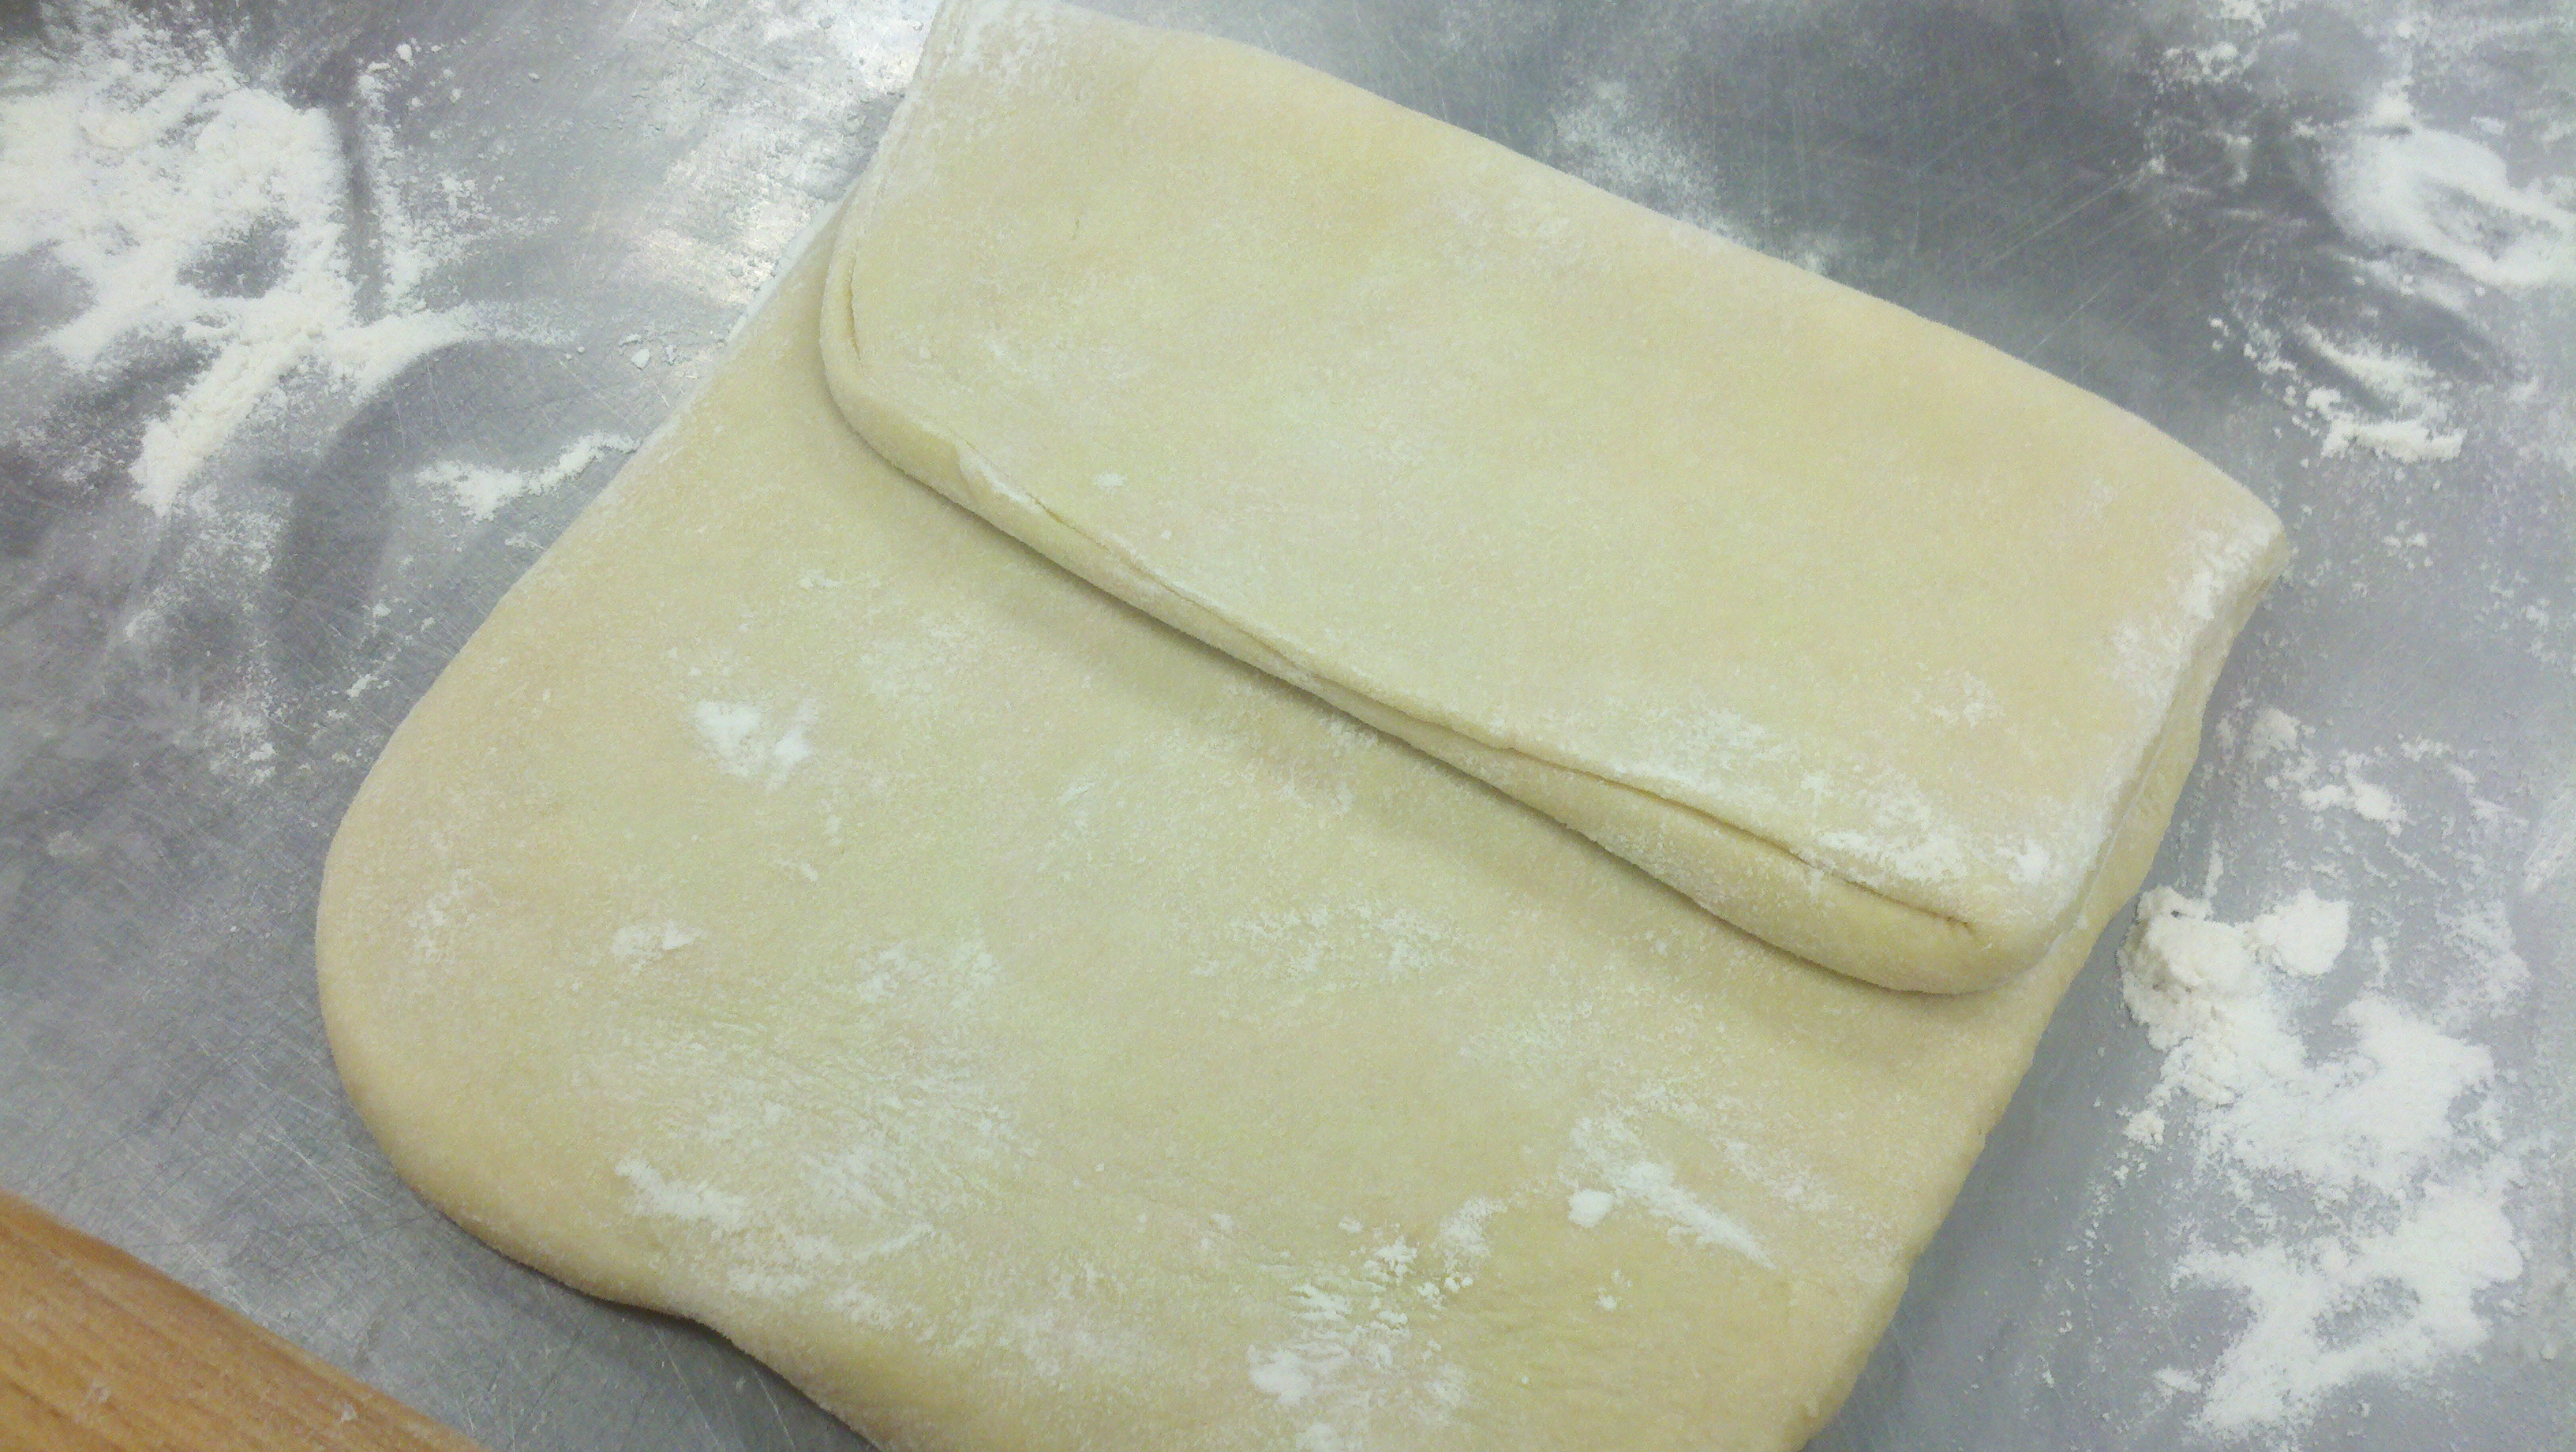
… and did our “single turn,” folding it like a business letter. Here’s fold number 1:
… and fold number 2, to complete it:
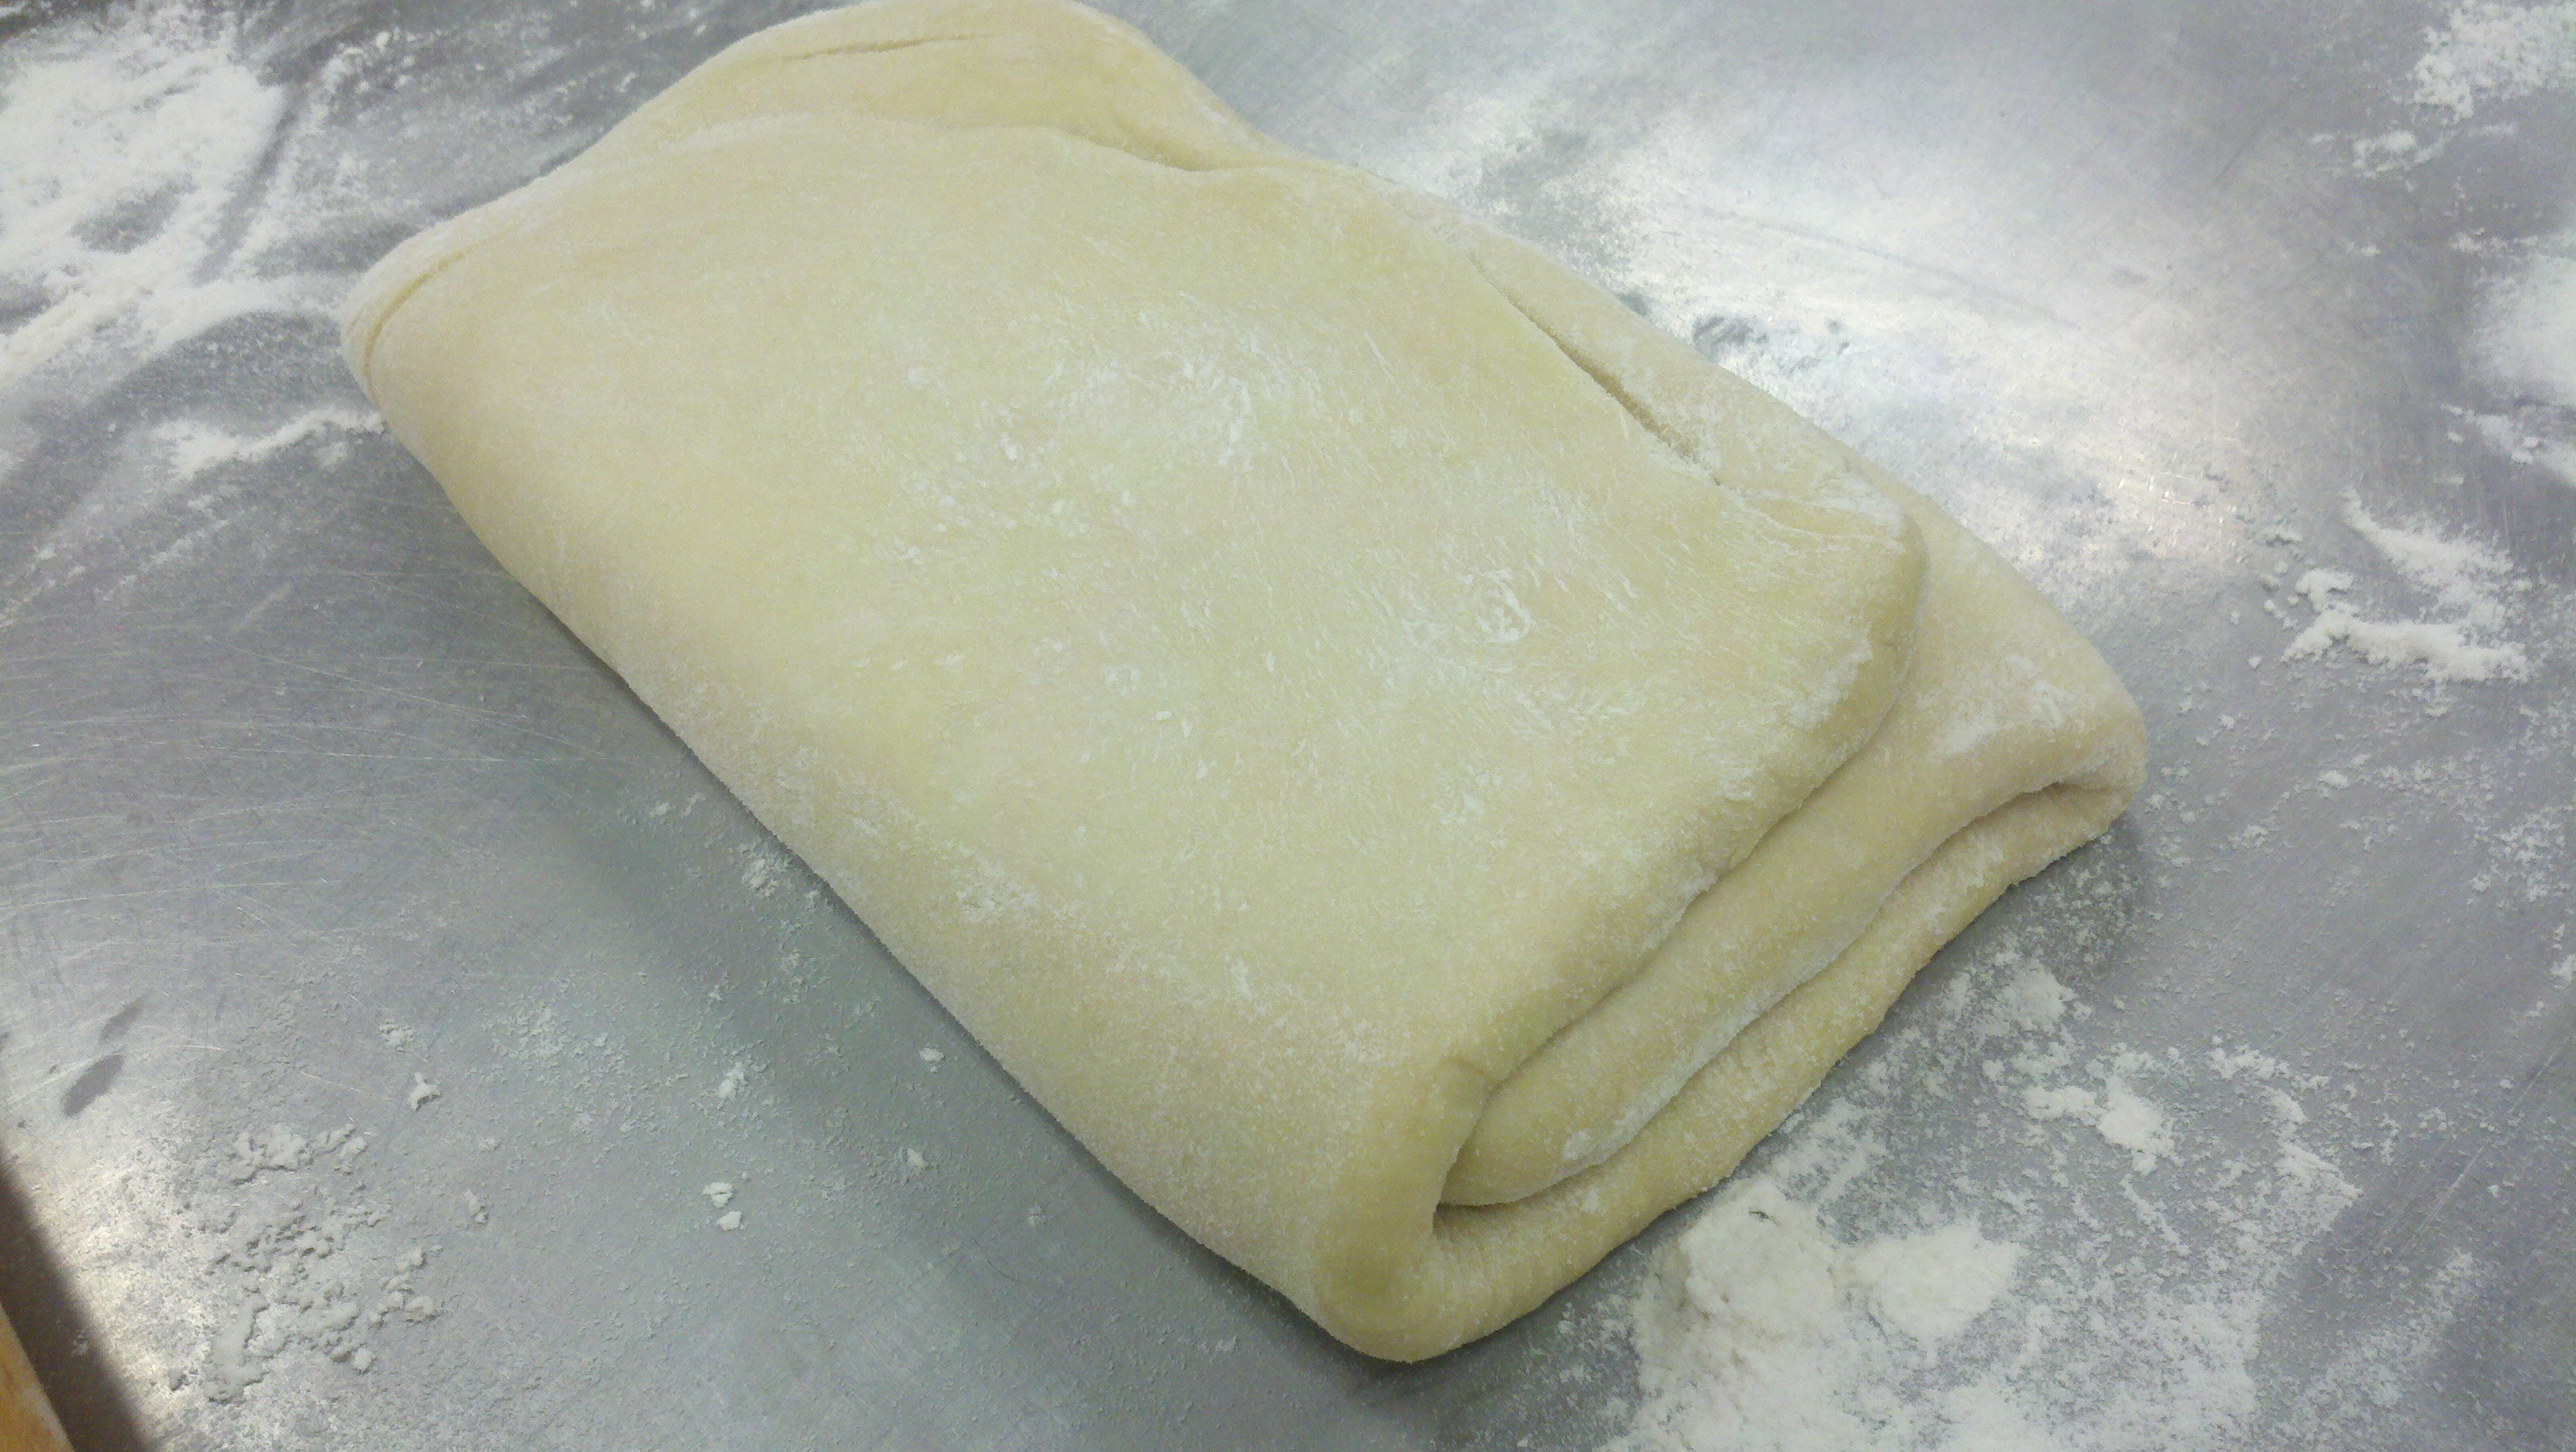 We put one finger indentation in it to show that we had done one single turn, and we let it rest in the refrigerator for at least an hour (preferably more). We rolled it out again, folded it again, and then the dough was ready to use. Our class stowed it, wrapped snugly in plastic, until the following week.
Now we can finally get around to the shaping part! Wow, I know we said we’d keep the dough-making part brief, but as I’ve told you, nothing about “laminated doughs” like this is brief. I made it as quick as I could!
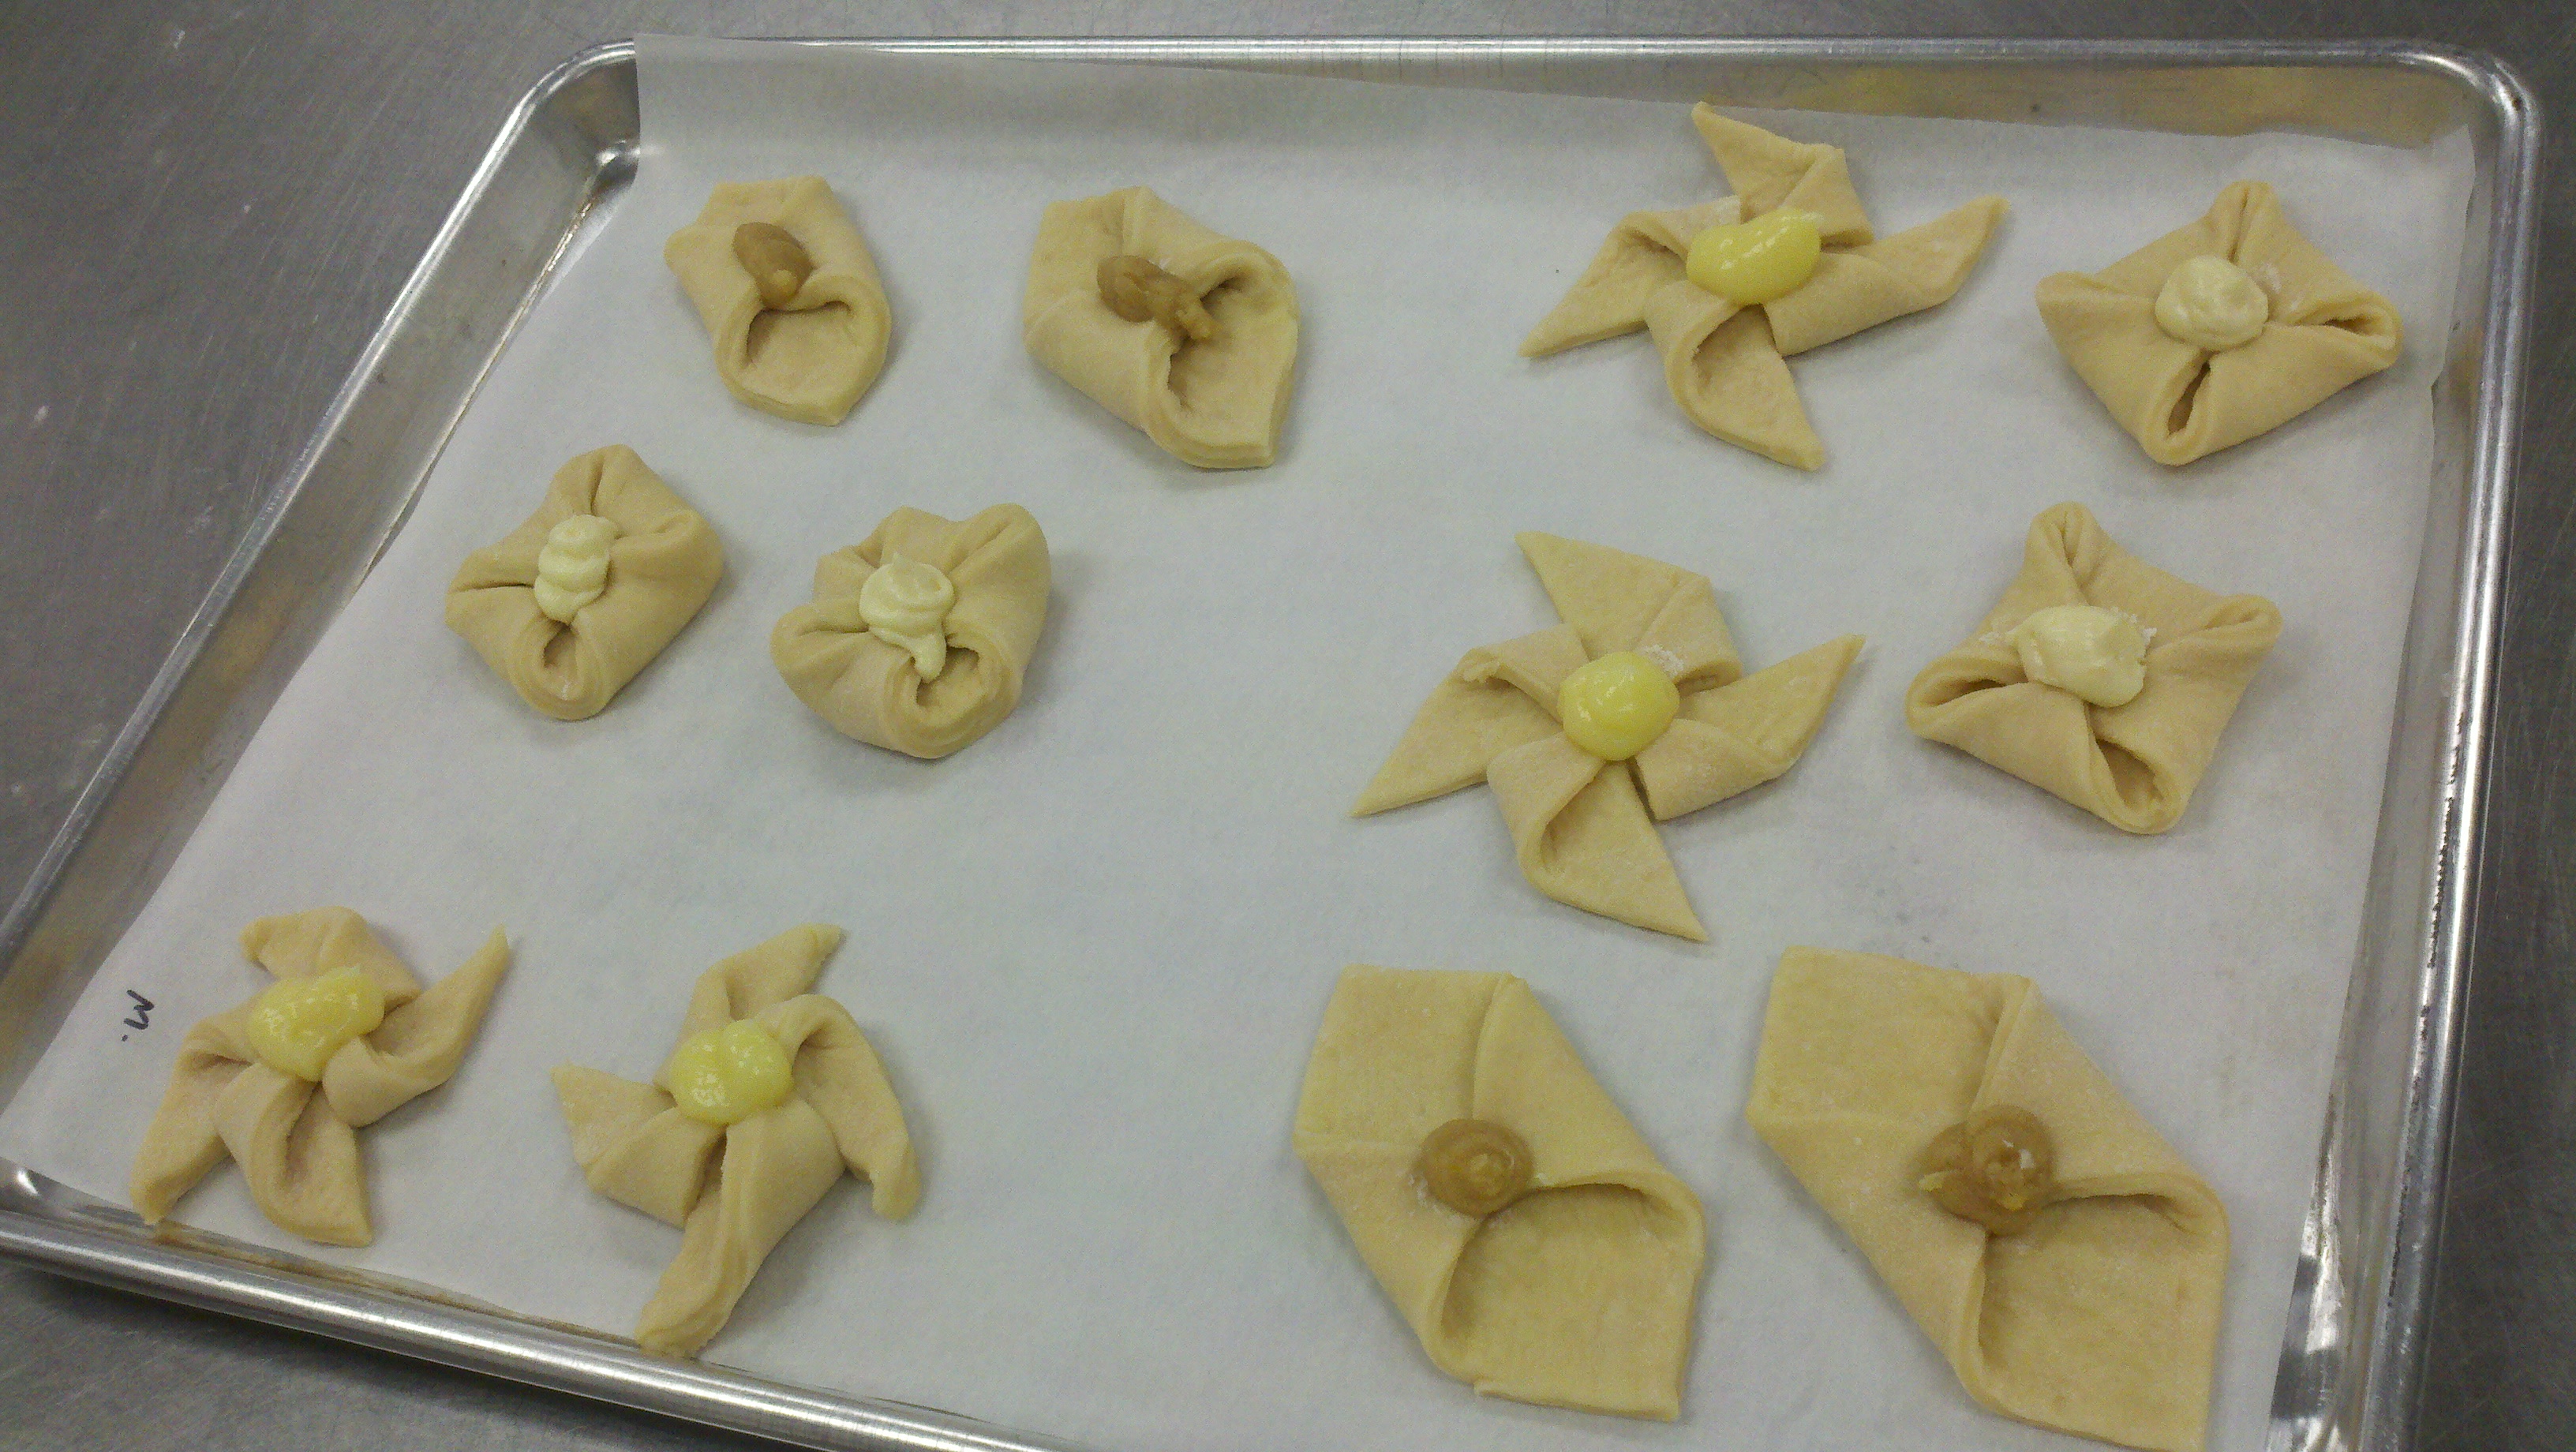
Okay. So here is how you do three basic Danish shapes that begin with a simple square of dough.
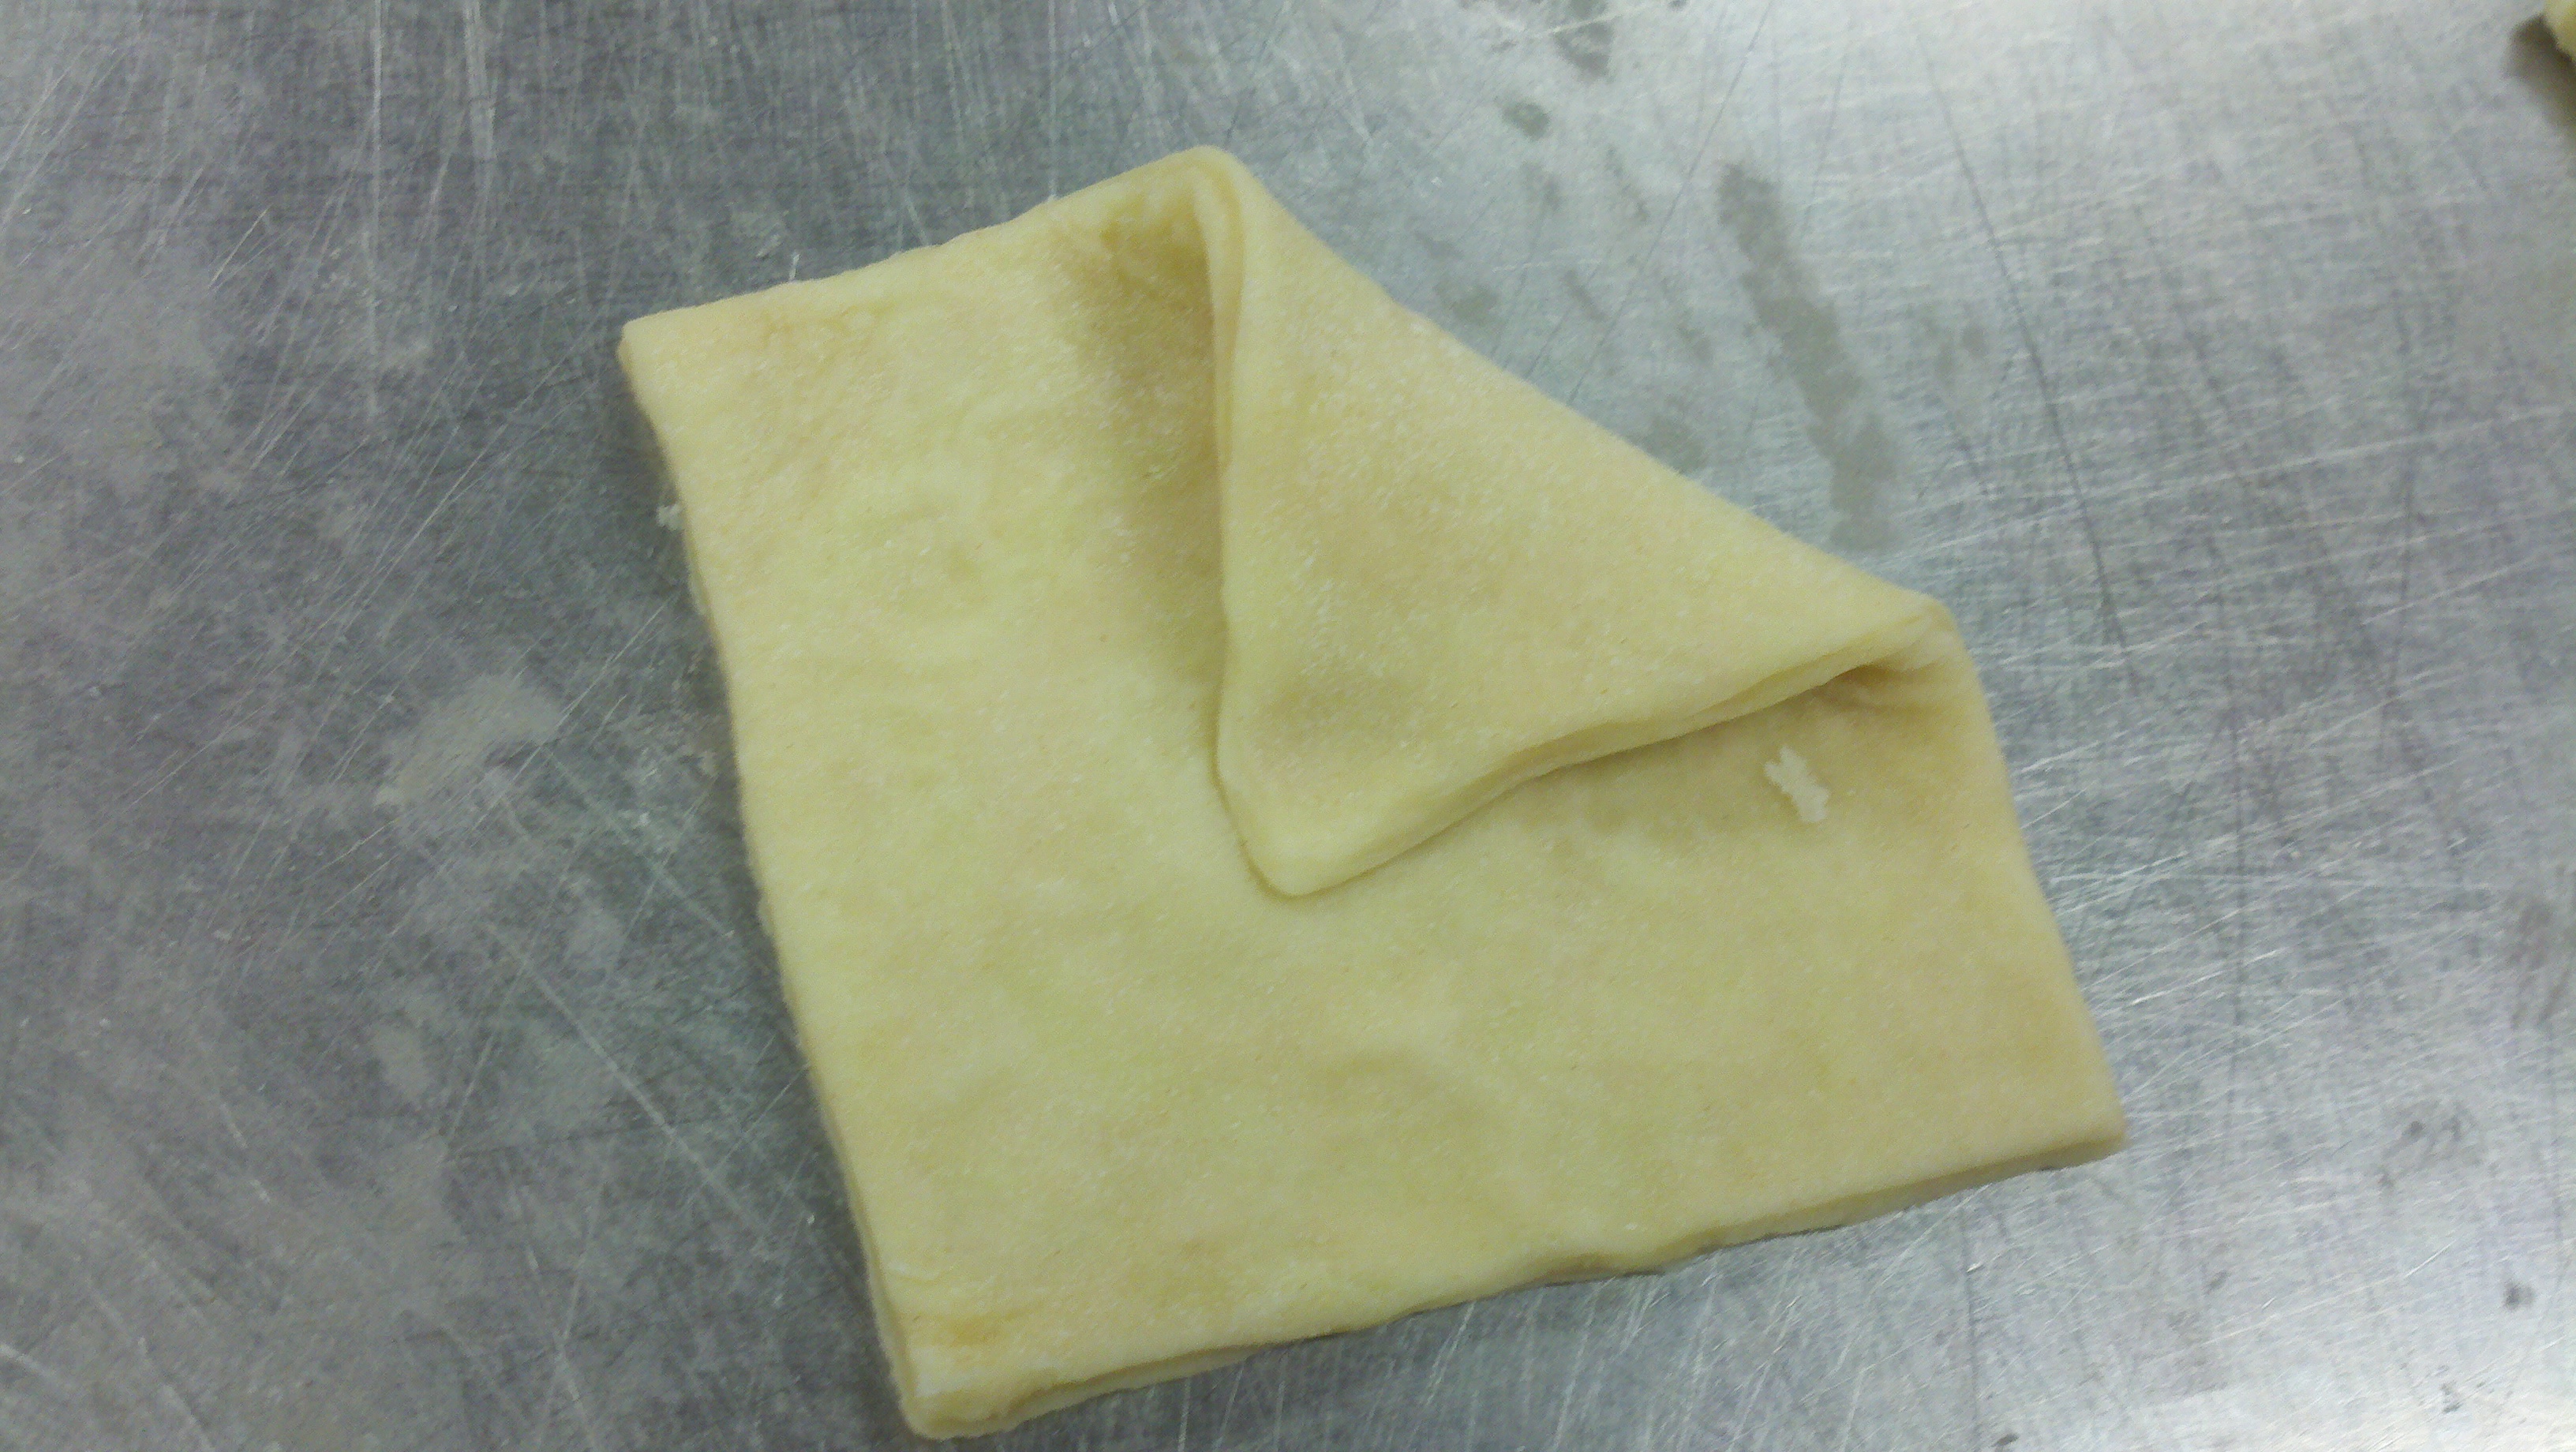
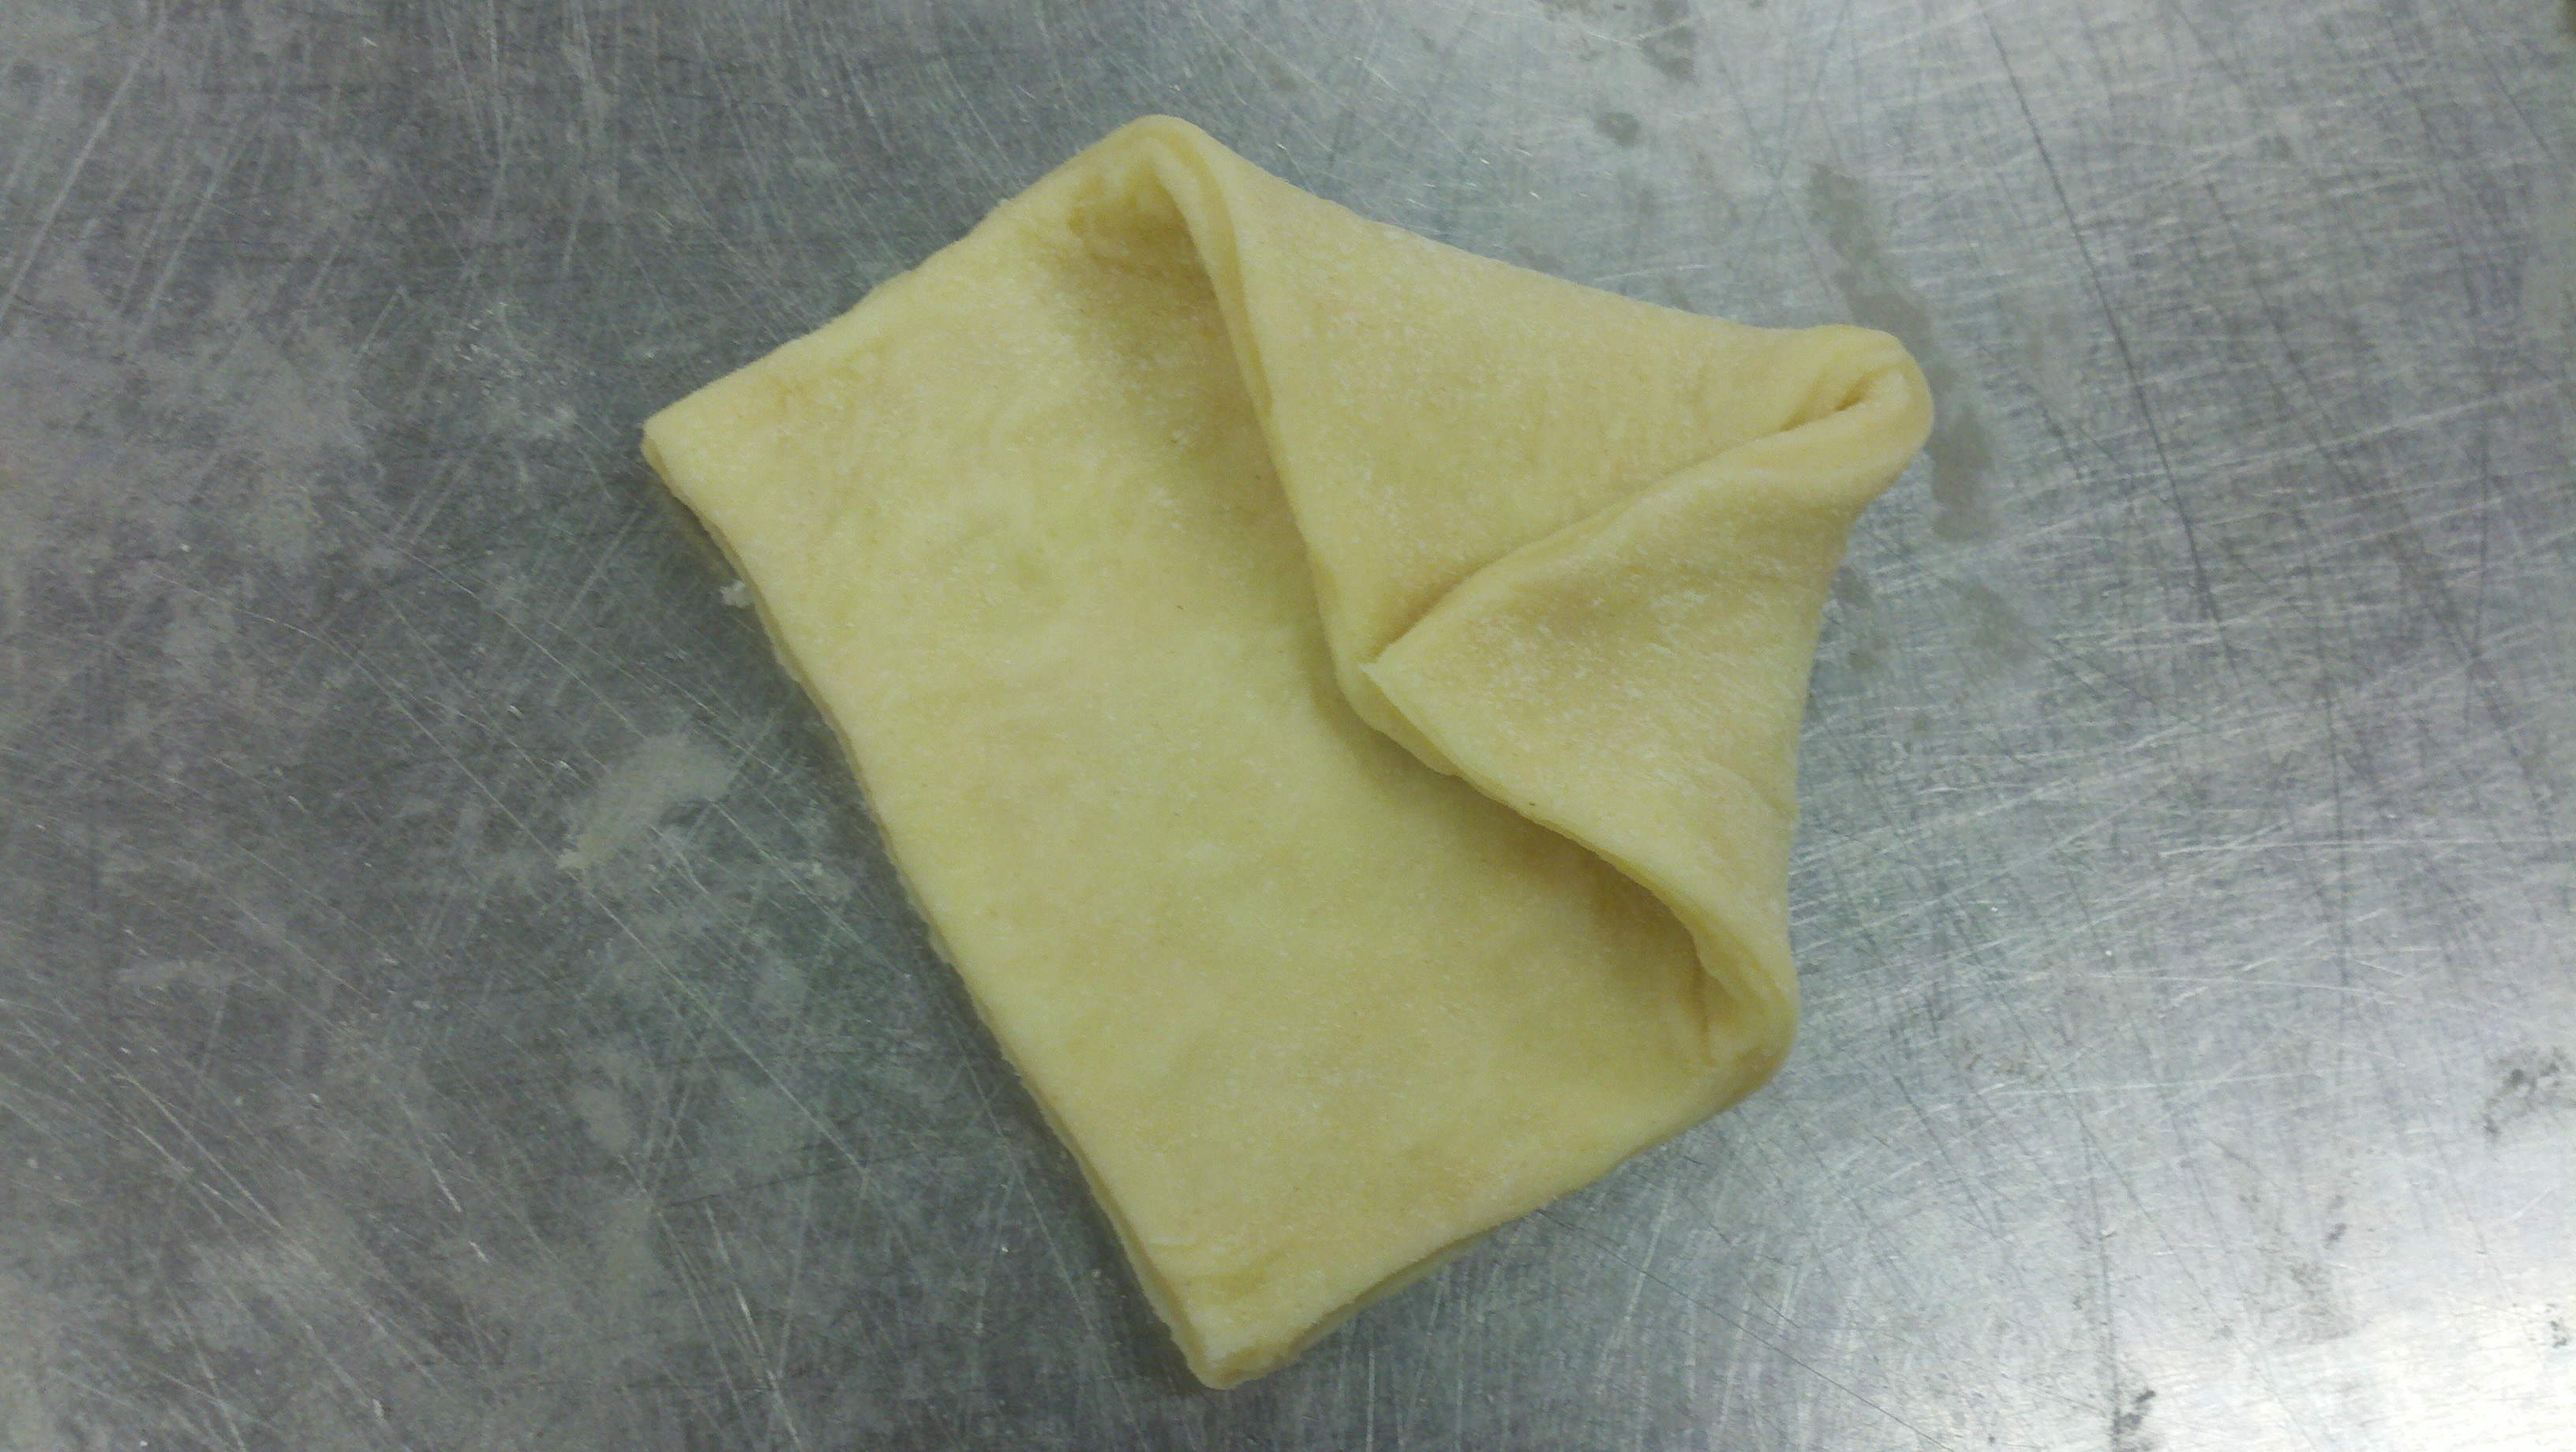
First, the classic diamond shape. I’d say it’s easy as pie, but that just doesn’t seem right here. 🙂 So I’ll just show you. You fold opposite corners toward the center, and press pretty firmly down on the point where they meet.
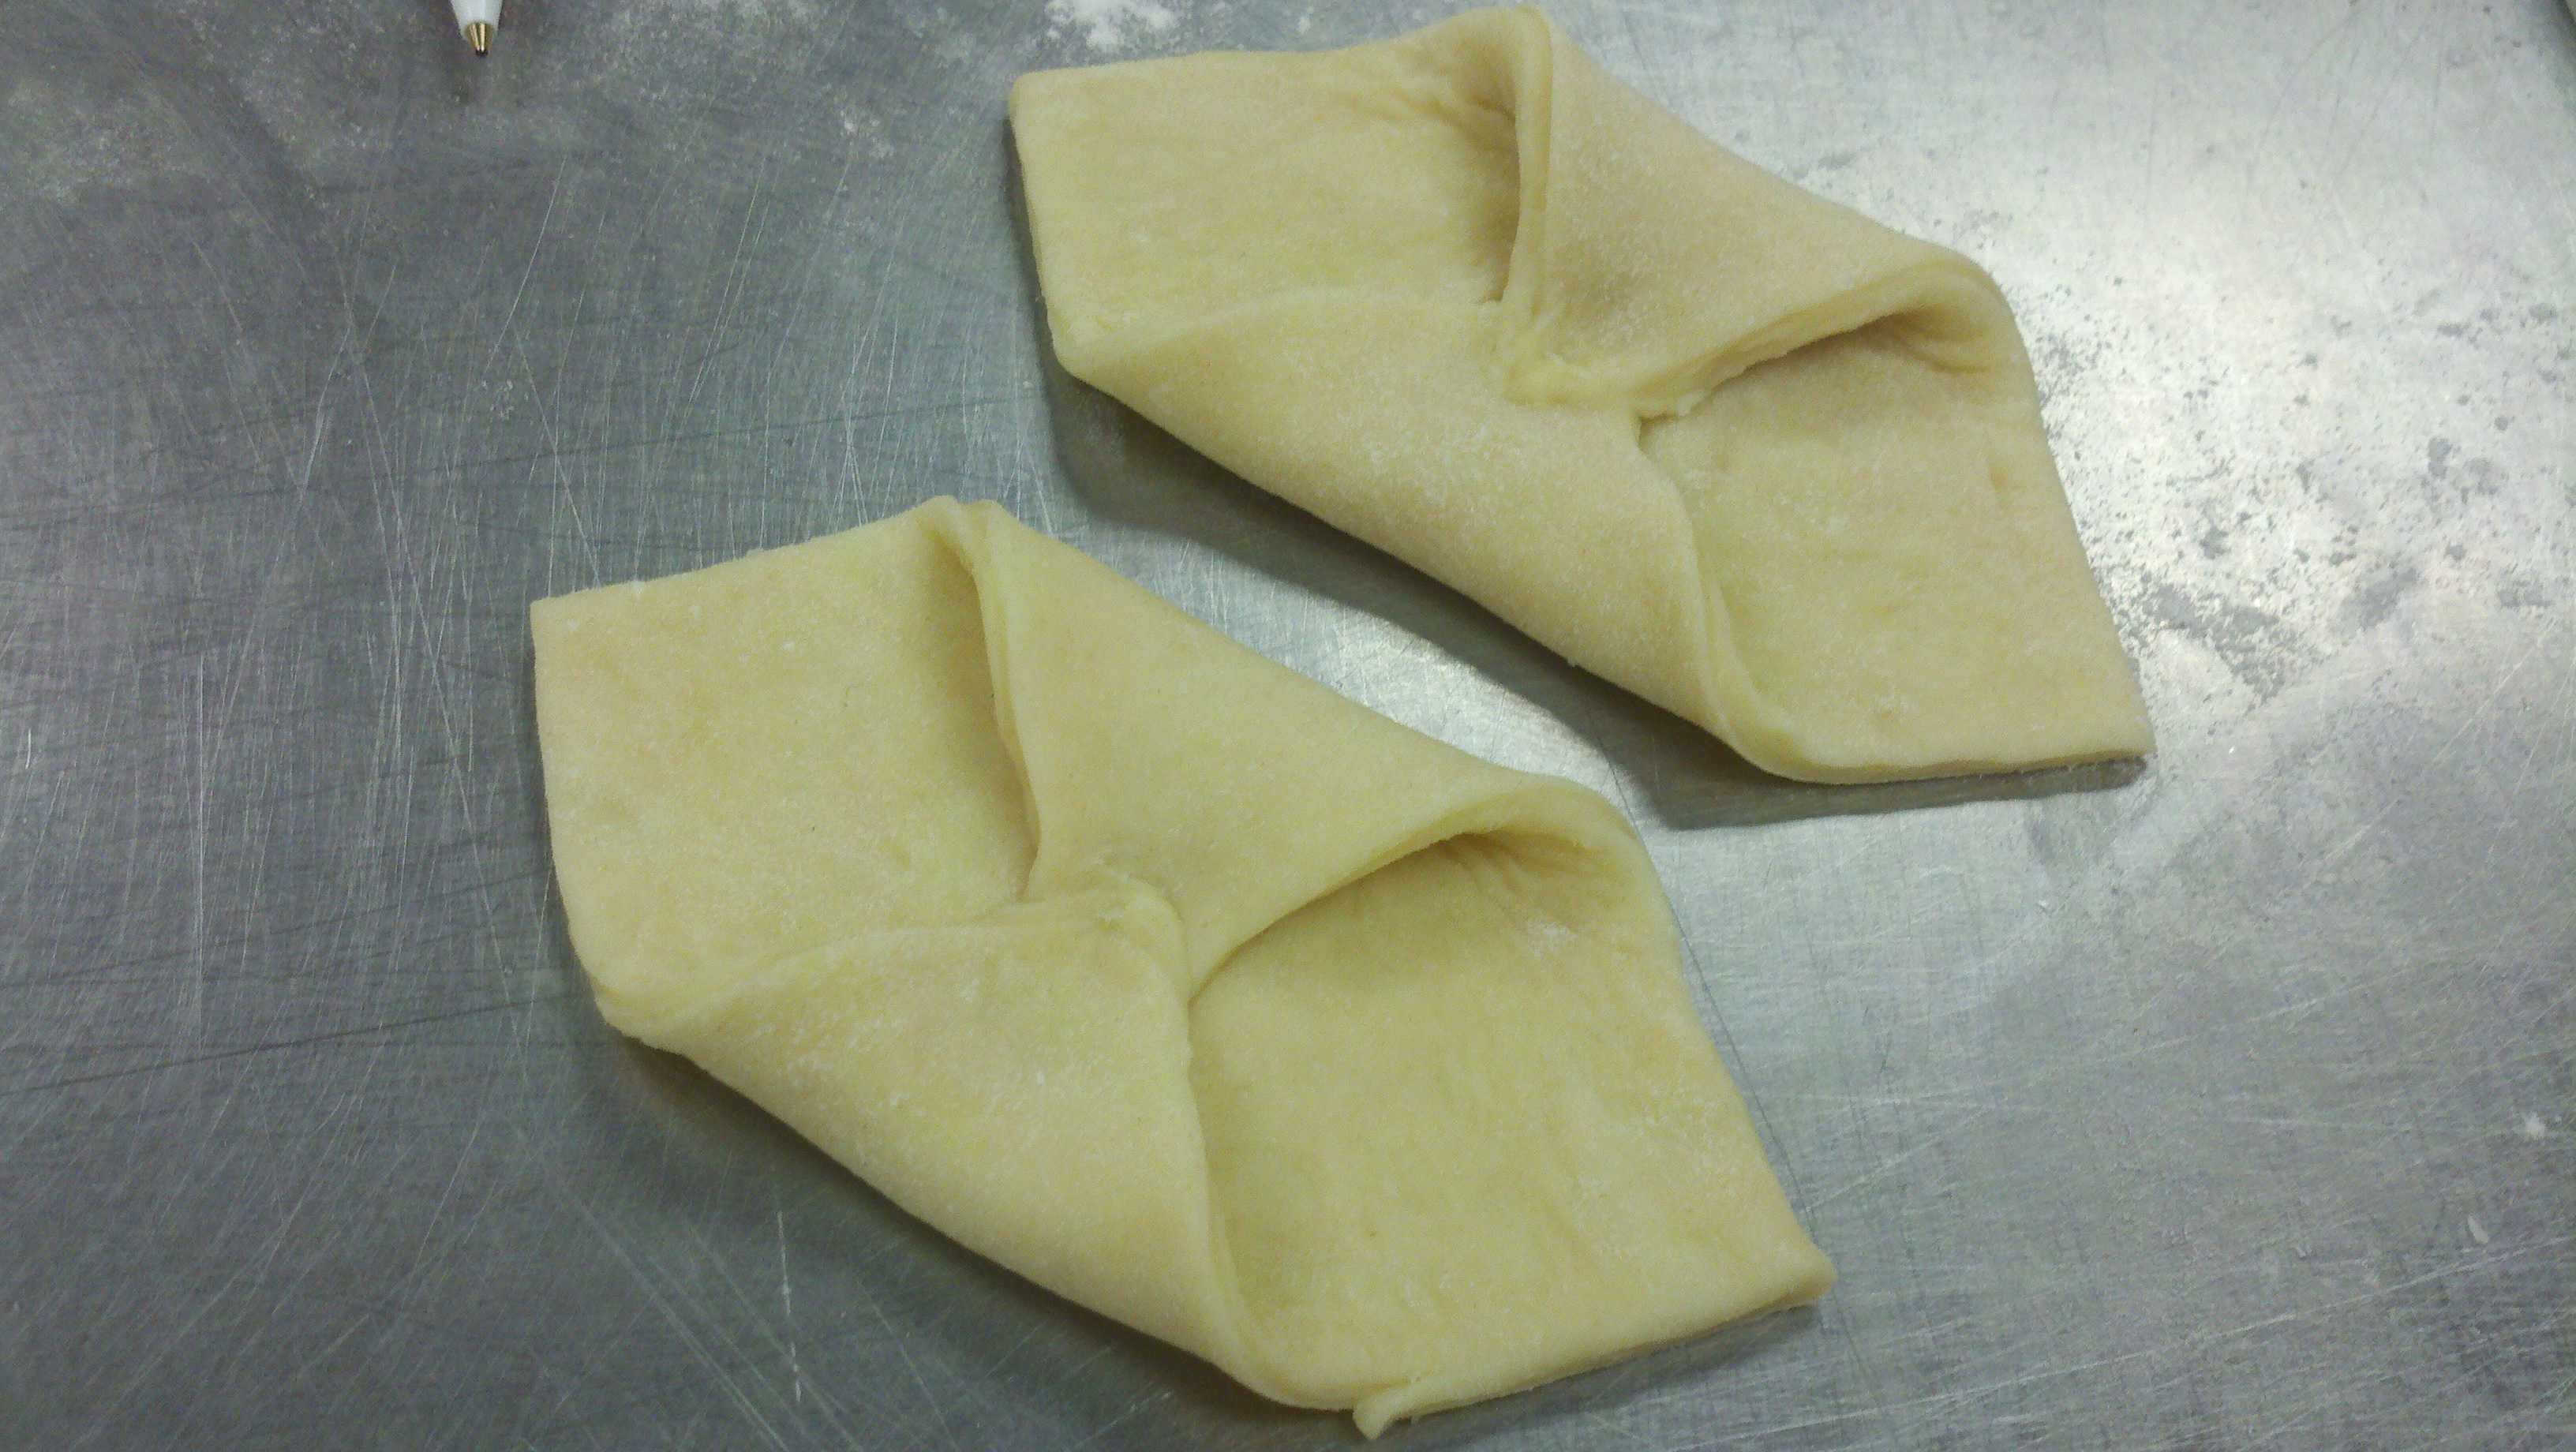 That’s it. Then it’s just the fillings. But we’ll get to those in a second, once we finish the shapes.
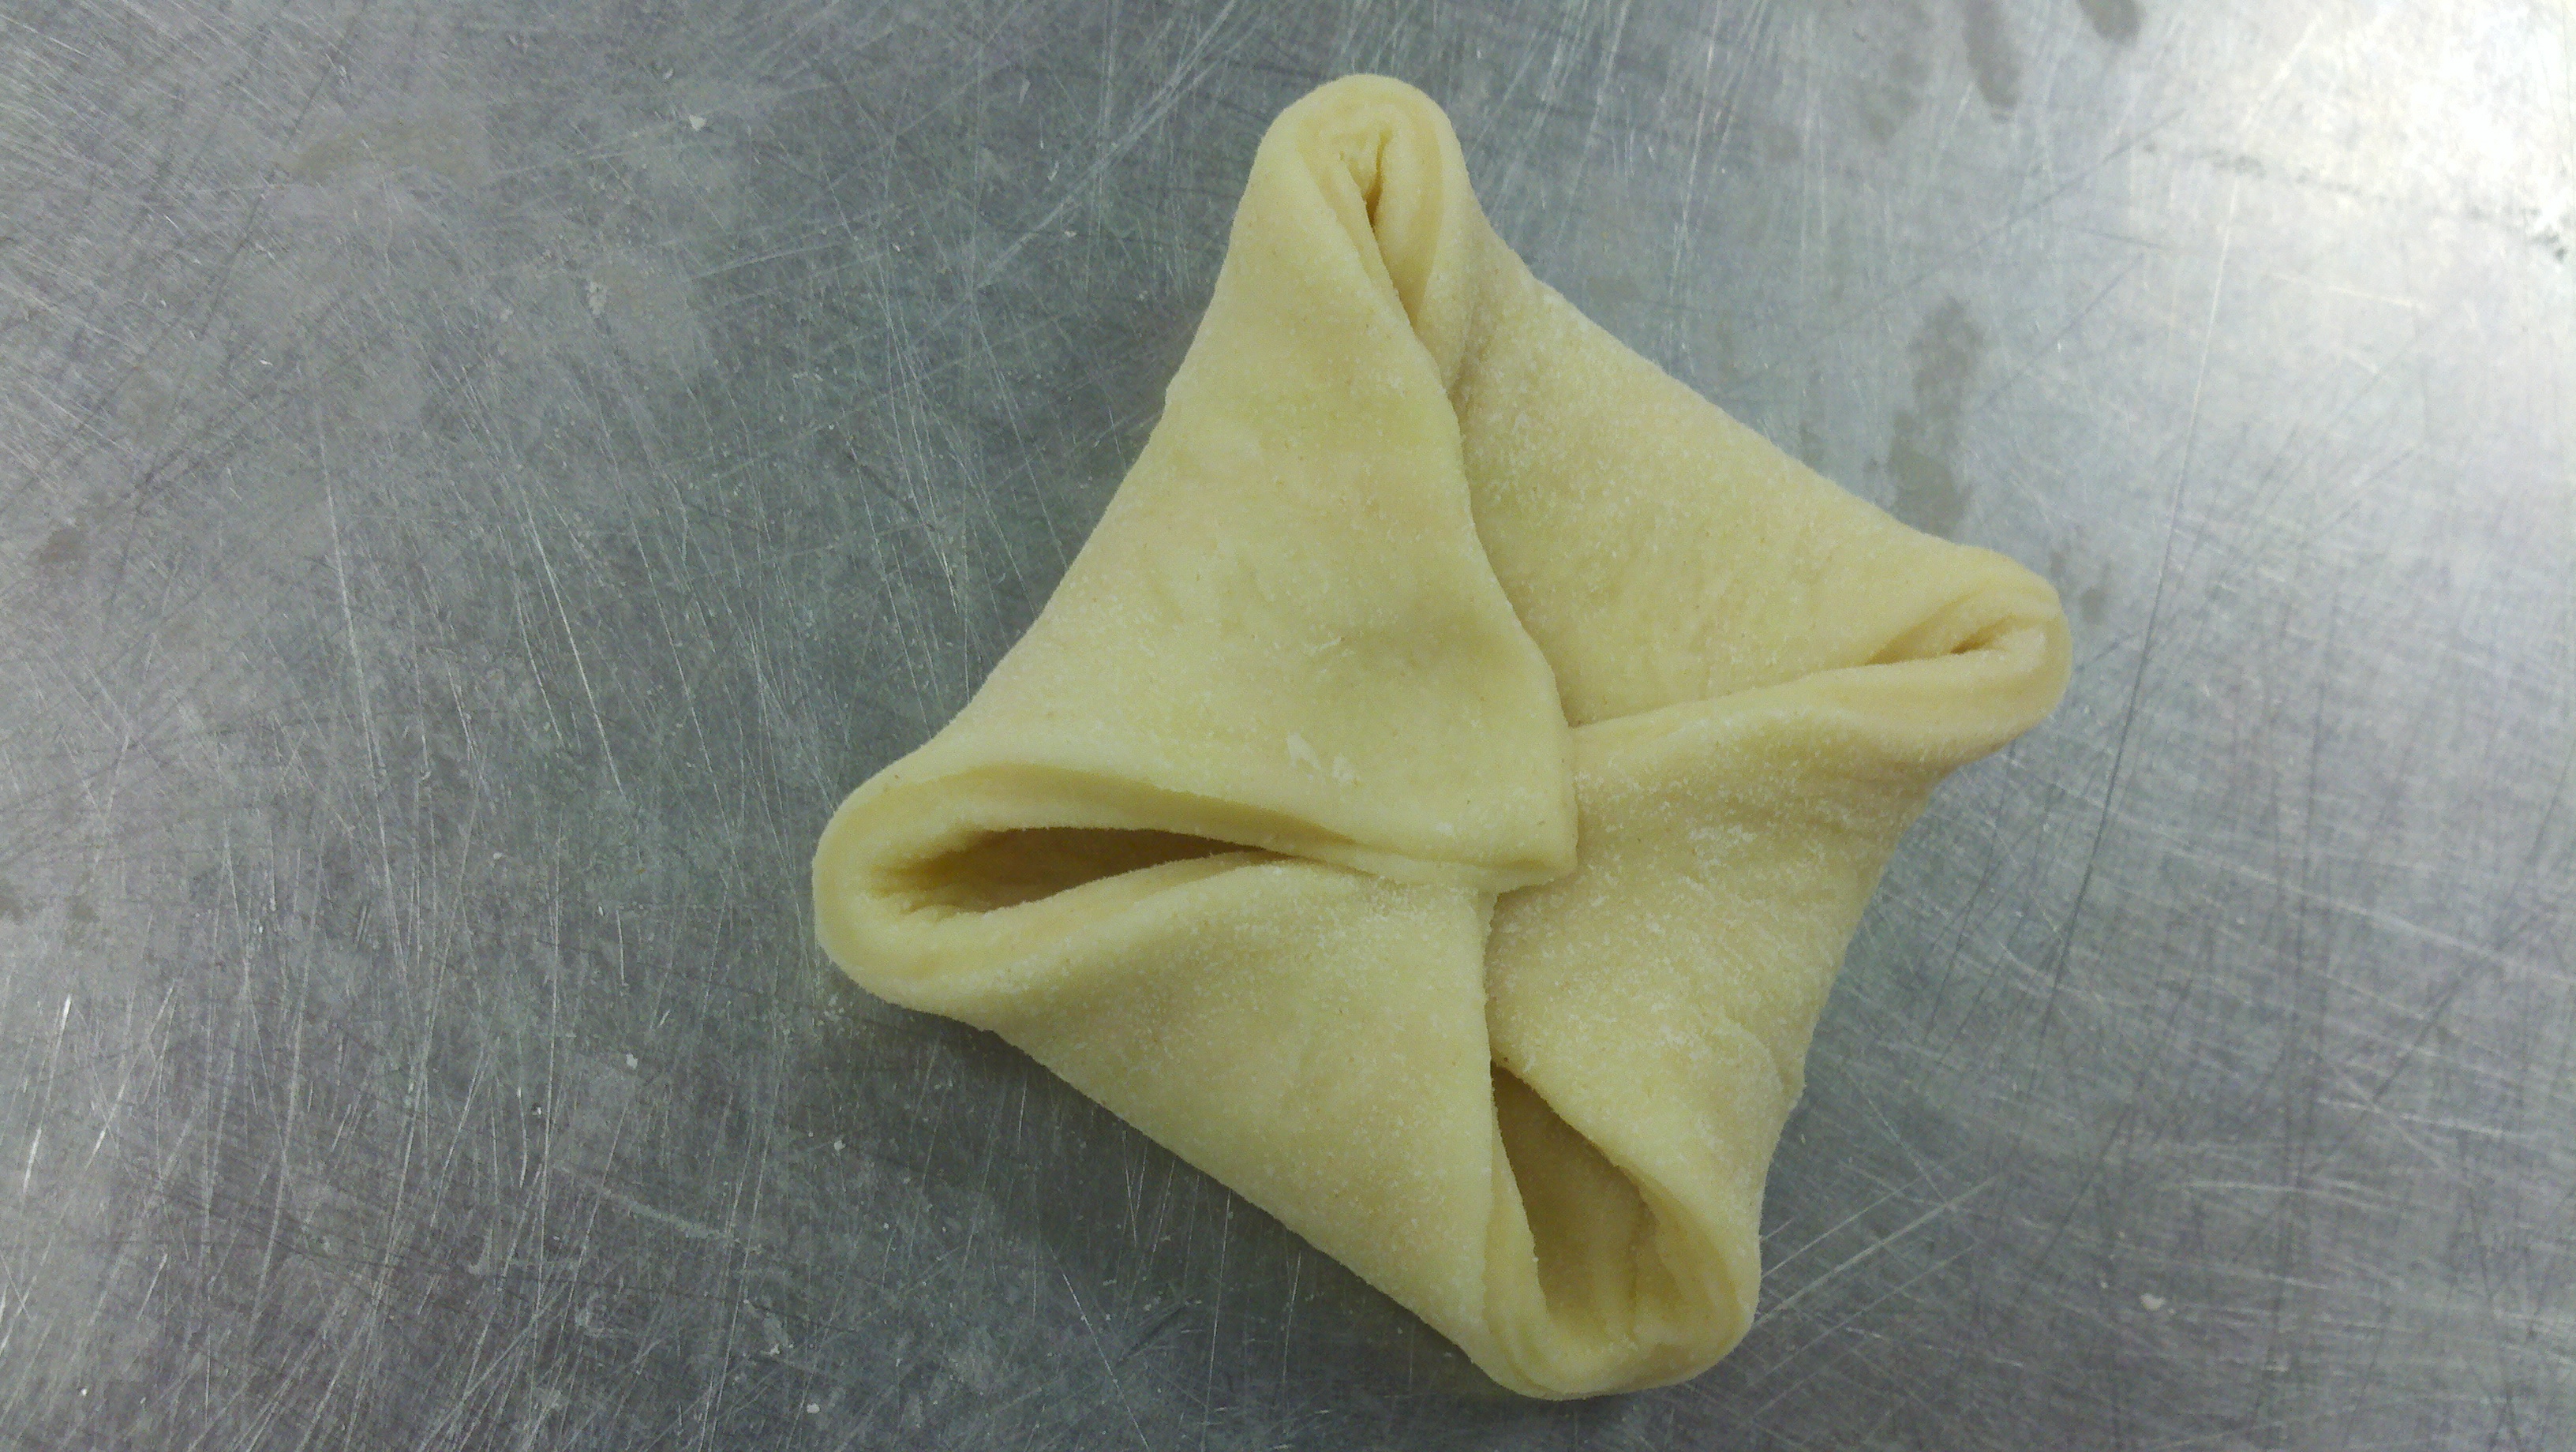
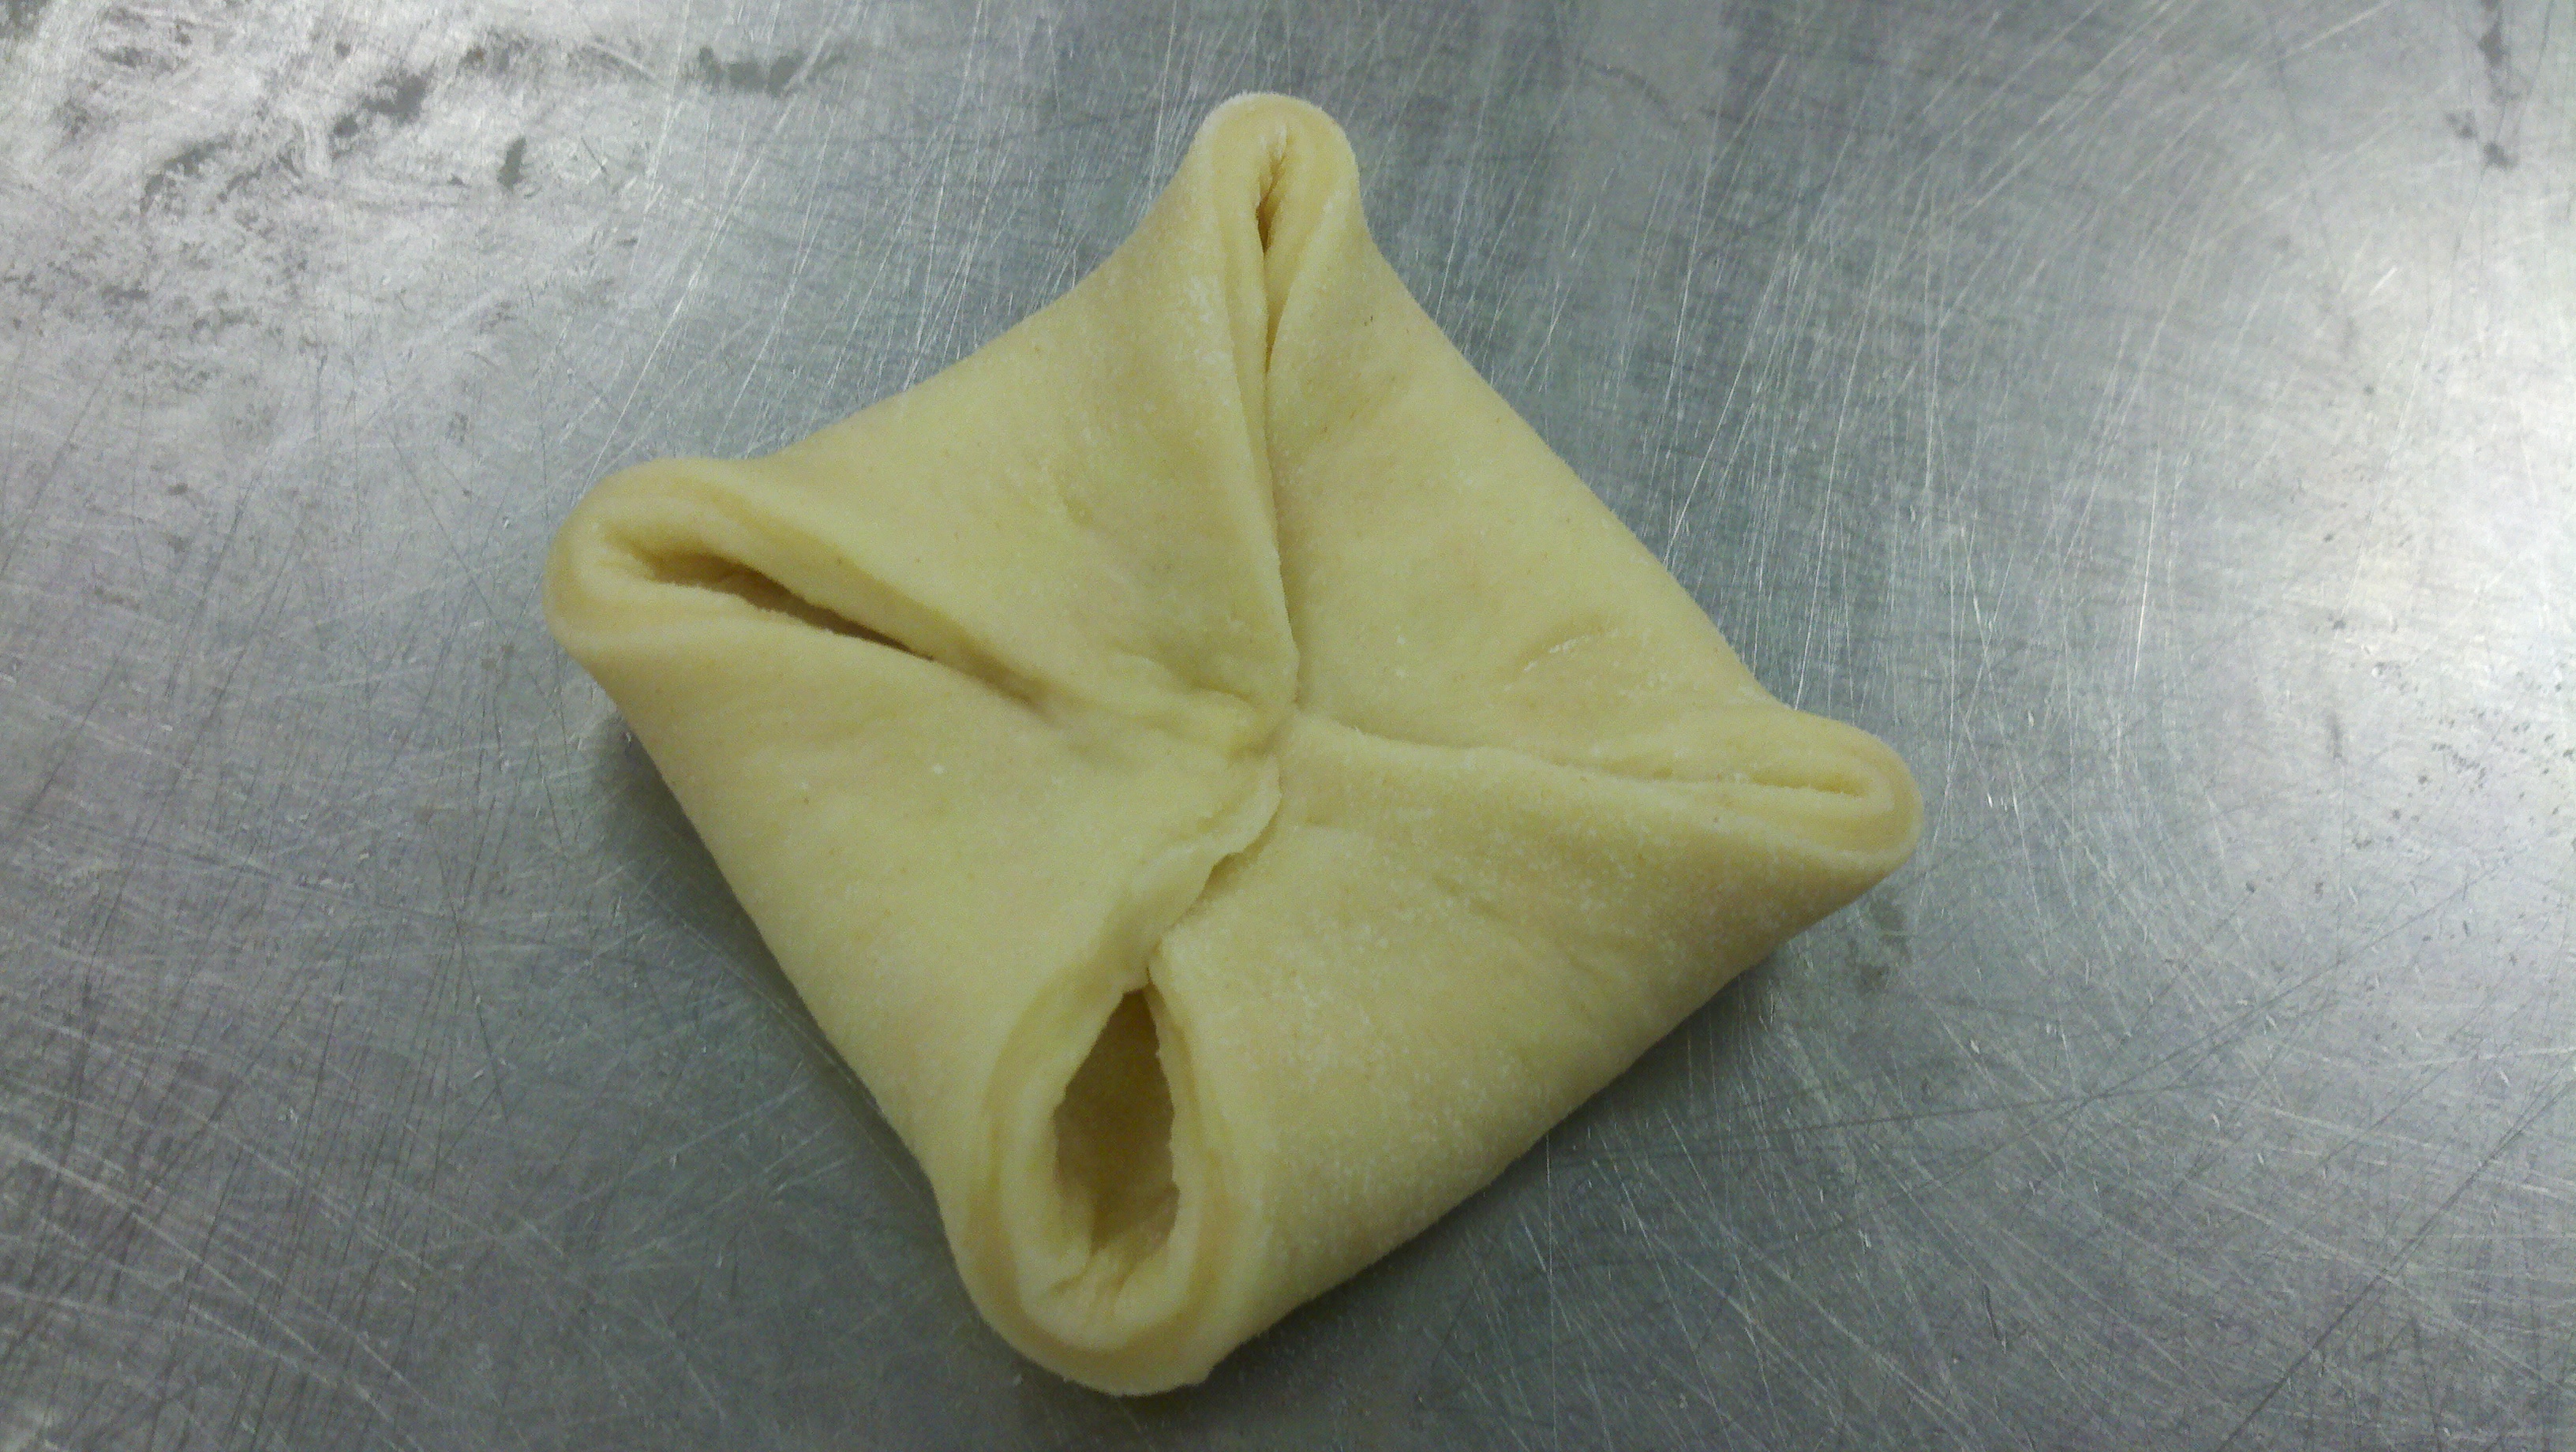
Now the basic rectangle. Starting with a square, you fold one corner at a time towards the center, so they meet, and you press down on that meeting-of-the-points.
Yes! You noticed that I skipped the third fold. I did it because you are so bright, and so attentive, that I just knew you could figure out the third fold, and I could skip right to the fourth fold. But there is one last step here: the nice firm push down on the spot where the four points meet:
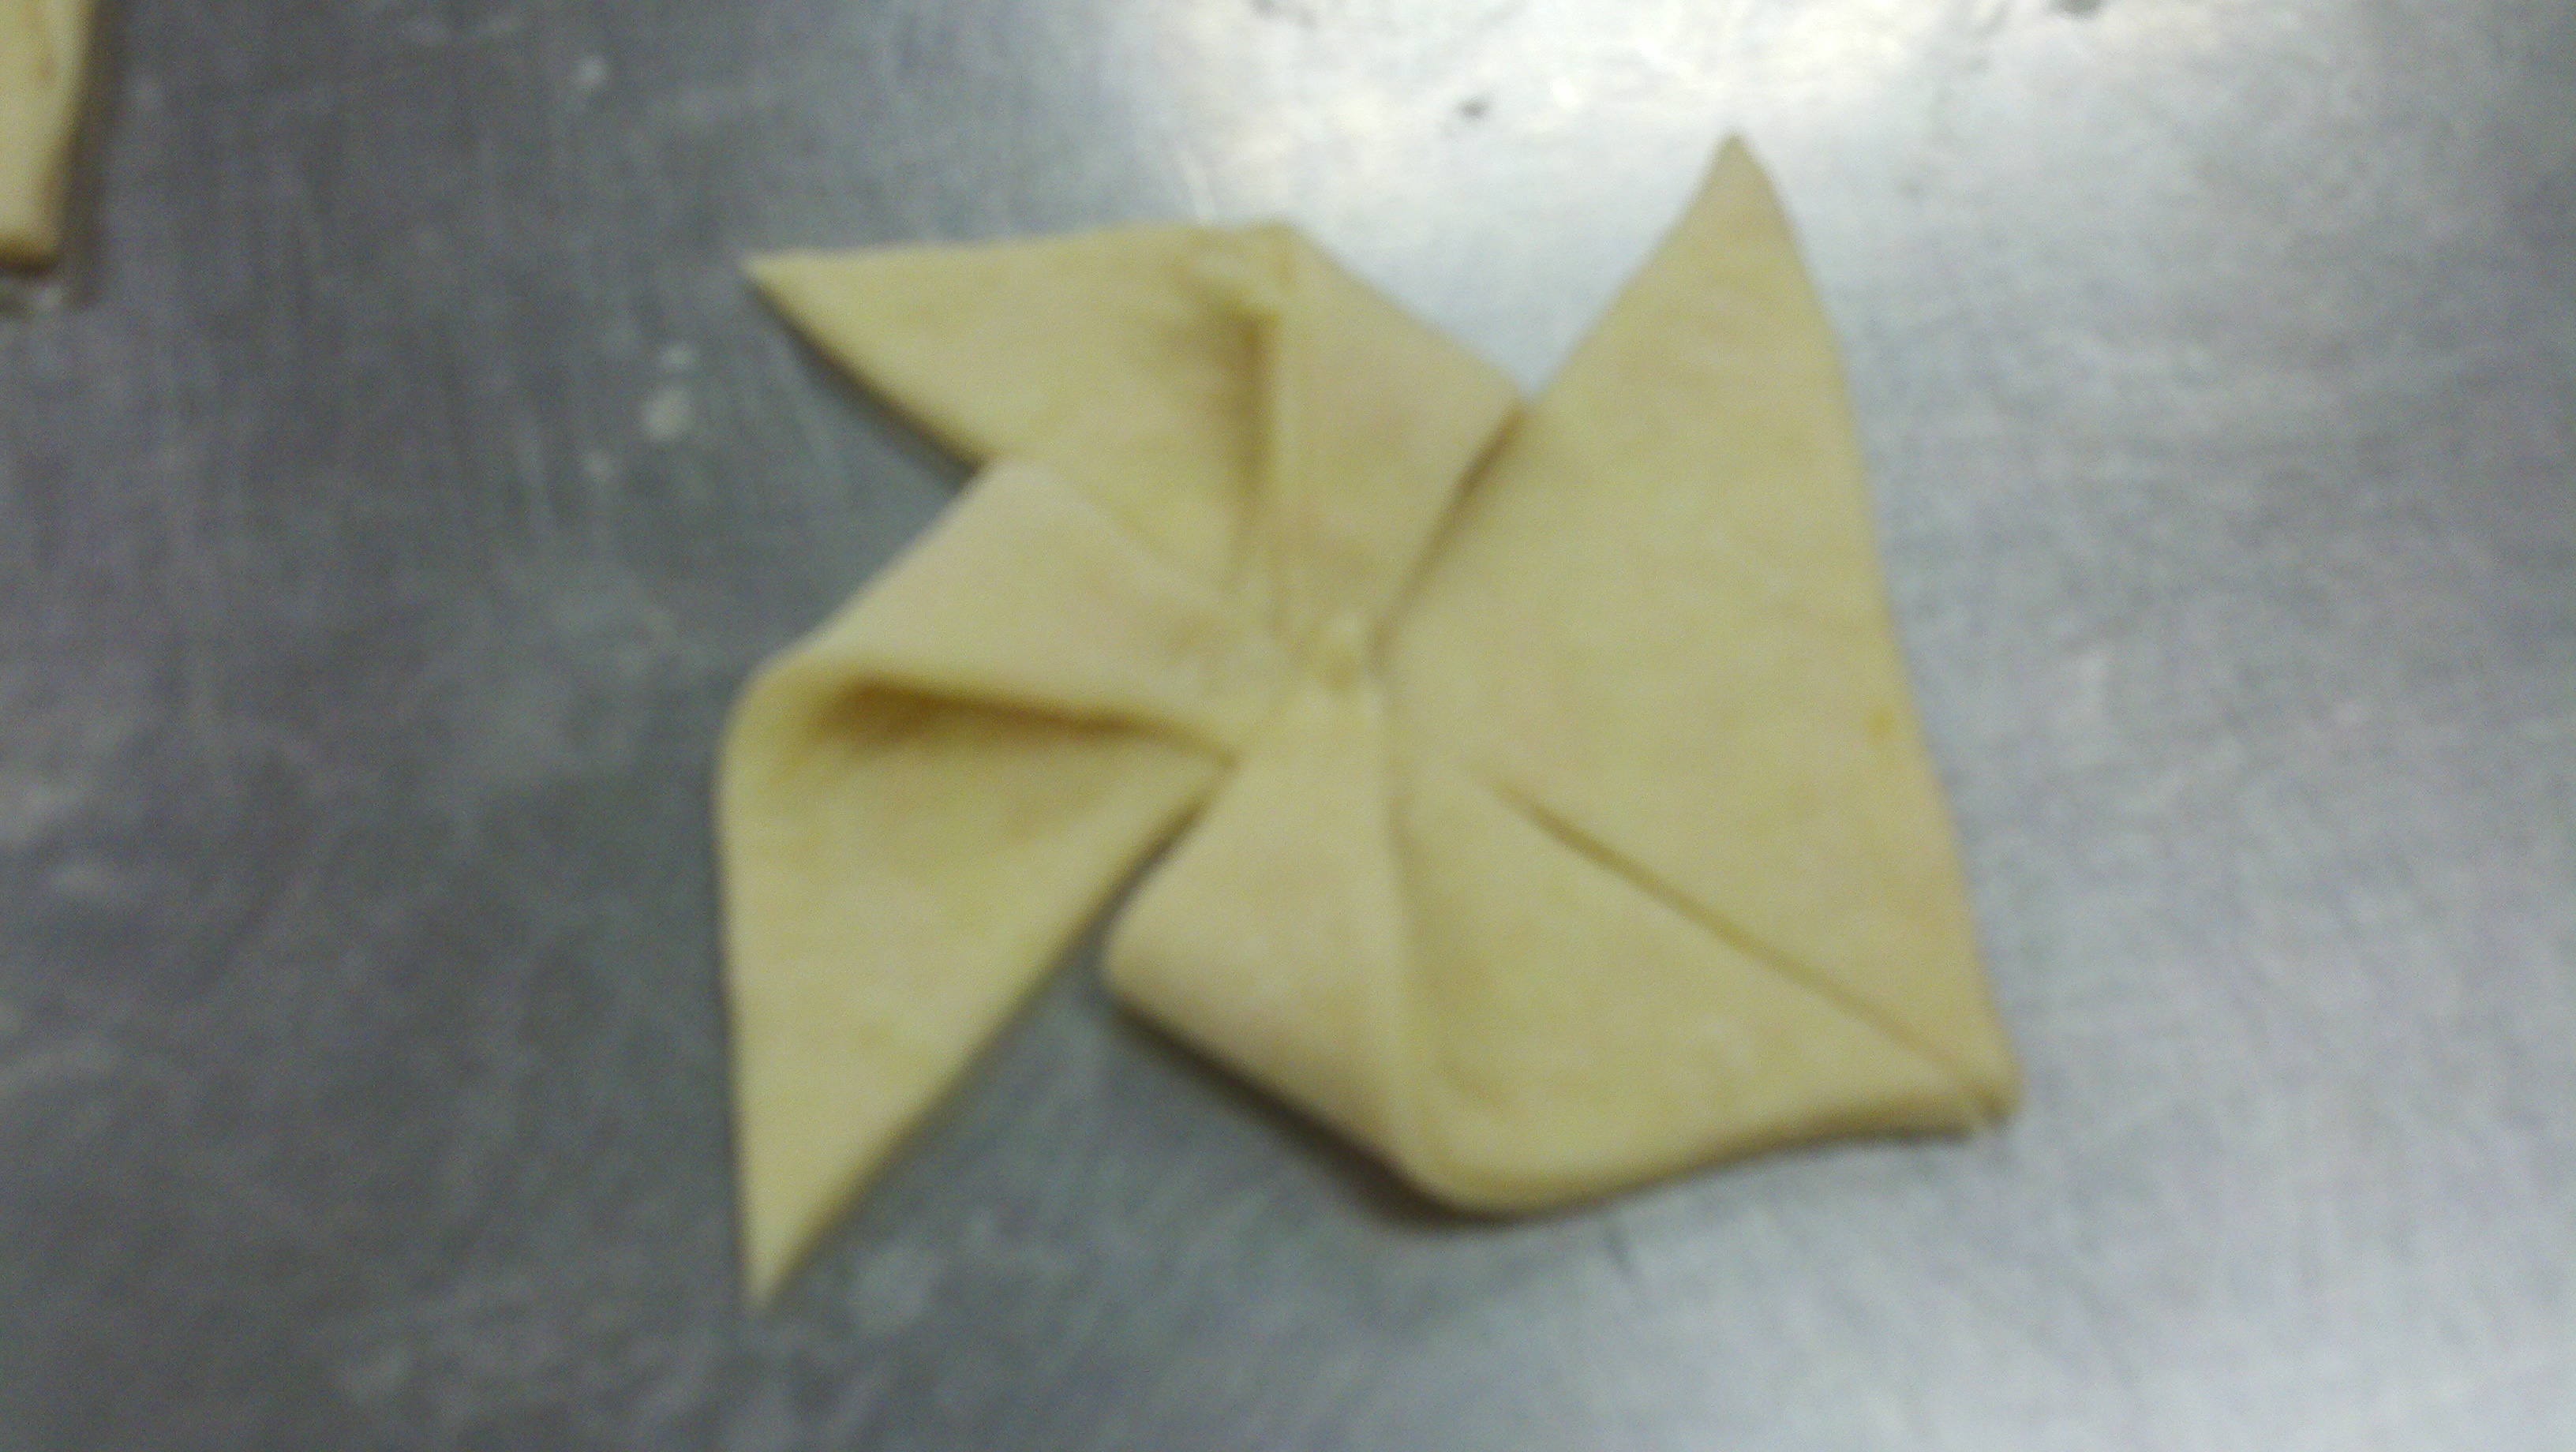
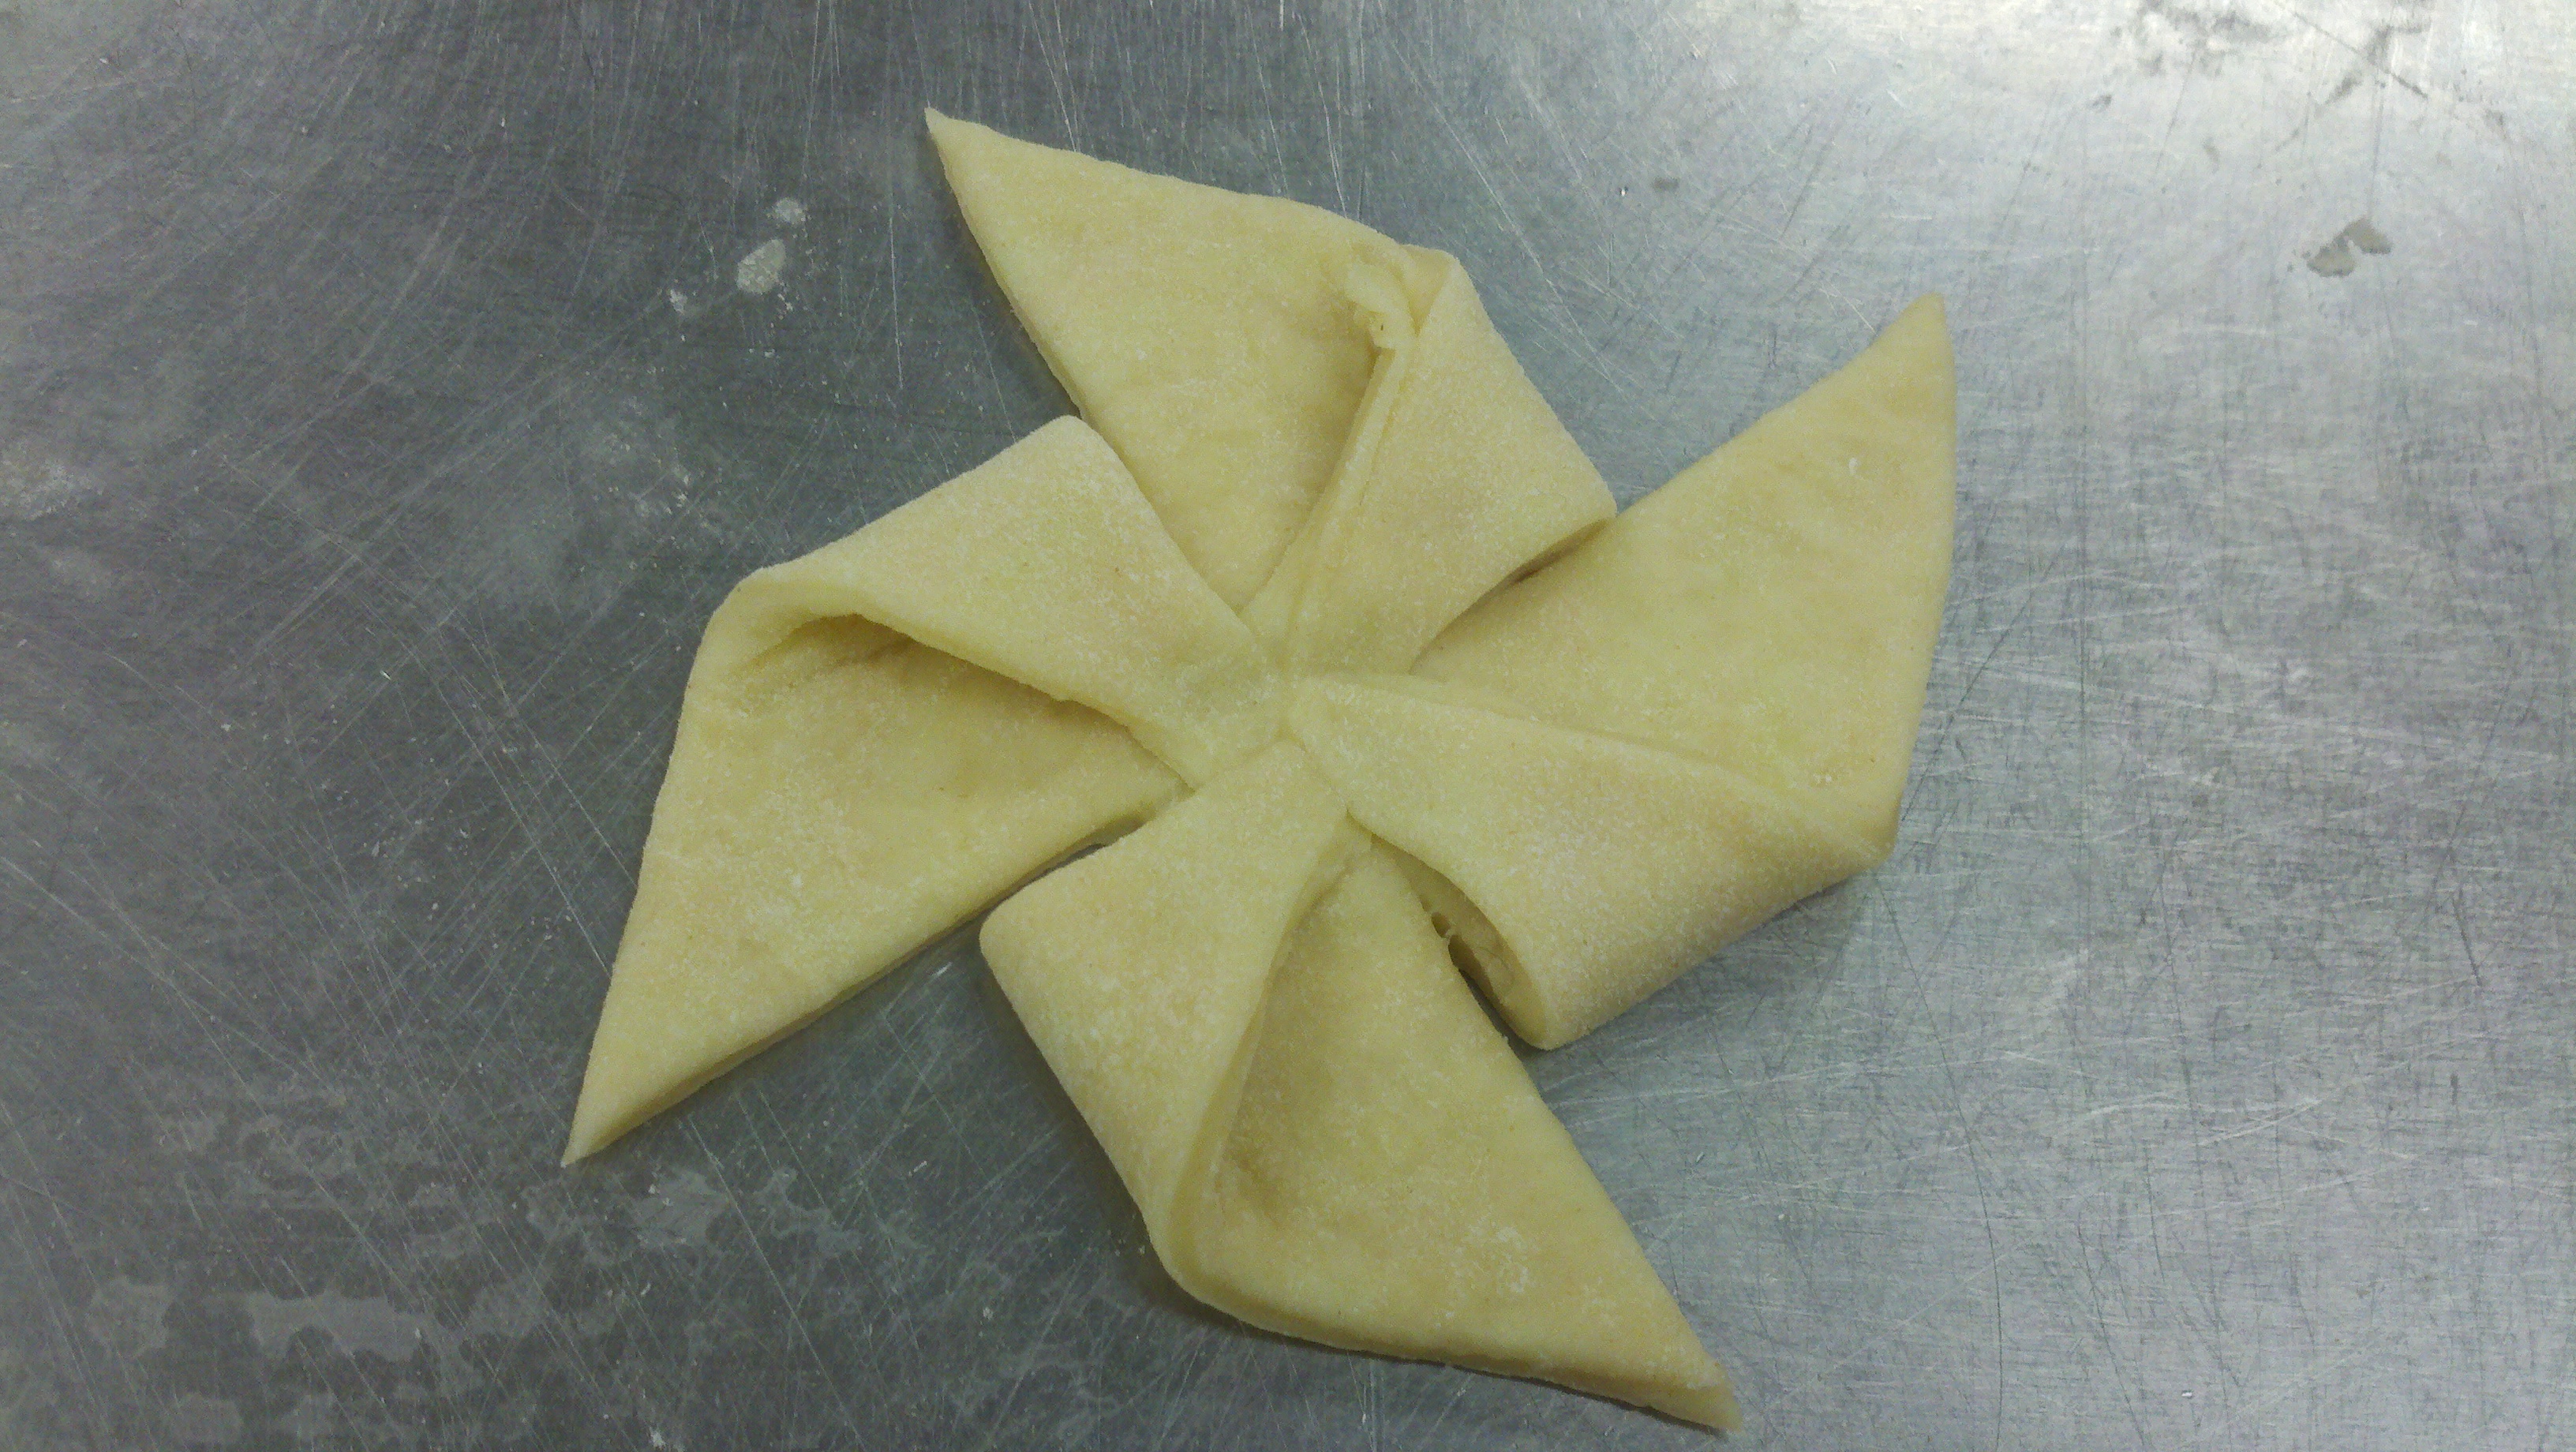
 Now we get to the pinwheel, which is slightly trickier, and more fun. You start by cutting each corner of the square almost to the center:
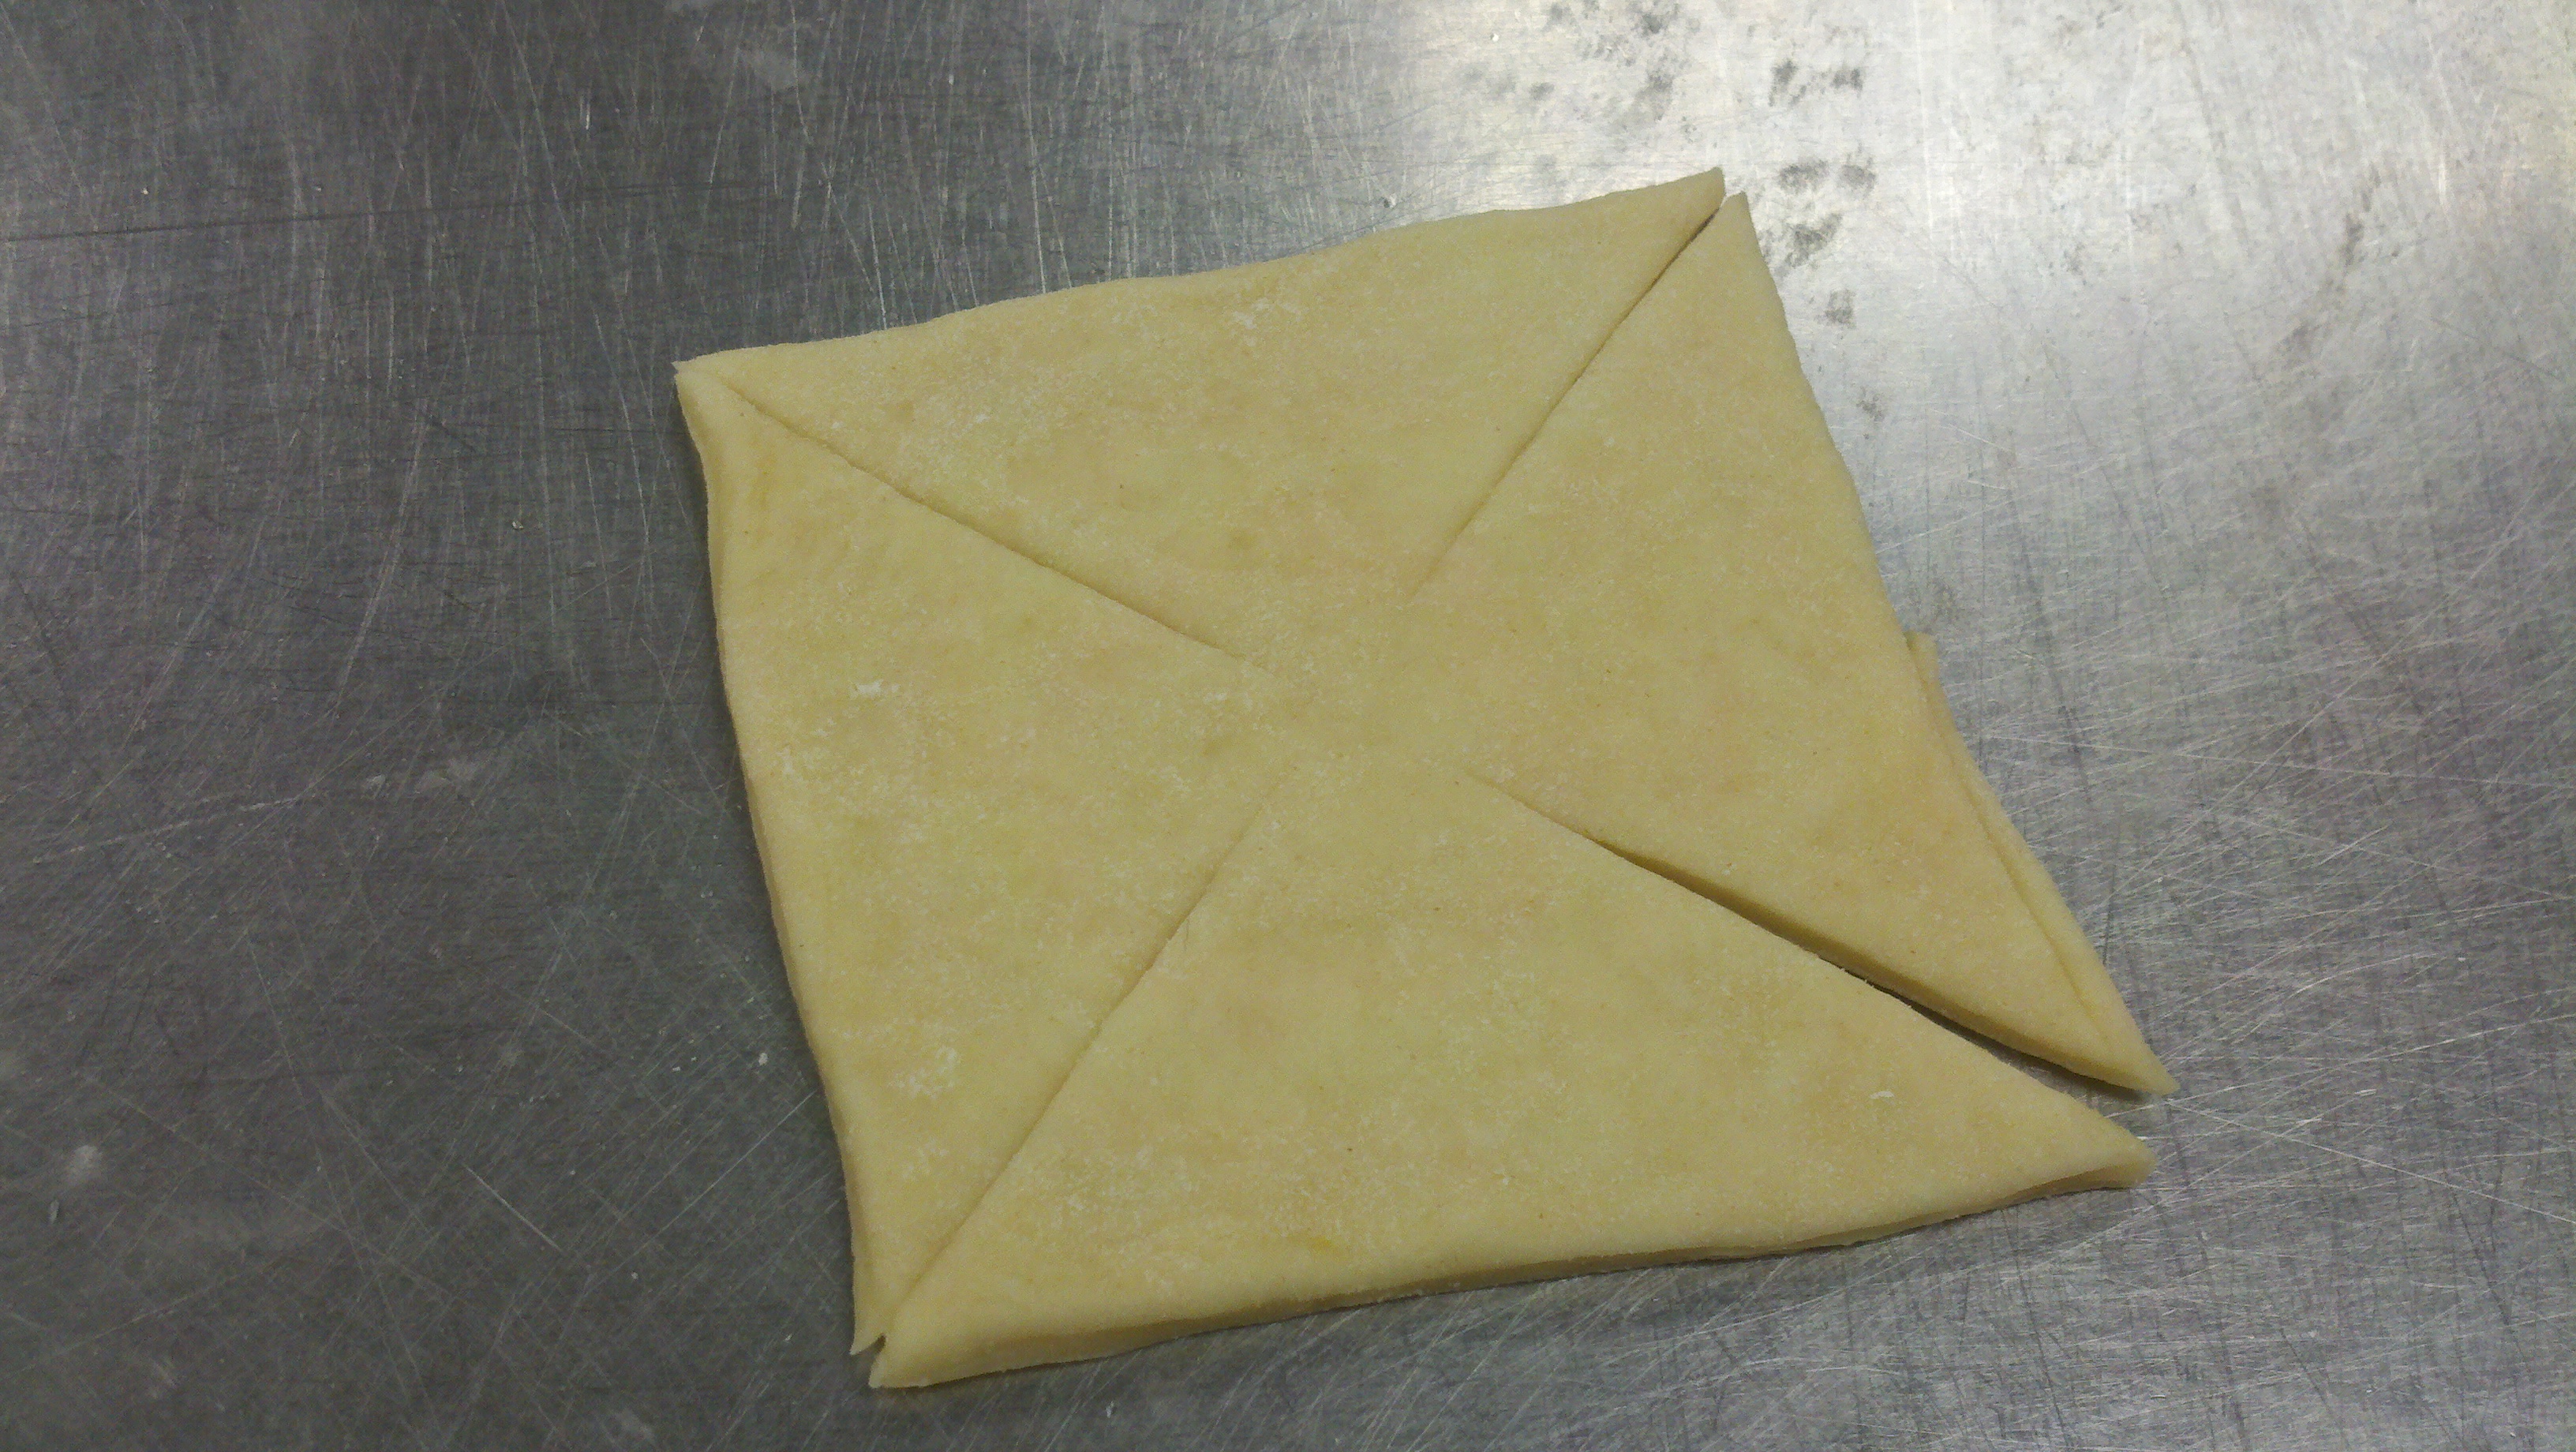 Then you fold one corner in to the center:
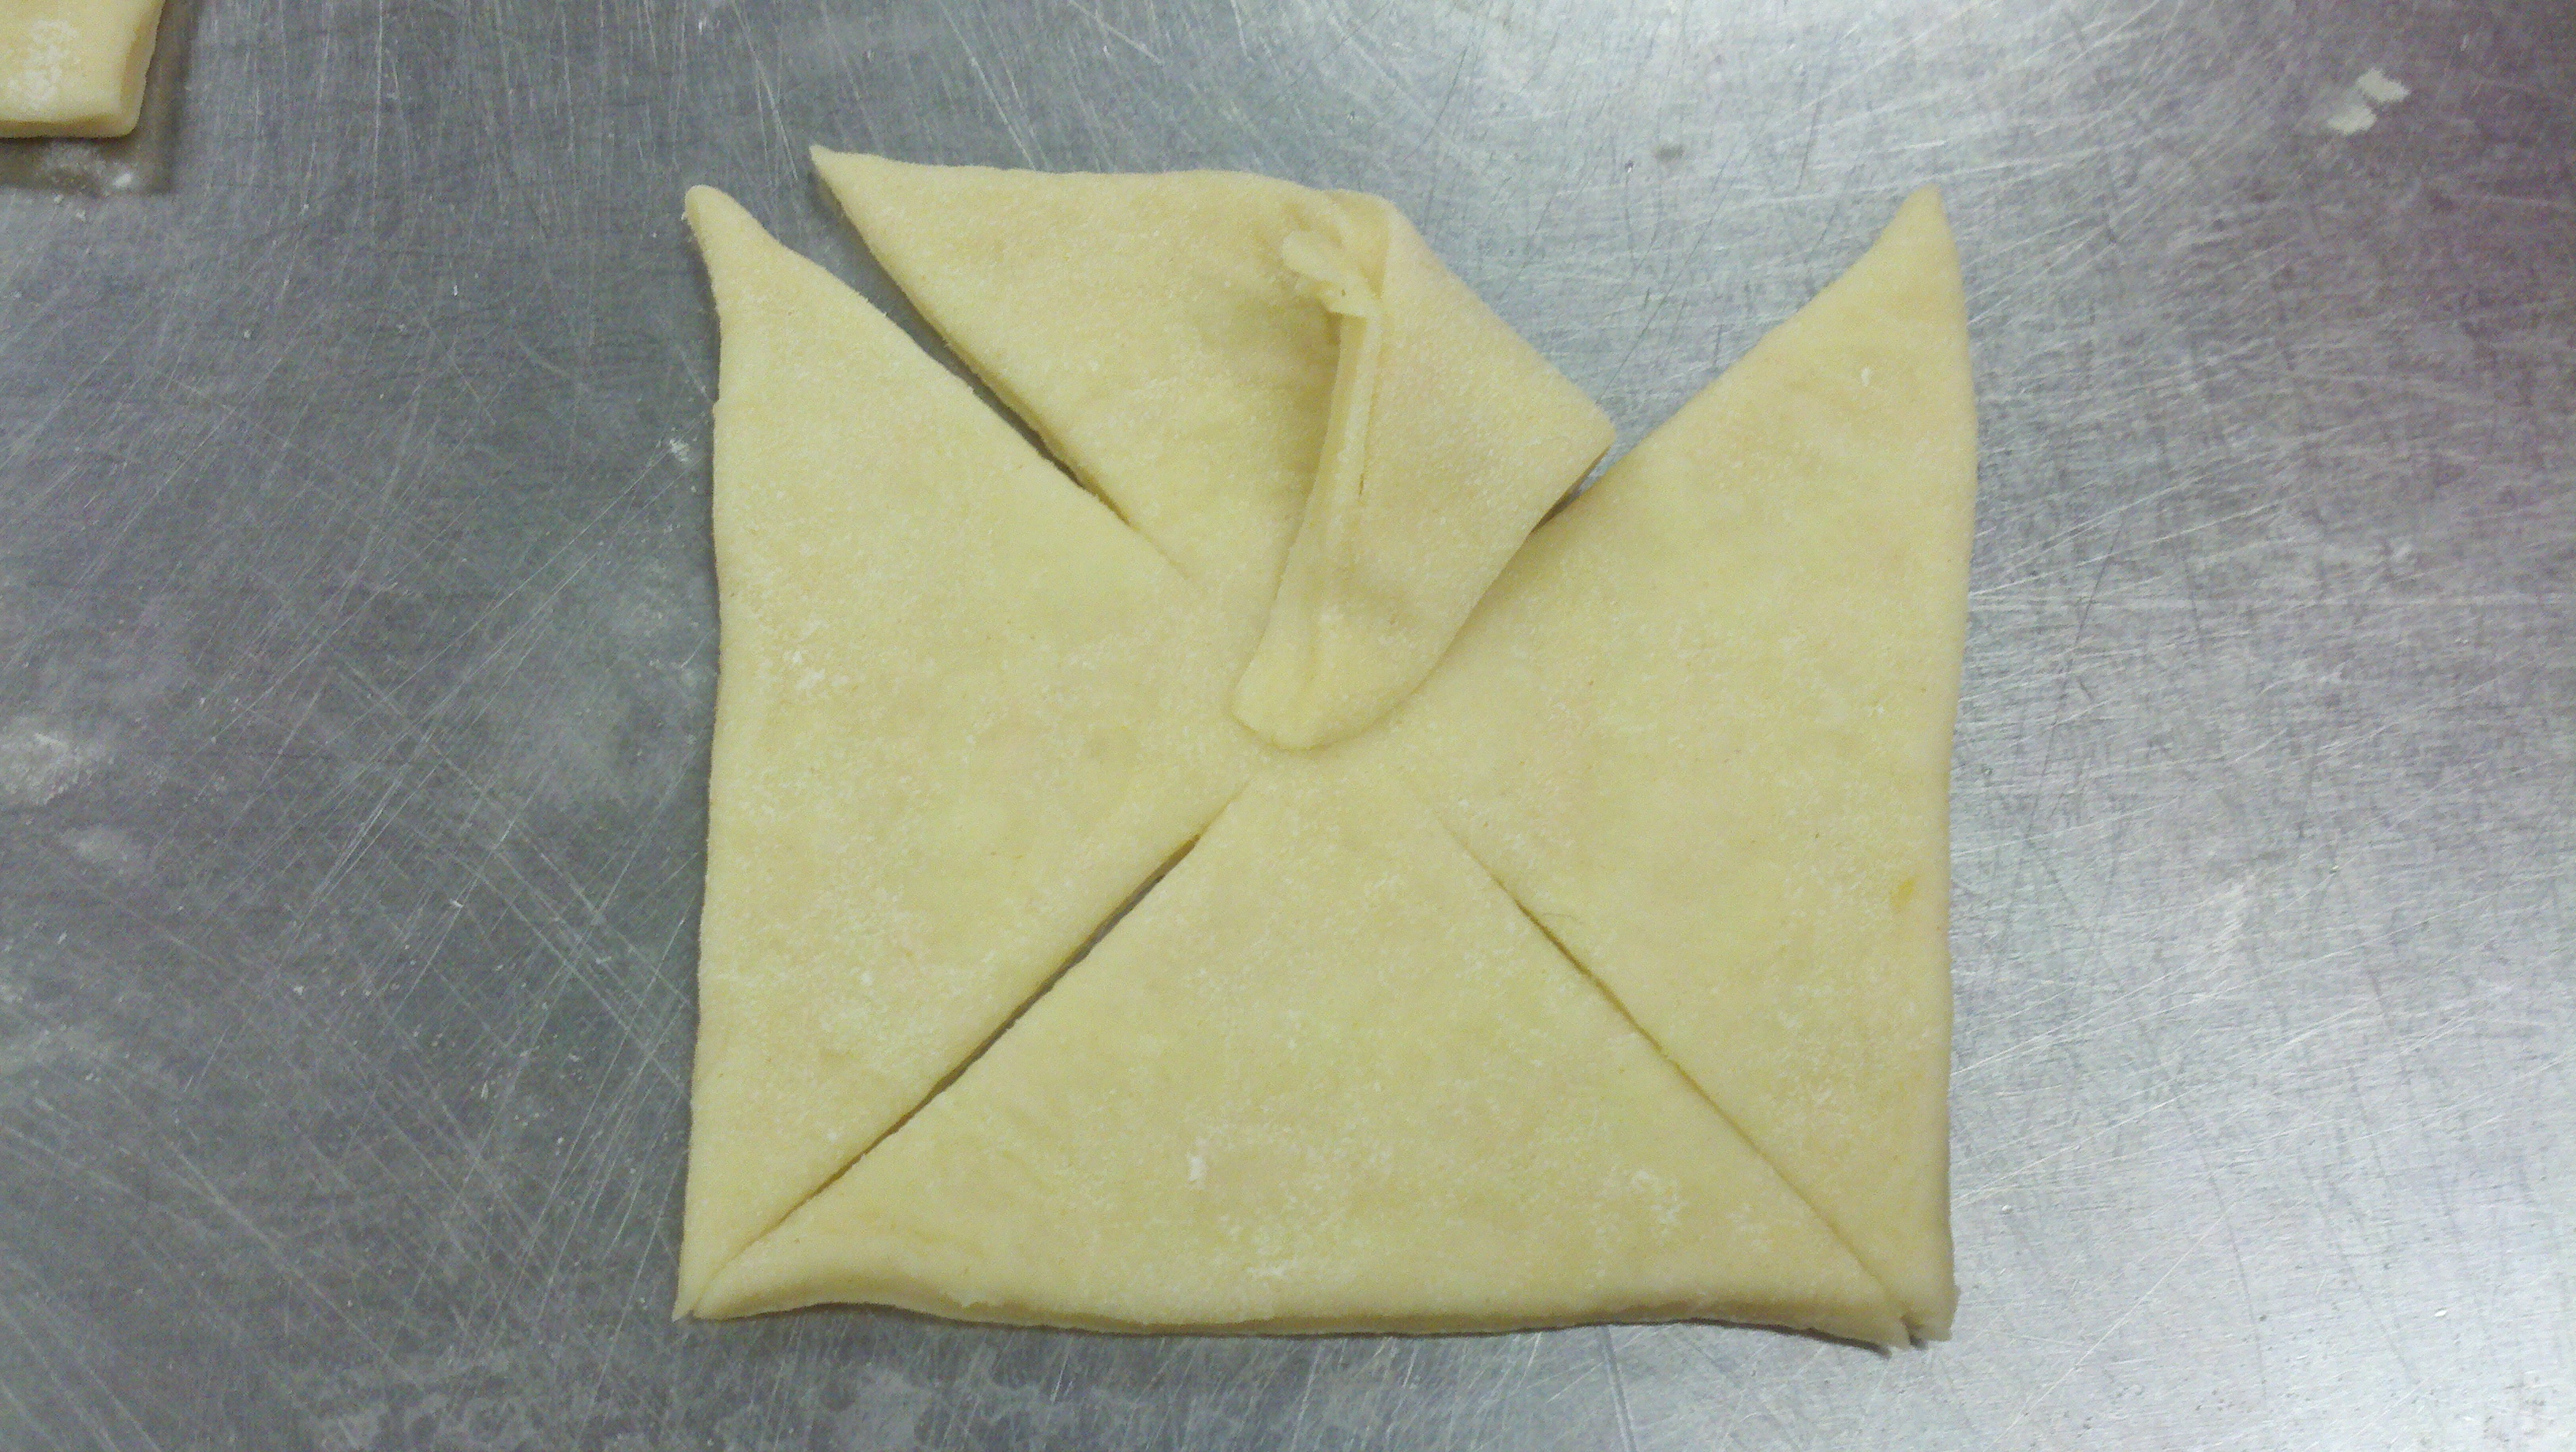 Then you fold the same corner of the NEXT section in to the center:
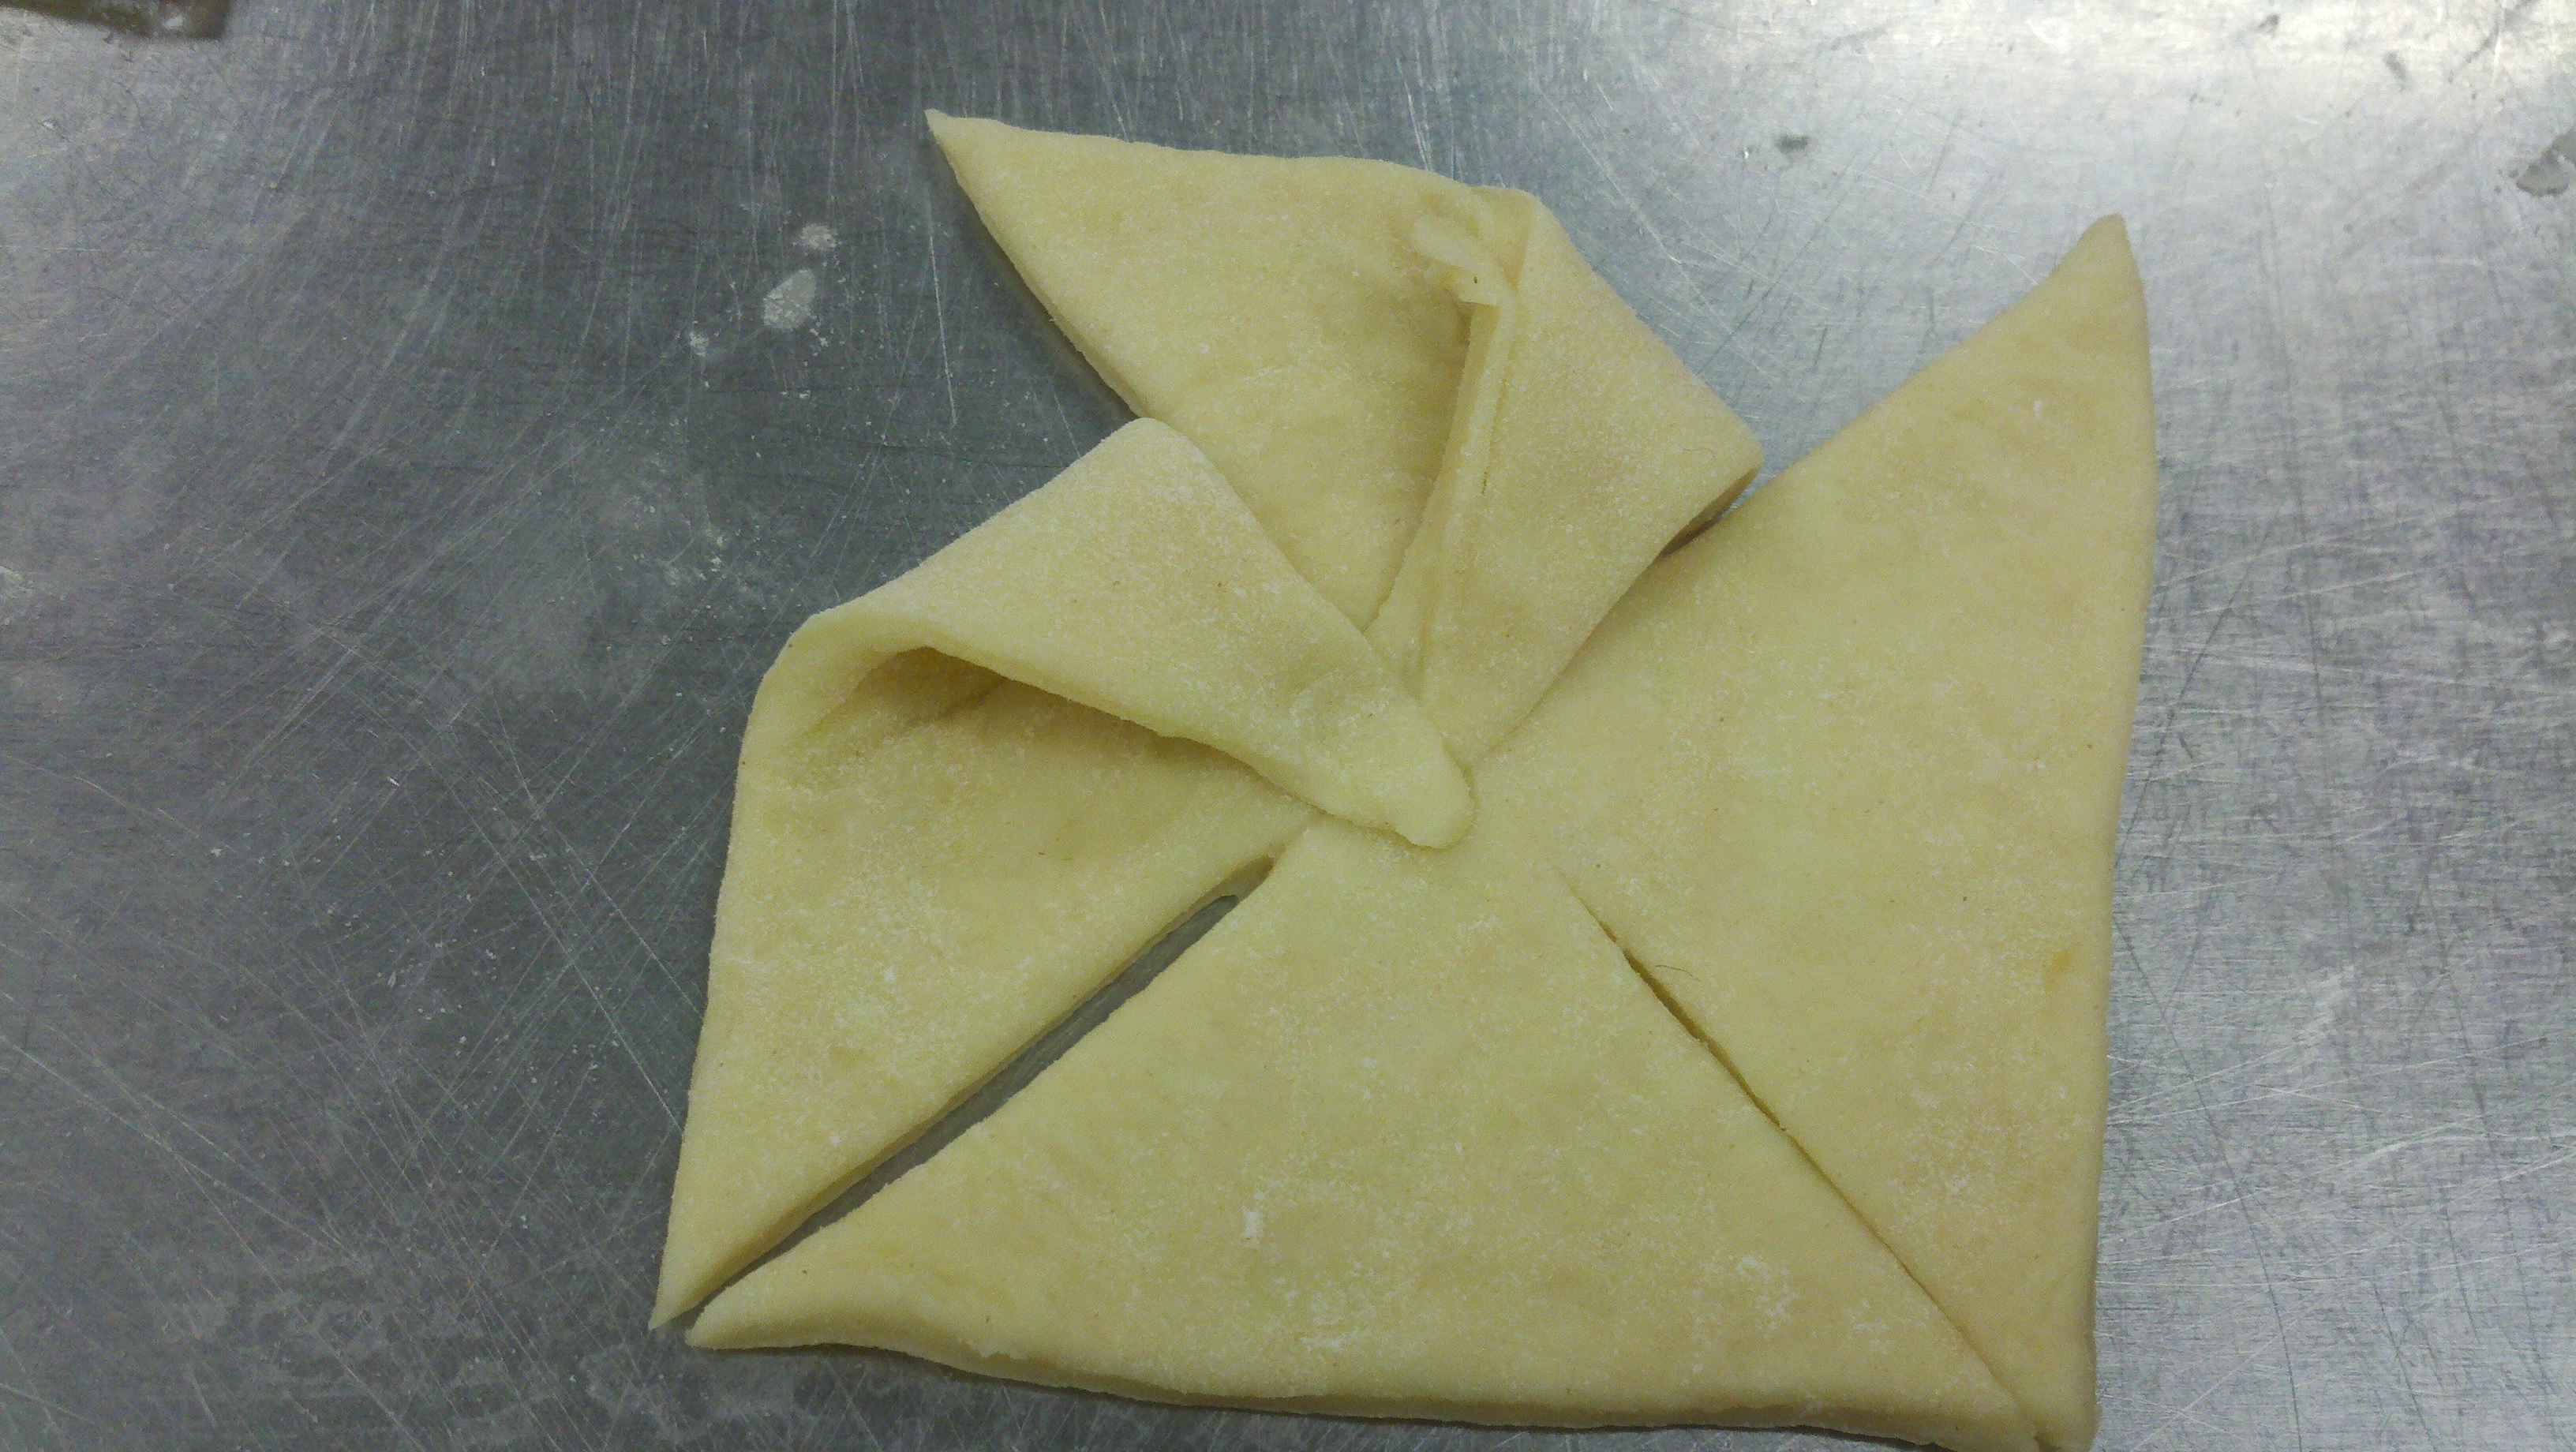 And do the same again with the next section’s corner:
And bring the fourth corner in:
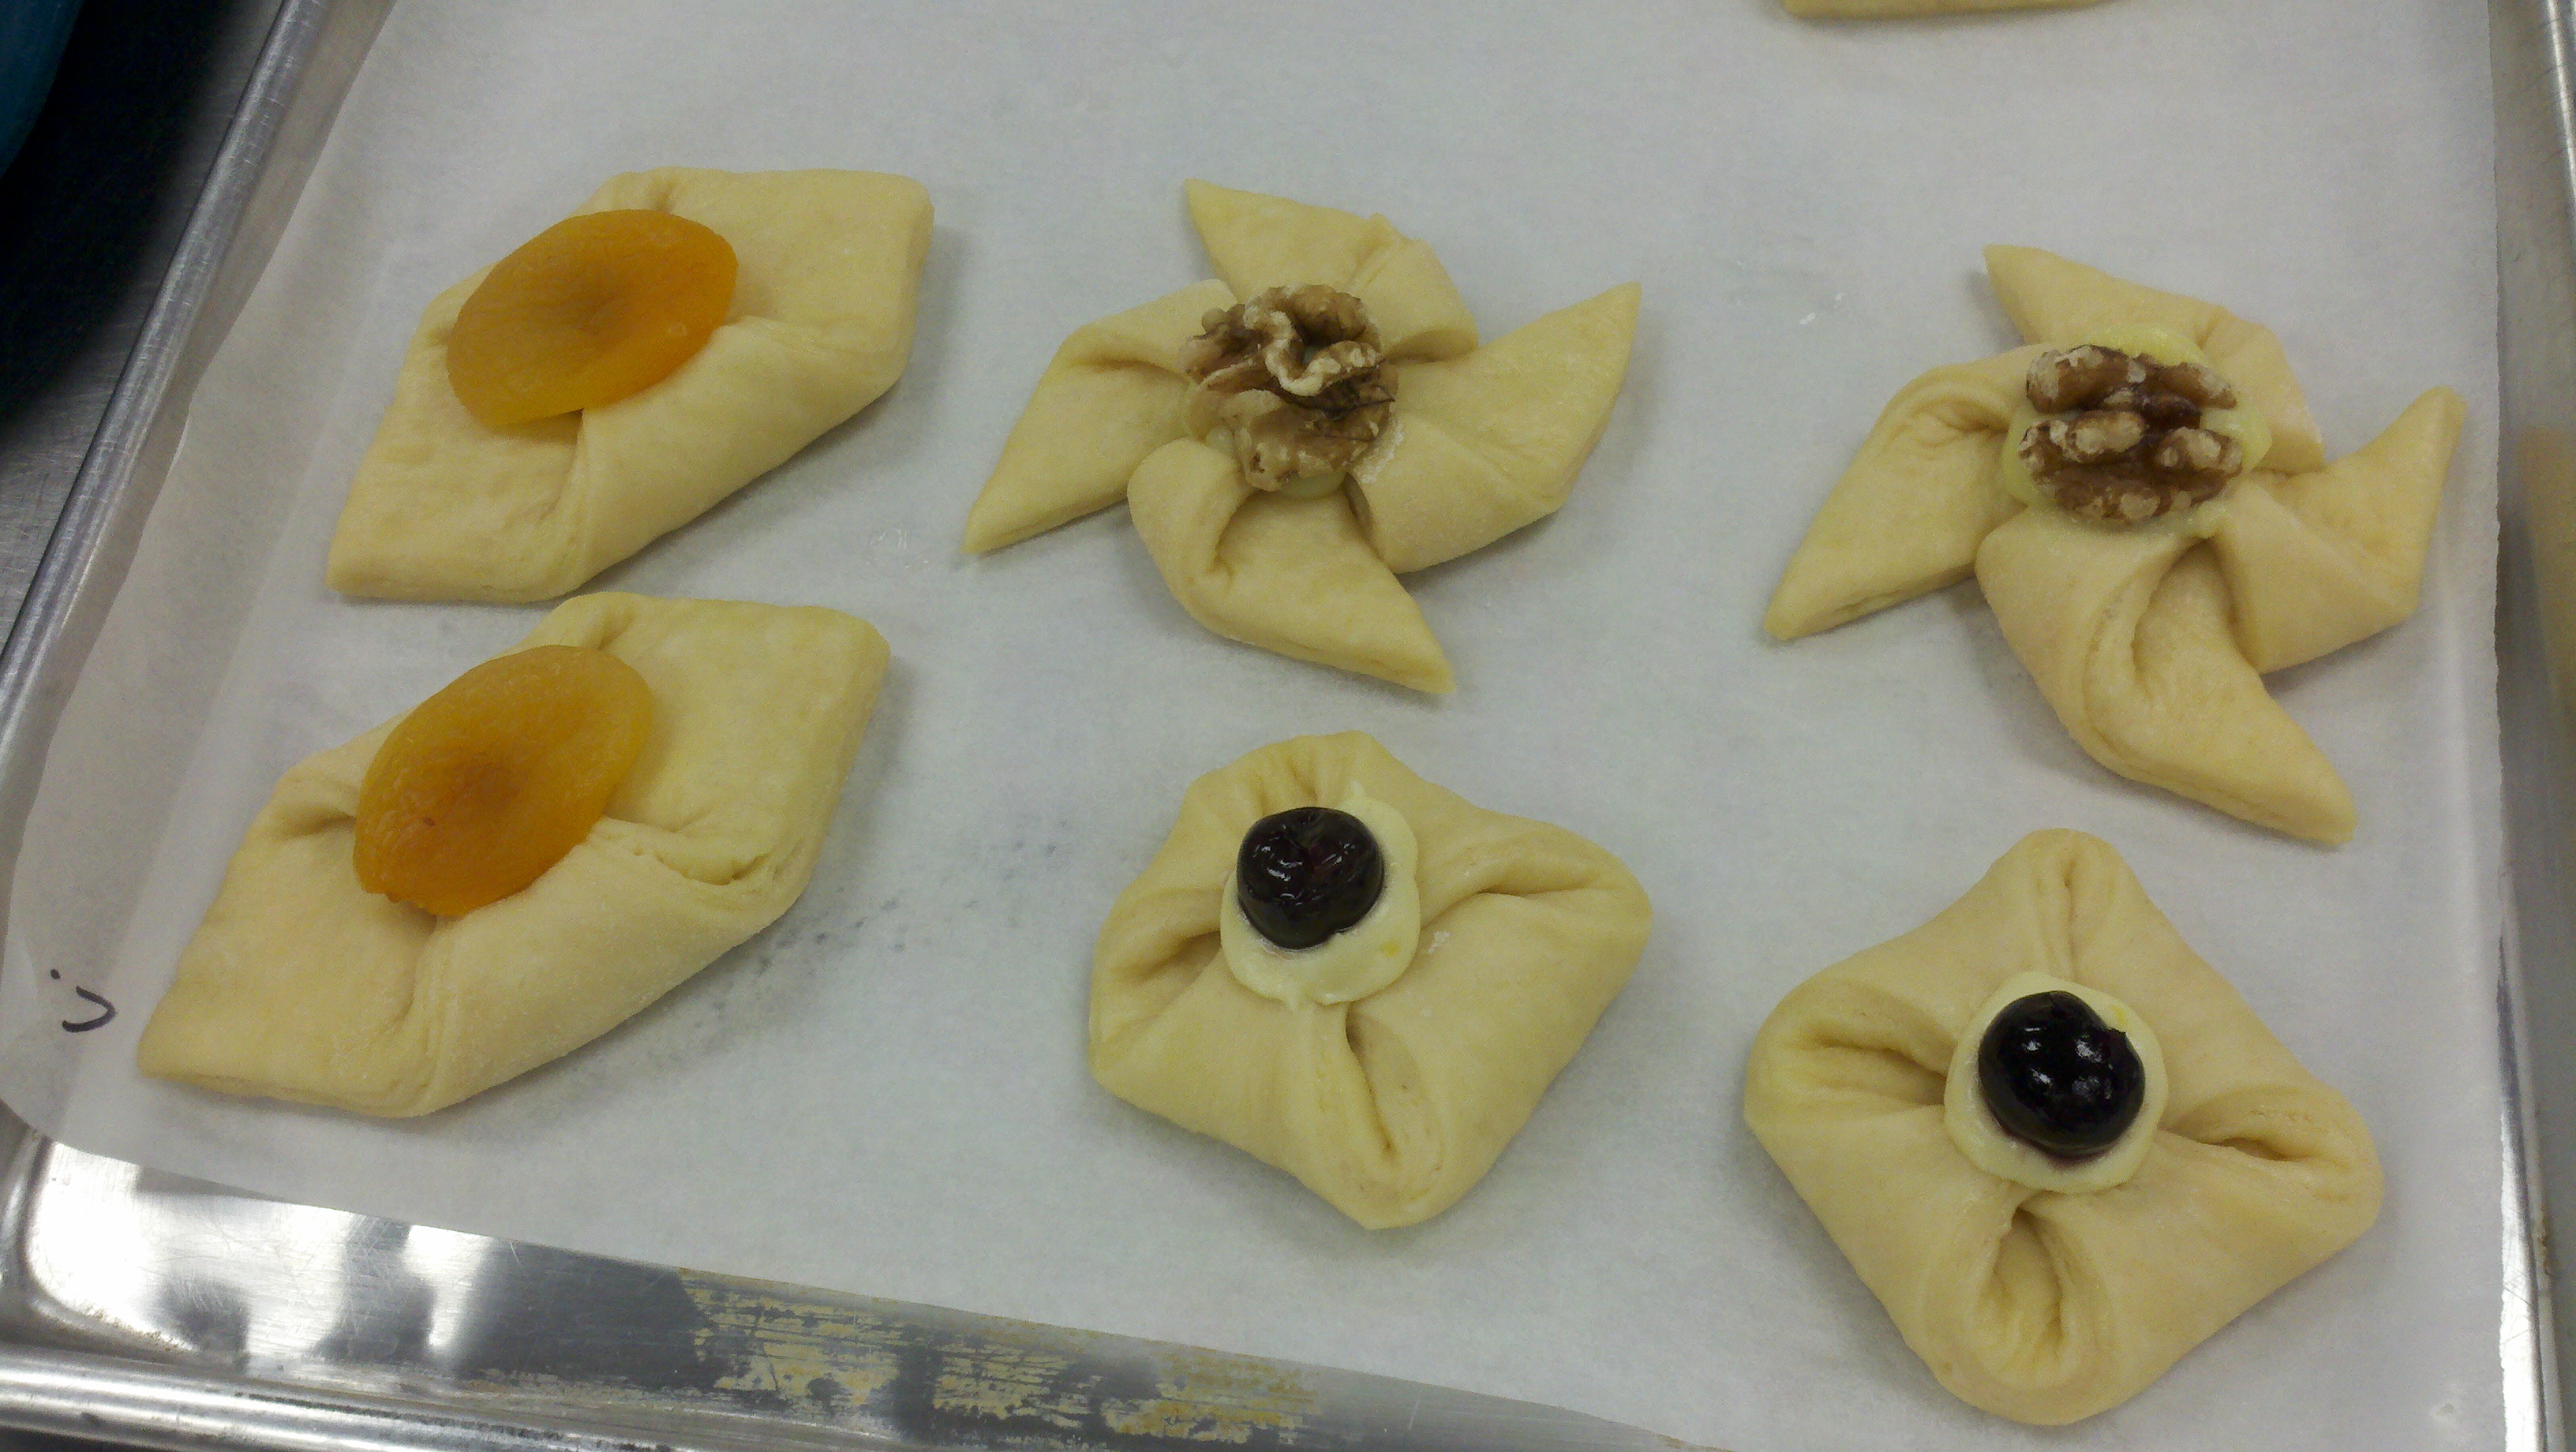
Now for the fillings. We added a cream cheese mixture and a brandy-soaked cherry to the squares, and a pastry-cream-and-walnut-half filling to the pinwheels. The diamonds got almond paste and a dried apricot that had been soaked in simple syrup.
The Danish were ready for an egg wash before being left to proof. I can’t recall how long they proofed, but it wasn’t long. And we are learning that when we ask Chef how long we proof or bake something, we typically get this answer: til it’s done. We all laugh, but we realize he is telling us something important: it’s not just about time. It’s about learning to tell when something is ready. And Danish are fully proofed when the dough springs back against a light touch of the finger. You don’t want to let them go too much longer than that, so you just gotta keep an eye on em.
We baked them at 400 degrees. Guess how long? Right! Until they were done! 🙂 (You’re learning!)
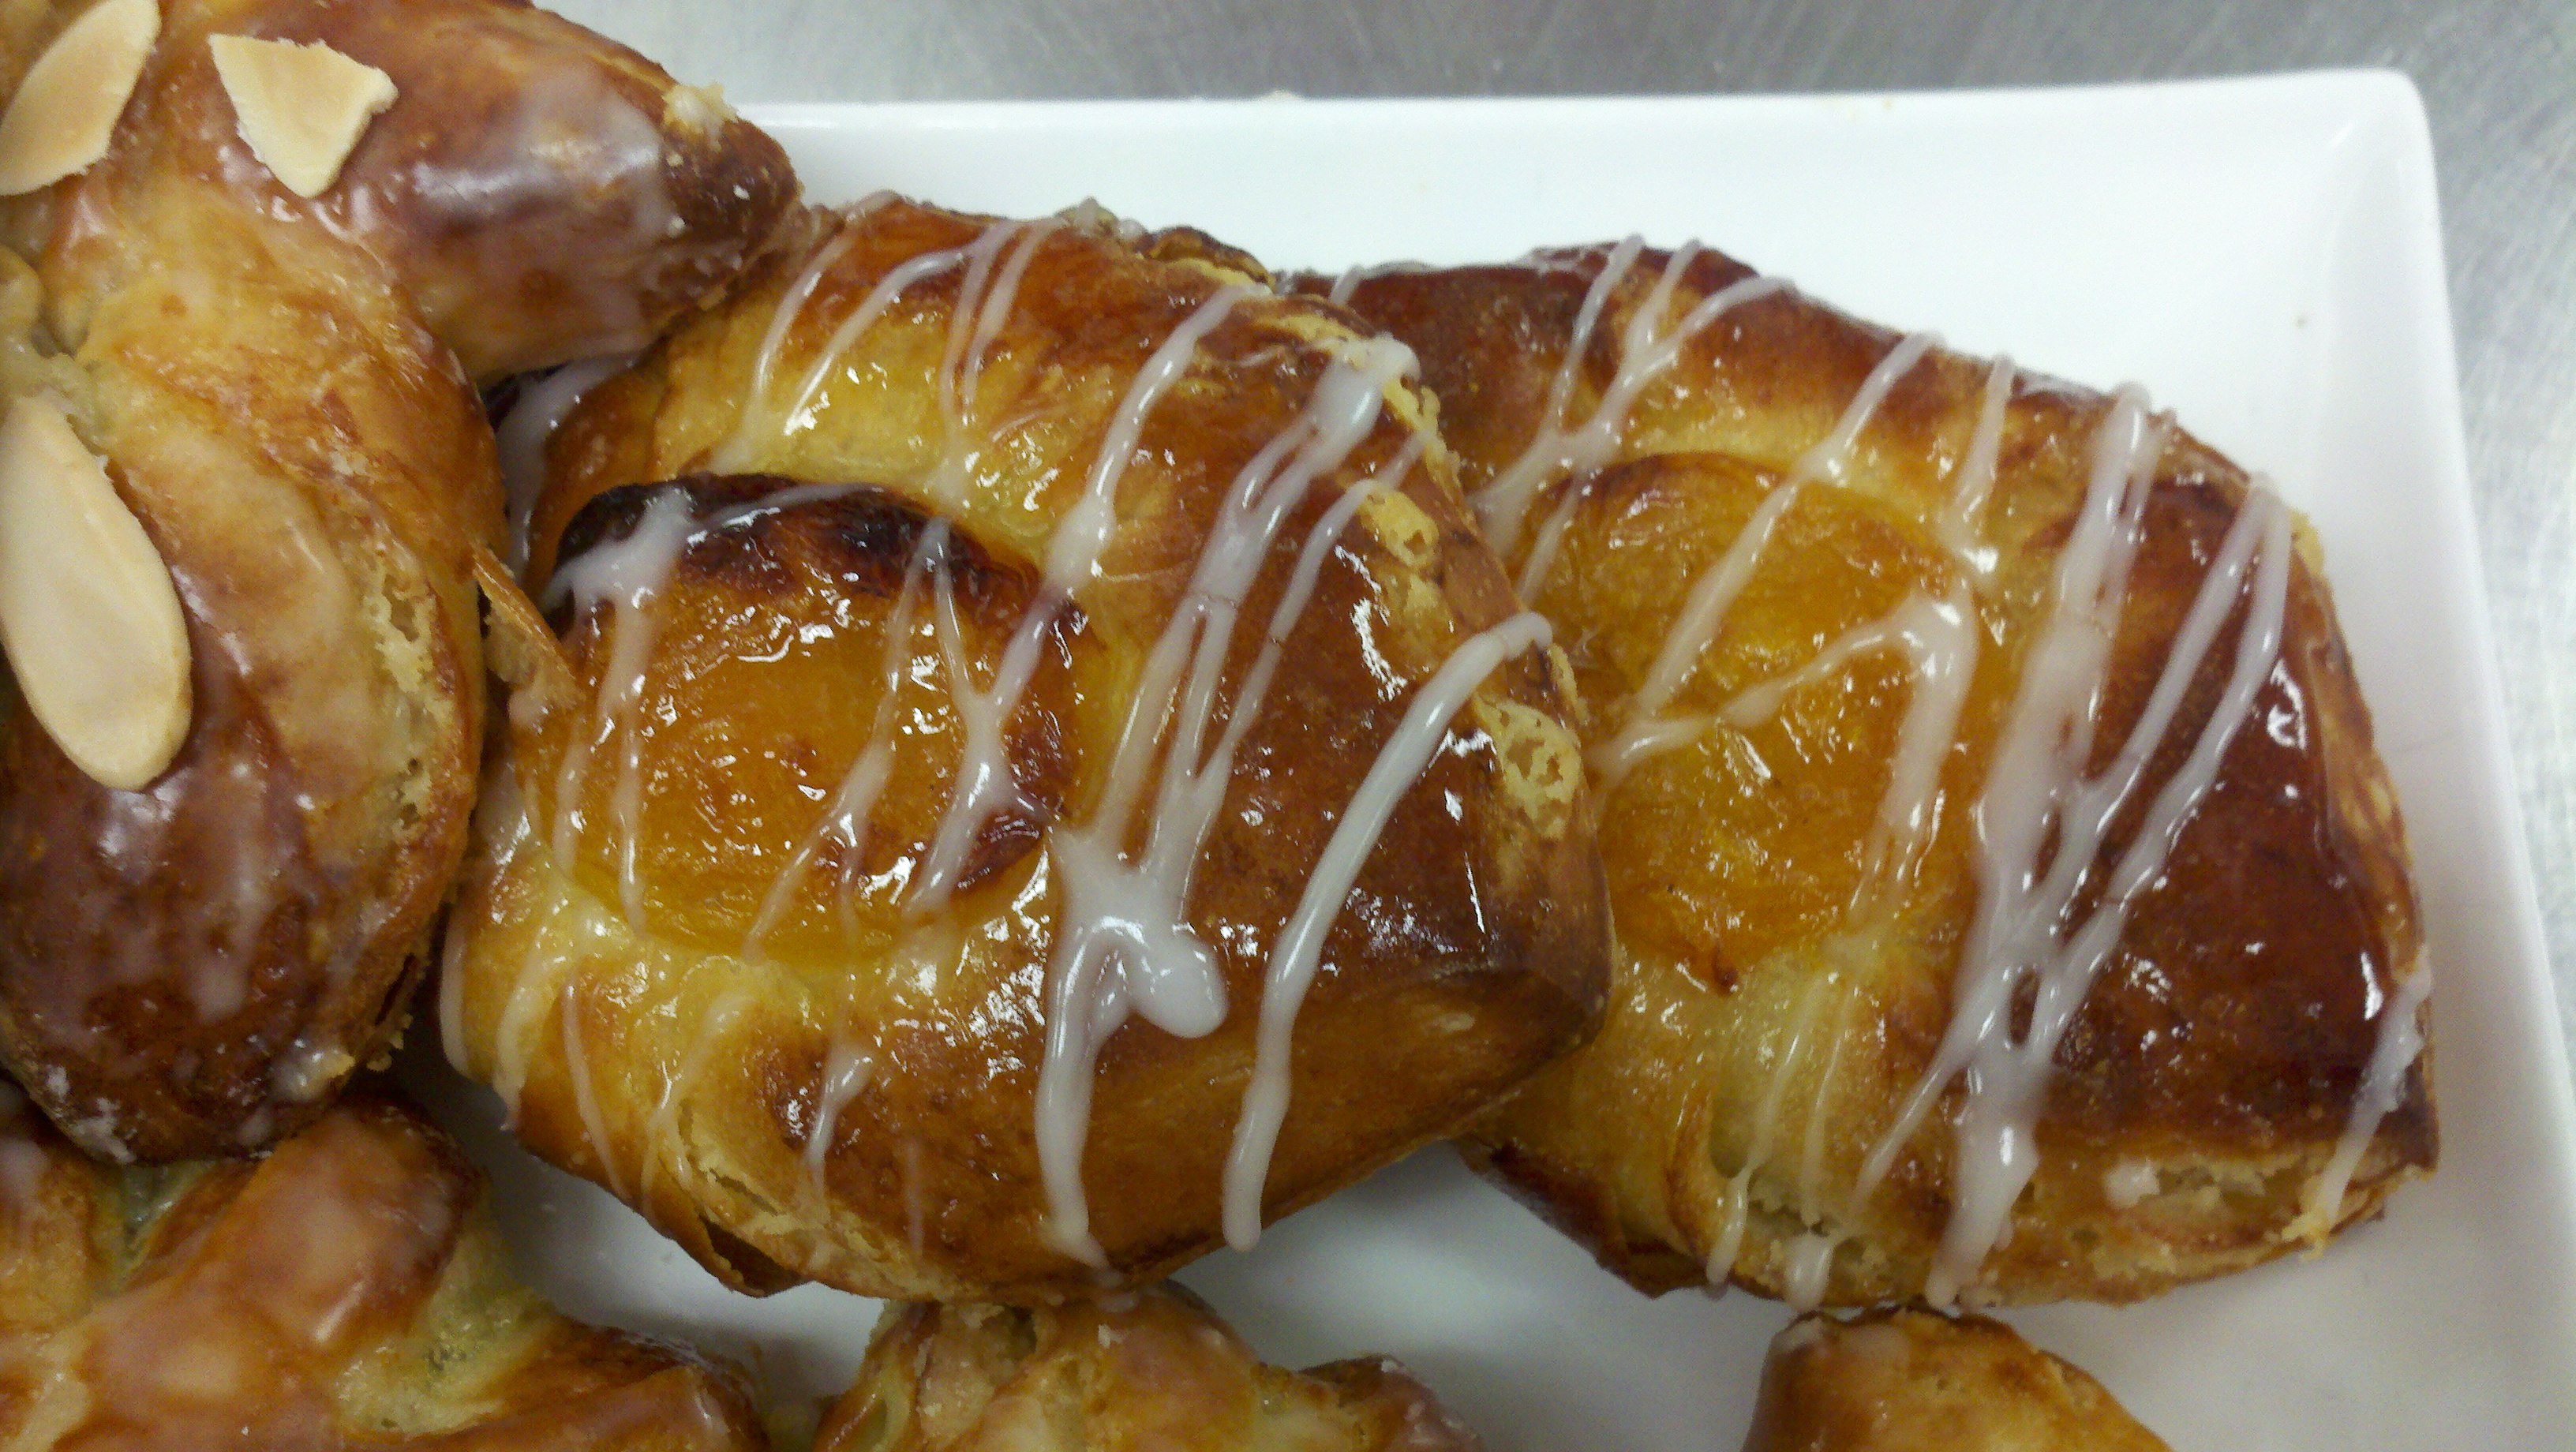
When they came out, Chef showed us how to brush a rum-and-powdered-sugar glaze on some of the Danish, apply a warmed-apricot-jelly-and-water glaze on others, and to drizzle a powdered-sugar-and-water glaze on the rest.
They smelled and tasted wonderful!
