I’m lucky to have Kate McDermott, piemaker extraordinaire and mistress of the Art of Pie blog, as my guest in Washington D.C., this weekend. She’s giving two workshops in my kitchen to a handful of lucky bakers. But yesterday, as we got ready for all the action to begin, I got a great fringe benefit: a one-on-one tutorial from Kate in gluten-free piemaking.
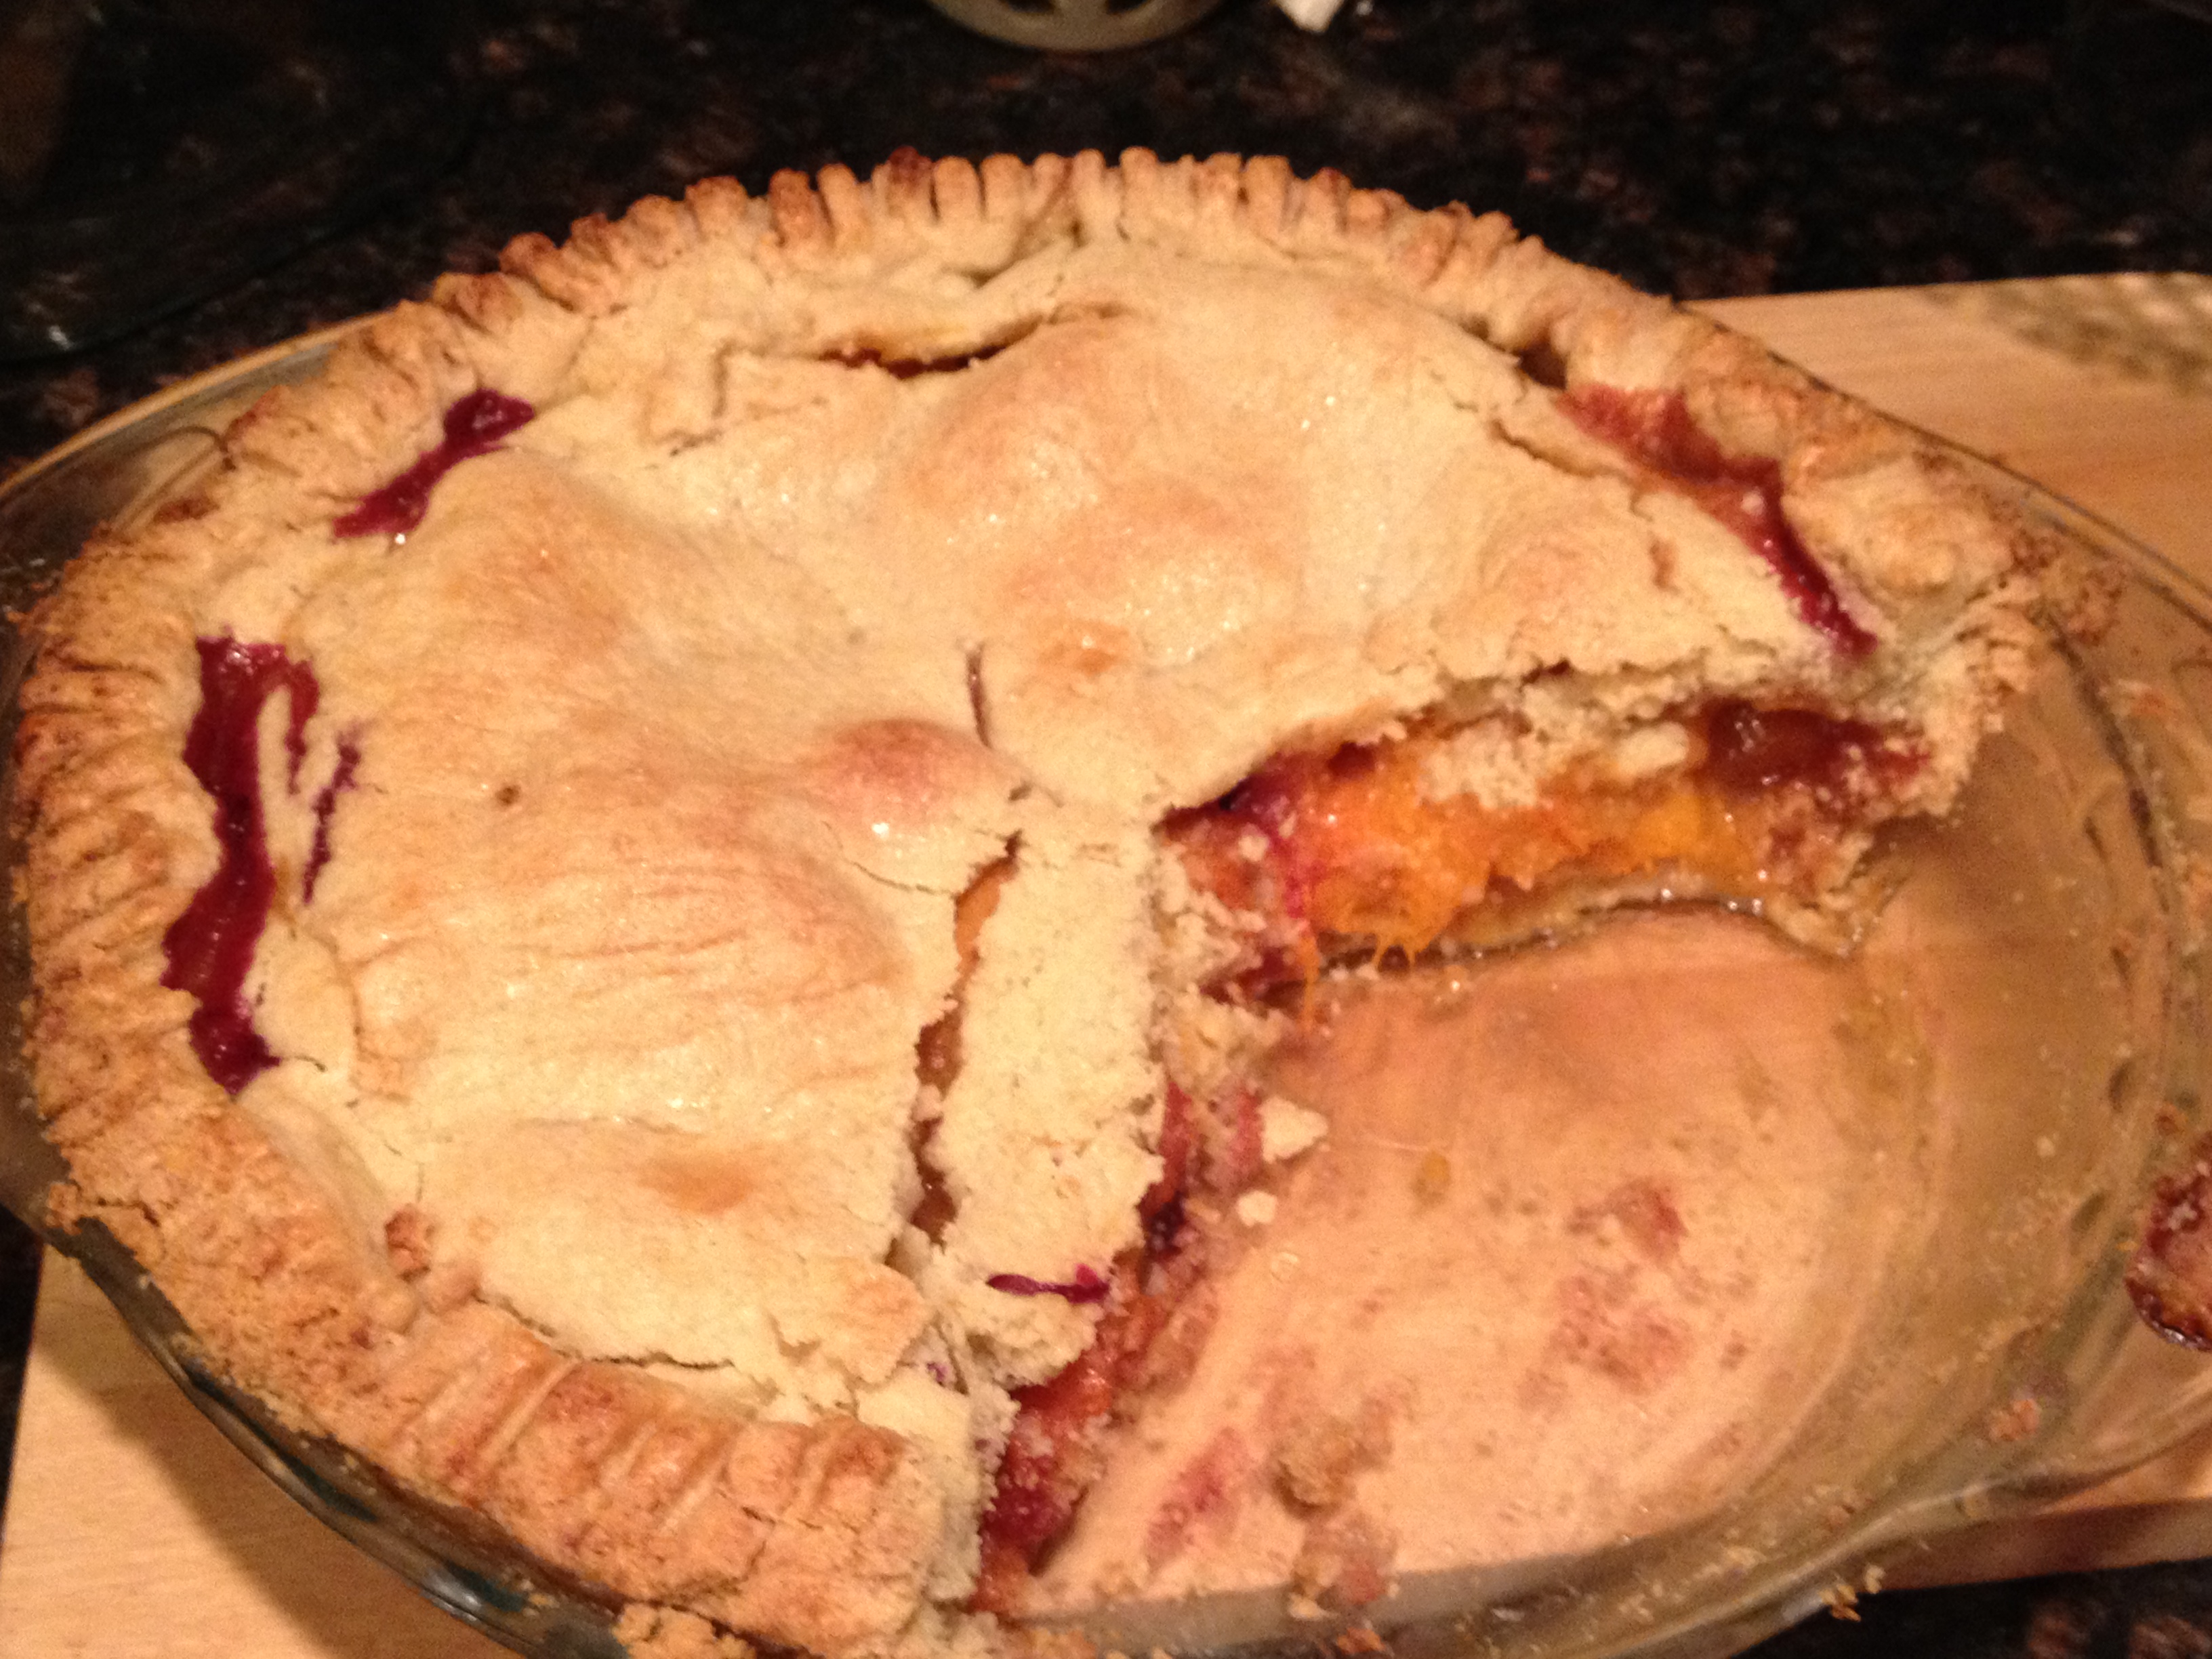
Here is the apricot-raspberry pie we made with a gluten-free crust:
Kate shares some of the process on her blog, and links to a tutorial about gluten-free pie making. Here is the link to Kate’s gluten-free pie dough recipe. And I’d love to share some photos of our pie making afternoon together, and the wonderful things I learned from her.
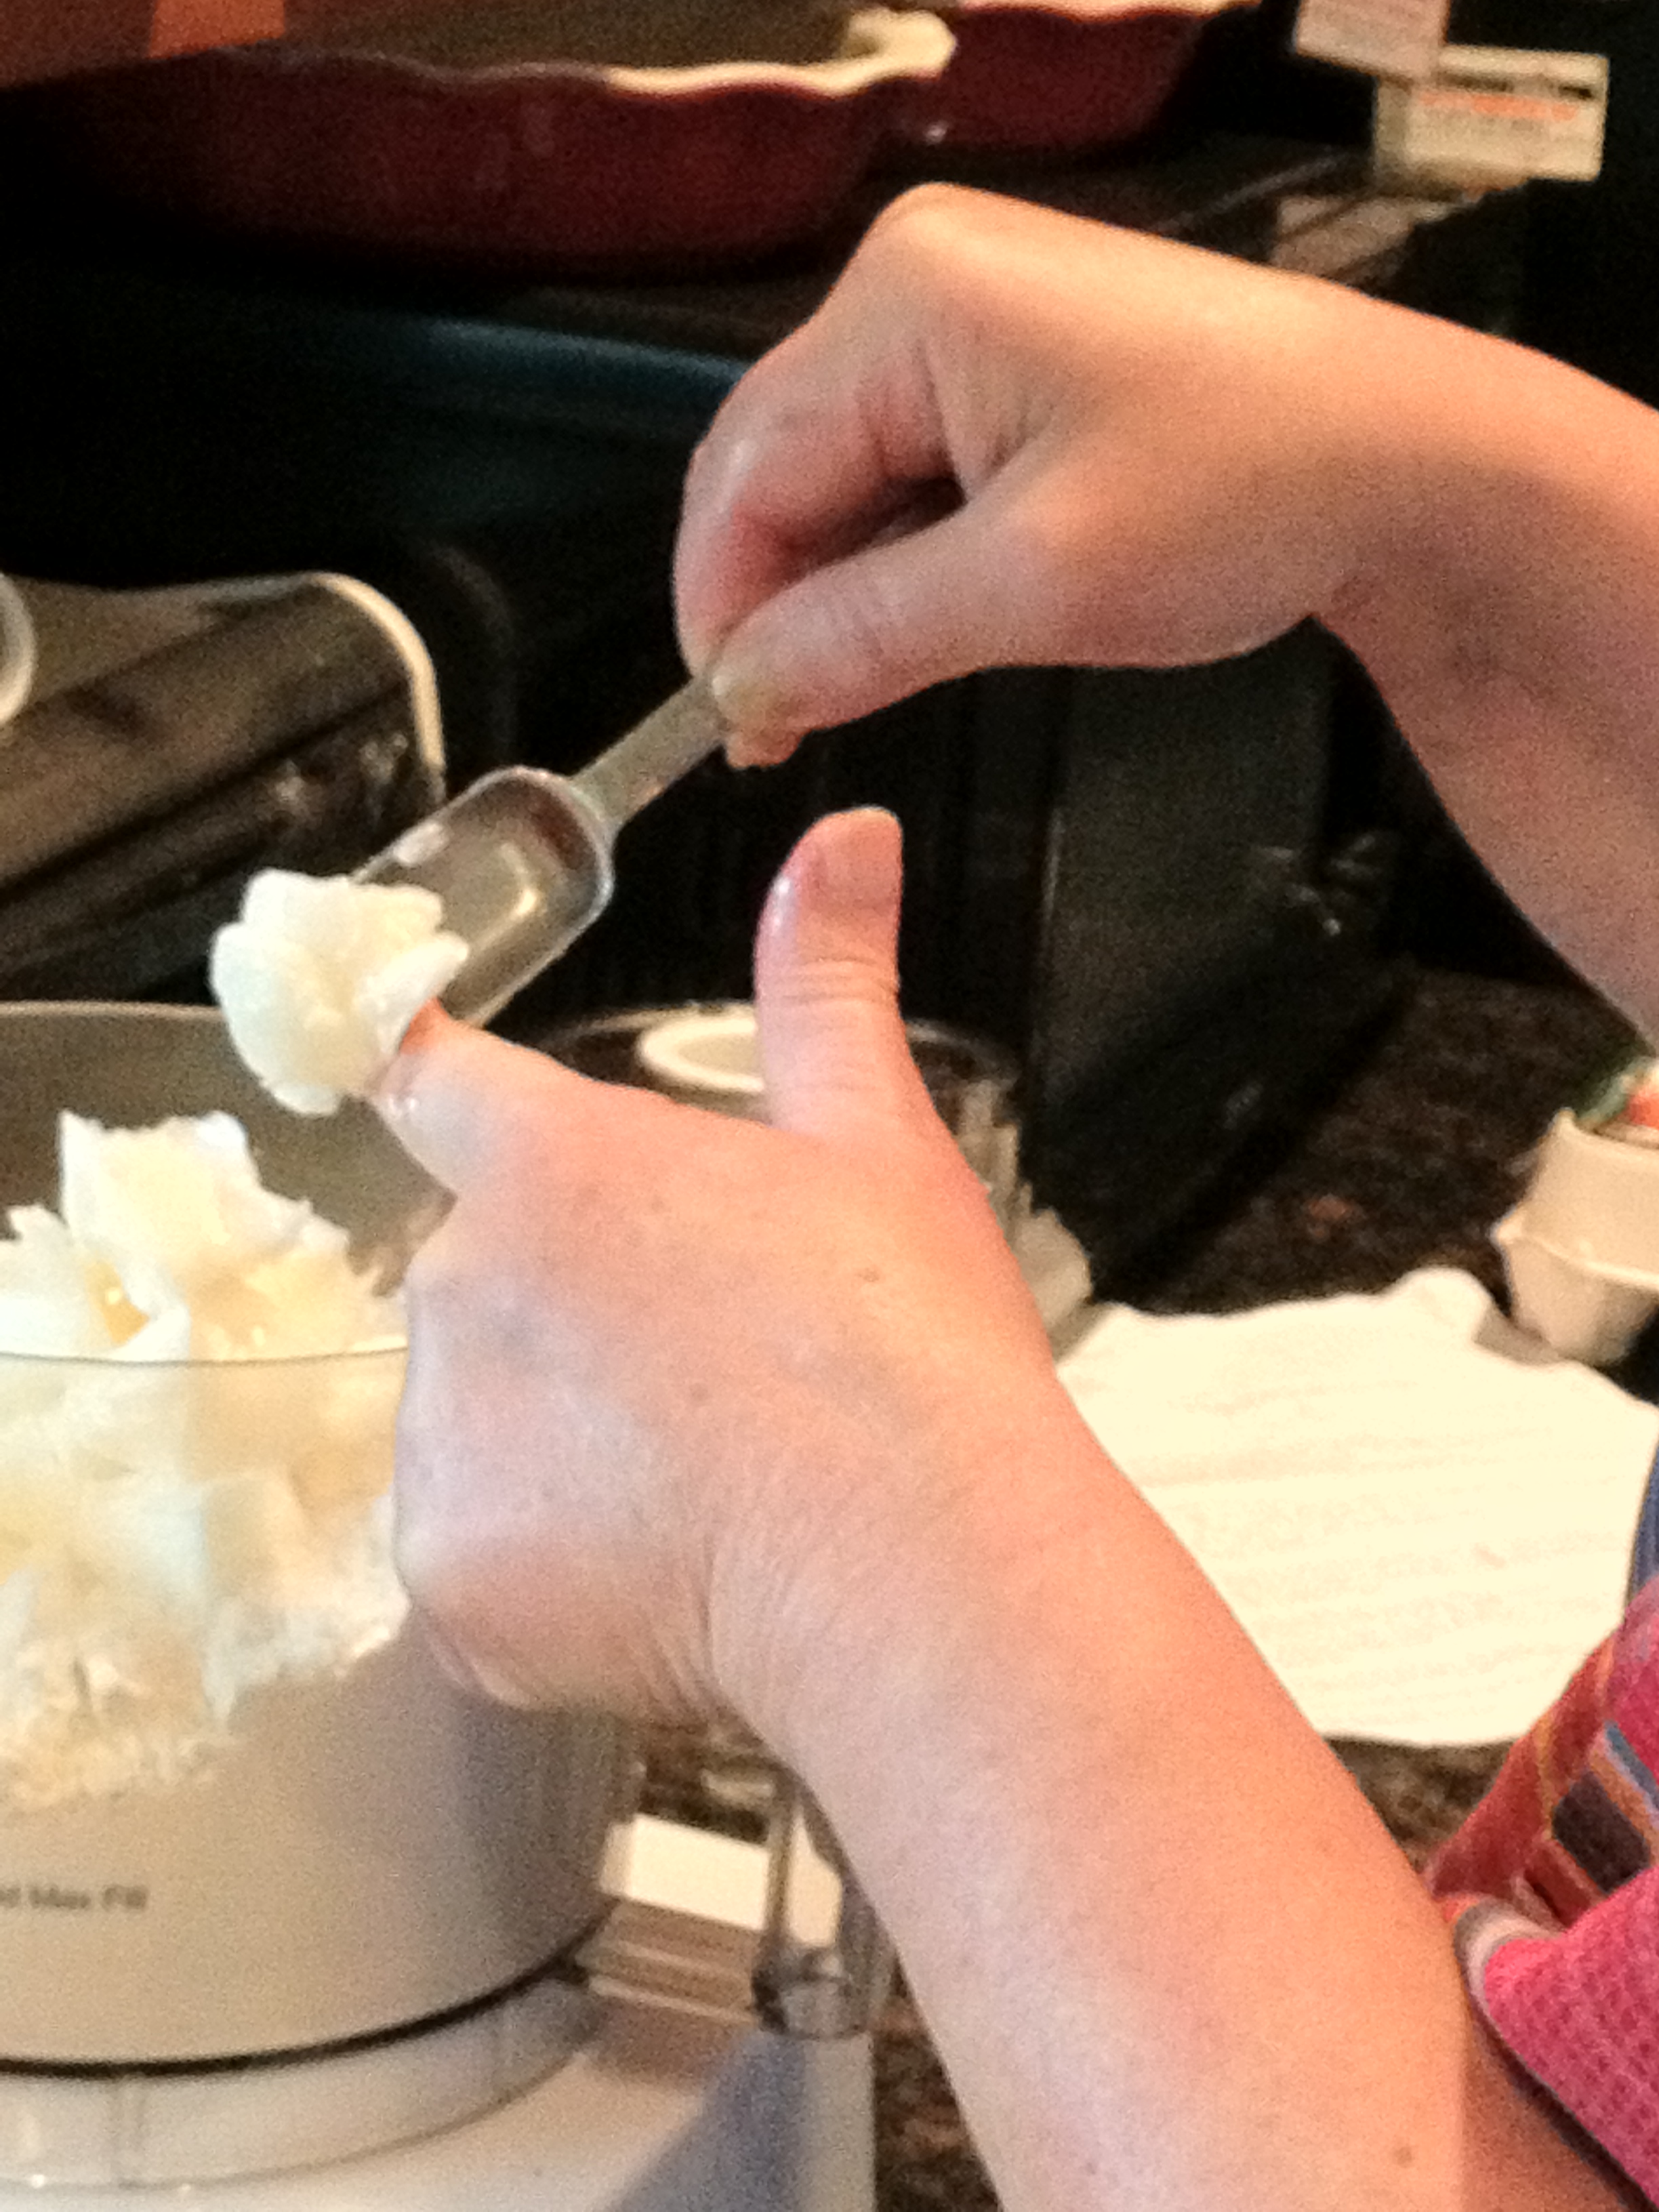
Right away, the dough offered new territory for me. I had never made gluten-free dough, nor had I used lard in dough. Kate had leaf lard–the fat that many bakers view as the very best for pies–shipped in from Dietrich’s Country Store in the Pennsylvania Dutch Country. And we ran around together yesterday getting 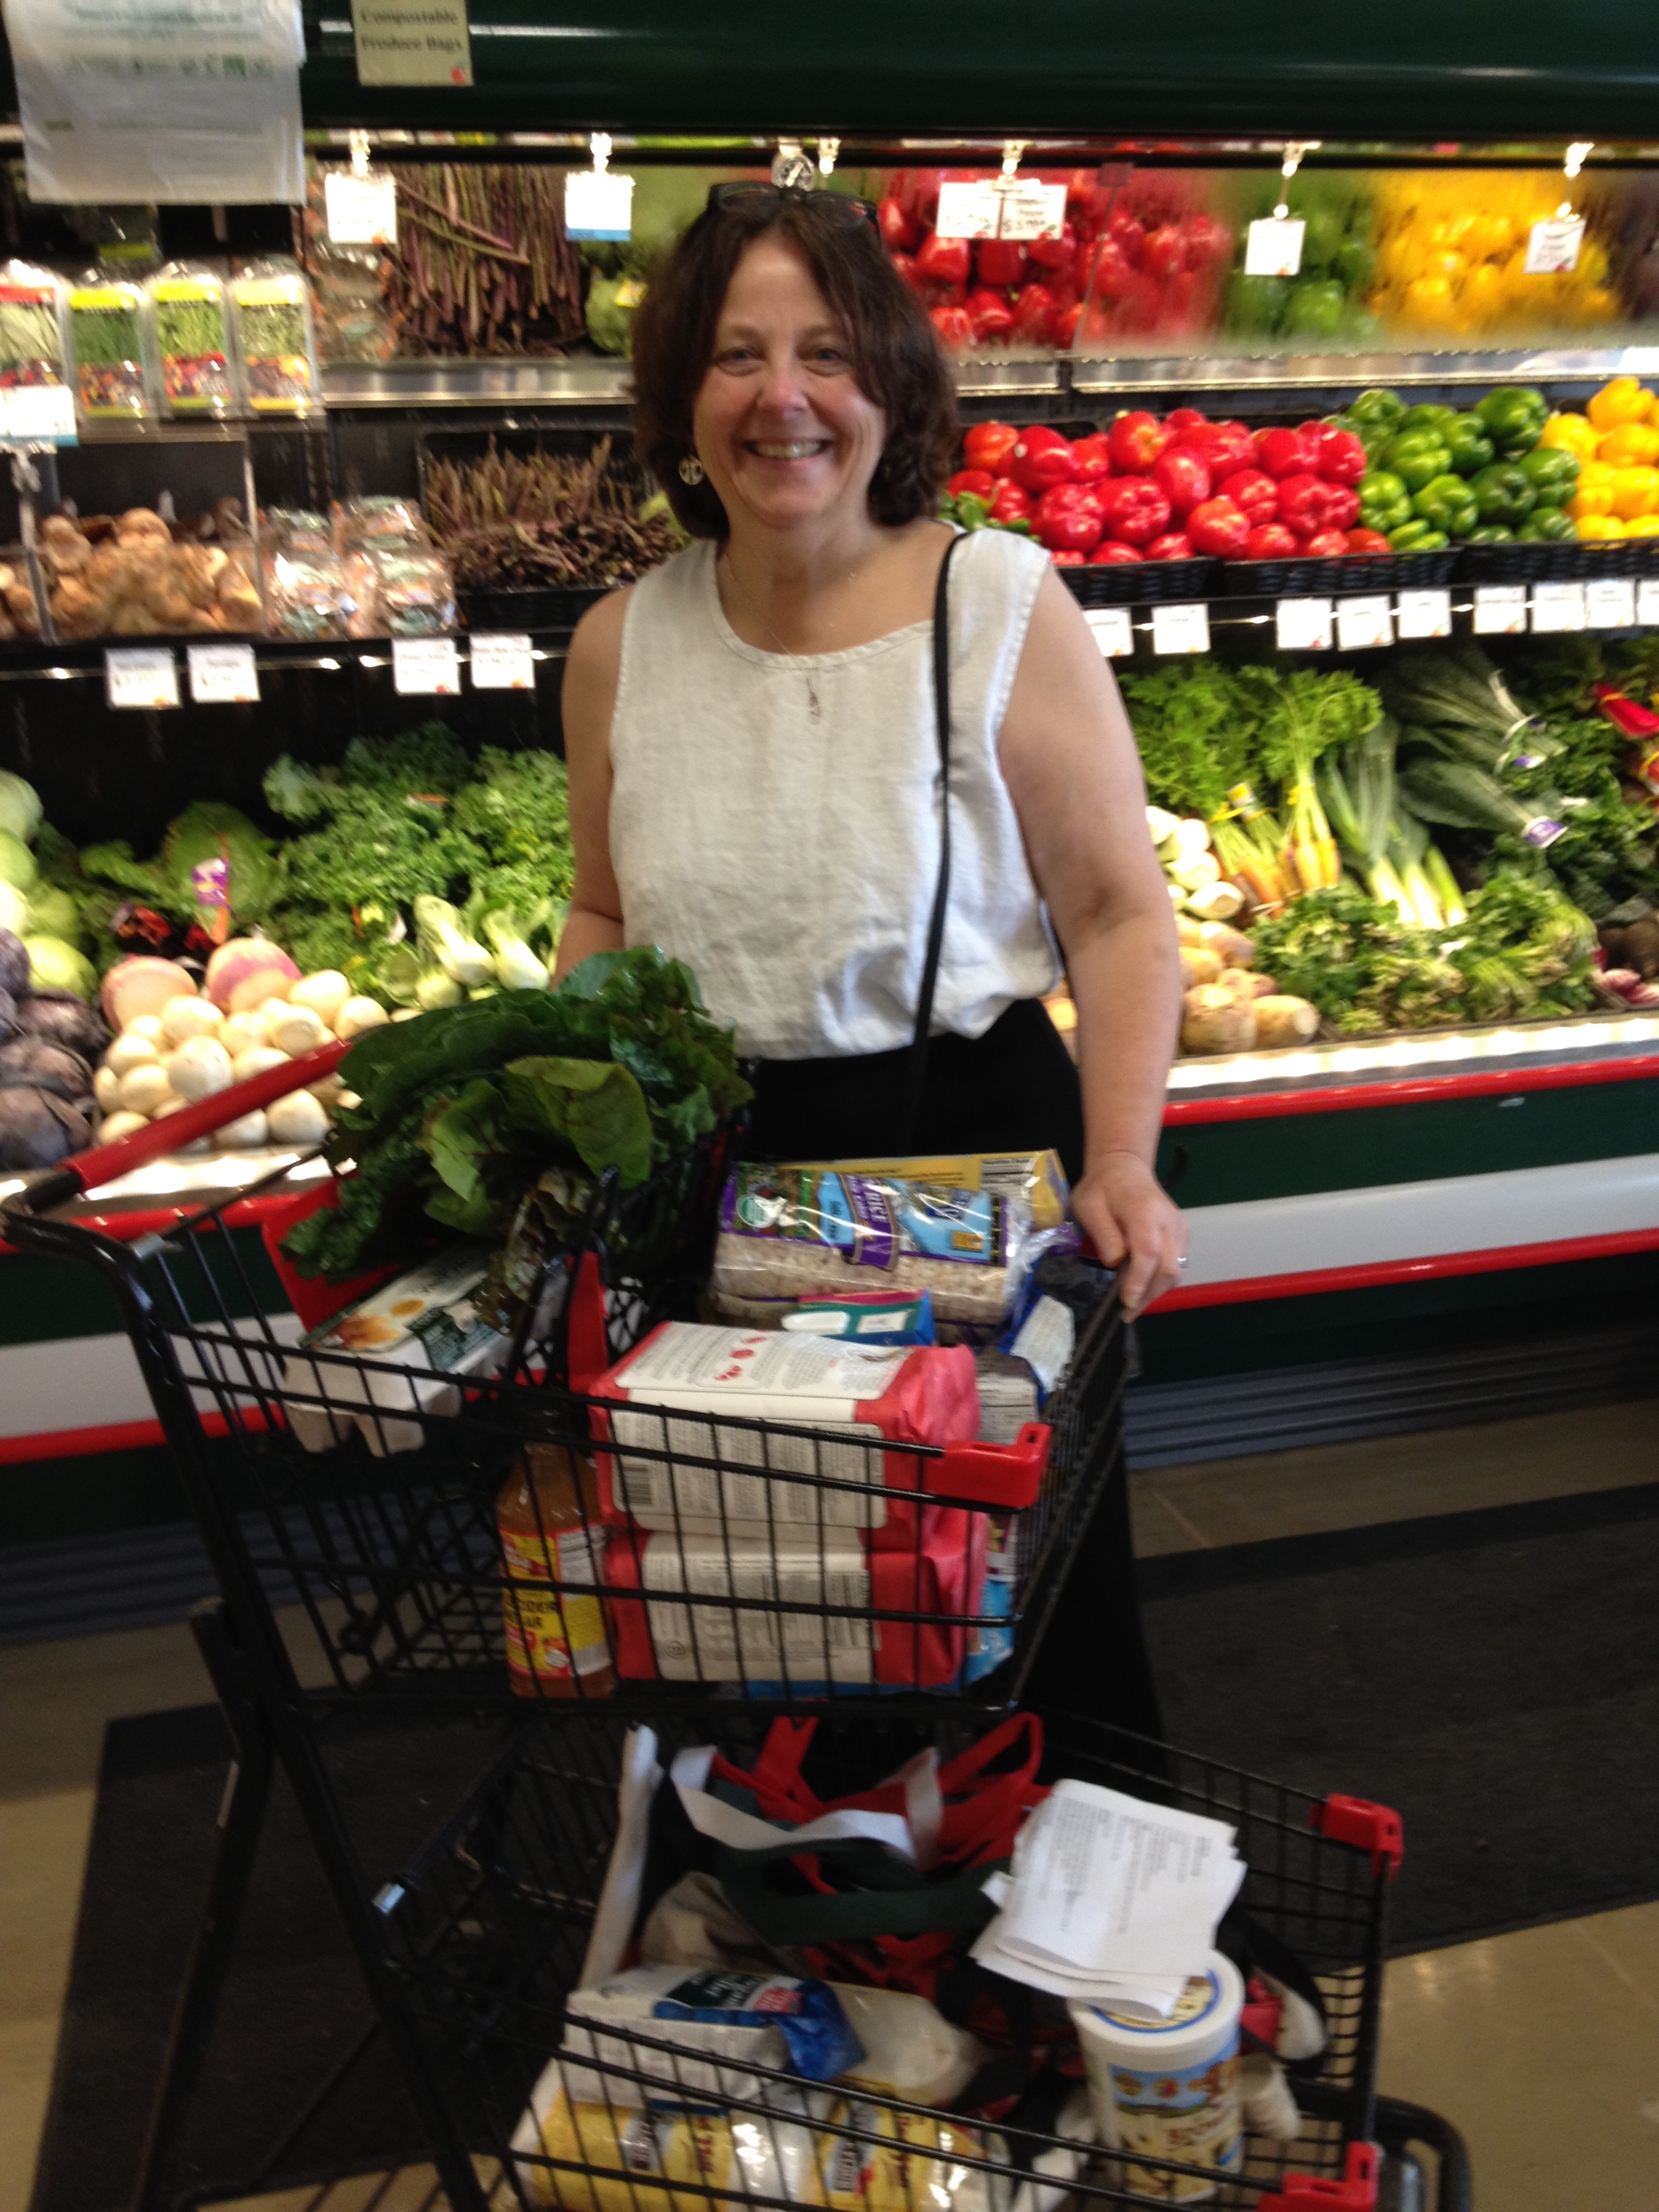 supplies, including the seven types of flours needed for her gluten-free dough.
Making the dough was a very interesting process, and very different from making traditional pie dough. First we had to make the flour mix. That involves combining brown rice flour, sweet rice flour, gluten-free oat flour, millet flour, potato starch and tapioca flour and cornstarch according to Kate’s proportions (to be posted soon!). Then we were ready to make the dough.
Typically, as you pie bakers know, you combine your flour and salt, then cut in your fats (butter, shortening, whatever you are using), and then add ice water. With our gluten-free dough, we added a little salt and sugar to our flour mixture, and then added our fats (leaf lard and goat milk butter, in this case; and can I just say how totally delicious goat milk butter is?). We pulsed them together in the Cuisinart (another departure from traditional pie dough making), added a couple of lightly beaten eggs (another new twist) and a couple tablespoons of artisanal apple cider vinegar, and pulsed a bit more. That was our gluten-free dough.
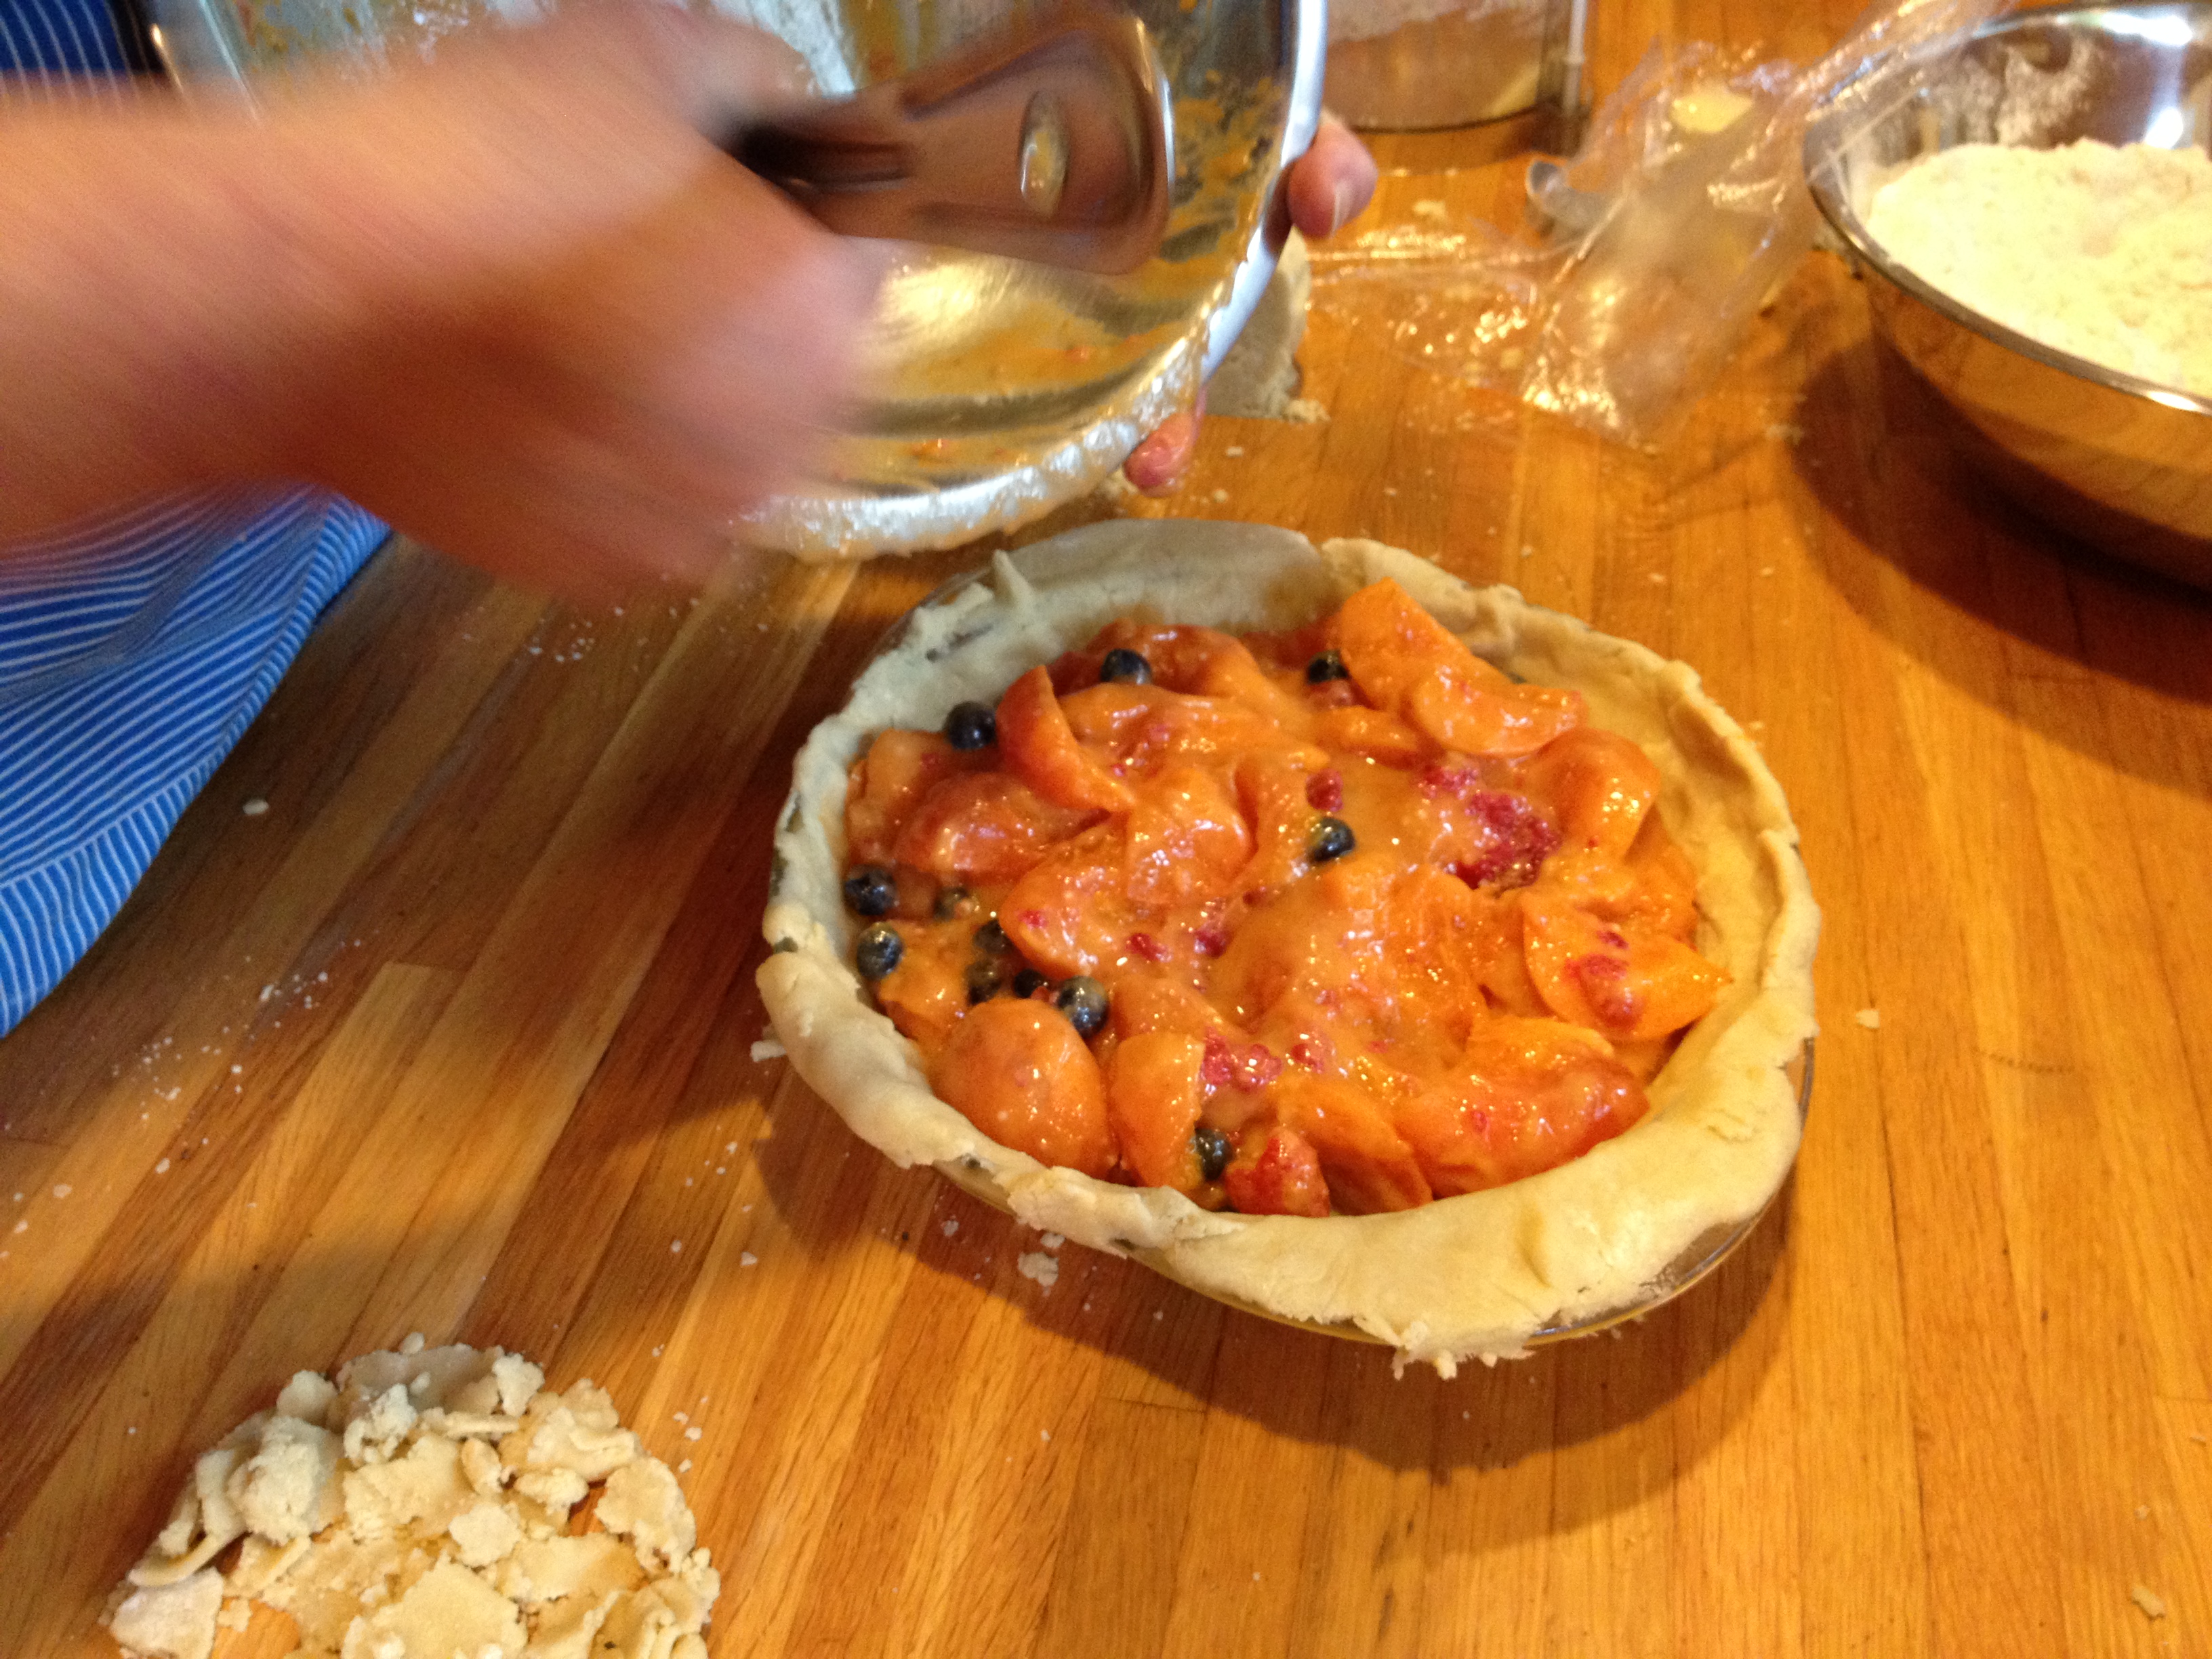
Then we made our filling. Kate had apricots shipped from California’s Frog Hollow Farm, famous for supplying luminary restaurants like Berkeley’s Chez Panisse. So we took a couple of pounds of those lovelies, pitted and quartered them, and combined them with 1/3 cup sugar, a couple rasps of fresh nutmeg, a squeeze of lemon, and added 1/2 c. of the gluten-free flour as a thickener. We threw in a couple handfuls
of fresh raspberries and blueberries to round out the quantity, and because they were just so pretty.
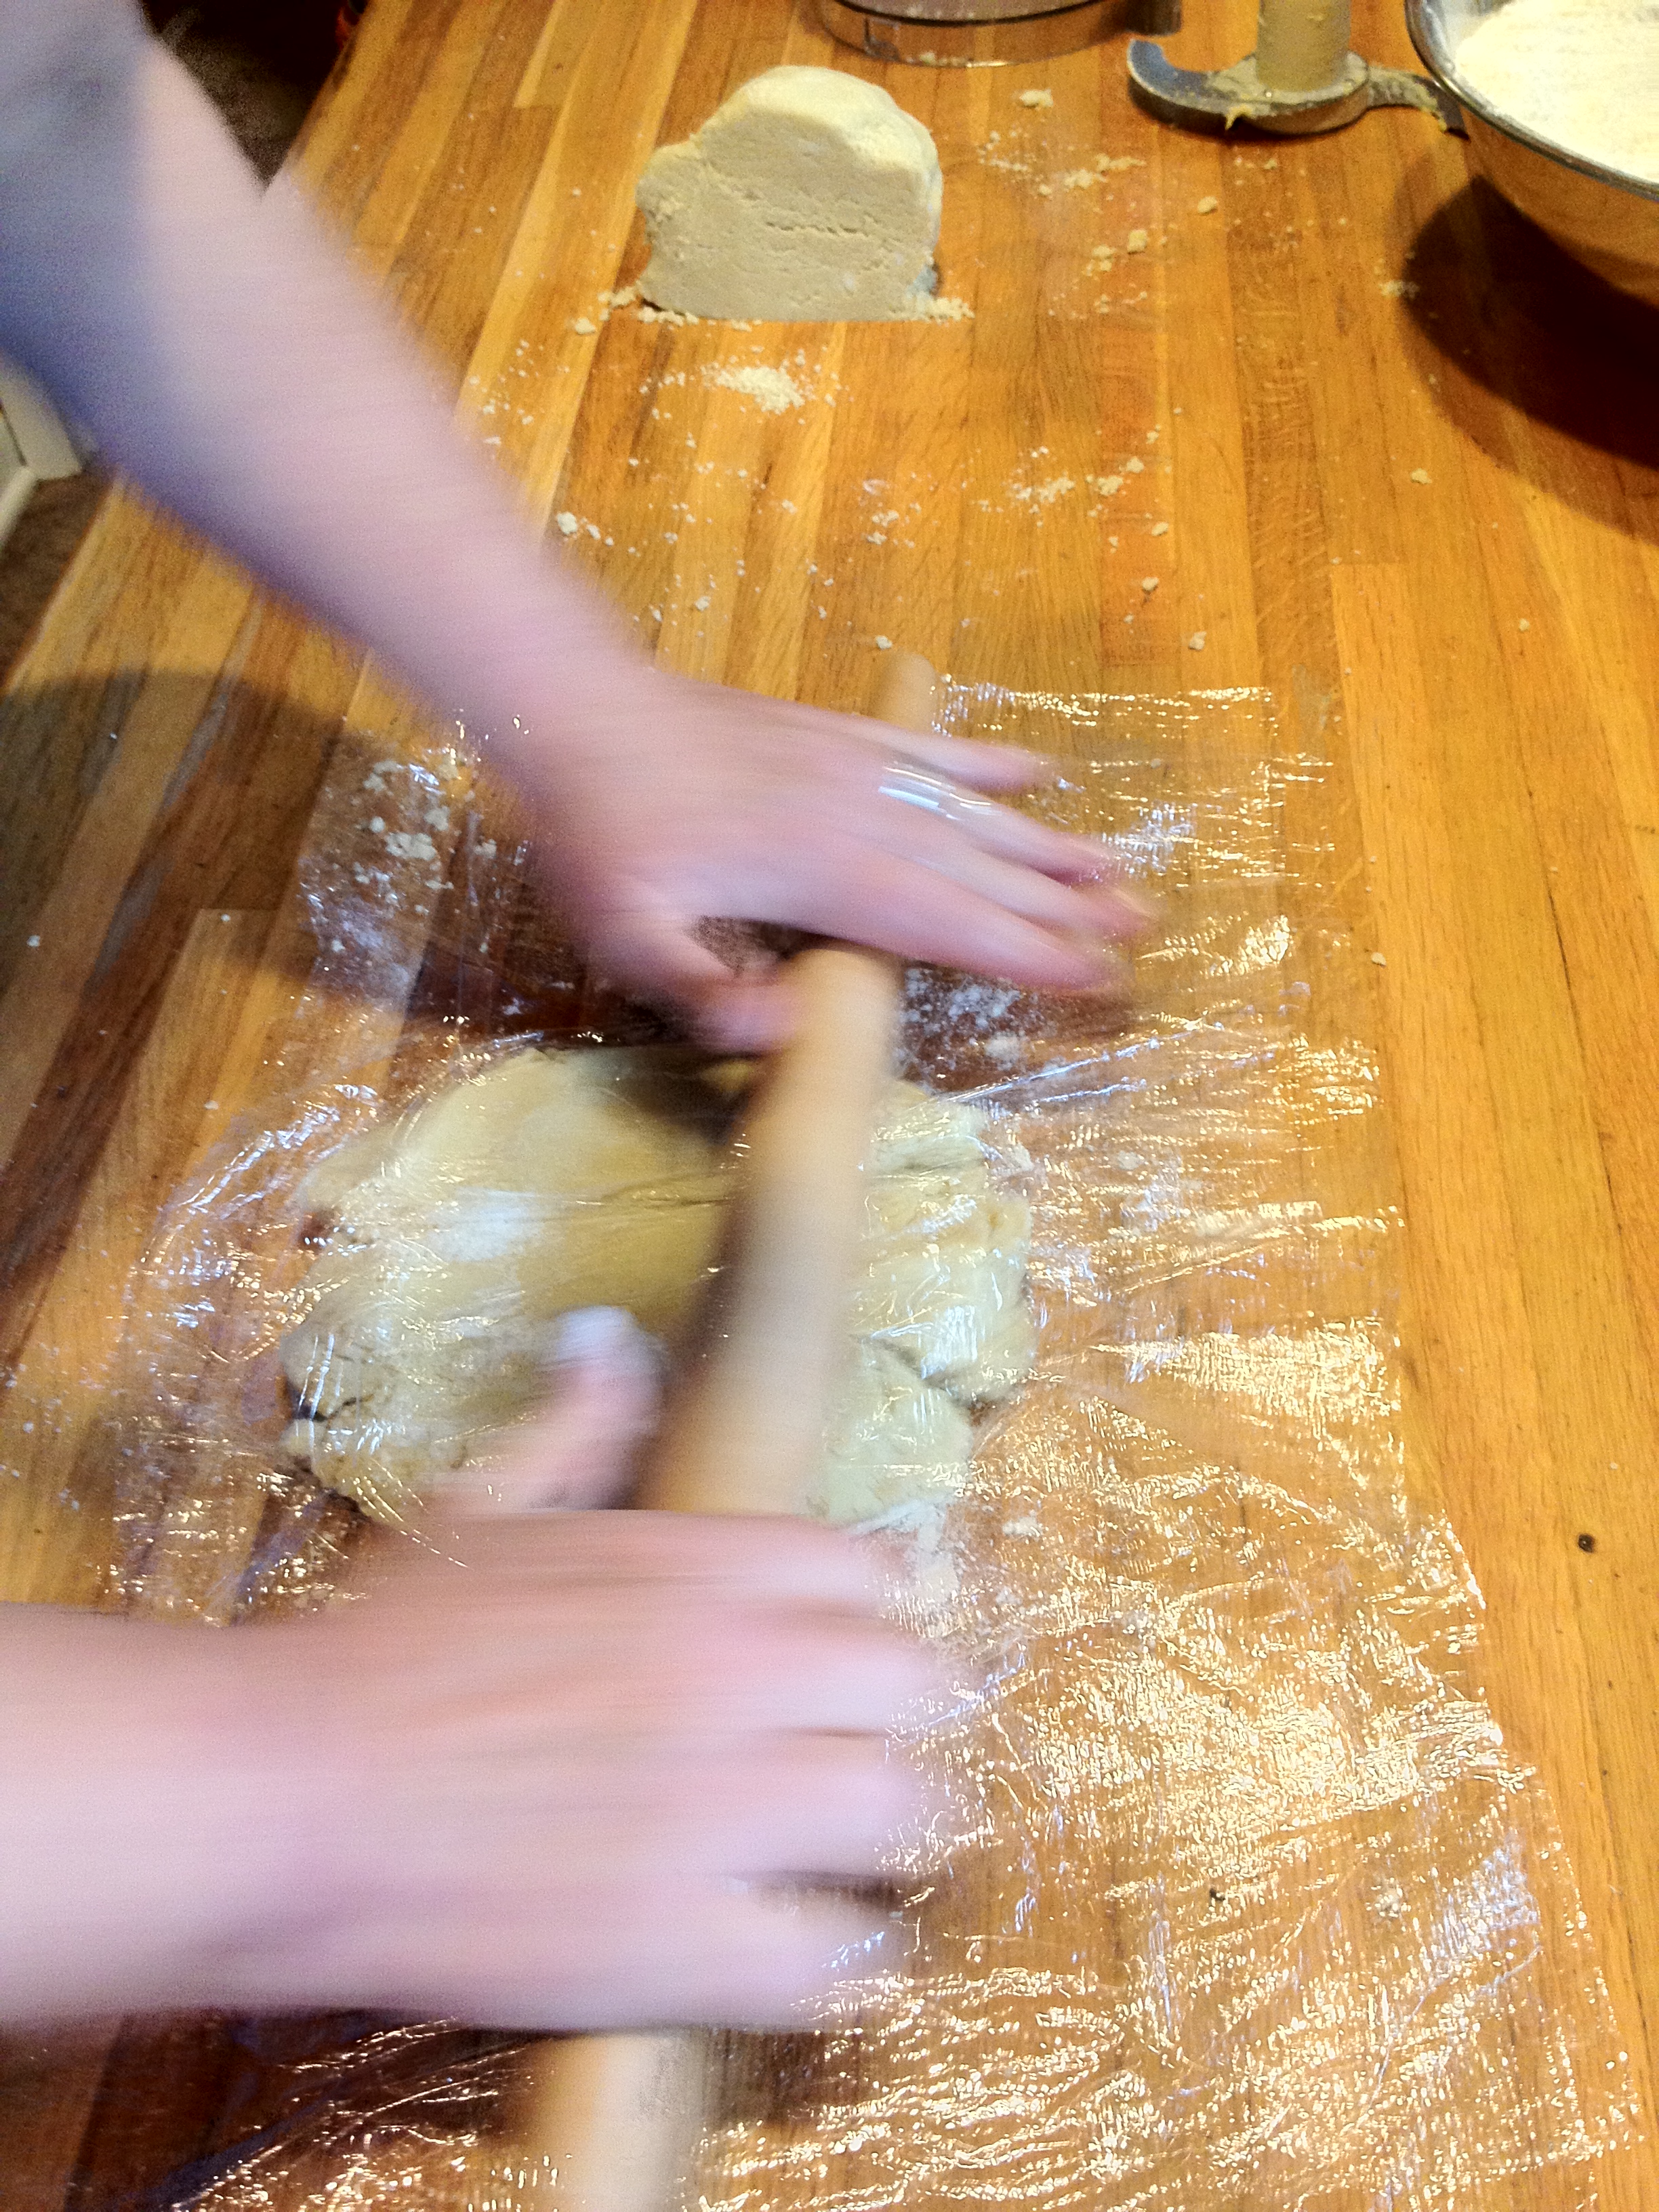
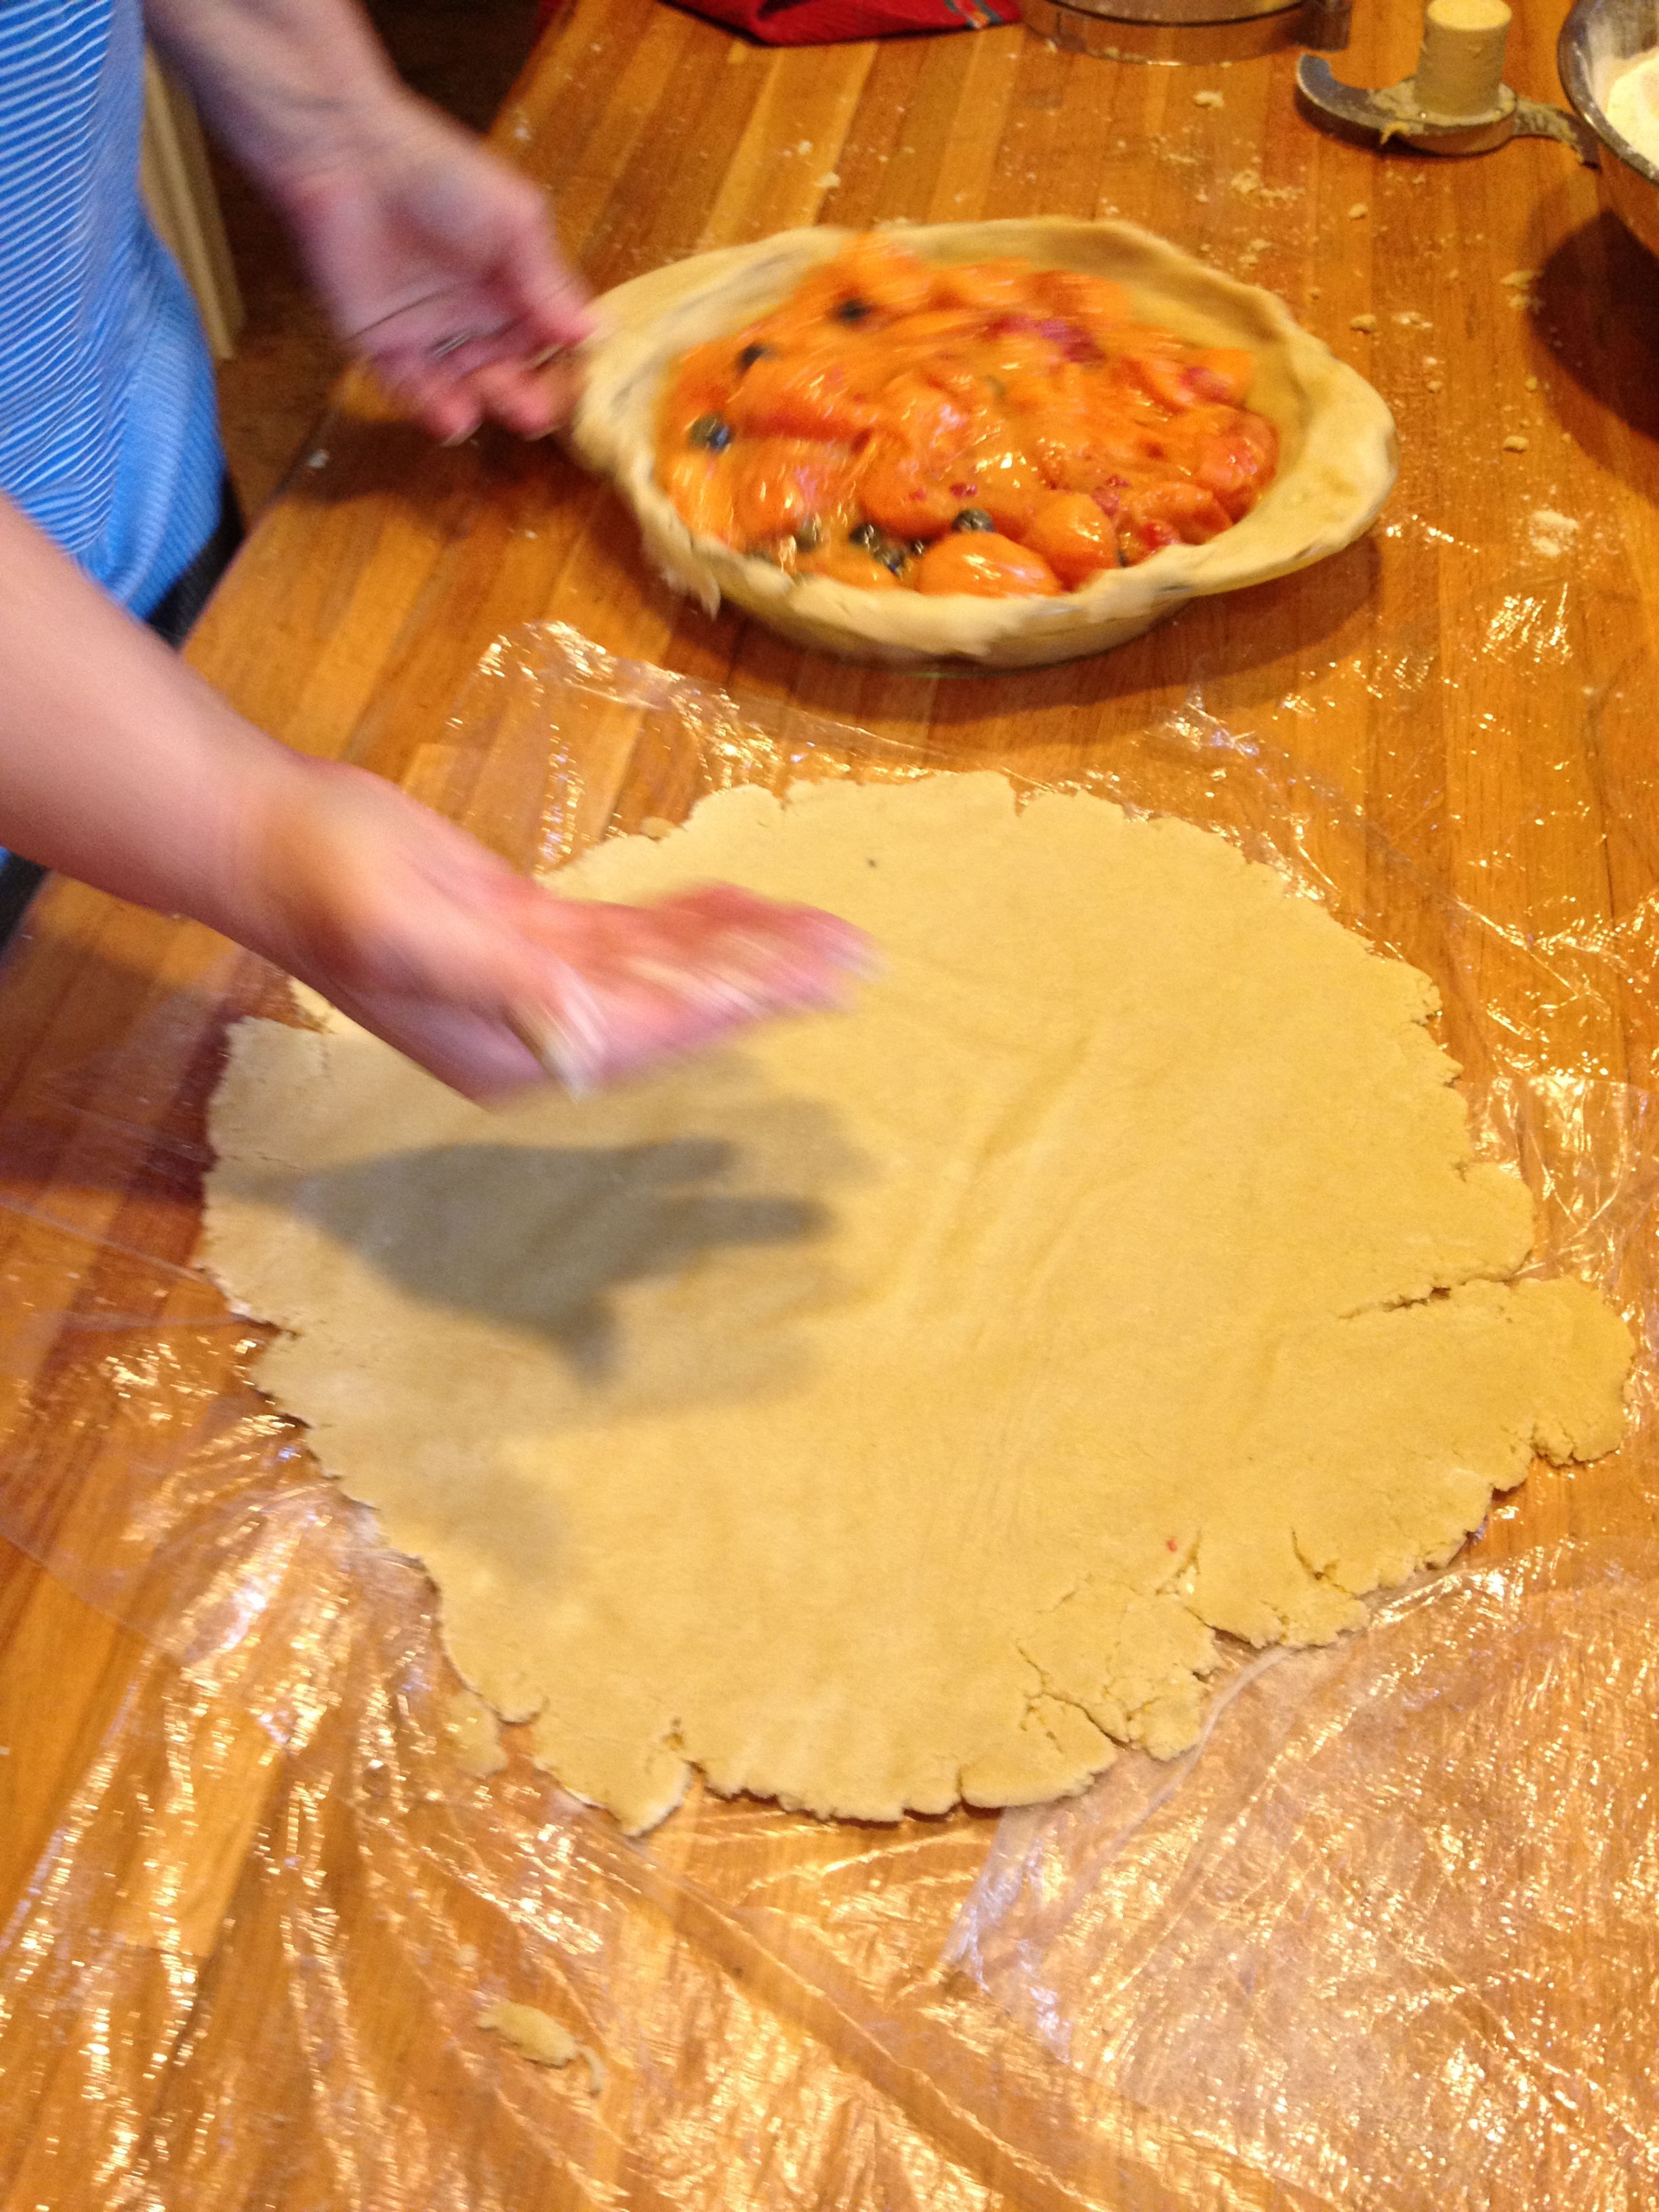
Handling the gluten-free dough is what’s really different and fascinating. First of all, Kate doesn’t chill it for a while, like you must when you do traditional pie dough. She makes the dough and rolls it out right away. Chilling gluten-free dough, she told me, makes it too stiff to work with. Kate rolls hers out between two industrial-size sheets of plastic wrap. Since we had only the typical size at my house, we did the best we could with overlapping sheets. It was a bit challenging, but we managed!
When the first disk was rolled out, she carefully peeled the plastic wrap from the top and placed the inverted pie pan on top. Then she filled both over, expertly and quickly, so the crust eased into the pan. Then she peeled off the other sheet of plastic. We spooned in the filling, then rolled out the second crust and peeled off the top sheet of plastic wrap. Kate slid her hands underneath the bottom layer of plastic, then quickly flipped the crust over onto the filled pie. Voila!
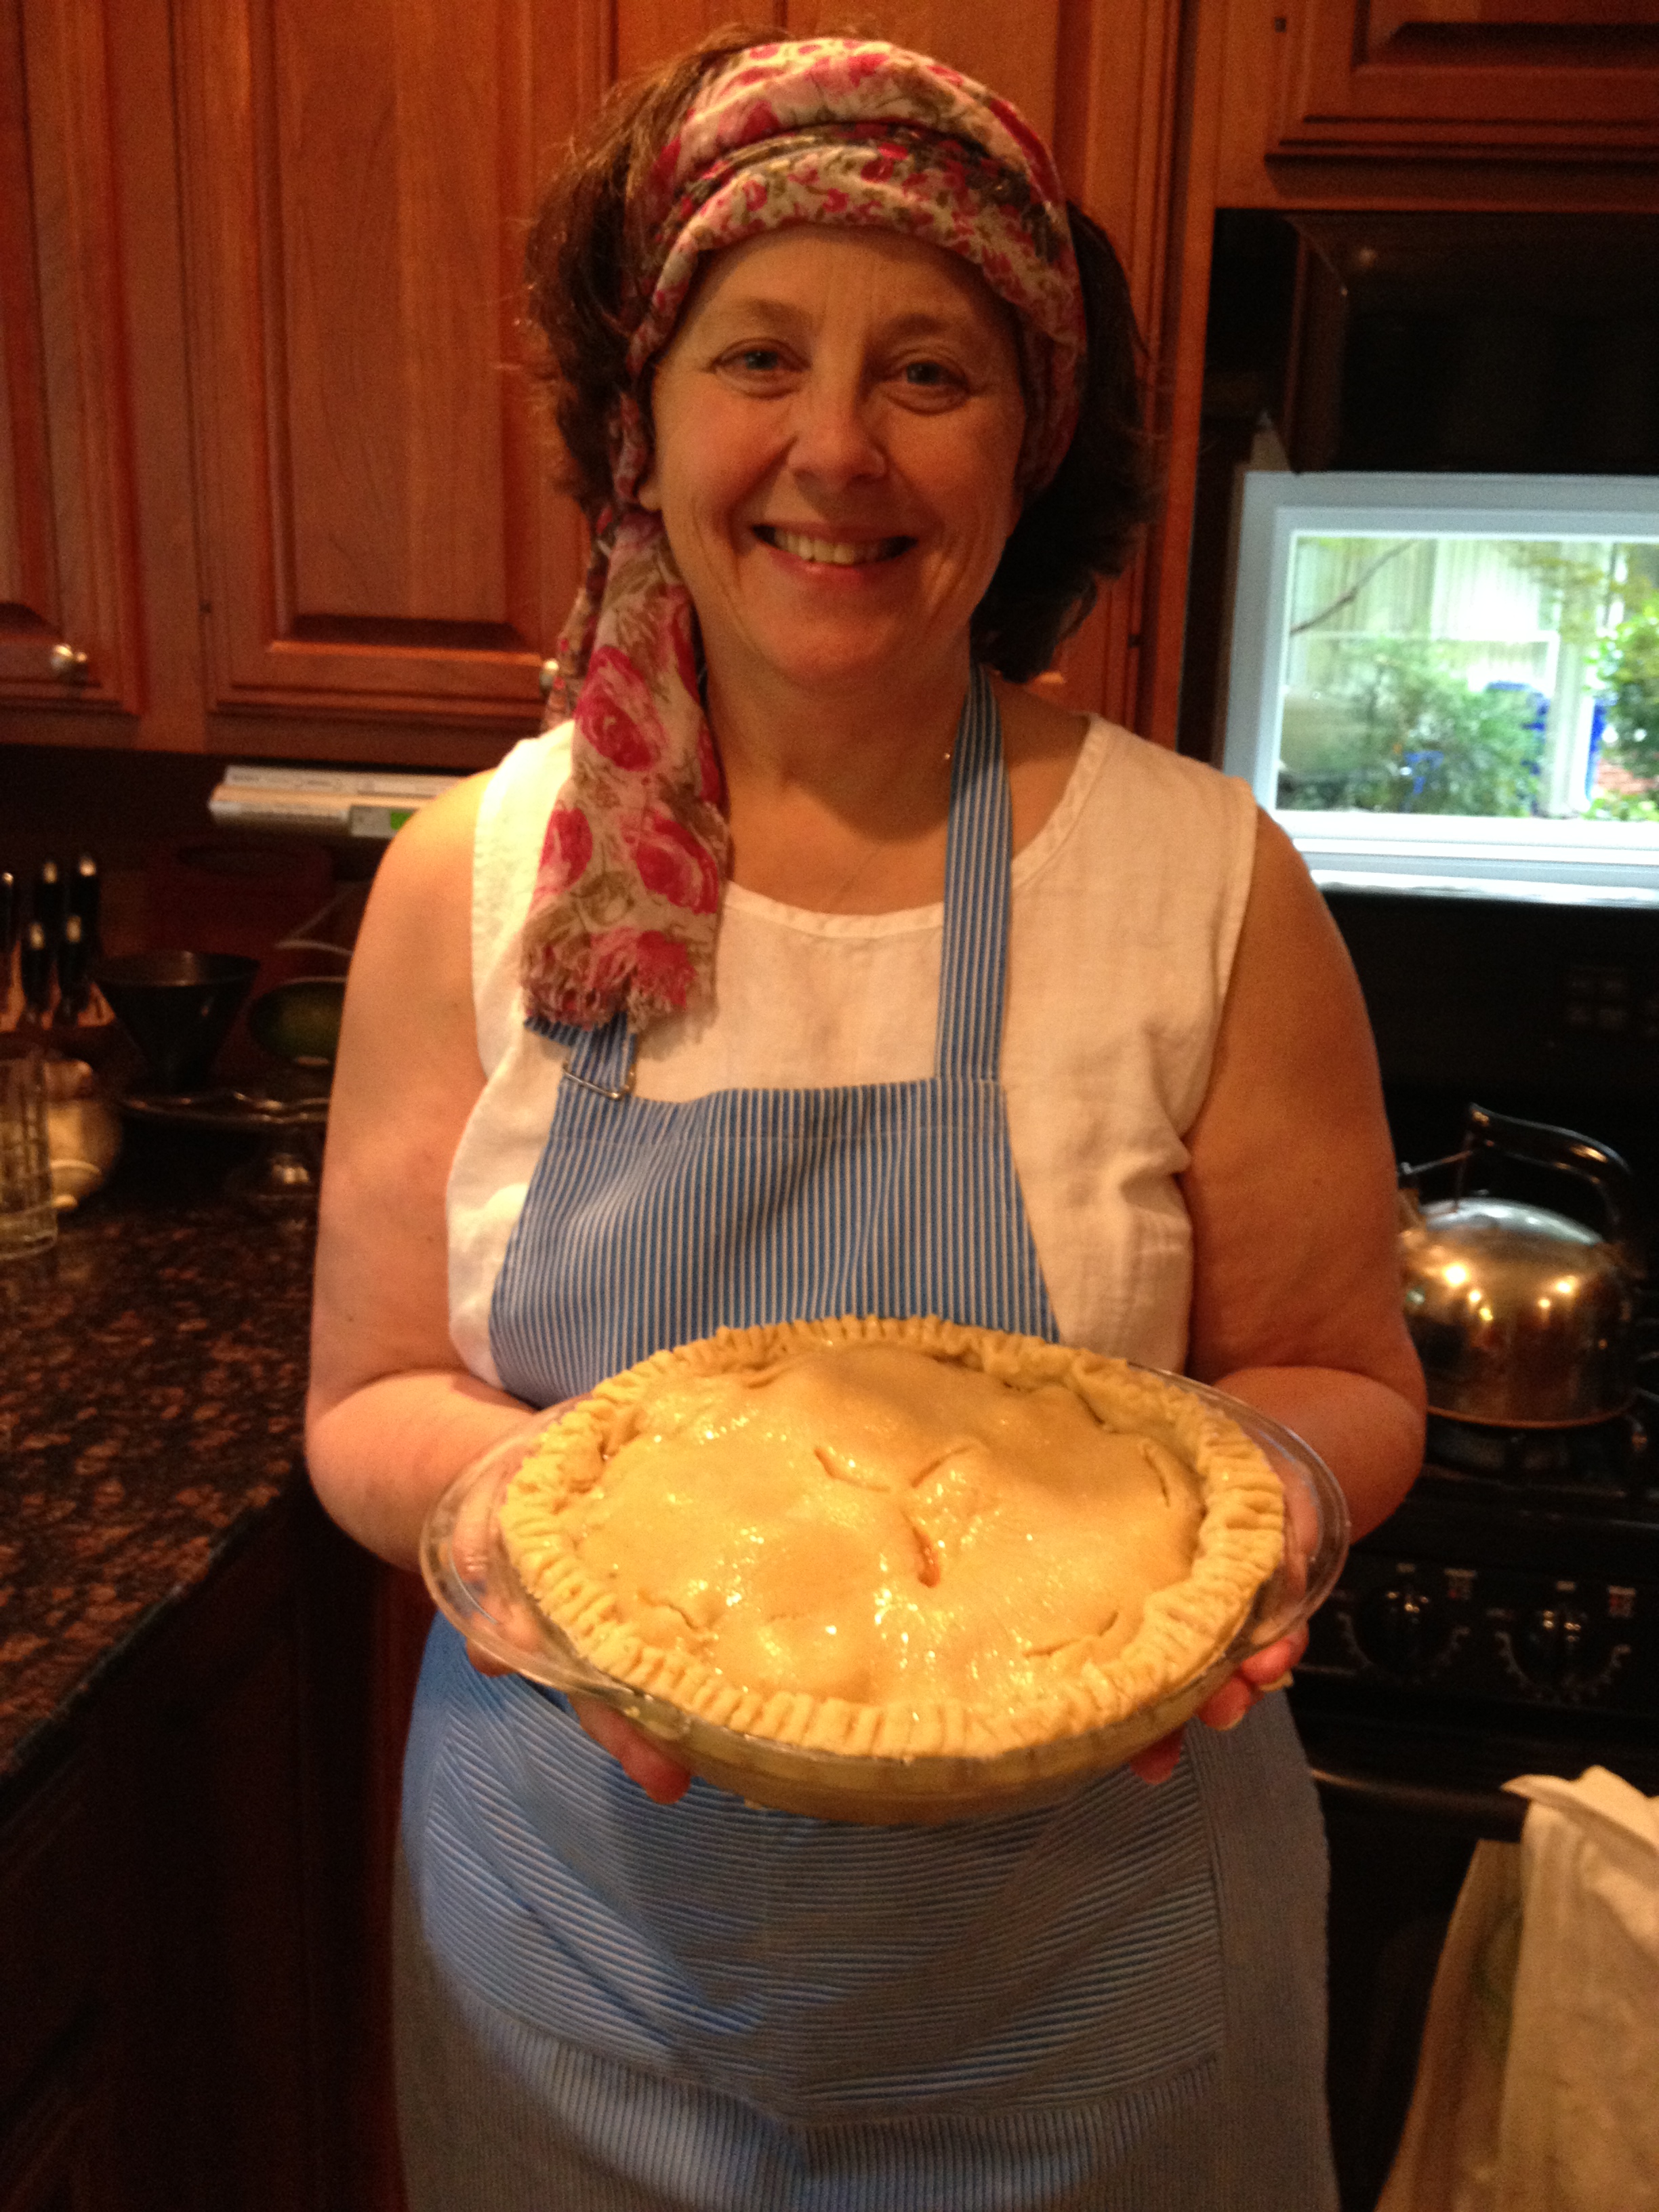
Then it was time to finish the edges and chill the pie. The photo you see at the top is the chilled pie, ready to pop into the oven. We chilled it for an hour, brushed it with egg white, cut a couple of vents in the top, and baked it at 425 degrees, for about 20 minutes, and then 375 for another 40 minutes or so. The last 10 minutes or so, we put a vented sheet of foil over the pie to keep the crust from getting too brown. When it came out of the oven, we performed the trademark Kate McDermott test of doneness: We listened to the pie.
Yes, we listened to it. She taught me that with fruit pies (which is the only type Kate makes), you want to hear a little sizzling sound from the baked crust, and a deeper, whumping type sound from the fruit itself. And damn, I heard them. I was particularly skeptical about the whumping; I figured that it would elude me, like the noises dogs can hear but humans can’t. But I really did hear it; the crust hissed in a friendly sort of way, and the fruit filling had a moderately high-pitched whumping sound. Kate says that with bigger fruits like apples, the whumping is deeper. I don’t doubt her. 🙂
Digging into a slice after a salmon dinner , I immediately recognized the difference between traditional pie pastry and gluten-free: a slightly sandy texture. Instead of flakes, you get grains. That’s the key difference when it comes to mouth-feel. It can’t–and shouldn’t–be compared to the traditional pastry. And it was, in fact, delicious and lovely in its own way.
What a great day, with all of its laughter and floury camaraderie!



Oh, I’ve known her to make a meat pie or two, and a delicious nettle pie – Kate’s an all-round pie queen! Sounds like a wonderful time! Wish I could have been there.
I need a bite of this pie Catherine!!!!! Please???????
Don’t worry, Sani!! I will make one for you!
How do i get on this exclusive invitation list?!?! 🙂 btw you’re amazing, you know that, right?!