
I admit that I’m kind of obsessed with butter. I can’t figure out any other way to explain to you why I decided to spend a beautiful summer evening making it from scratch.
No, it wasn’t a scene from Little House on the Prairie. It was more like Woman With A Bottle of Cream and Her KitchenAid. A totally different thing, really, from the laborious process described in mind-numbing detail in the children’s classic.
It’s so easy, in fact, that I want to stand up, wave my arms and shout in your face: Ya gotta try it! It gave me that fun little do-it-yourself rush. It gave me an 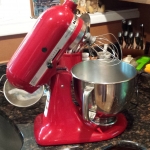 embarrassingly simple lesson in how one of our most basic foods is made. And it delivered an appealingly plump and creamy roll of butter. (And I made it all by myself. Did I mention that?)
My little butter-making project had been coming on for a full year. Last summer, I decided I wanted to find a higher-butterfat, lower-moisture butter than the Land O’ Lakes that had been a reliably good staple for my pie crusts. I wanted to see if using European-style butters would deepen the flavor of my crusts.
So I held a butter smackdown at work, offering my colleagues nine butters and asking which ones they thought were the most delicious and creamy. (You gotta read about it to see what their verdict was.)
Trouble is, the ones they liked best were significantly more expensive than the Land O’ Lakes, which I’d been getting at Target for about $4.65/pound if I was lucky. I also had hoped to find a locally produced butter that sent my heart soaring and was also affordable. I haven’t found one yet.
 In the meantime, I’m carrying on with Land O’Lakes, and I’m going to give Plugrá a try, too, since it’s a European style butter. I’ve tracked it down for $3.50 a pound by joining Restaurant Depot (business license needed).
But what if I didn’t have to buy my butter at all? What if I could just make it myself?
Deep down, I knew that there’s no way on earth I’d take on a butter-making operation on top of a full-time job. But it was fun to imagine it. And I at least wanted to see what the process was like.
I took the easy route; I made sweet-cream butter. I didn’t need to mess with letting the cream sit out so those magical bacteria could form to create cultured butter (you might know cultured butter, especially if you’ve hung out in Europe a lot; it’s got that tangy edge to the flavor). I also didn’t need to add microbes to culture the milk. I just beat good-quality cream until it turned into butter. Simple as that.
On the chance you think I’m a total butter weirdo, let me hasten to note here that I am hardly the first one to spend an evening or two making butter at home. There are recipes and how-to videos all over the Internet
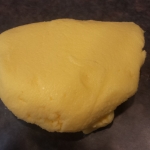
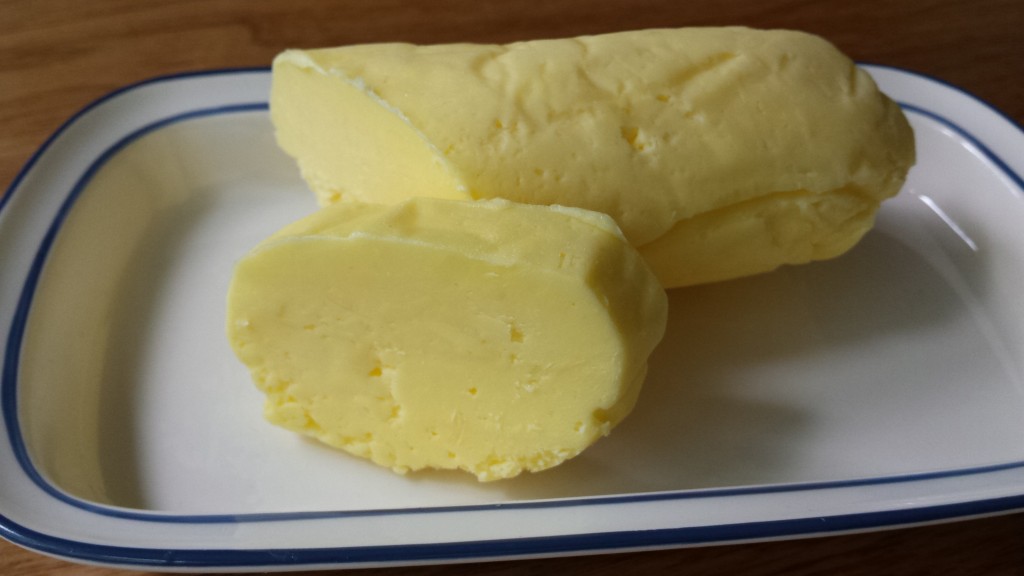
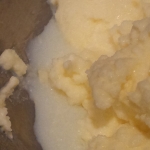
My homemade butter.
(Exhibit A, recipe from Epicurious. Exhibit B, a demo on YouTube from a chef named Todd).
New York Times food writer Melissa Clark took on a similar project last October. She made cultured butter at home, and then slipped it into an assortment of 13 butters for a tasting with colleagues. Hers scored among the best-tasting. The video of the Times butter tasting is a must-watch.
I know you’re getting impatient for step-by-step instructions and some photos of the process. But before I do that, let me leave you with two other fun things to read if you’re interested in butter-making. King Arthur Baking walks you through making butter, and Rocky Hedge Farm can show you how to make it in an old-fashioned churn. And cheesemaking.com has an interesting history of butter.
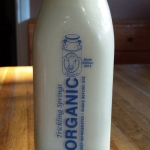
I started my butter adventure by buying good-quality cream at my organic market. I paid $4.19 for a half-liter of heavy cream from a local (Pennsylvania) dairy farm, Trickling Springs. (I’ll get some of that back when I return the bottle.)
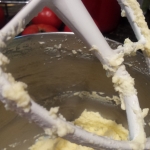
The first step is familiar to anyone who’s ever made whipped cream: I poured the cream into the bowl of my beloved KitchenAid mixer, and put on the whisk attachment. On medium-high speed, I whipped the cream until it formed soft peaks, and then until it formed stiff peaks.
-
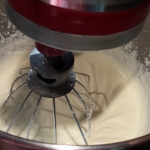
- Getting to the whipped-cream stage.
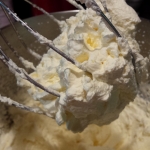
To make butter, though, I had to go past the whipped-cream stage. I had to keep going until the solids in the cream (your butter-to-be) separated from the liquid (that’s buttermilk!). Having seen the chef on YouTube switch to the paddle attachment halfway through, I did that too; once I had whipped cream, I put on the paddle attachment.
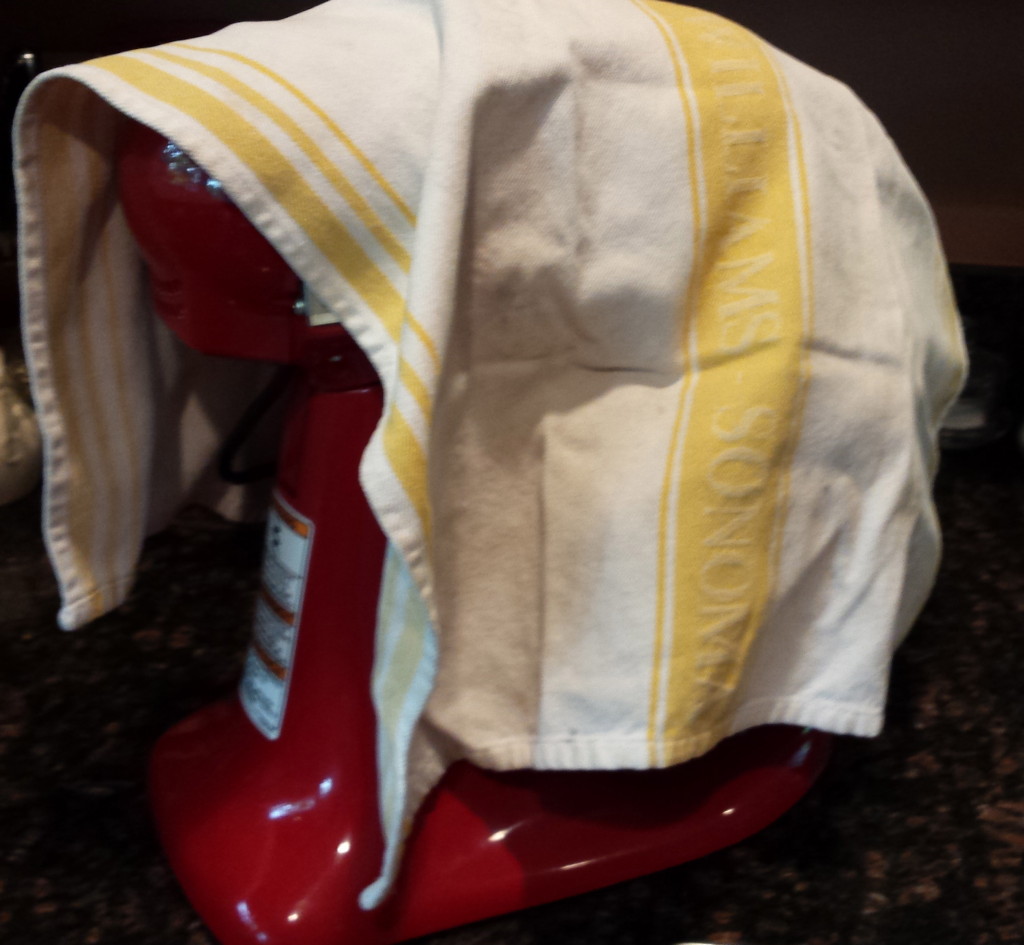
I also took a precaution that I had seen and read about in the videos and other recipes: I threw a kitchen towel over the top of the bowl. And boy, am I glad I did. There’s a lot of serious splattering in this process.
With the paddle attachment on and the towel deployed, I went back to beating. I kept the speed on medium-high (about 8 on a KitchenAid). After about six minutes of this, I stopped the mixer to peek into the bowl, and I could see that some liquid was starting to emerge from the solid butter. A-ha! Progress! I could see when I lifted the paddle, too, that the solids were sliding right off the paddle because of the liquid. Also a promising sign.
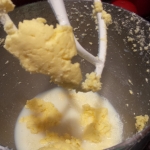
About five minutes more of beating and I could hear the telltale sloshing and bumping that signals the end of the process. The butter had formed a big heavy lump, and was slinging the buttermilk around the bowl. It was time to stop. I had made butter!
(Okay, so I yelped and jumped up and down a little bit. So what? After a lifetime of buying butter in square packages from the market, with no connection to where it came from, it was really exciting!)
The next step was washing the butter. That’s right; you have to wash your butter! Isn’t that charming? (Well I thought so.)
First pour off the buttermilk into a container, cover it, and put it in the fridge with dreams of yummy buttermilk scones. (Nudge, Nudge.)
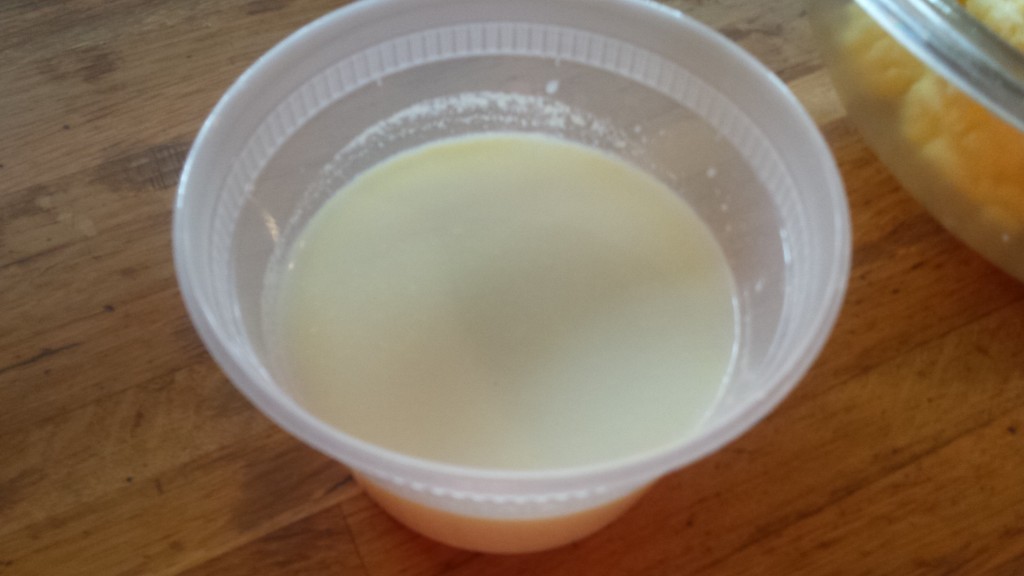
Nice side benefit: you get buttermilk, too!
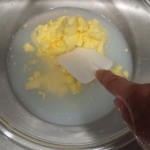
Gently press the butter solids together and put that lovely lump into a clean bowl. Run some fresh cold water into the bowl.
Using a spatula, gently press, turn and fold the butter until the water gets cloudy. That’s the remaining traces of buttermilk in the butter. Pour the cloudy water off and pour fresh in. Repeat the washing process with batches of fresh water until the water runs clear when you work the butter in it. (Mine only took two rounds of rinsing.)
-
- Water runs cloudy…
-

- …. and then clear.
Lightly pat your butter dry with a paper towel.
-
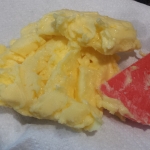
- Still a little wet…
-
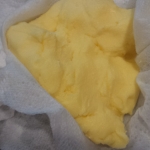
- … dry and ready to be wrapped.
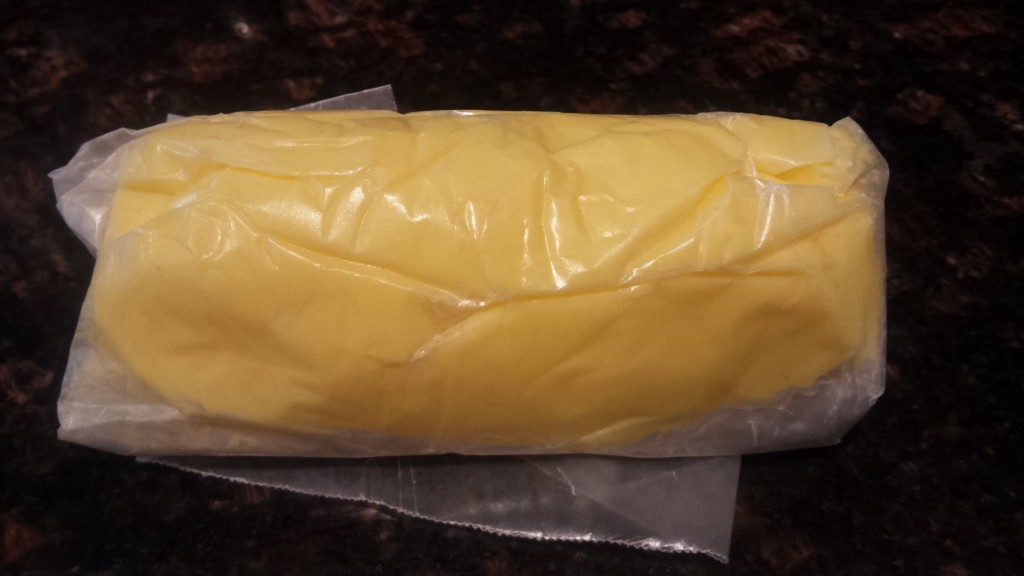
Place it on a sheet of wax paper and shape it however you’d like. Wrap tightly. Chill. (If you’re not going to use it right away, wrap in plastic wrap and then seal in a freezer bag.)
I made unsalted butter because that’s what I use in my pies. If you want to add salt, you can certainly do that.
Homemade Butter
Ingredients
- 16 ounces of good-quality heavy cream
Instructions
- Pour the cream into the bowl of a stand mixer outfitted with whisk attachment.
- Beat the cream on medium-high speed until stiff peaks form.
- Replace whisk attachment with paddle attachment.
- Drape a kitchen towel over the top of the mixer, and over the top of the bowl to catch spatters.
- Continue beating on medium-high speed for about 5 or 6 minutes. Scrape down the bowl and check to see if any liquid is emerging from the solids yet.
- Continue beating on medium-high speed, probably for another 5-6 minutes, but the amount of time needed may vary. Beat until you hear a sloshing and a thumping noise from the bowl, indicating that the butter has formed a big lump and is ready.
- Pour off the liquids (the buttermilk) into a container with a lid and refrigerate.
- Transfer the lump of butter into a clean bowl. Cover it with fresh cold water.
- Using a spatula, gently press and turn the butter until the water runs cloudy. Pour off that water and pour in fresh. Repeat this process until the water runs clear.
- Gently pat the butter dry.
- Wrap tightly in wax paper if you'll be using the butter soon. If you'll be storing it longer or want to freeze it, wrap the butter in plastic wrap and seal it in a Ziploc bag. It will keep in the refrigerator for at least a week, and in the freezer for a month.
Got the cream now want to make lightly salted butter…at what point would you add salt? And if so.what would be a safe amount