
Let the pig fat rock your world. That’s my most heartfelt advice for pie bakers.
When I waded into the world of piemaking, I did it ever-so-gently, to get over my sheer terror of rolling dough. I tried a half-Crisco, half-butter recipe, since Crisco makes dough easier to handle.
When I stopped hyperventilating and got more comfortable with making dough, I graduated to an all-butter crust. I wanted to get rid of that weird coating Crisco leaves on your tongue, and reap the flavor benefits of butter. The drama of the difference is hard to overstate.
 Then the pig fat came and rocked my world. When my pie mentor, Kate McDermott, came to teach workshops at my house in 2012, she introduced me to leaf lard, that cherished bit of top-notch fat around a pig’s kidneys. And no pie crust ever tasted or felt as good again.
Now I do want to say that all-butter dough retains a beloved and high-profile place in my heart. It’s my go-to crust when I am baking for Kosher and vegetarian friends. And it’s a great choice when you want a crust that’s a little bit more firm than the butter-lard crust.
But the butter-lard combo is my top choice. The rich flavor of the two fats, and the effect they have on the crust’s texture–the perfect balance of flavorful and flaky–just can’t be beat.
My recipe is adapted only slightly from my pie mentor, Kate McDermott’s, recipe. It is meant to be a tribute to her revolutionary effect on my 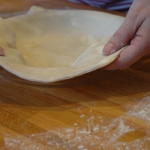 pie world. Where she uses no sugar, I add a little tinch of sweetness. Where she uses half butter and half lard, I tilt my proportions a teensy bit toward butter.
Using lard in pastry is nothing new, of course. The good folks over at Everything Pies traced the butter-lard approach back to 1887 in the White House Cookbook (although this version uses baking powder, an ingredient I’ve never found necessary in pie crust). Southern biscuit-makers know the magic of lard.
But somehow it fell out of favor in recent years. When I tell people that I use lard in my pie dough, they often look horrified. Perhaps they’re thinking of the gamey hydrogenated lards that can be found unrefrigerated on grocery shelves.
As maligned as it’s been, though, lard is making a comeback. Kim O’Donnel chronicled her dive into baking with lard in The Washington Post, and Melissa Clark wrote about hers in The New York Times, declaring lard to be “heaven in a pie pan.”
Food & Wine magazine trumpeted the health benefits of lard, noting that it has less saturated fat than butter. And Epicurious praised its lower water content and higher fat content, a perfect formula for pastry.
I’ll just add my small voice to the list: you gotta try a butter-lard pie crust!
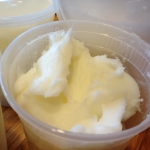 The kind of lard you need for pie crust is very specific: leaf lard, so named because it spread out in a rough leafy pattern around the pig’s kidneys. Good leaf lard is pure white and creamy, and is devoid of any gamey flavor. It just smells…. rich.
I’m lucky enough to have a local butcher who renders her own leaf lard, and it’s so awesome that just a whiff can get you high. If you don’t live near Wagshal’s in Washington D.C., though, you can mail-order it from respected farms (like Fannie and Flo) or find a local butcher who knows what you’re talking about when you ask for leaf lard.
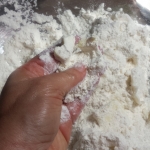 want to melt them. Use a quick motion of your thumb against your other four fingers to break up and flatten the fats, coating them with flour as you go.
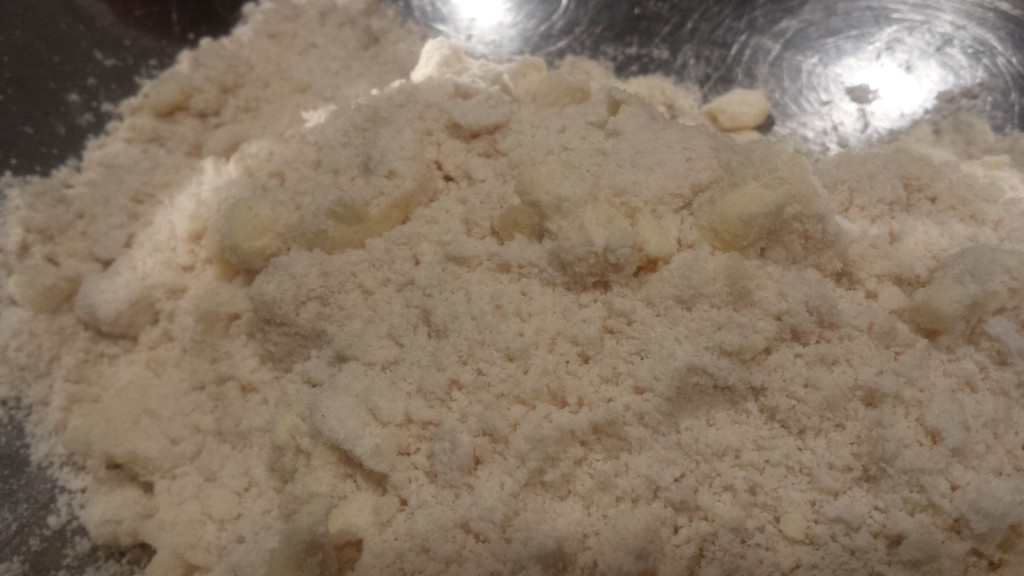
-
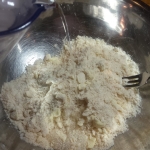
- Keeping fork against bowl…
-
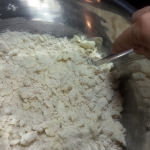
- … looking for dough to “chunk up”
Butter and Leaf-Lard Dough
Ingredients
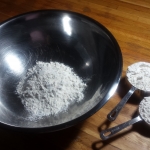
- 12 oz. all-purpose flour
- 2 Tbsp. sugar
- A generous dash of Kosher salt
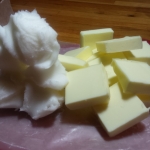
- 4 1/2 oz. unsalted butter chilled and cut into 1/2" pieces
- 3 1/2 oz. rendered leaf lard chilled and cut into 1/2" pieces
- 4 oz. cold water
Instructions
- In a large bowl--large enough to give you generous working space--combine the flour, sugar and salt.
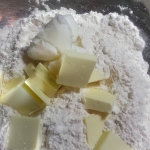
- Add the butter and the lard. Toss lightly in the flour to coat.
- With your hands, break up the butter slices. Touch the butter only momentarily and drop it back into the flour, mixing and breaking up the pieces with a fast thumb-against-the-other-four-fingers motion. As you do this, think about keeping the butter pieces coated in flour, and think about thinning them as well as breaking them up.
- Gently break up the lard with your fingers. Since the lard is much softer, this is a different motion. I press down with my fingers into the flour at first, coating the lard and breaking it up at the same time. Then I use the same thumb-against-the-other-four-fingers motion, gently and quickly, trying to keep the lard coated with flour as I break it up.
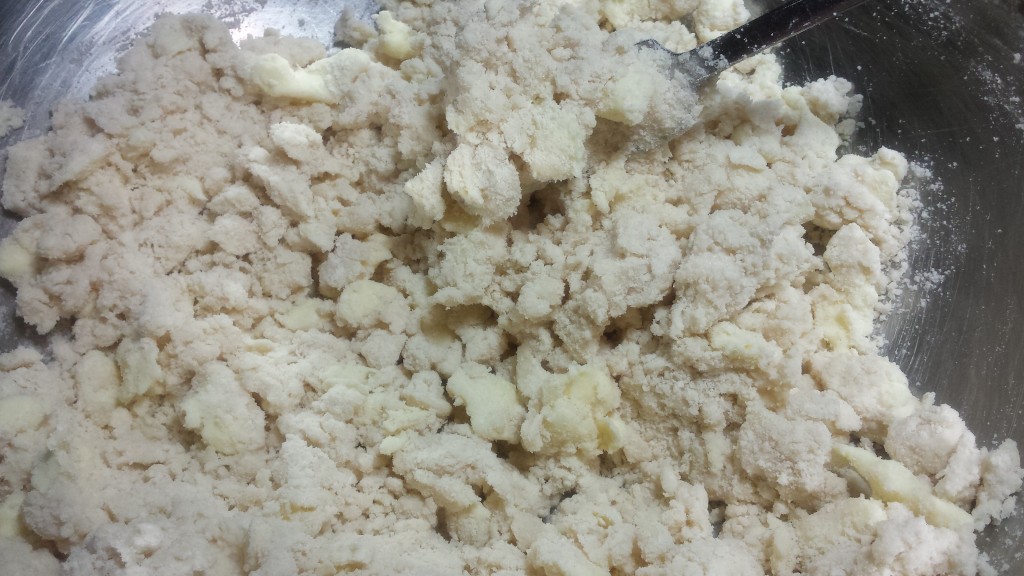
- Work the fats into the flour until your mixture looks raggedy and unfinished, with bits of butter and lard ranging in size from peas to kidney beans. (Disregard all those other recipes that tell you to work the dough until it resembles cornmeal! You WANT visible chunks of fat in your dough!)
- Add a few tablespoons of icewater and stir a few times with a fork. Resist the urge to over-stir.
- Add another drizzle of water and stir a few more times. Depending on the temperature and humidity of your kitchen, this might be enough. Or you might need to add another drizzle, or even more. You have to judge by the look and feel of the dough.
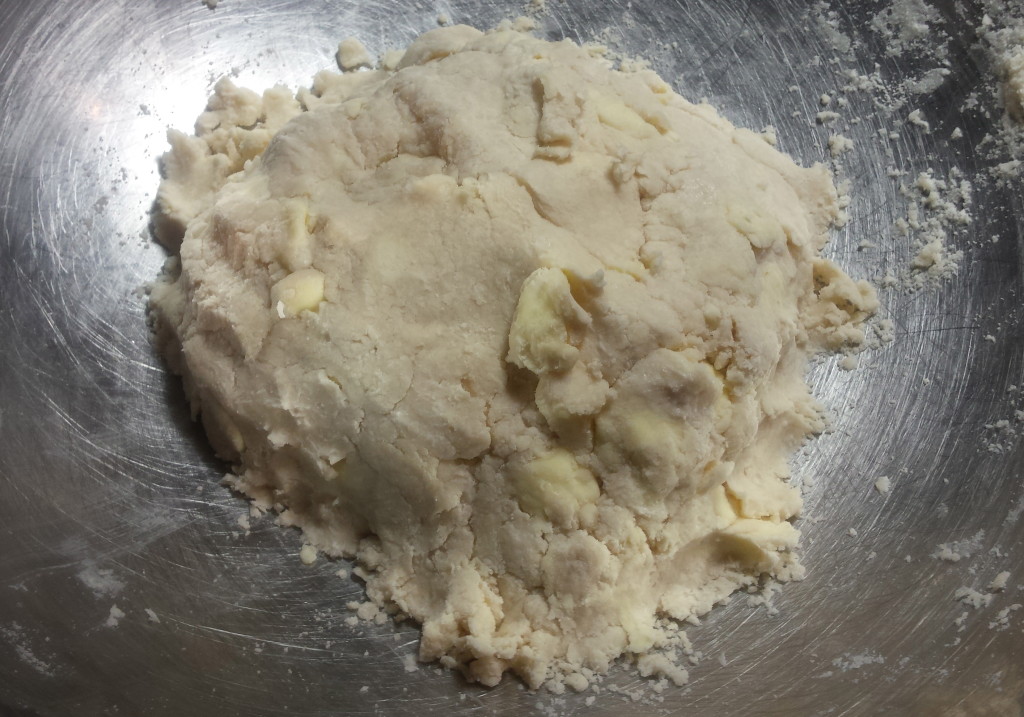
- Check to see if most of the dough has gathered itself into chunks. Test by gathering a small handful of dough and pressing it together very lightly. If it holds together, it's time to stop adding water. If it's still falling-apart crumbly, add another small drizzle of water.
- Once your dough can hold together, it's time to pull it together in the bowl so it makes one nice lump. Press it together, turn it, massage it and fold it over itself for only about 5-10 seconds, so you've got all the bits nicely incorporated into one dough ball.
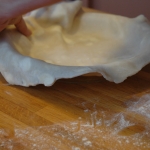
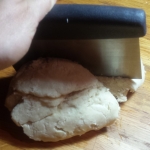
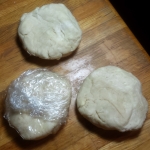
- If you are using the dough for one double-crust, deep-dish pie, divide it in half. (If you are making a smaller pie, such as standard-depth 9-inch pie, divide it into thirds.)
- Shape each section of dough into a thick disk. Wrap each one in plastic wrap and refrigerate for at least a half-hour.
- You can keep the disks in the fridge for a week or two, as long as they're well sealed.
- They freeze nicely, too. Once you're ready to use your frozen disks, move them to the refrigerator to defrost overnight.