I promised yesterday to tell you more today about the first session of my Pastry Techniques class at L’Academie de Cuisine, and CurvyMama keeps her promises.
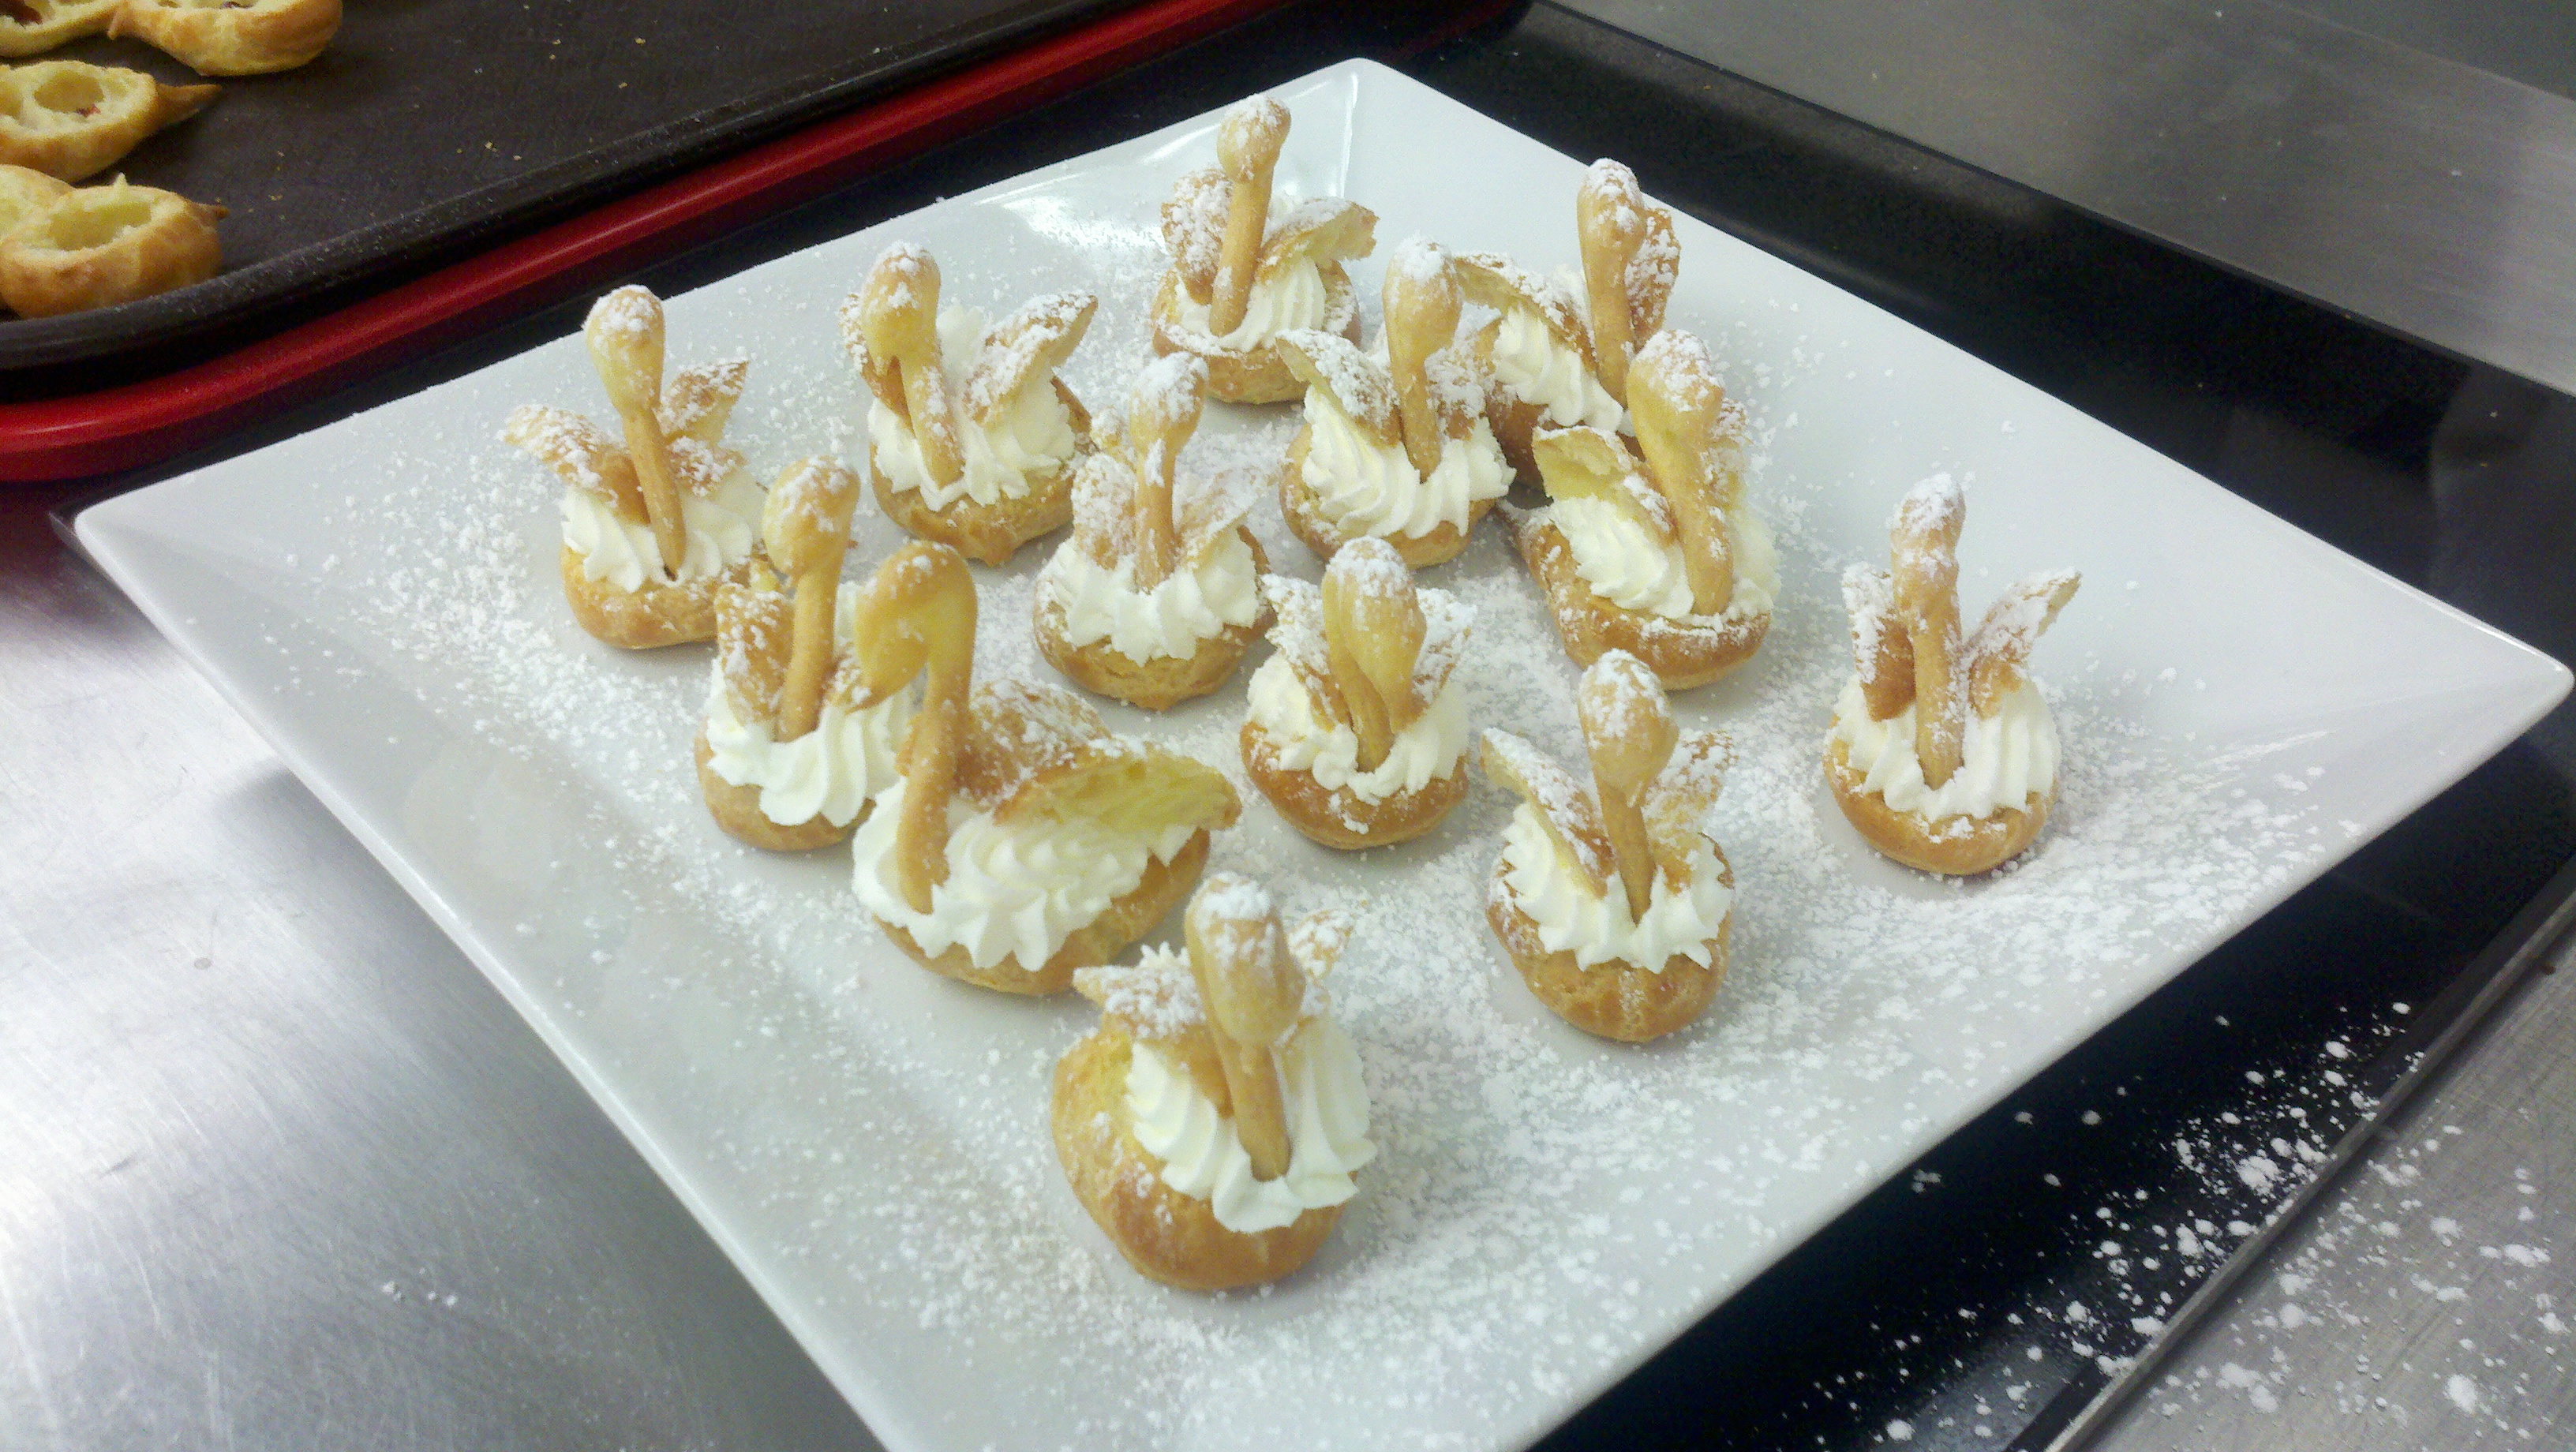
Here is how our evening ended:
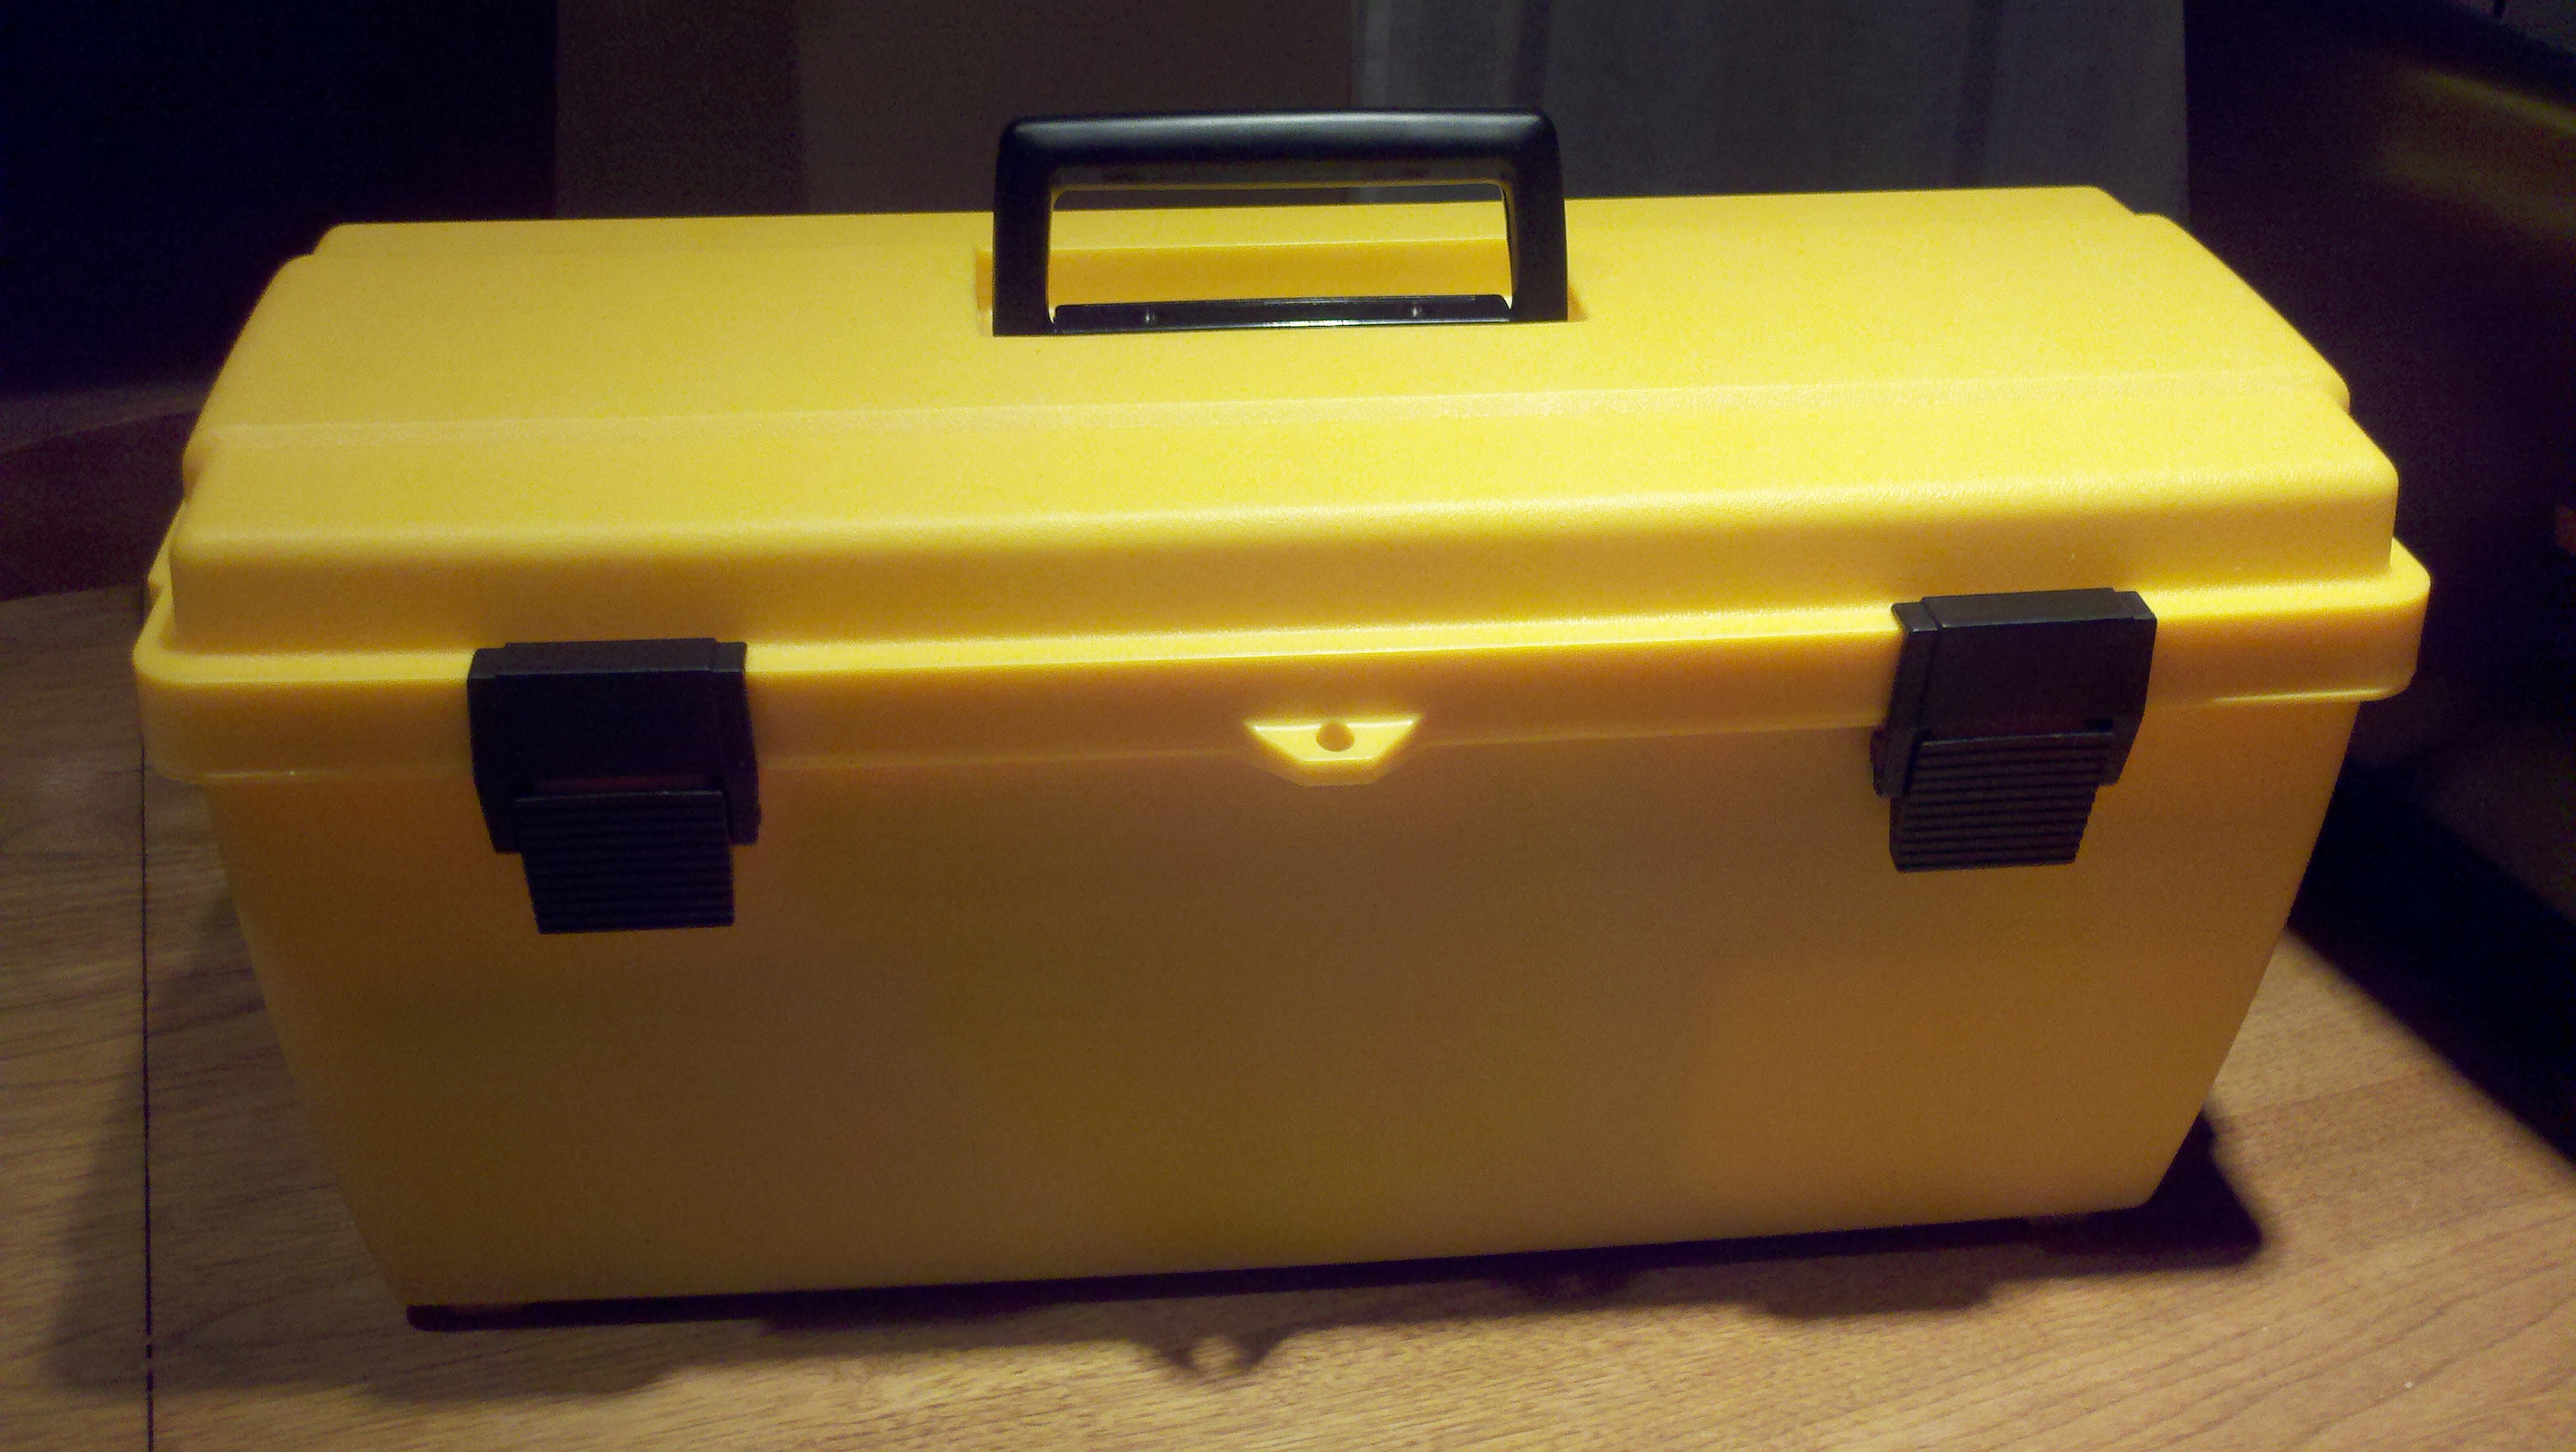
And here is how it began:
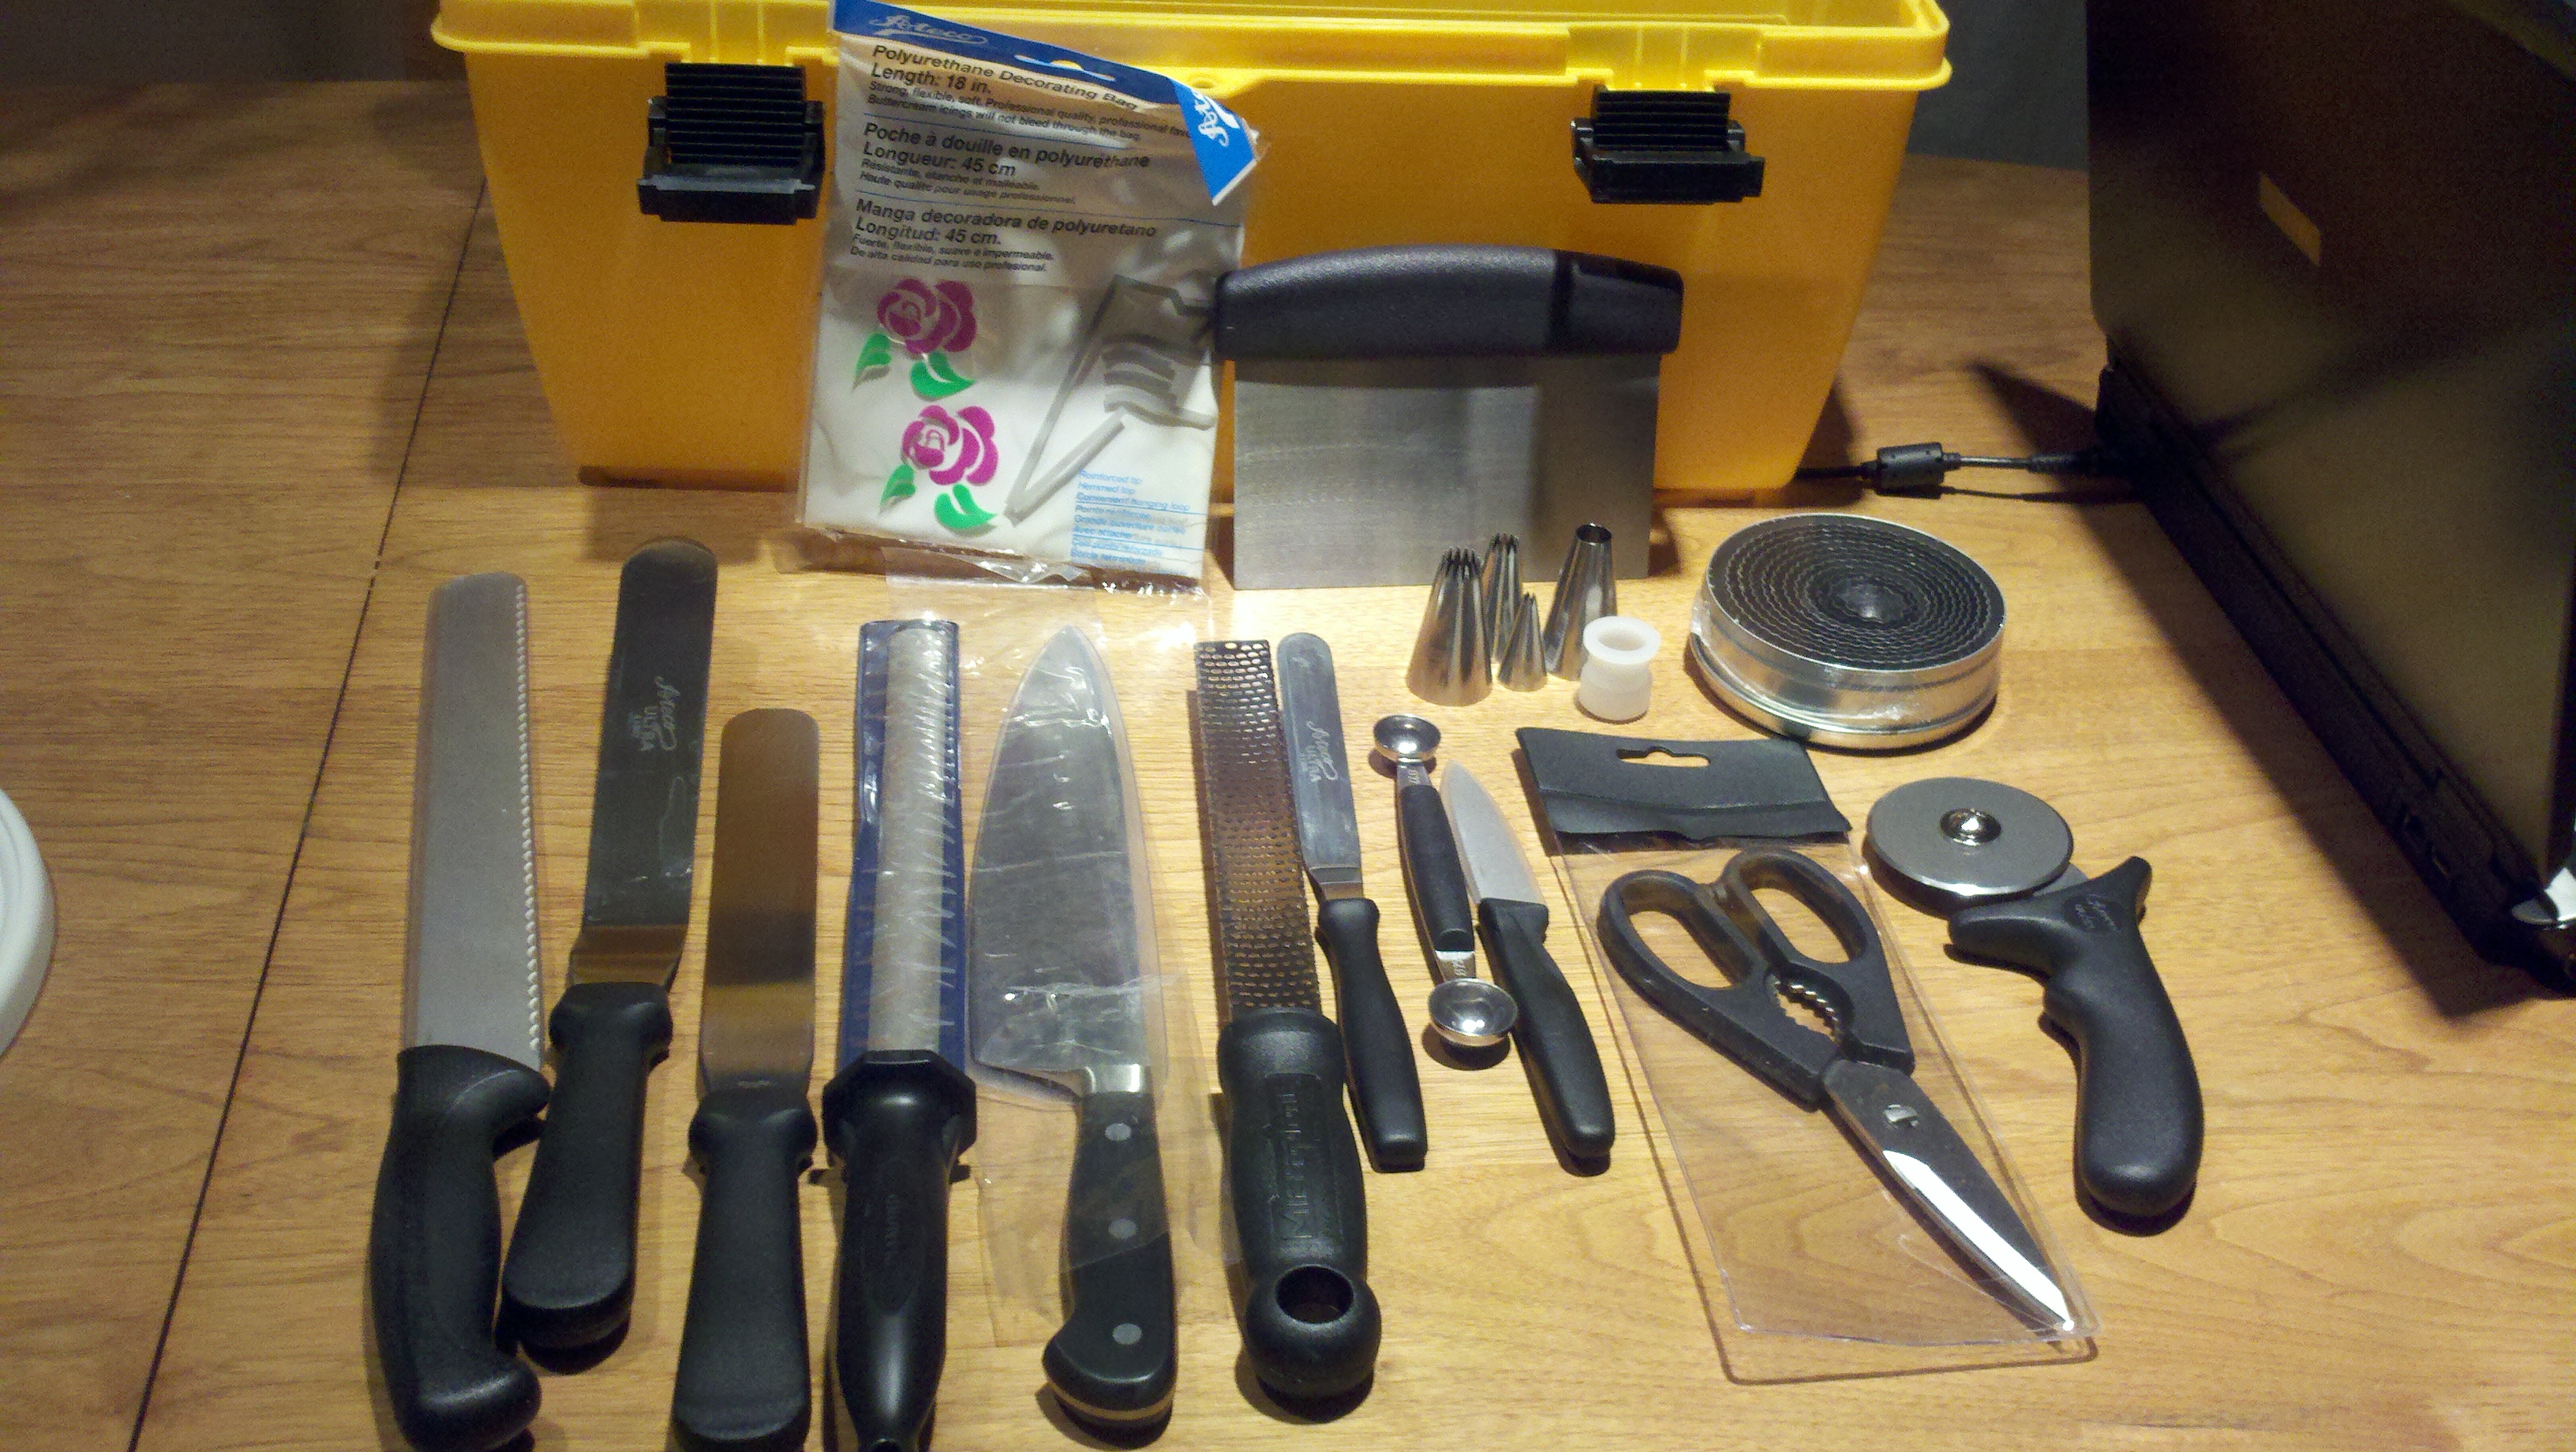
To make charming desserts of immense delicacy, it seems, we need quite the butch set of equipment. Here’s what is in our kits:
So what have we here? From left to right: 11-inch serrated knife, 8-inch offset spatula, 8-inch regular spatula, 10-inch diamond steel, 9-inch chef’s knife, microplane grater, 4-inch offset spatula, 1-inch and 7/8-inch double melon baller, 3-inch paring knife, kitchen shears, and 2 1/2-inch pastry wheel. Back row, against the pastry kit: pastry bag, bench scraper; a set of pastry bag tips with coupler, and a set of fluted cutters. (There is also a soft white plastic bowl scraper, but it was too shy to make it into this particular photo.)
Sitting in two obedient rows, we students got an orientation to the 20-week, 60-hour course. 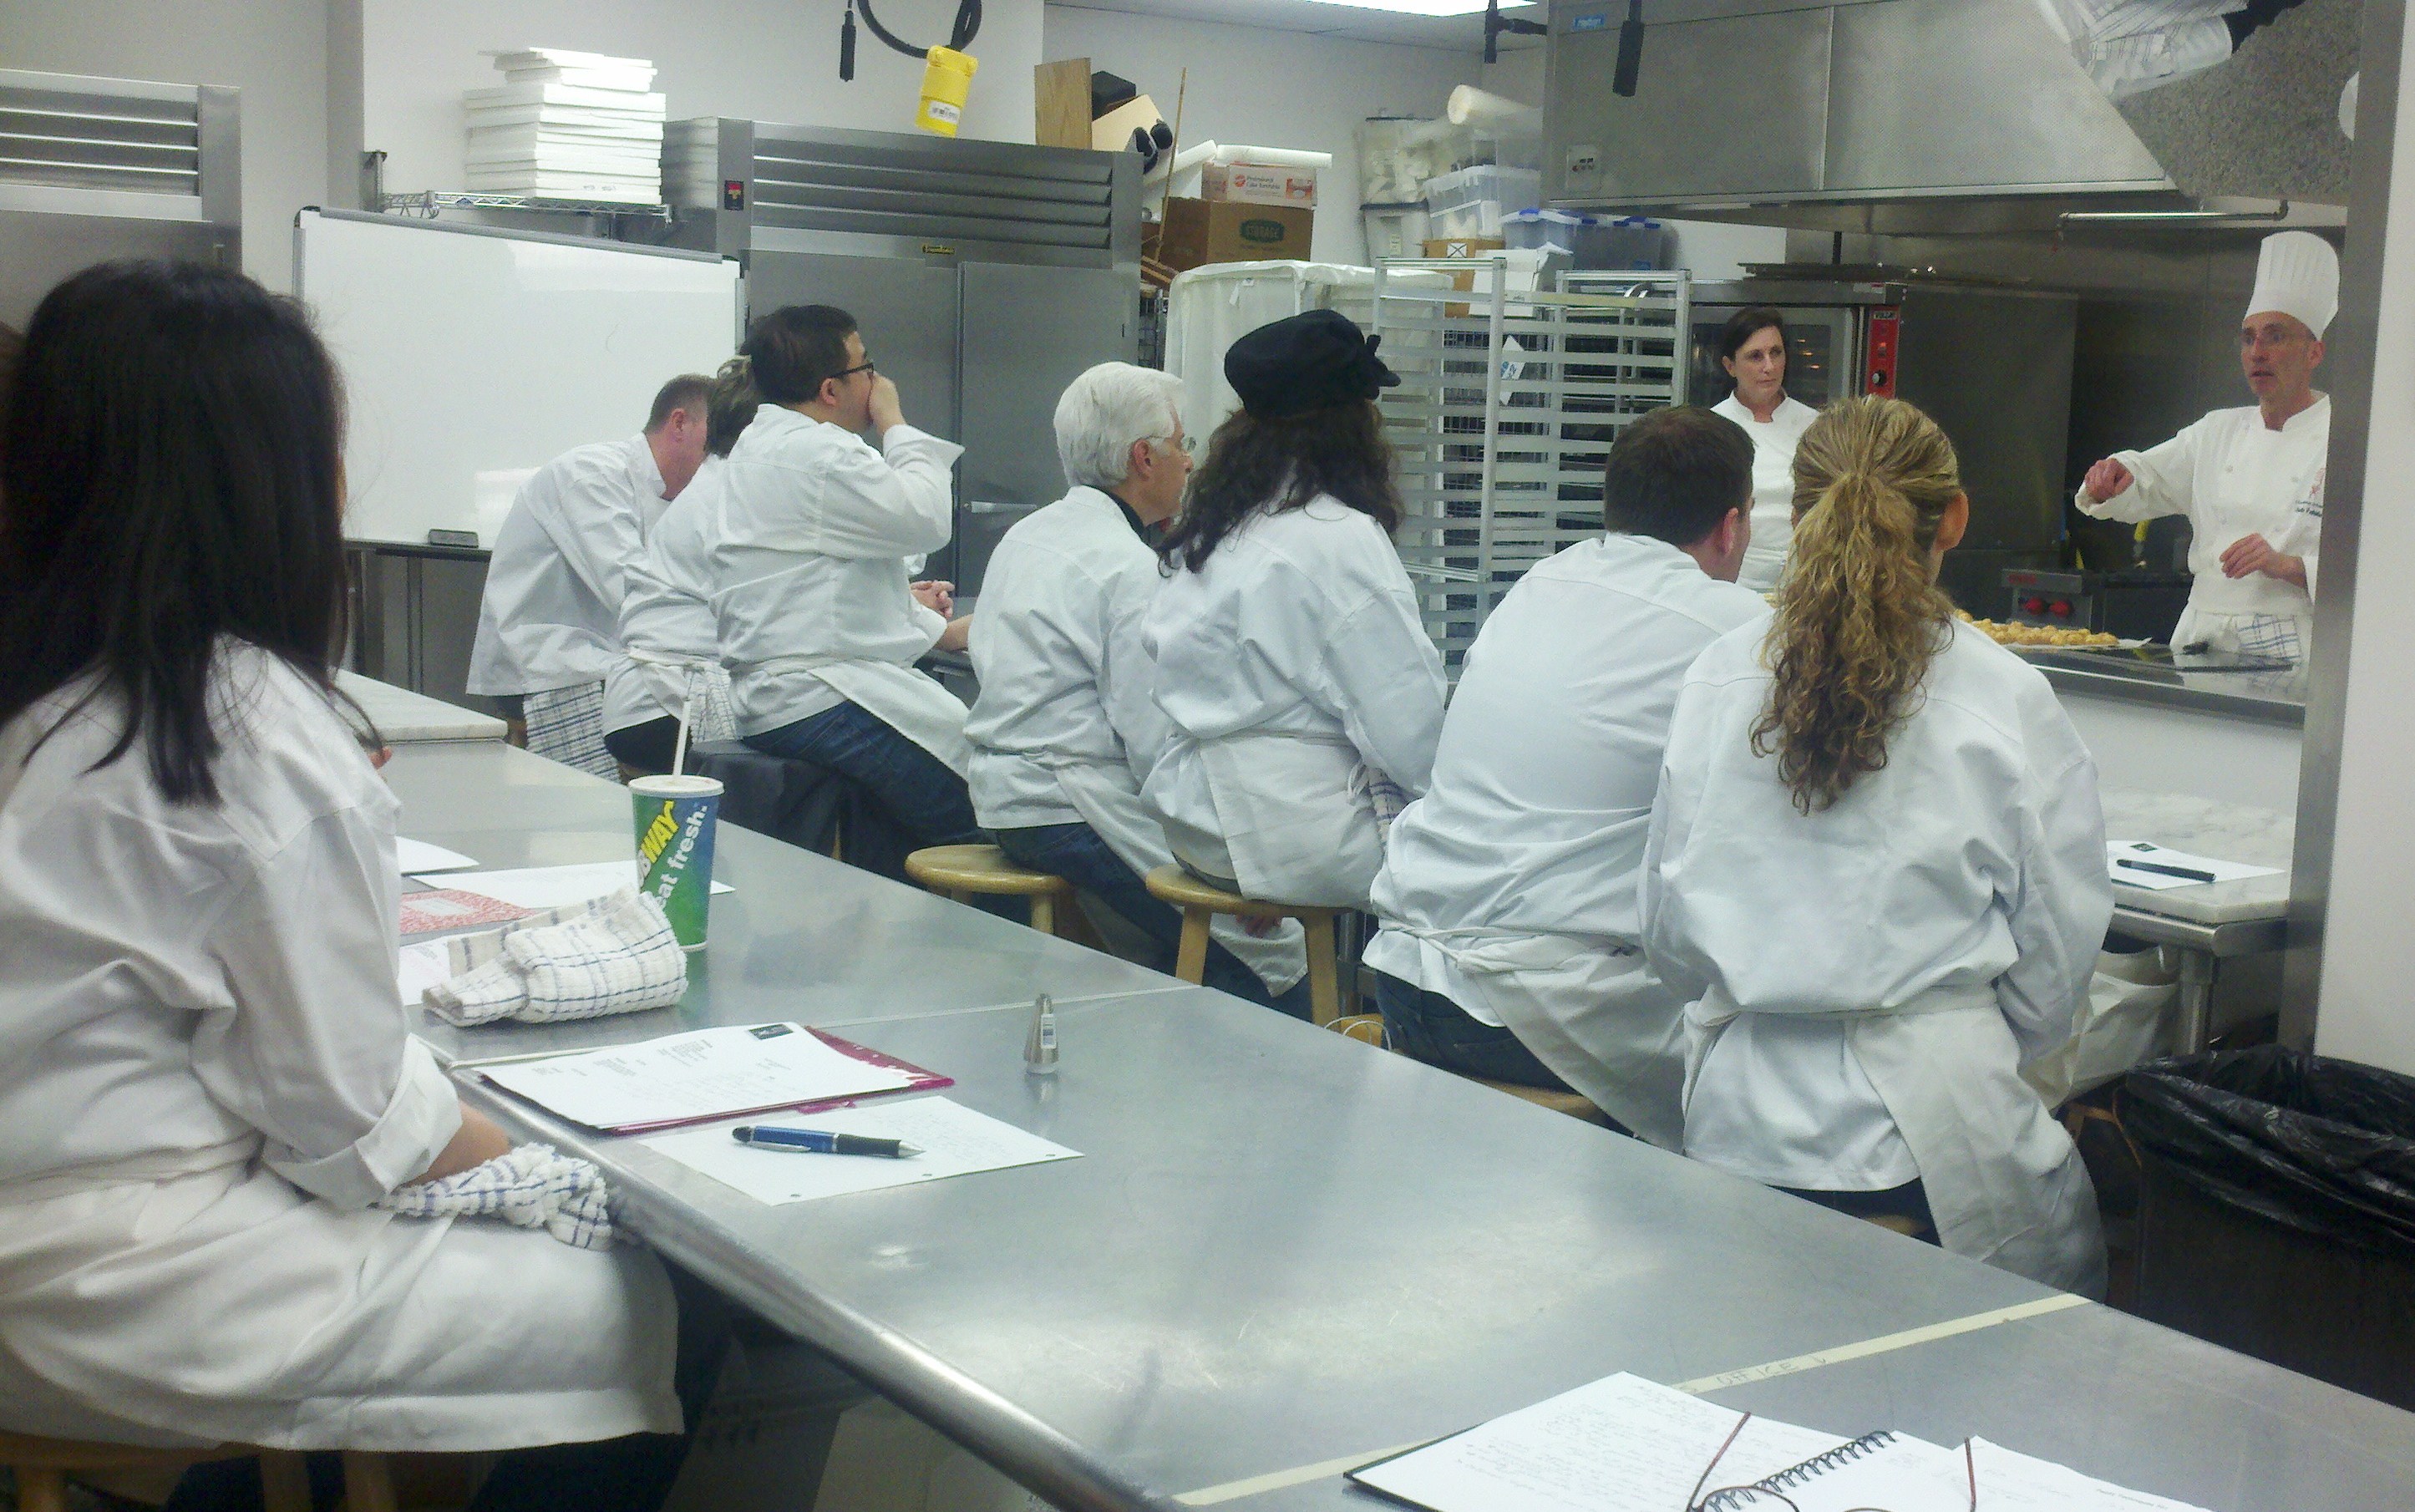
We learned that we will spend the biggest chunk of the course–eight weeks–learning batters and doughs, including short dough (pâte brisée), tart dough (pâte sucrée), and “laminated” doughs such as croissants and puff pastry. Big chunks of the course will also focus on mousses and Bavarians (two weeks) and cakes (three weeks), including a “celebration cake.”
We cover cold desserts such as ice cream, and hot desserts such as crème brûlée, bread pudding and crêpes, before spending three days on chocolate, including one session devoted to the science of tempering that sweet substance. As a final respectful nod to our savory-side friends, we apply our pastry skills to hors d’oeuvres. Finally, said Dennis McCoy, Chef Claude’s chief assistant, we crack open some wine and have a big party, with a buffet spread that I can only presume we students will create.
By this time, it was everything I could do not to leap off my stool, squeal and clap my hands. (That empty spot you see at the end of the second long metal work table was my spot. But it’s not empty because I jumped up and down. It’s empty because I got up, in a very mature, well-mannered way, to take that photo for you.)
During this little orientation, it did not escape my notice that our teachers had left little plates of yummies around the room for us, in strategic locations. Within arm’s reach of where I was sitting was a square white plate of gougeres (cheesy little puffs made from the pâte à choux pastry we were going to tackle that evening) and another white plate of alluring fudgy brownies, cut into perfect petite triangles. We were informed that coffee would be available, but only the fully caffeinated version. Dennis told us that this reflected the convictions of L’Academie founder Francois Dionot, who believes that “if decaf is coffee, then margarine is butter.” And you know, of course, the status that butter has among pastry chefs: You might as well kneel down and pray to it.
And so it was that the tone of my pastry class adventure was set. Yes, my dear children, nibble our goodies all you like. But we do have our standards.
Dennis gave us the come-to-Jesus talk about the sacred importance of mise en place (having everything you need in front of you when you begin to cook). He walked us through the basics of recipe construction, such as listing ingredients in the order in which they are going to be used. We got eye-opening and useful advice, such as to avoid letting our side towels (the little hand towels that drape over our apron strings) get too wet. What’s the big deal about a wet side towel? Next time you have to grab a hot pan in a hurry, and you use your side towel as a potholder, you’ll find out: that wetness turns to steam and scalds your hand.
We were warned to always announce loudly that we are coming through the kitchen with a hot pan, so no one turns suddenly and bumps into it. And never, ever-ever-ever walk around the kitchen with a knife pointed anywhere but down, Dennis said; a woman in the cooking techniques class had her sleeve sliced open and her arm cut when she turned into a fellow student’s upturned knife.
Having taken in that whirlwind orientation, along with a tour of the demonstration area, kitchen work space and dishwashing area, we got to watch our first demo: Chef Claude making pâte à choux (which I told you a little about yesterday). This easy and versatile dough is used in éclairs, cream puffs, and gougeres. (Next week we are going to use our new pâte à choux skills to make Paris-Brest. Amazing!)
After watching Chef Claude, we paired up with partners, hustled off to the kitchen and tried it ourselves. My new doughs-and-batters partner, Michael Edwards, who’s a former NEA lobbyist, and I combined 1/2 cup each of water and milk in a saucepan, along with 3 1/2 ounces of unsalted butter and 1/2 teaspoon of salt and brought the mixture to a boil on a single-burner butane unit, stirring to get the ingredients combined.
Once we got it to a roiling boil and the butter had melted, we dumped in 5 1/4 ounces of all-purpose flour, all at once. (Yes, this is the way you do pâte à choux. It’s weird for us bakers, accustomed to our careful, partitioned ways of adding flour.) Michael and I stirred this mixture with a wooden spoon, noticing how firm it becomes, until we saw the telltale signs Chef Claude told us to look for: the dough pulls away from the pan, and as you stir, you see a thin film on the bottom of the pan. Seeing this, and checking with the pastry assistants to make sure we were on track, we took the pan off the heat.
Now it was time to cool the dough a bit so it didn’t cook the eggs when they were ready to be added. We transferred the dough to the bowl of a stand mixer. On low speed, we waited for the dough to stop emitting steam. Then it was time to add the four eggs, one at a time, until each was fully incorporated, while the mixer stayed on low speed. We stopped once in a while to scrape the bowl down, and to check the dough’s texture by disengaging the paddle and pulling up some dough; we were looking for a smooth, soft texture that would drape into a long arrowhead shape.
Even after adding four eggs, the dough wasn’t quite soft enough. So, following Chef Claude’s instructions, we added a tablespoon full of water and mixed. The dough was perfect.
We prepared a pastry bag: We cut the corner off of a big plastic bag and dropped a large pastry tip into the opening. We scraped our dough into the bag, twisted the top and prepared to pipe the dough onto a baking sheet. (Cool tip, especially for baking in a convection oven, where the fans blow the air around: put a dab of dough in each corner of the pan, and stick the corners of your parchment paper to the dabs. That will hold it down.)
Michael and I took turns piping quarter-sized blobs of dough onto the sheet, struggling to learn the final teensy whoosh motion that cuts off the dough with a tiny curl. (It took me about a dozen blobs before I started to get it.) Then we used a very soft brush to lightly spread a beaten-egg wash on the blobs of dough (Cool tip: strain your egg wash before you do something like this. That leaves clumps of raw egg white behind). Using a wet fork, we ever-so-lightly pressed fork-tine patterns into the dough, first at one angle, then at another, making a faint little criss-cross, and wetting the fork periodically. This breaks the surface tension, Dennis explained, so the dough will rise when cooking without cracking.
Into the oven went the dough balls, to bake at 400 for 10-12 minutes, or until they began to show some color. Then, without opening the oven door, the chef reduced the heat to 350 for about 10 more minutes, or until they’re the right golden color.
Michael and I were delighted to see how well our tray came out: lovely golden little globes, all lined up and happy to see us. What a surprise!
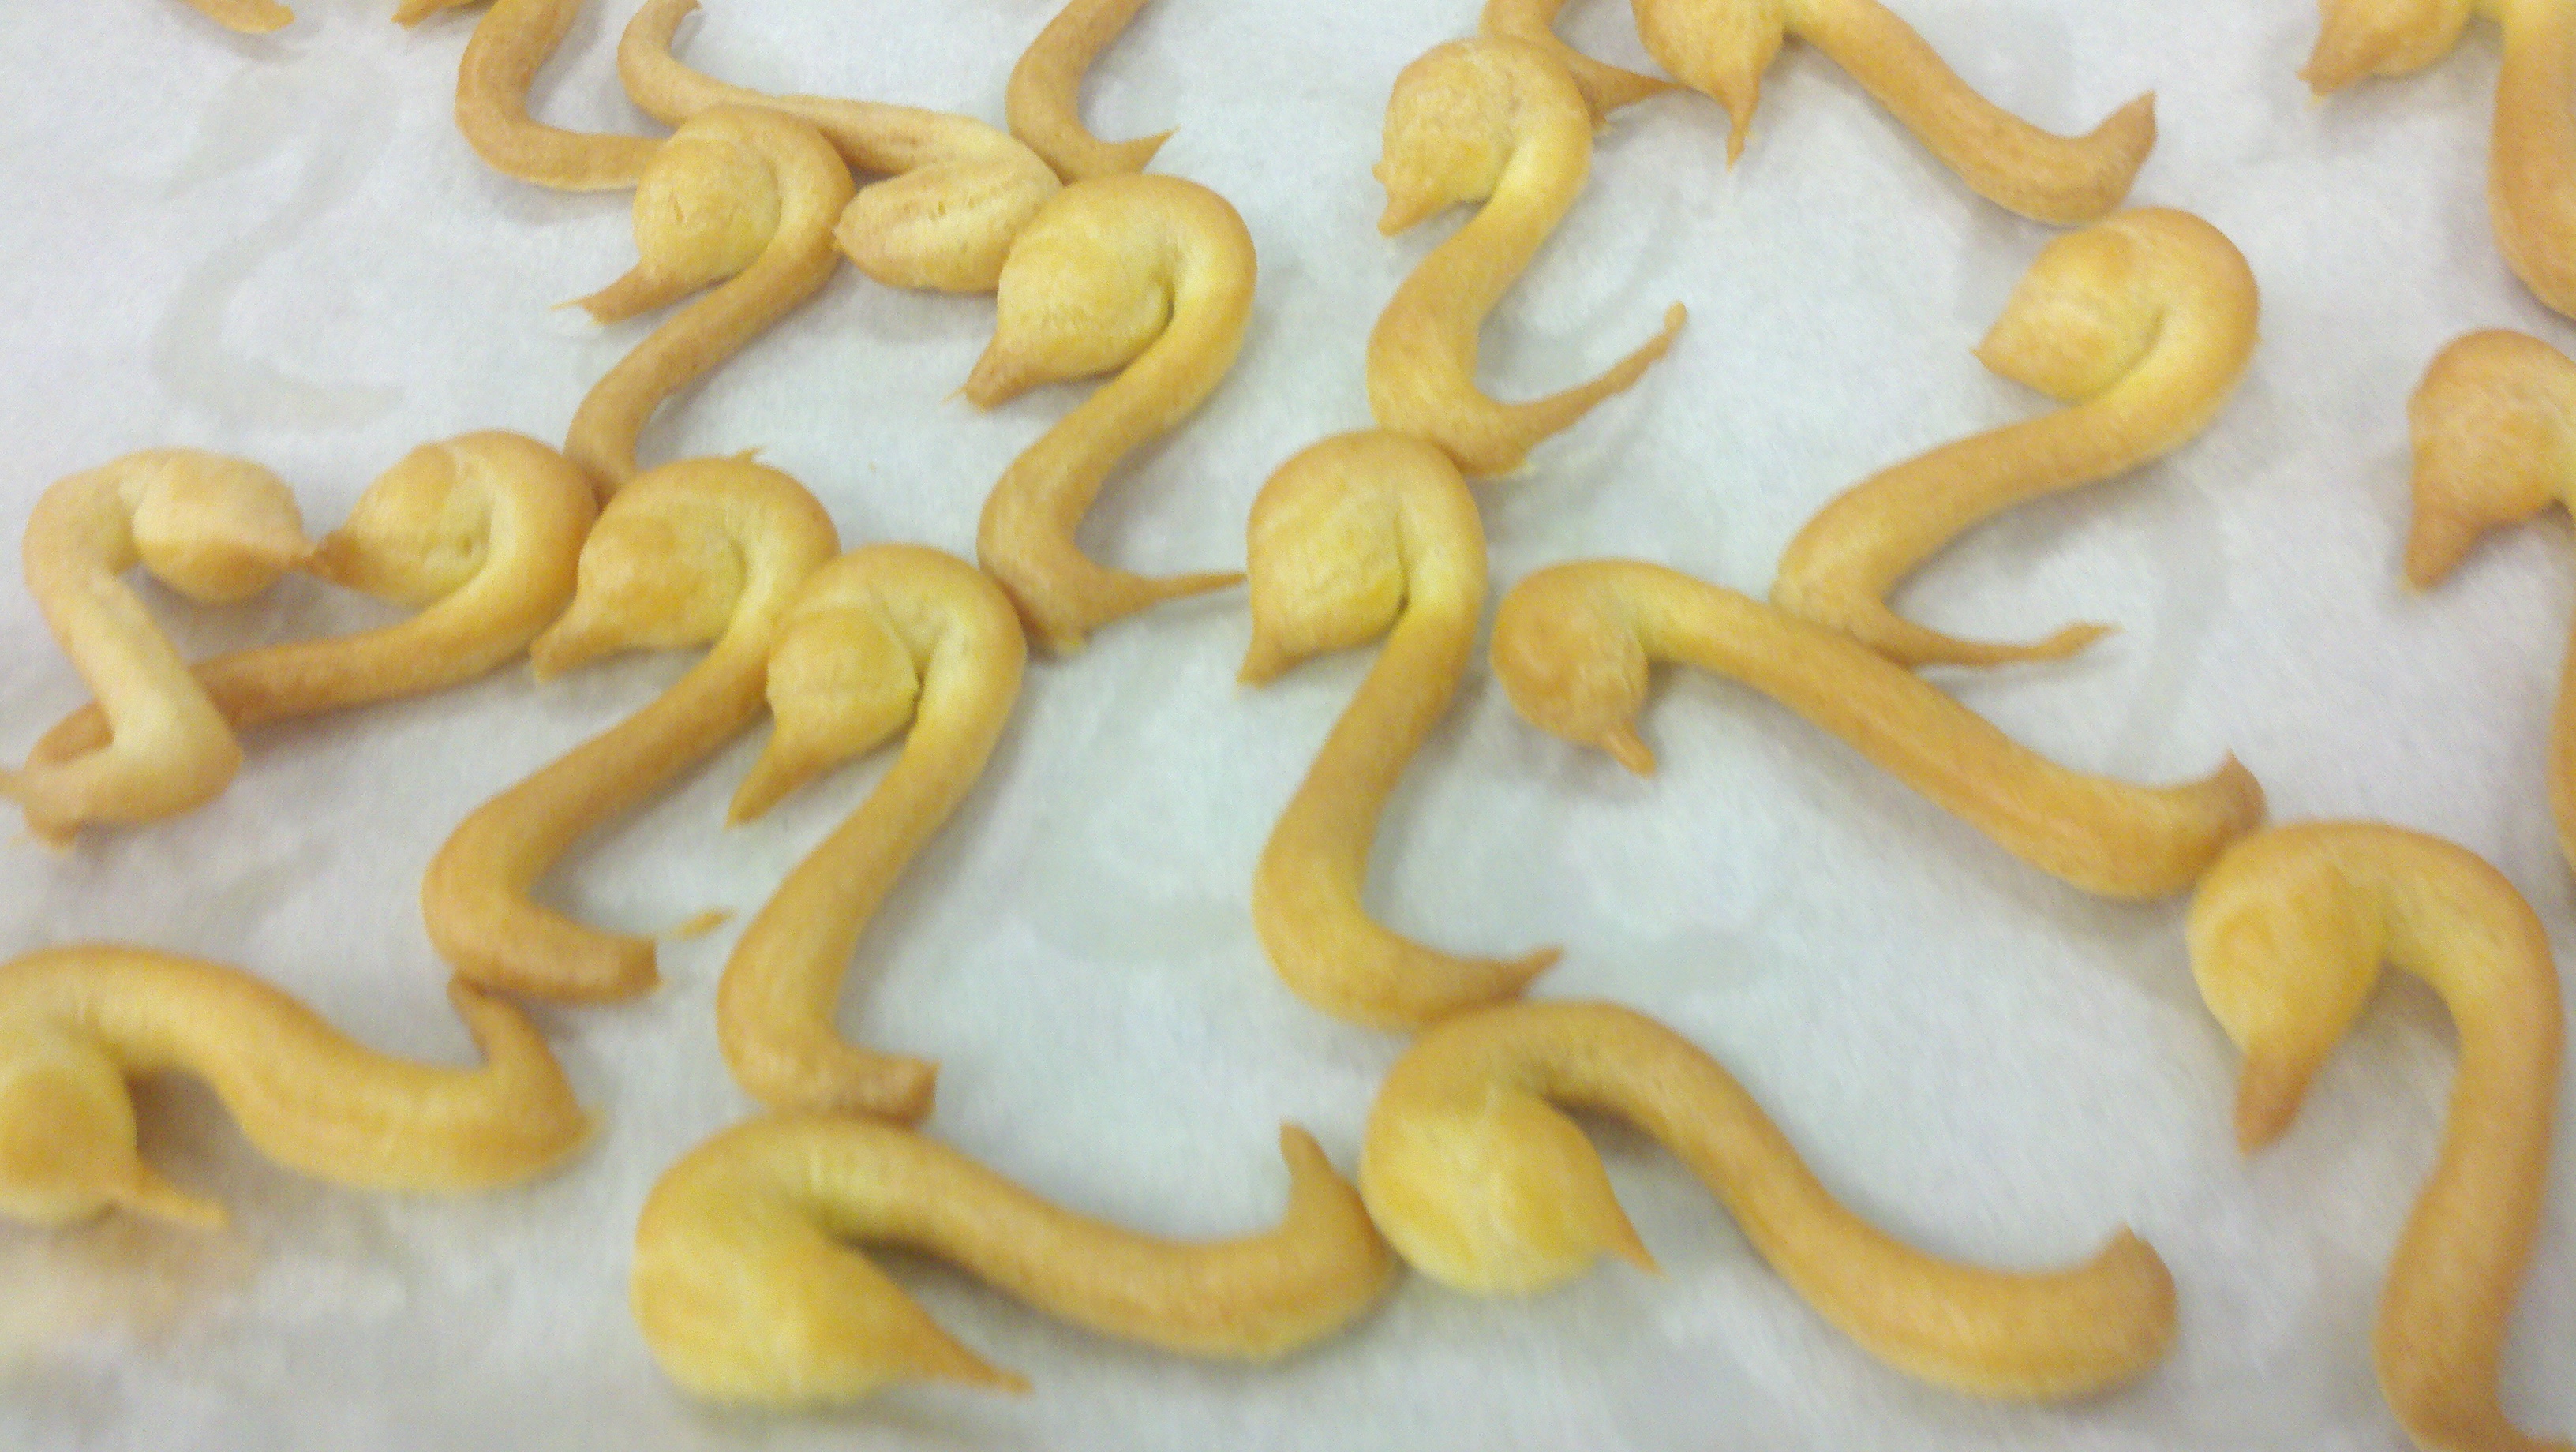
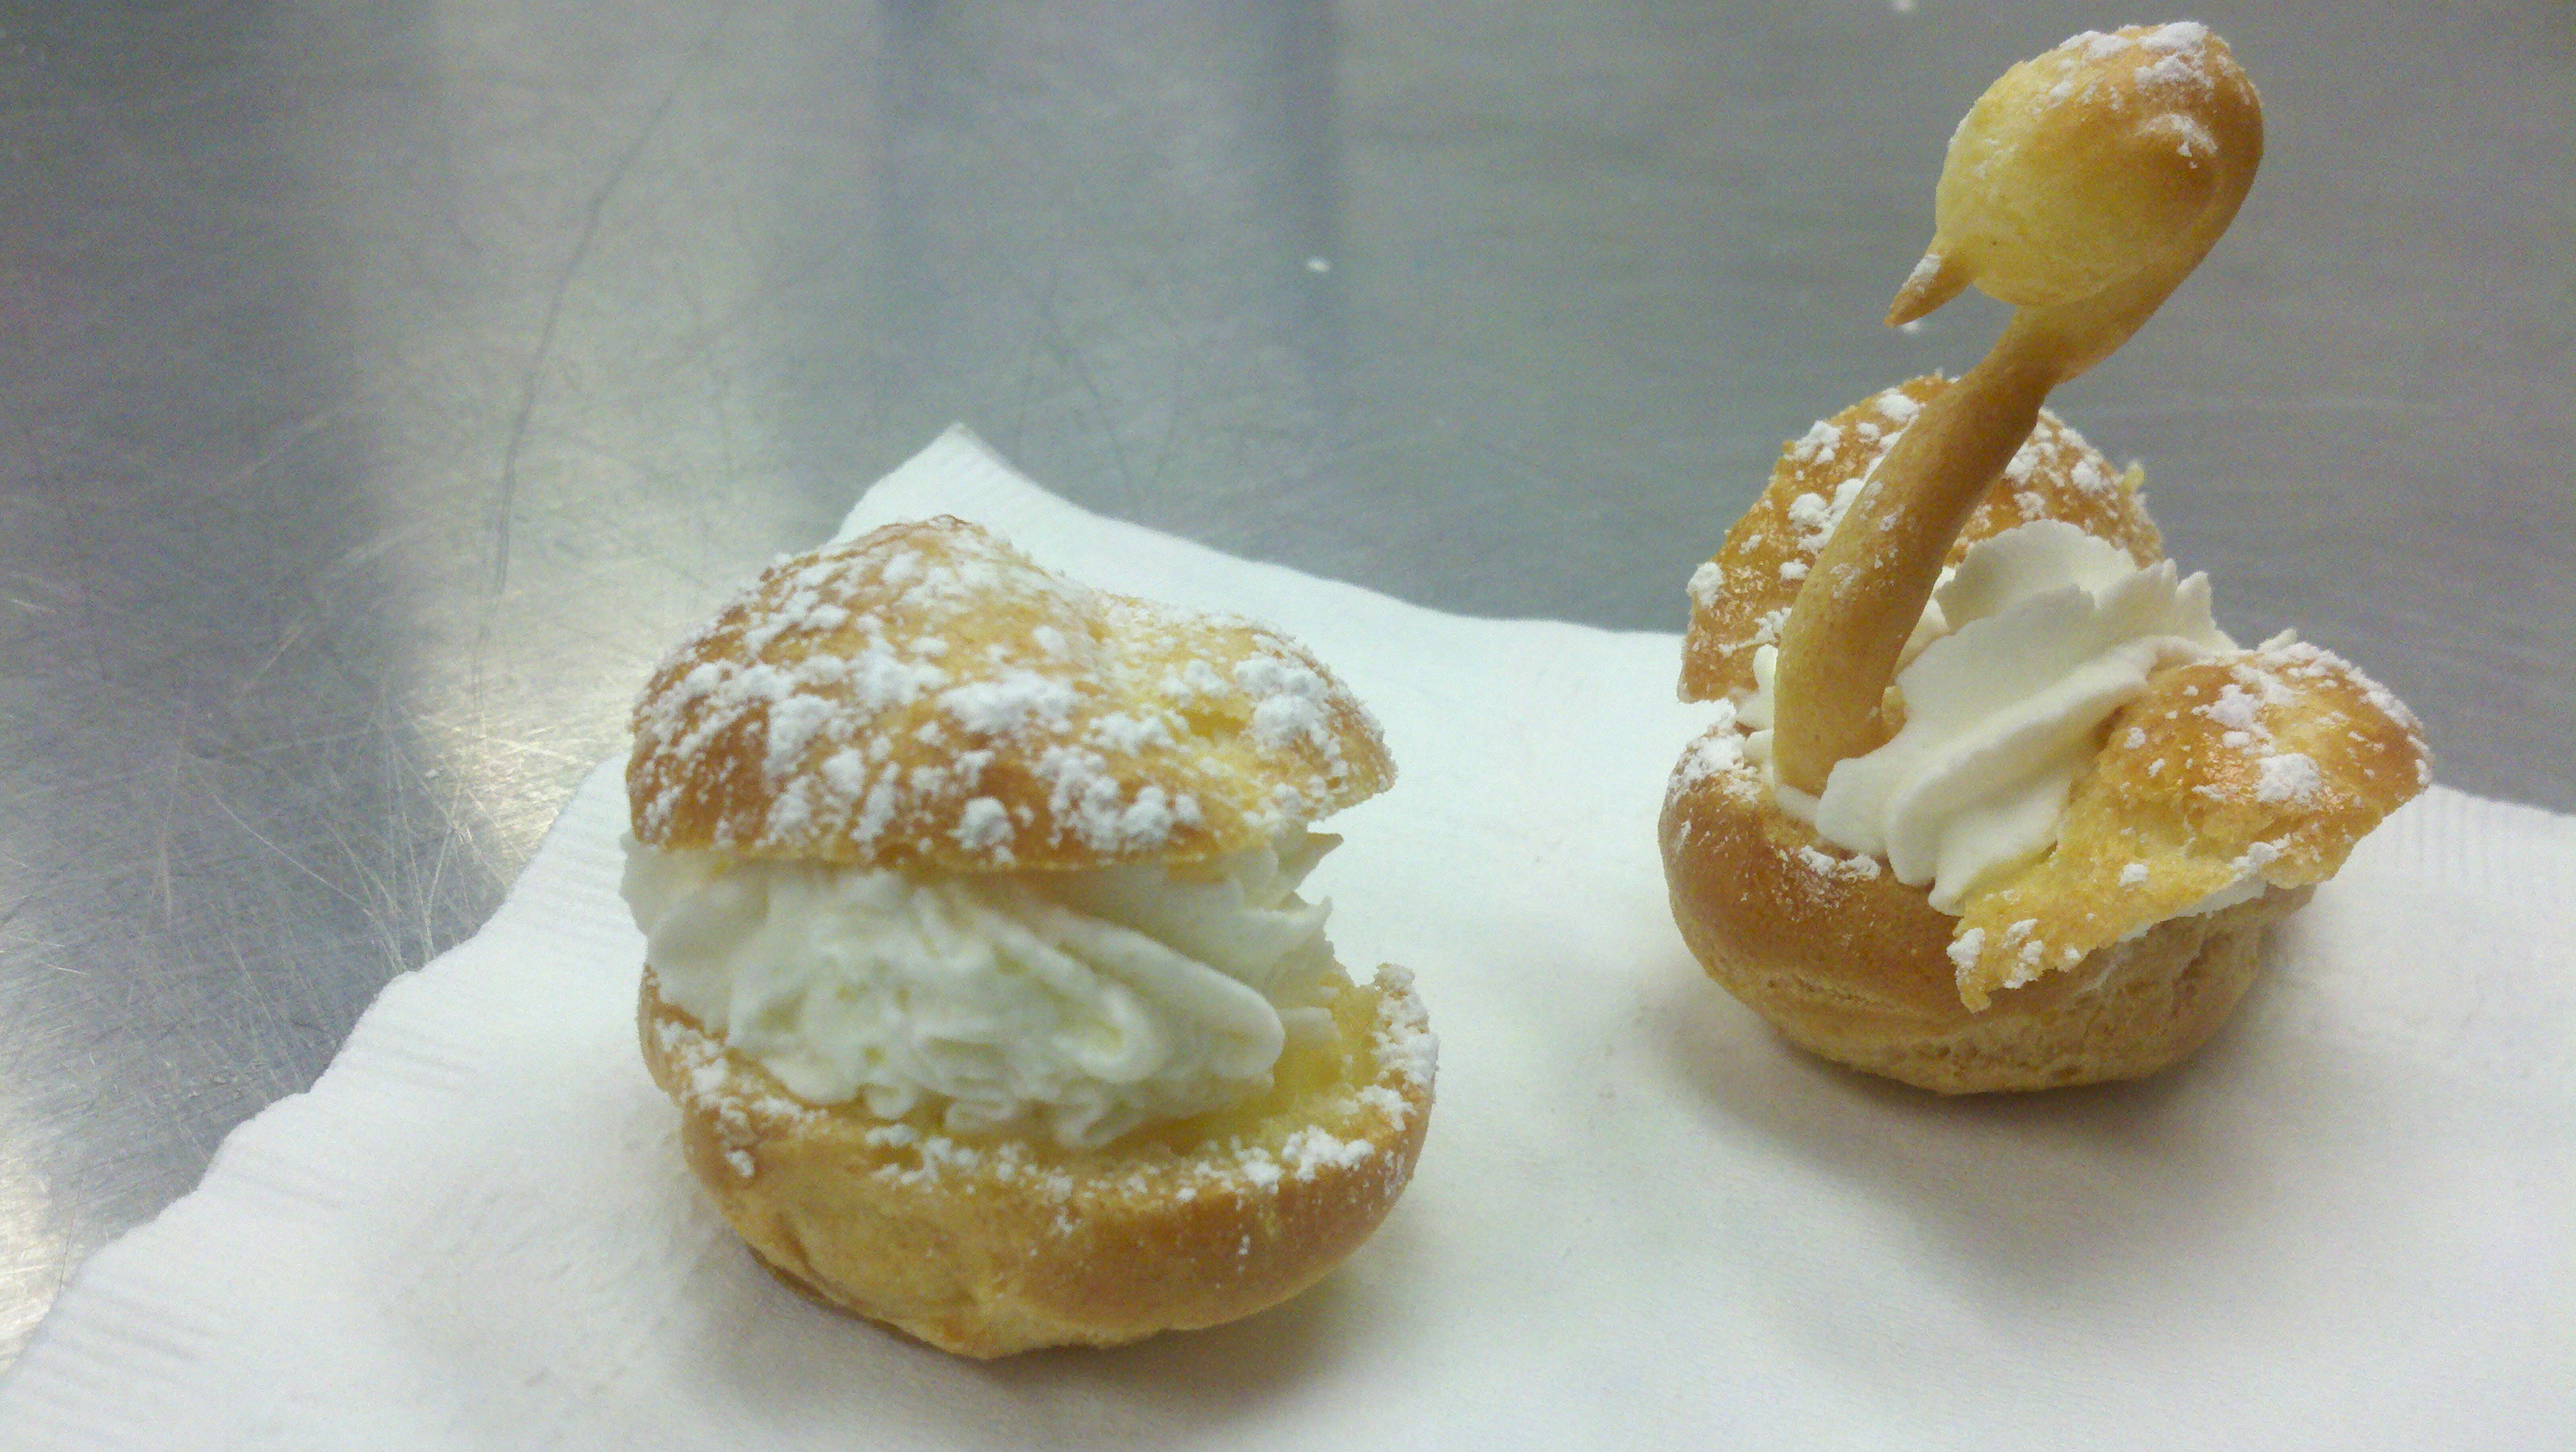
Because our baking time was cut short on this first session, Chef Claude, Dennis and the flock of friendly assistants were the ones who made the swans possible. During the demo, Chef Claude had showed us how to pipe the swan bodies: instead of making a round ball, he piped the ball and then drew the pastry bag back to add a triangular shape to the ball. He then piped another tray of little “S” shapes, adding a teensy line for a beak. These were the swans’ necks.
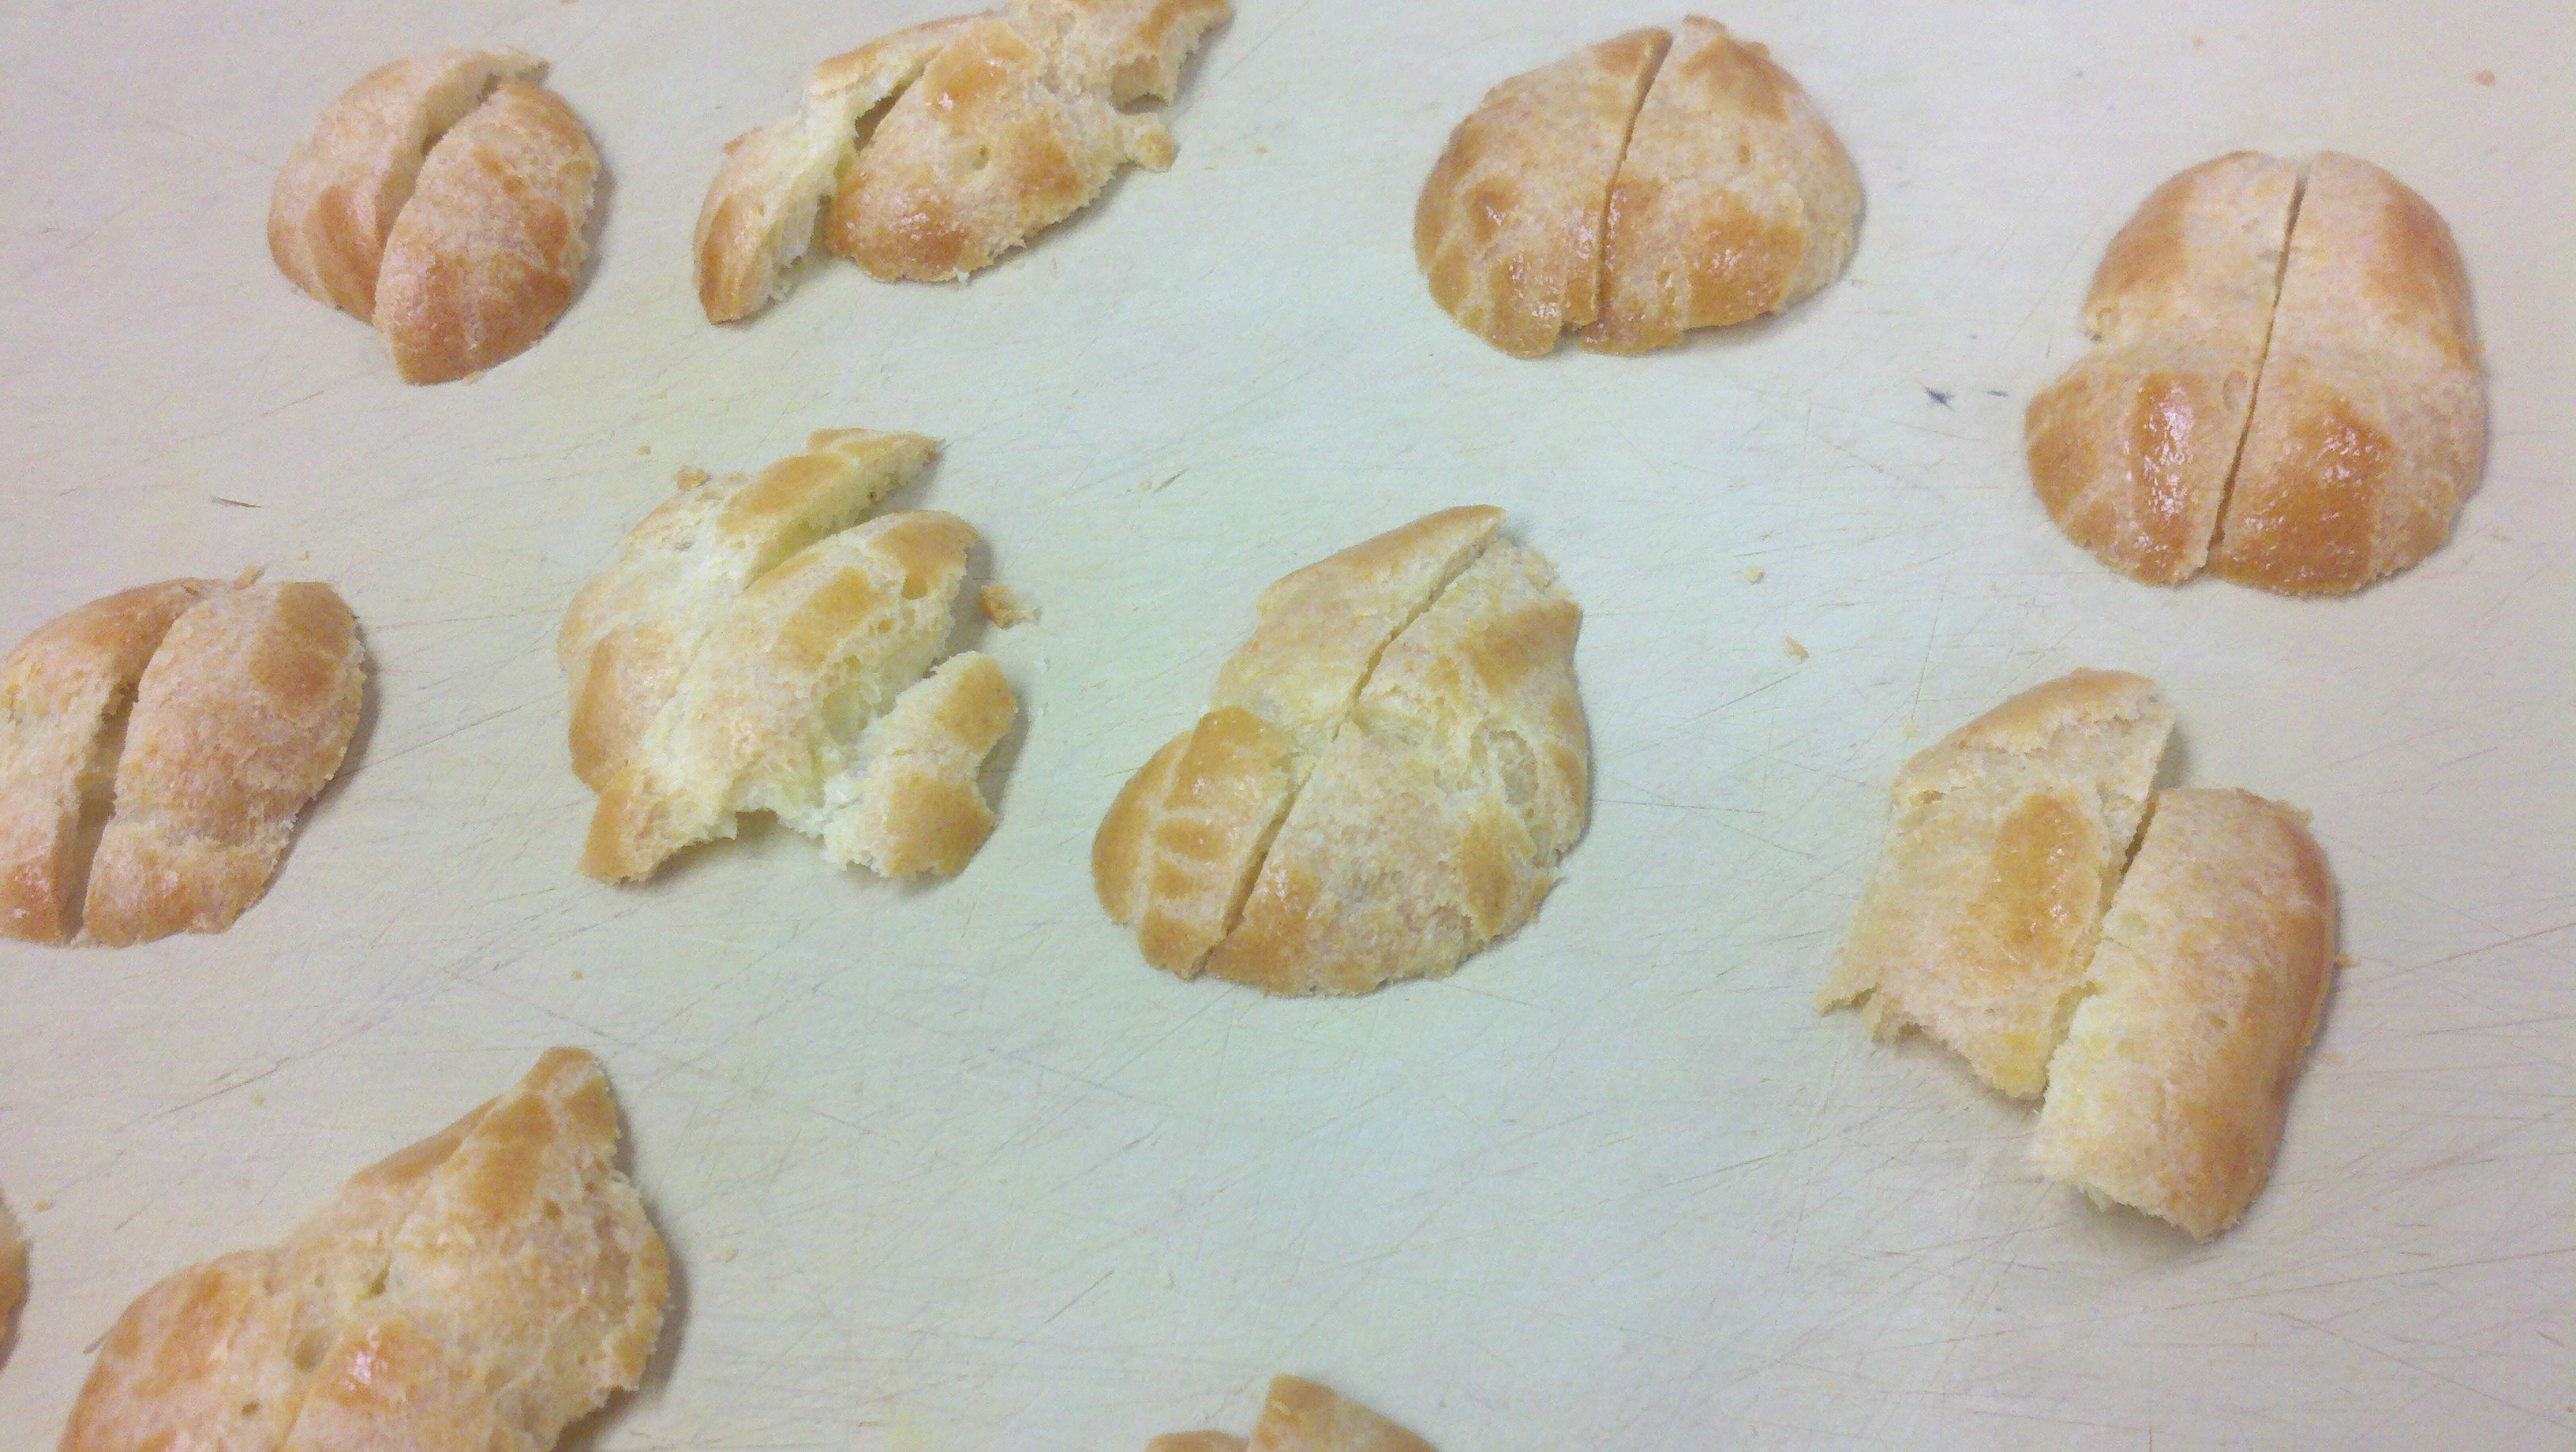
When the swan bodies were done, he and his team sliced off the tops of the body puffs, and sliced those in half to make sets of wings.
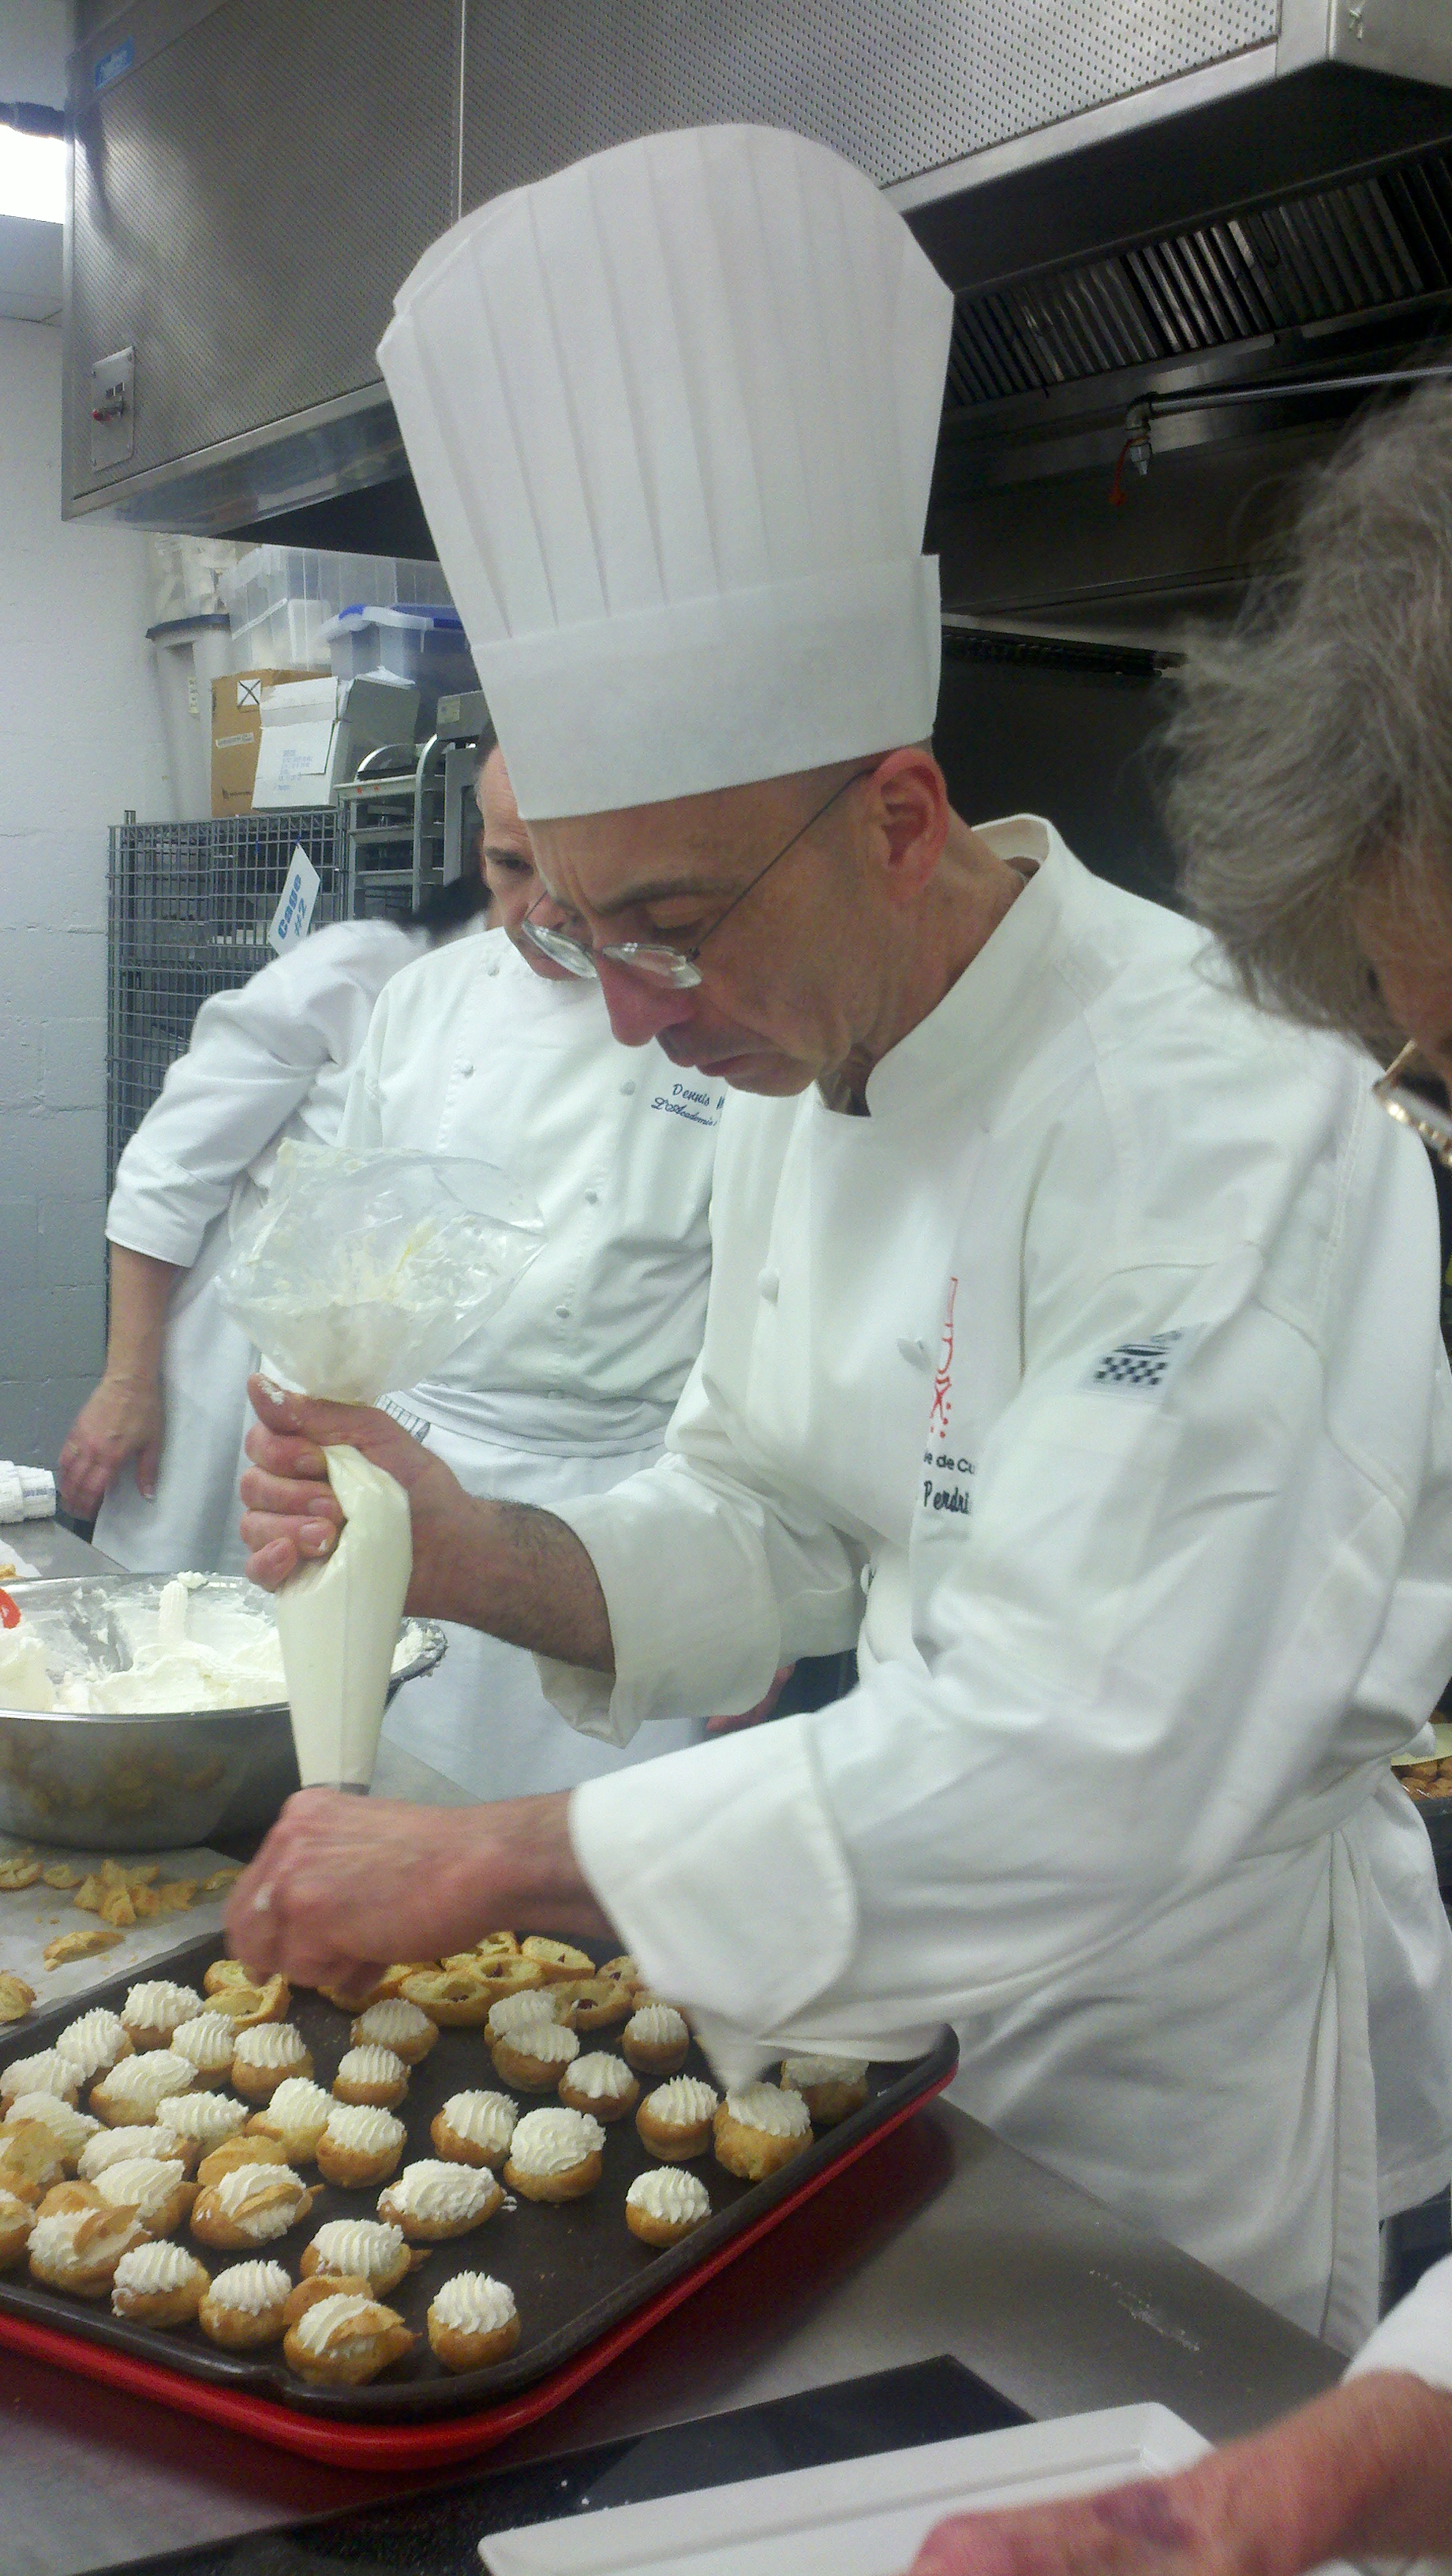
Piping sweetened whipped cream into the bodies, Chef Claude and the team added a set of wings to each and popped a neck on top, and voila! A flock of edible swans.
Using the little puffs the students made, our teachers sliced off the tops, piped in raspberry jam and sweetened whipped cream, and popped the tops back on for miniature cream puffs. Can’t wait til next week!

Beautiful. Just beautiful. Love that you thought to photograph the toolbox.
LOL!
omg i am going to sign up for this course! you have TOTALLY inspired me! Also: I don’t know HOW you do not weigh 300 lbs!!!
XO 🙂