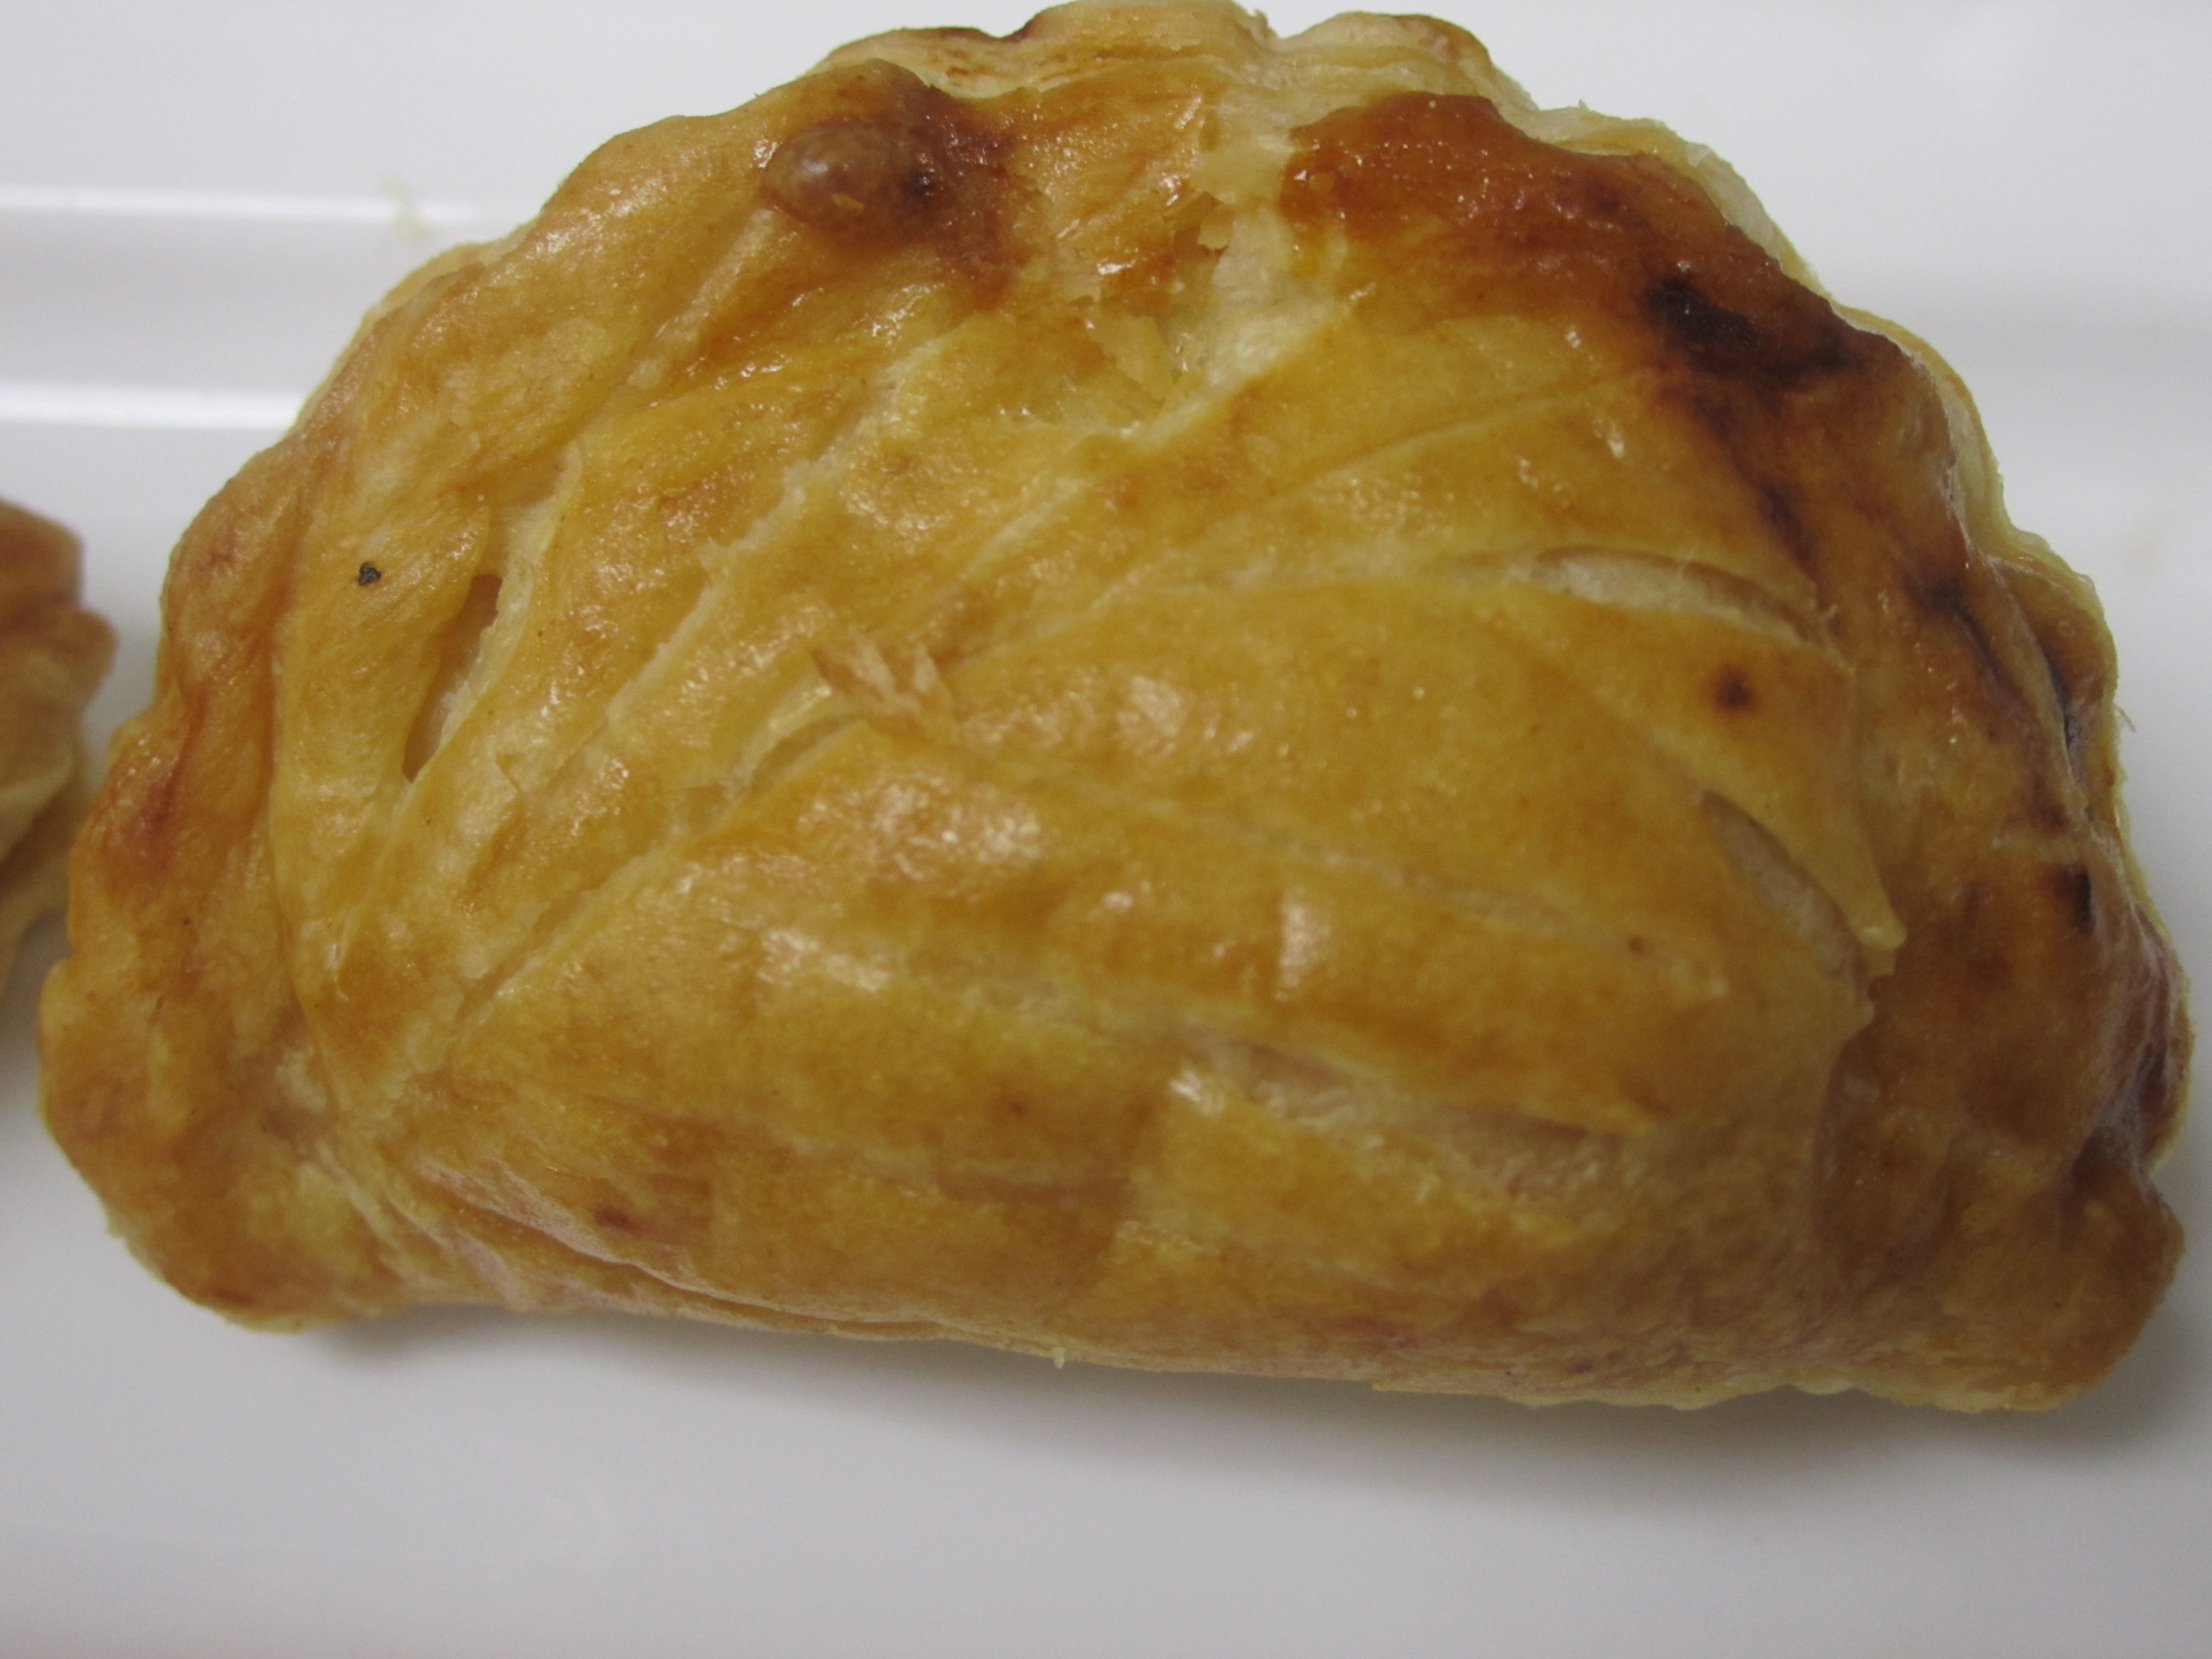
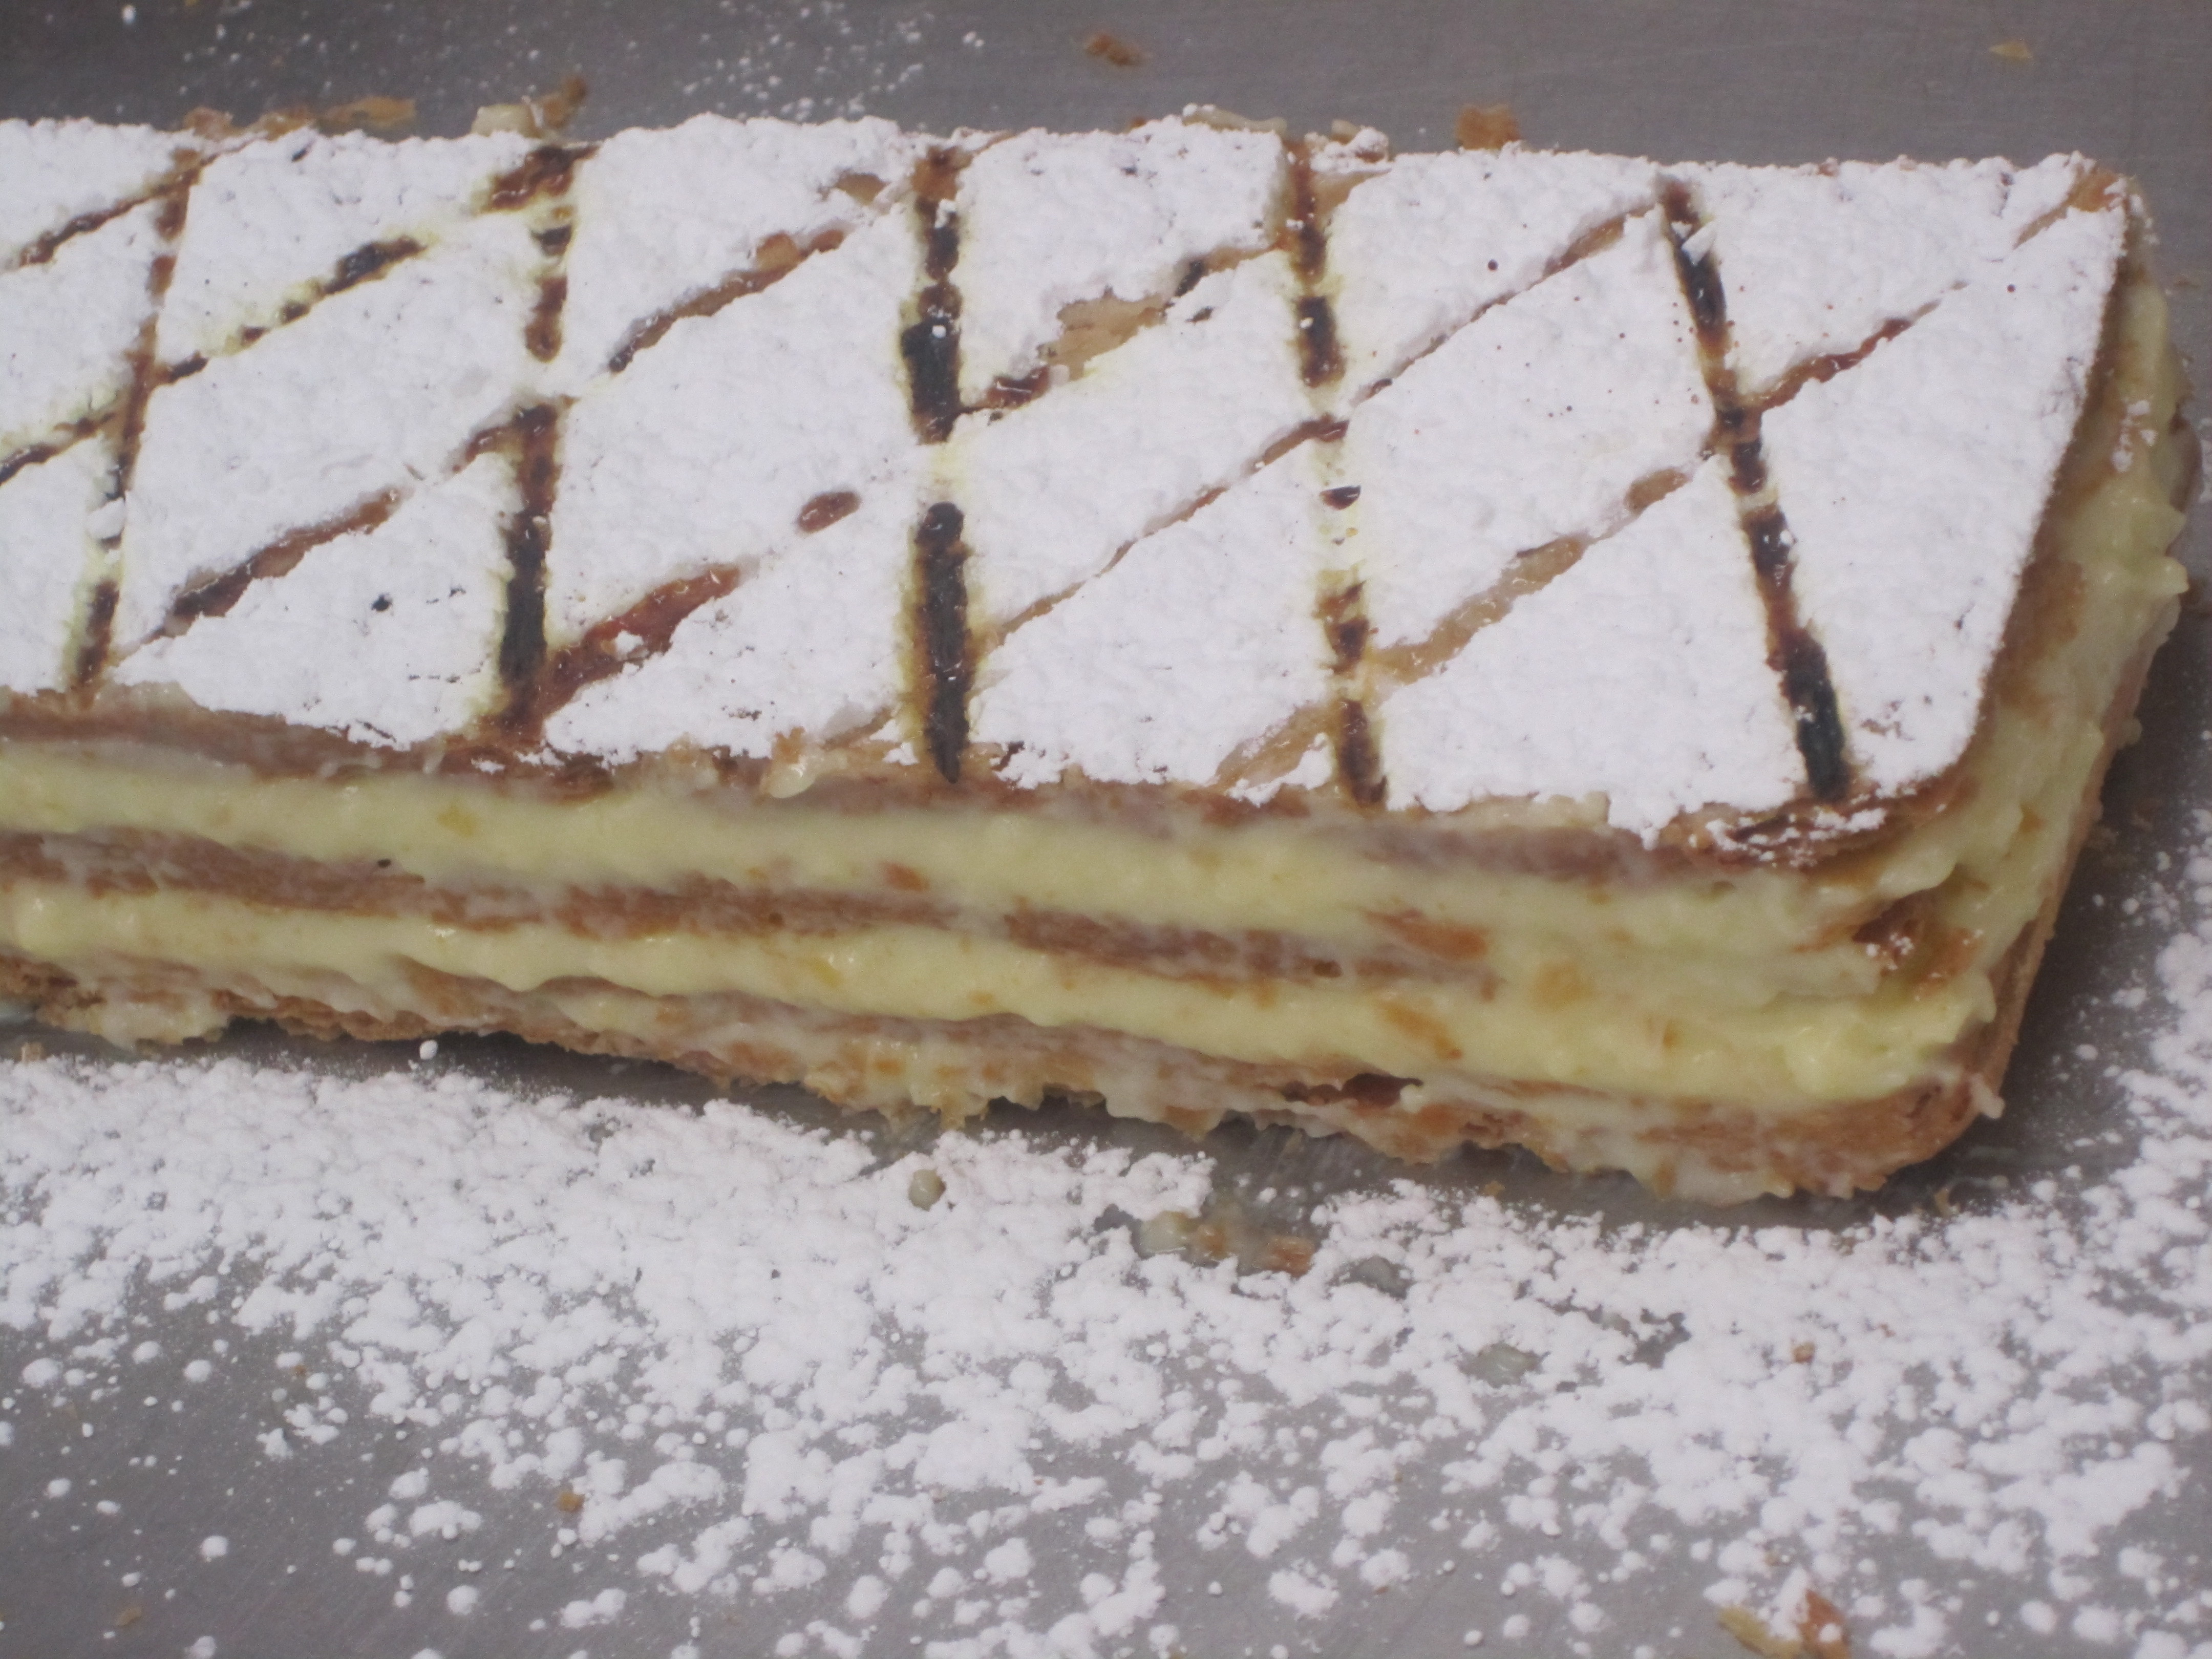
Puff pastry is so delicately lovely, and so miraculous, that it’s easy to forget how it can shorten your life. True, it’s made almost exclusively of stuff that will spike your blood sugar and your bad cholesterol. But some things in life are worth setting yourself back for. And in my humble view, this is one of them.
Even if you consider your body a temple of virtue and you refuse to eat puff pastry, the process of making it can still be fascinating. (CurvyMama, of course, can in no way be considered a temple of virtue. So she gets to enjoy both the pleasure of making it and of eating it.)
This walk-through is a bit of a catchup from an earlier session of pastry techniques class at L’Academie de Cuisine. Things have gotten a bit busy on the CurvyMama homefront, so we haven’t been able to tell you much about puff pastry except the one little tantalizing post with a sneak peek of it being born. But the process of making it is so cool that it deserves a post all its own.
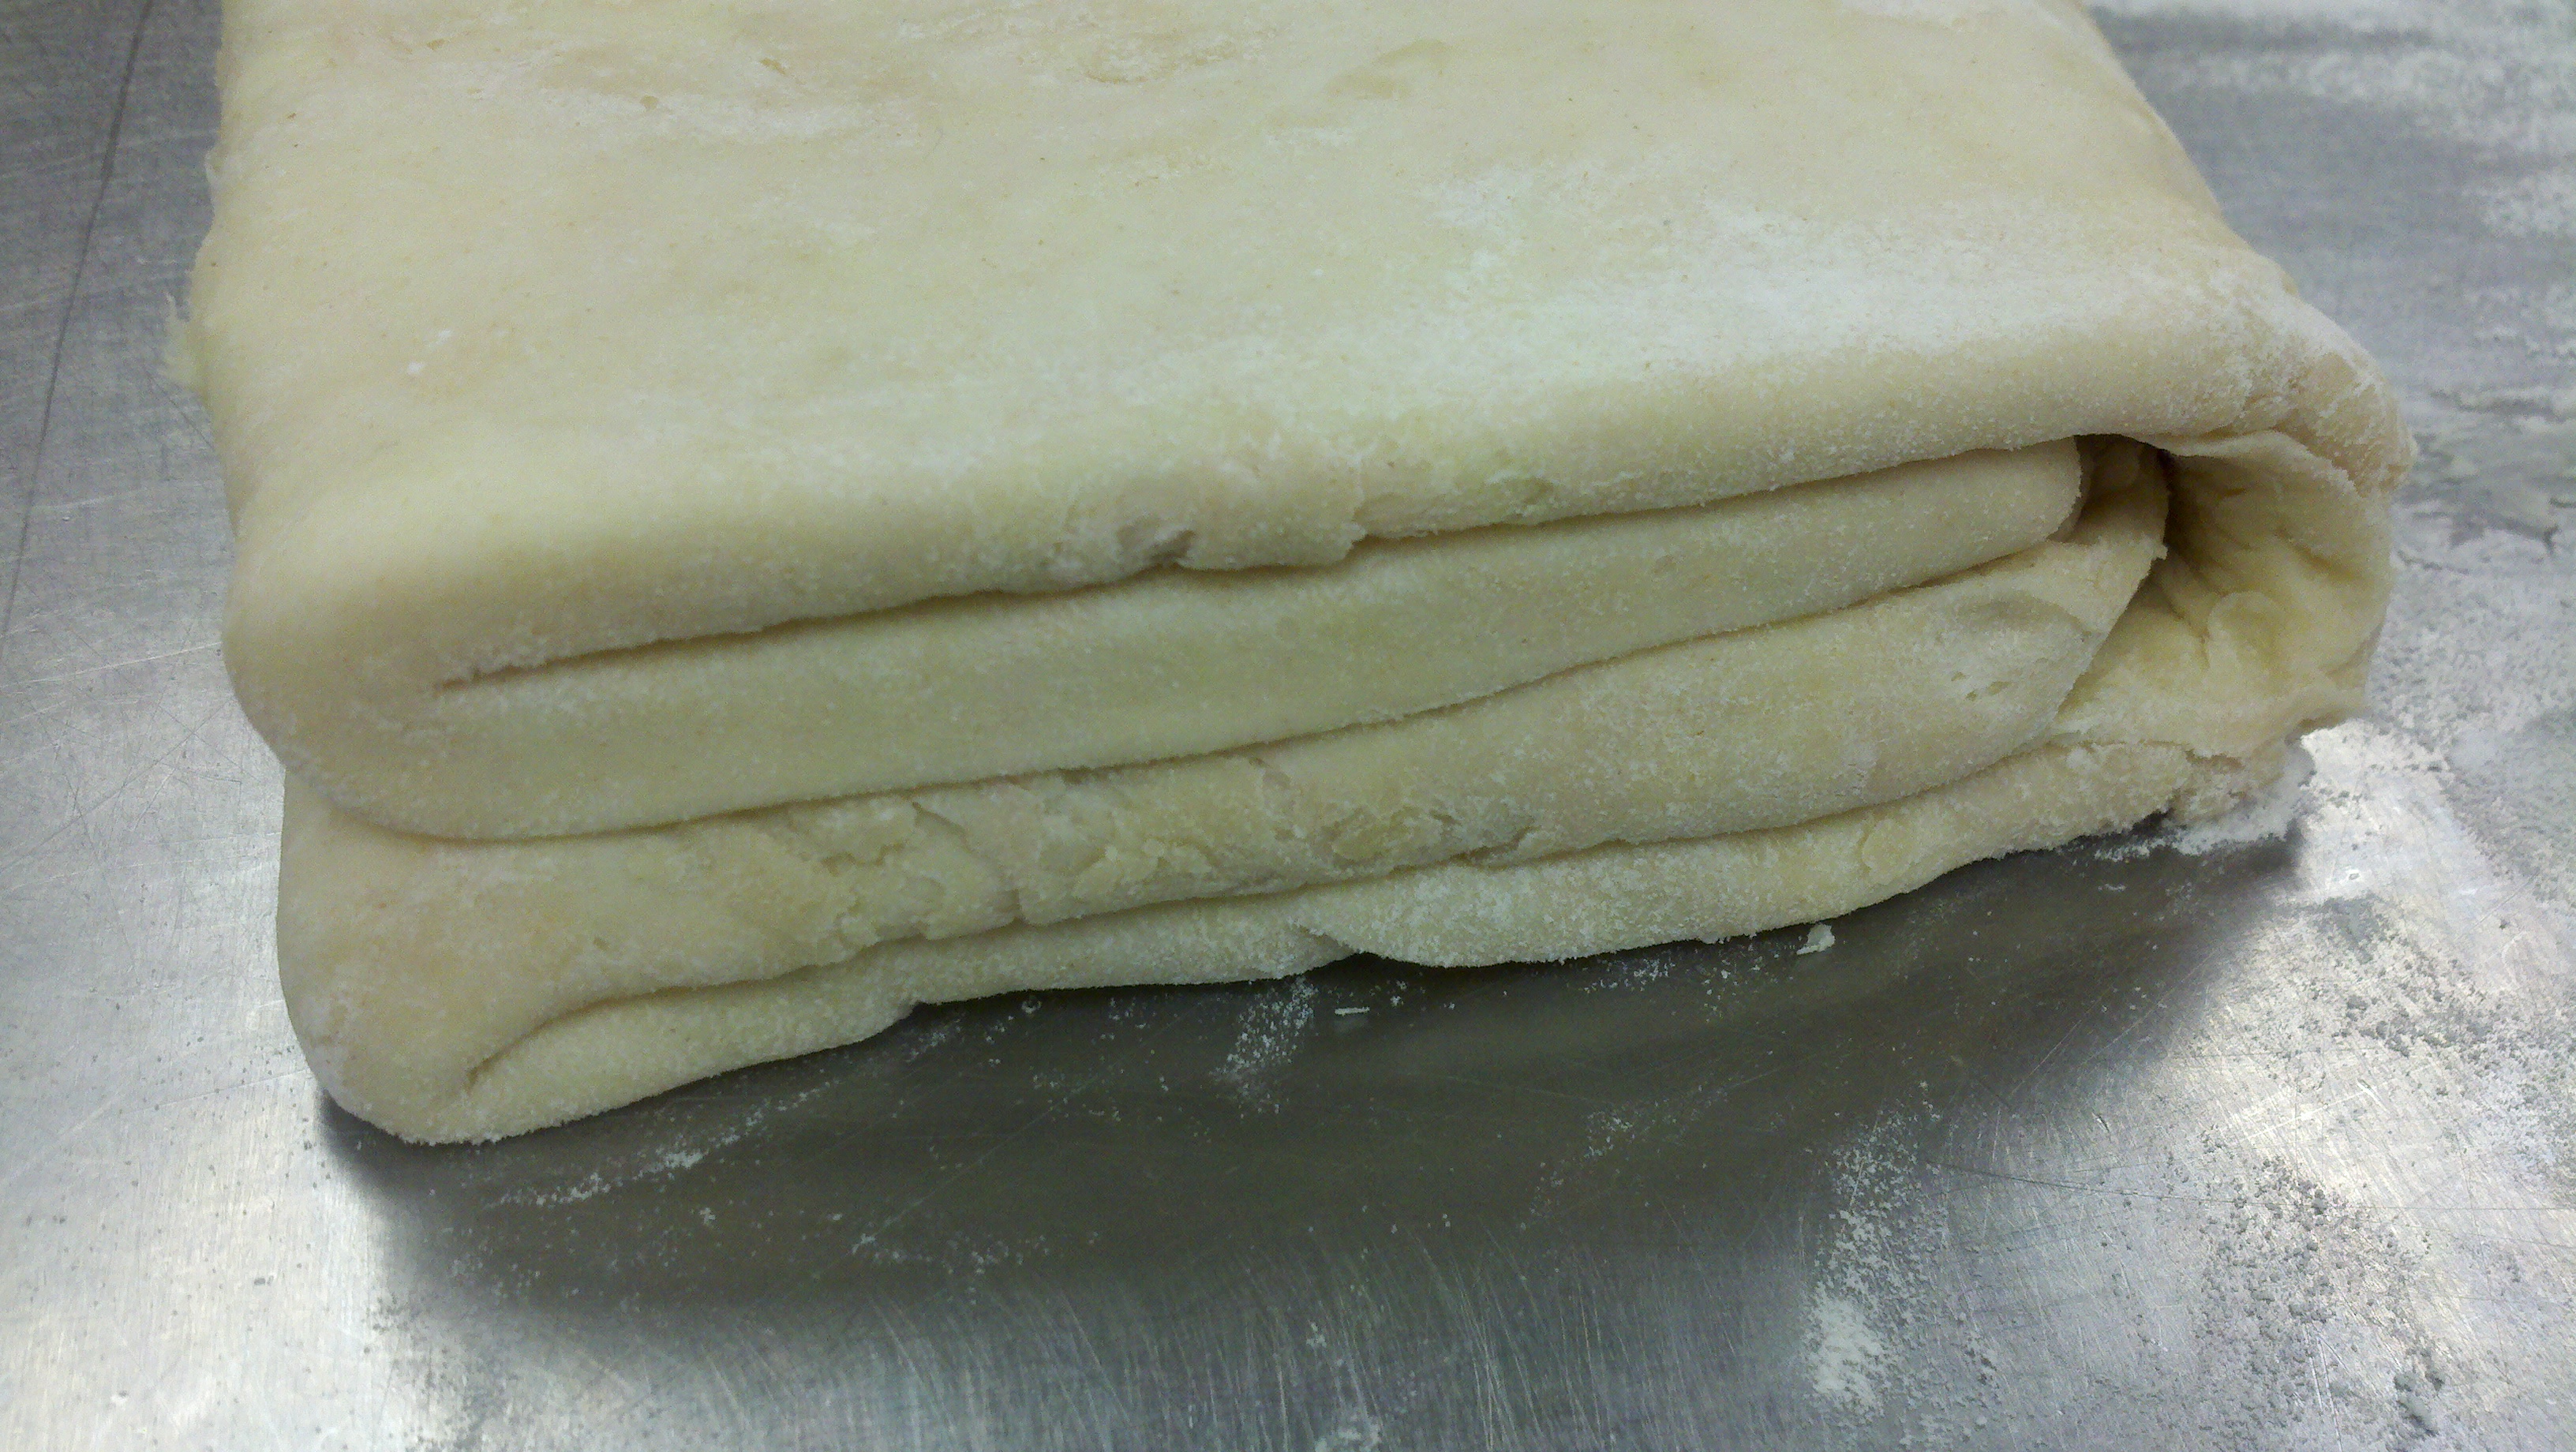
The first thing you need to know about puff pastry is that it is made in two sections: the buerrage (block of butter) and the détrempe (the rough dough that encases the butter). The basic idea is that once you encase your butter block in the dough and seal it, you do repetitions of rolling it out, folding it, turning it and chilling it. This is what creates the many layers that are forced apart into flaky wondrousness by the shock of a hot oven.
Détrempe: 24 ounces of all-purpose flour, 1 1/2 teaspoons of salt, 3 Tbsp. shortening, 1 1/2 cups of very cold water
Beurrage: 24 ounces of cold butter, 6 ounces of all-purpose flour
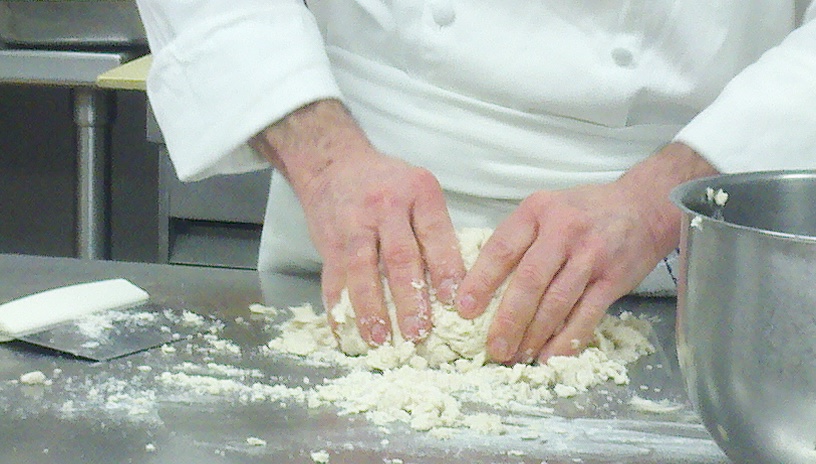
To make the détrempe: In a mixer with the paddle attachment on low speed, mix the flour, salt and shortening. Drizzle in the water gradually. As soon as the dough starts to come together, dump it onto the countertop. It will be pretty crumbly; press it gently together with a bench scraper.
Roll the rough dough into a ball and cut an X into the top, about 1/3 inch deep. Let it chill, draped lightly in plastic, at least an hour.
To make the beurrage: Chop the butter into even 1/2-inch dice. Attach the paddle to the mixer and put the butter and flour in the bowl, on low speed. Mix until there are no shiny spots or chunks of butter visible. Scrape the bowl and paddle often.
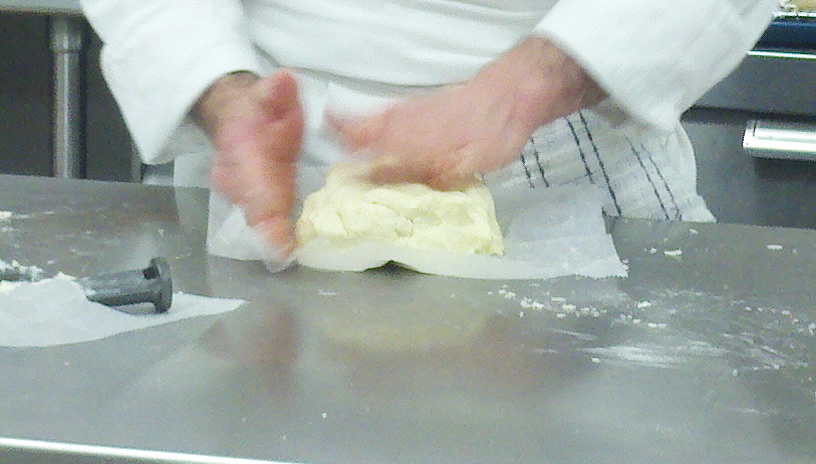 Dump the beurrage out onto the countertop and form it into a thick, rough square. Let it rest on parchment in the refrigerator for about an hour.
Now it’s time to combine the détrempe and the beurrage into puff pastry dough. Roll out the détrempe into a rough square about 12 inches by 12 inches. You’ll see that X you cut in the top. Leaving that center section with the X untouched, start to roll the rest of the dough into a four-petaled shape, pushing from the center outward in four directions. You want to end up with a hump of dough in the middle, in its original thickness, and four “petals” of dough extending outward, about one-quarter of the hump’s thickness. 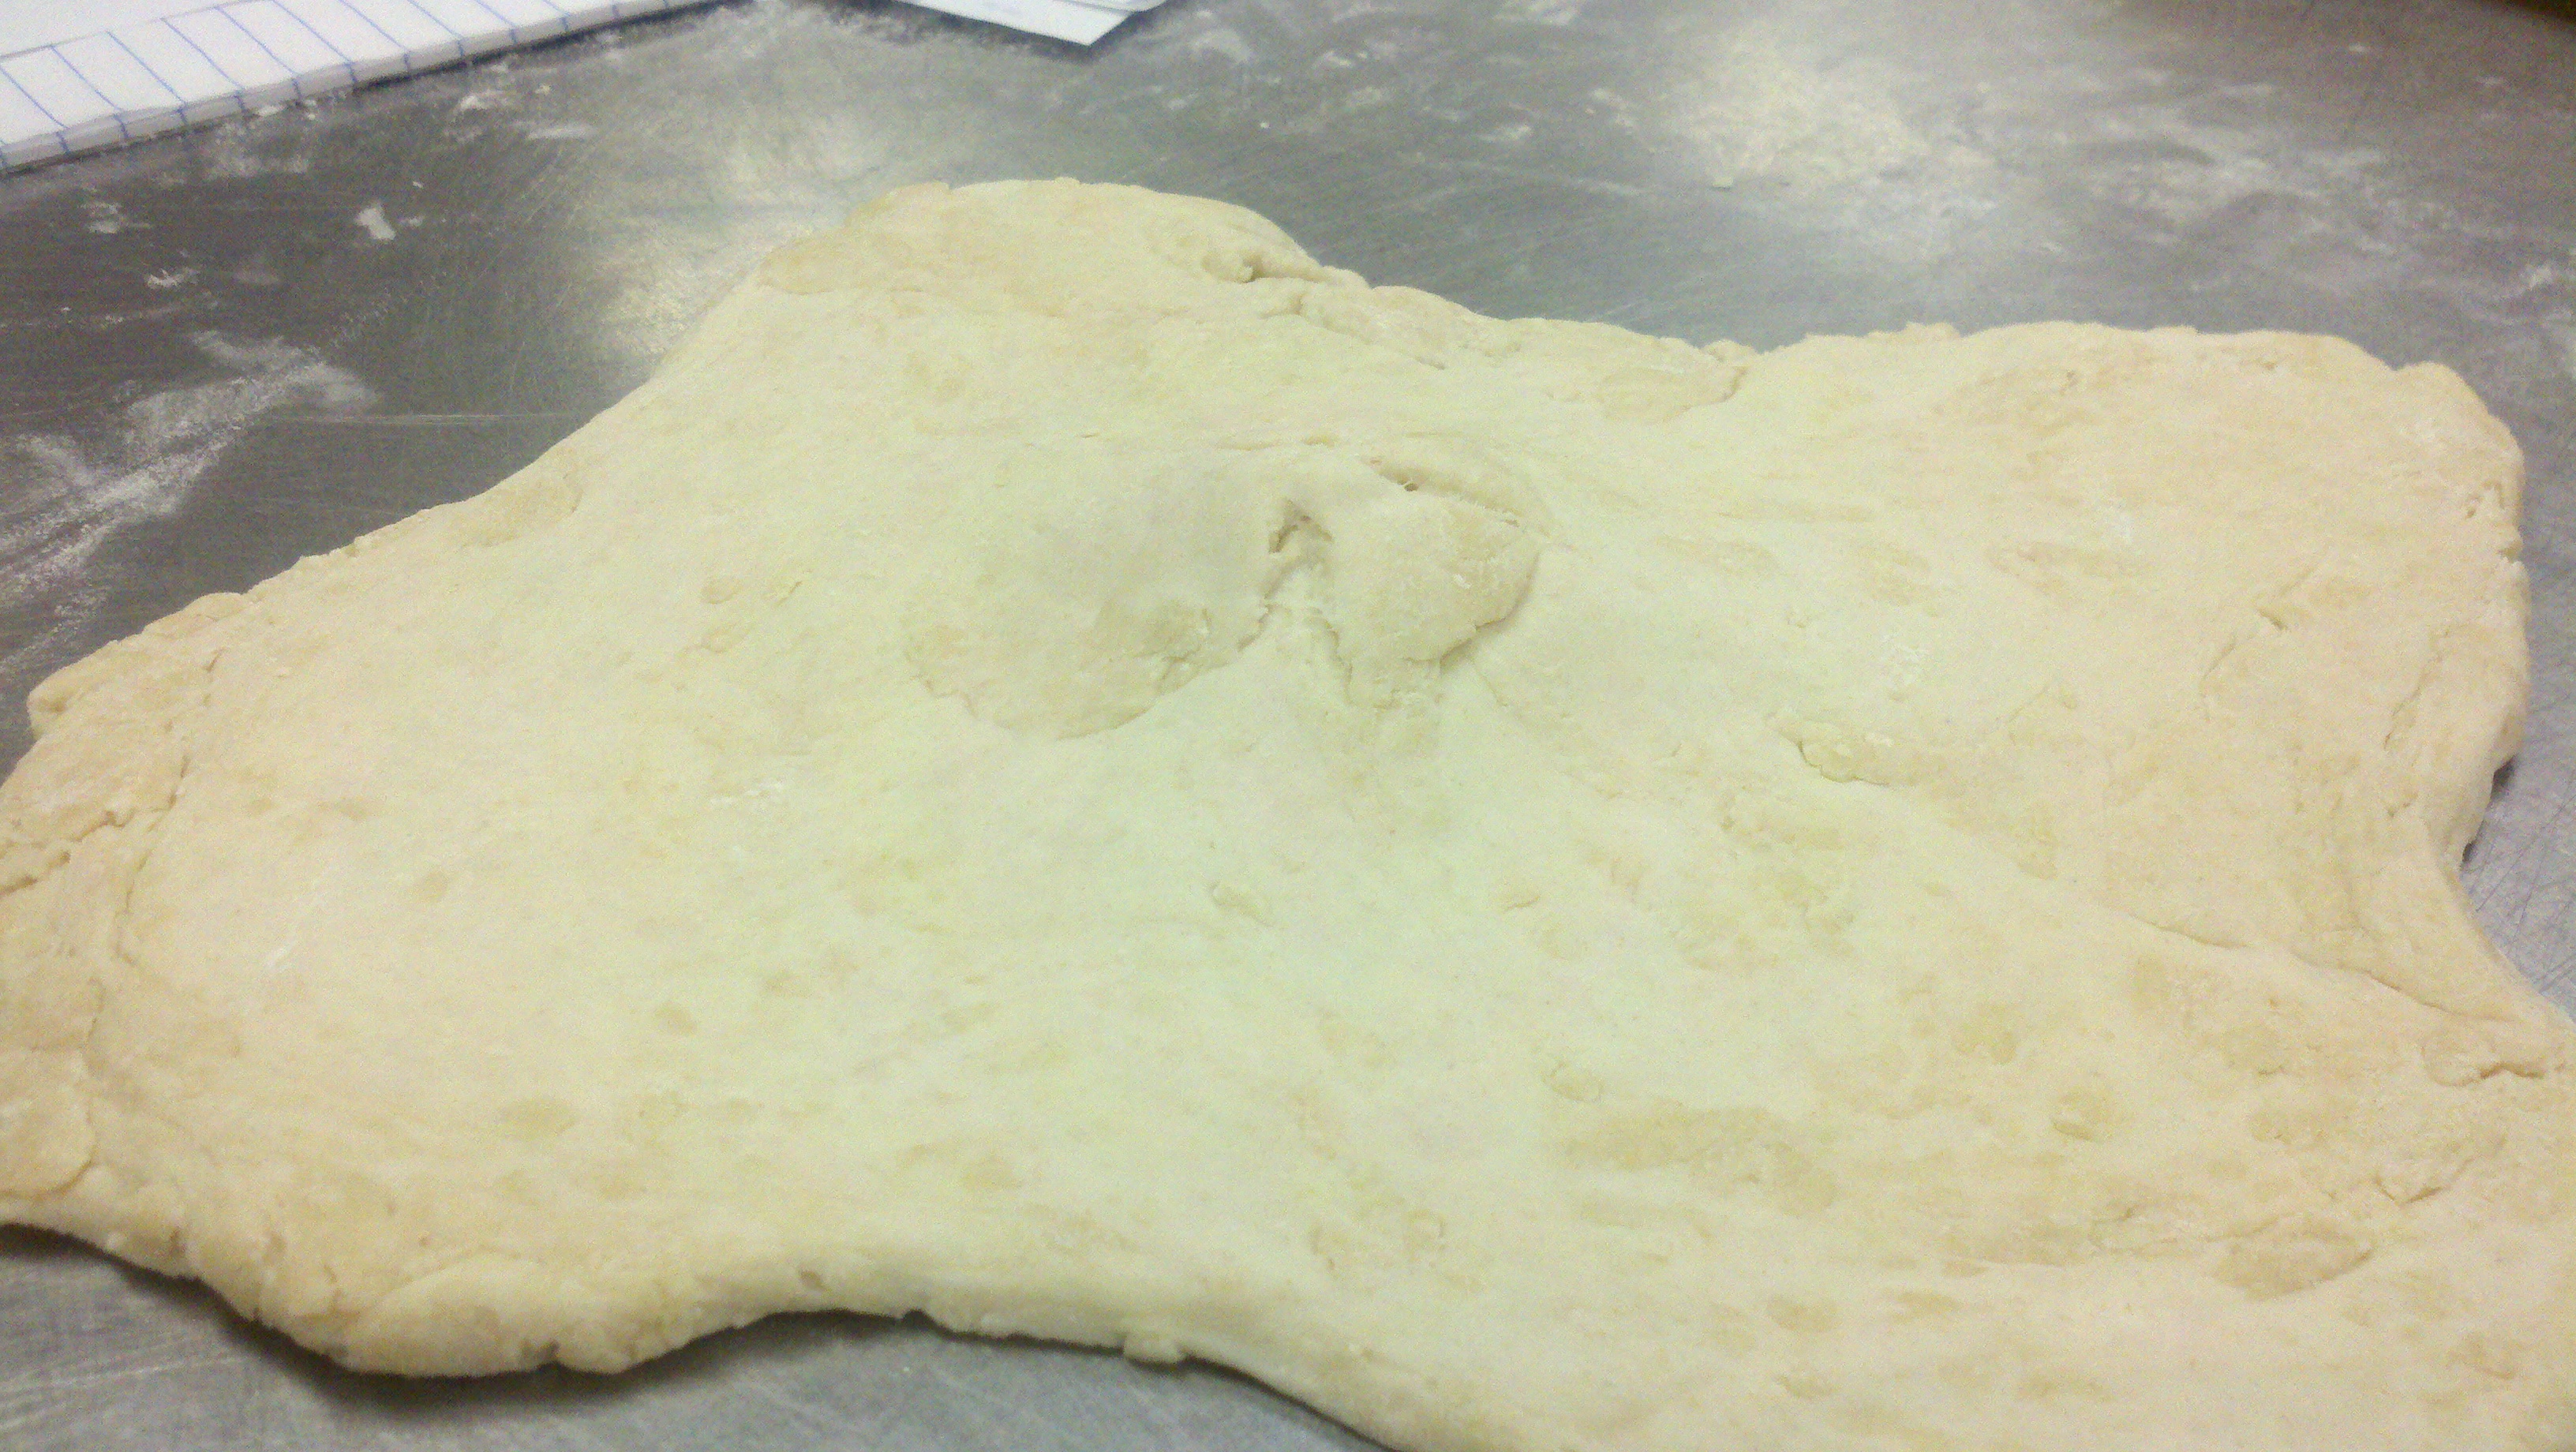 You’ll see here that my “petals” weren’t that clearly defined. Chef’s were better. But you get the idea.
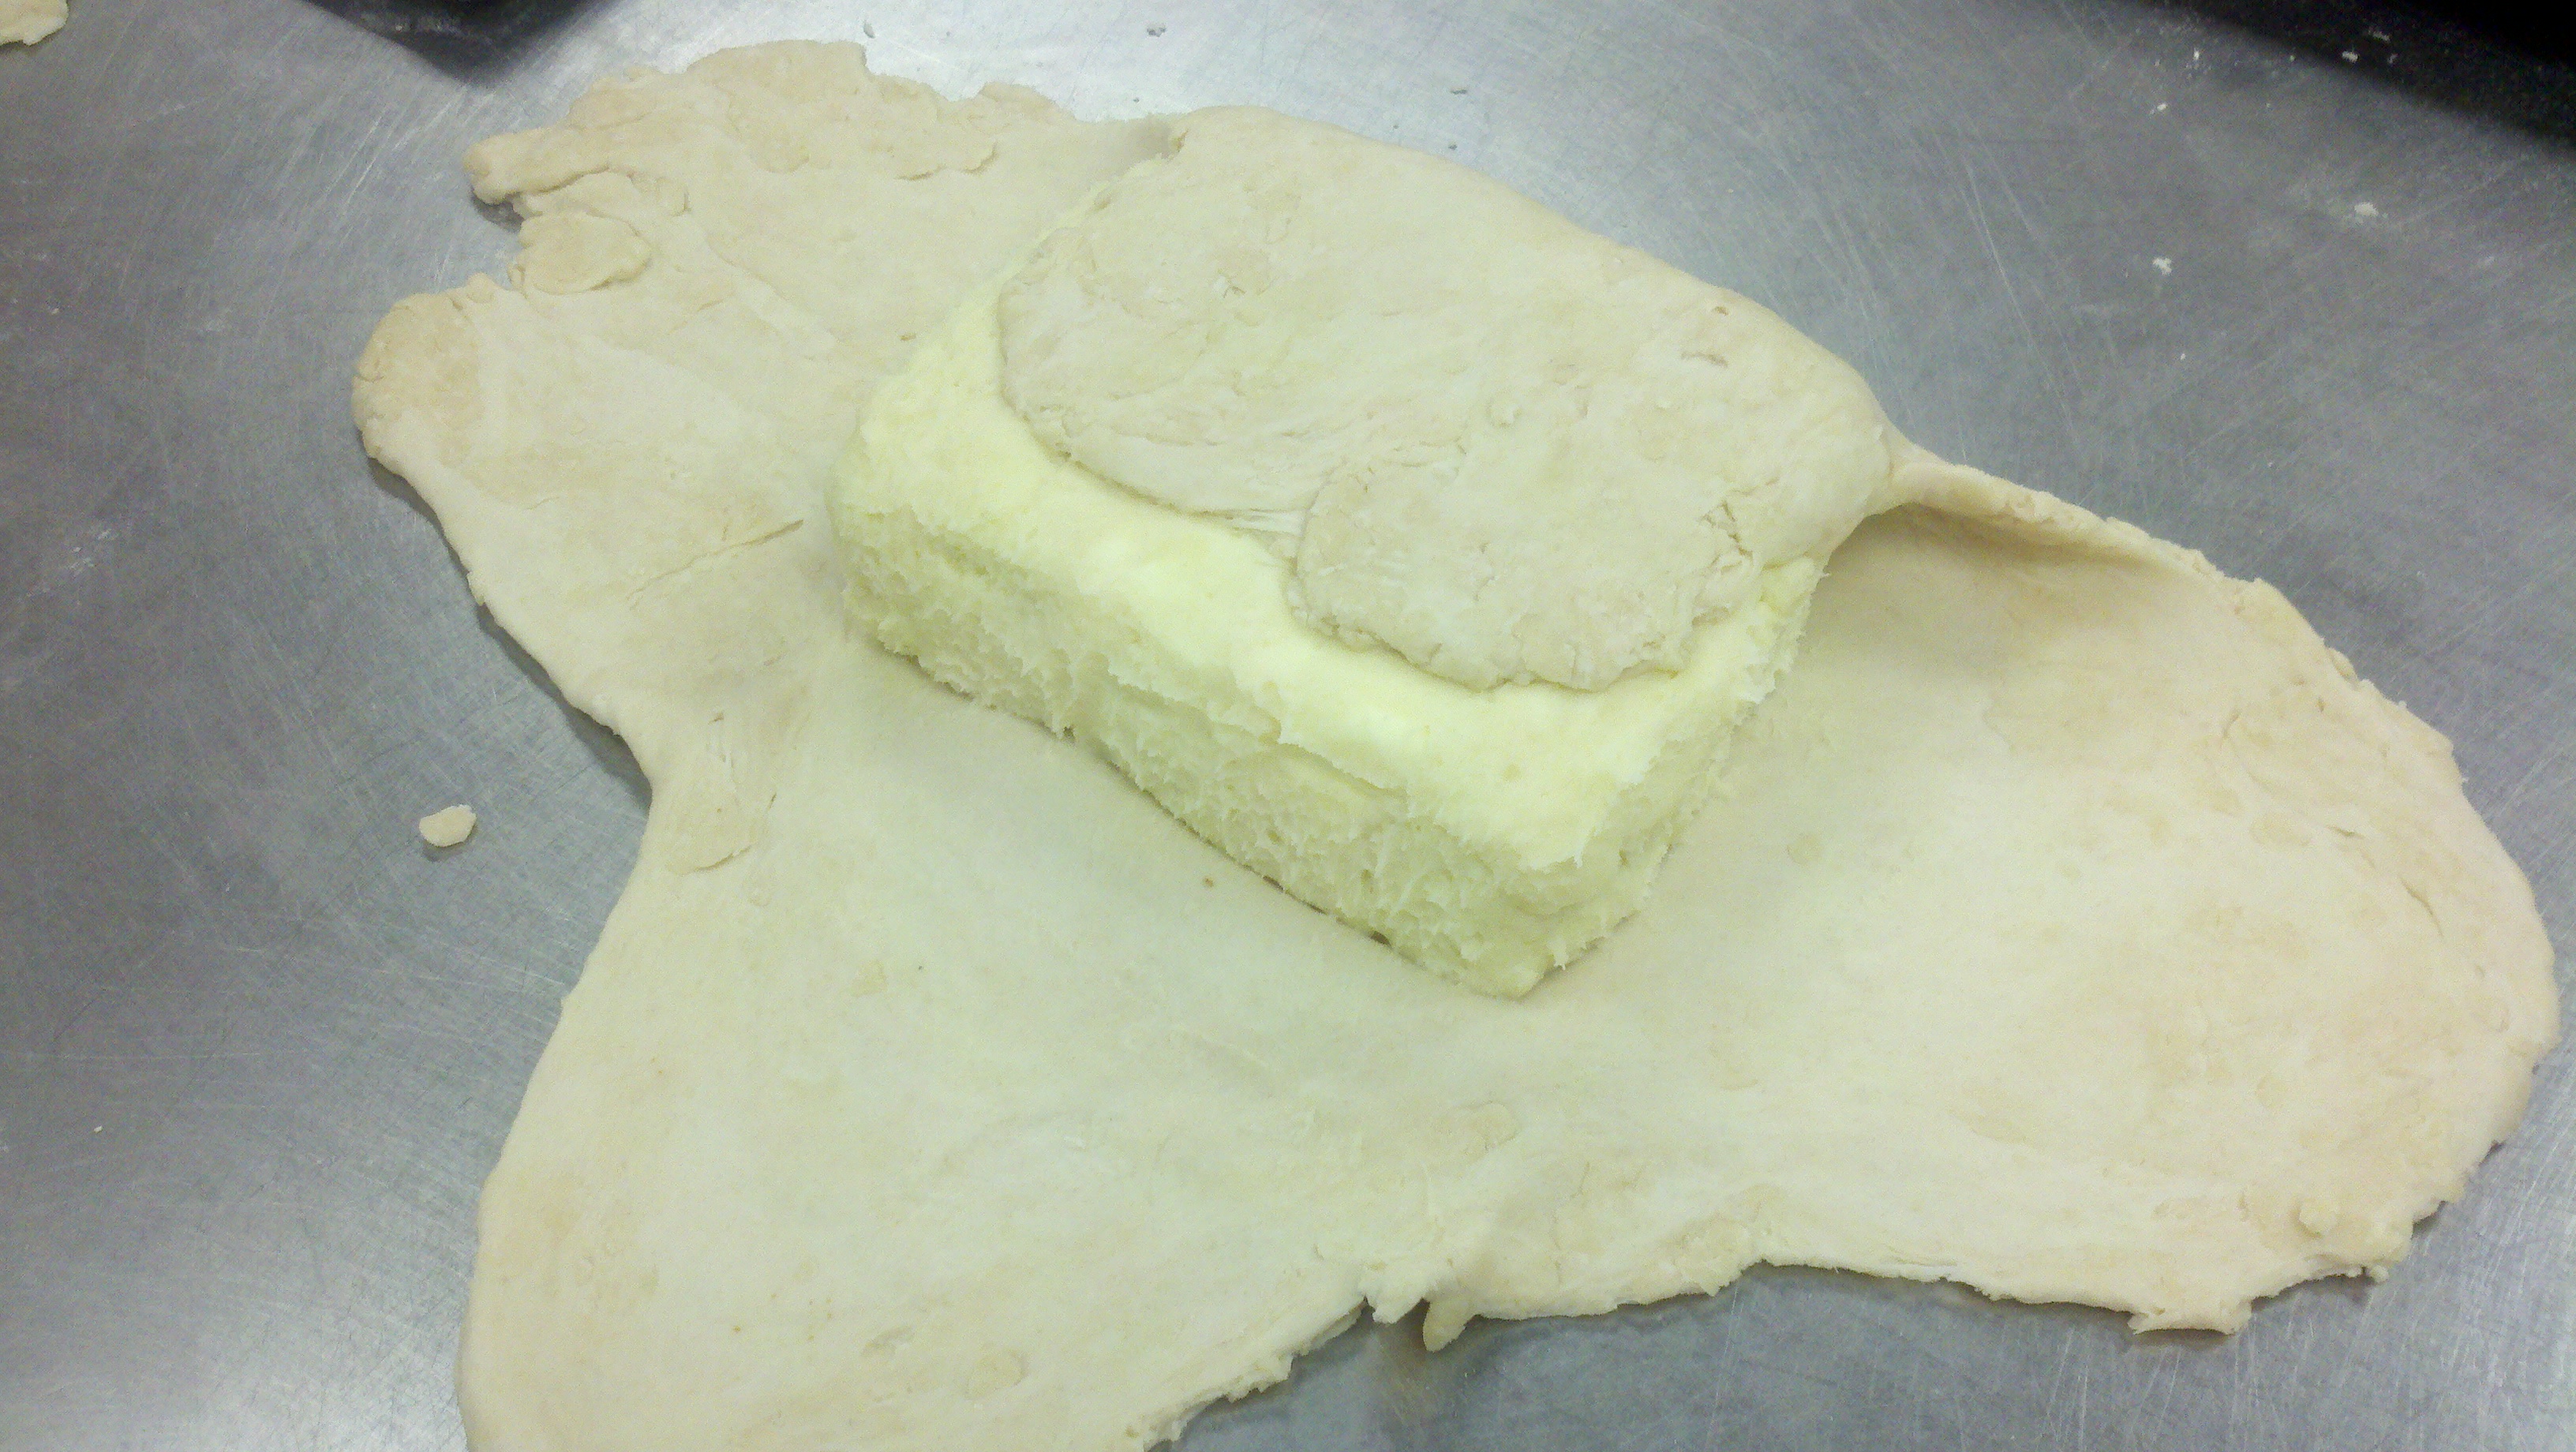
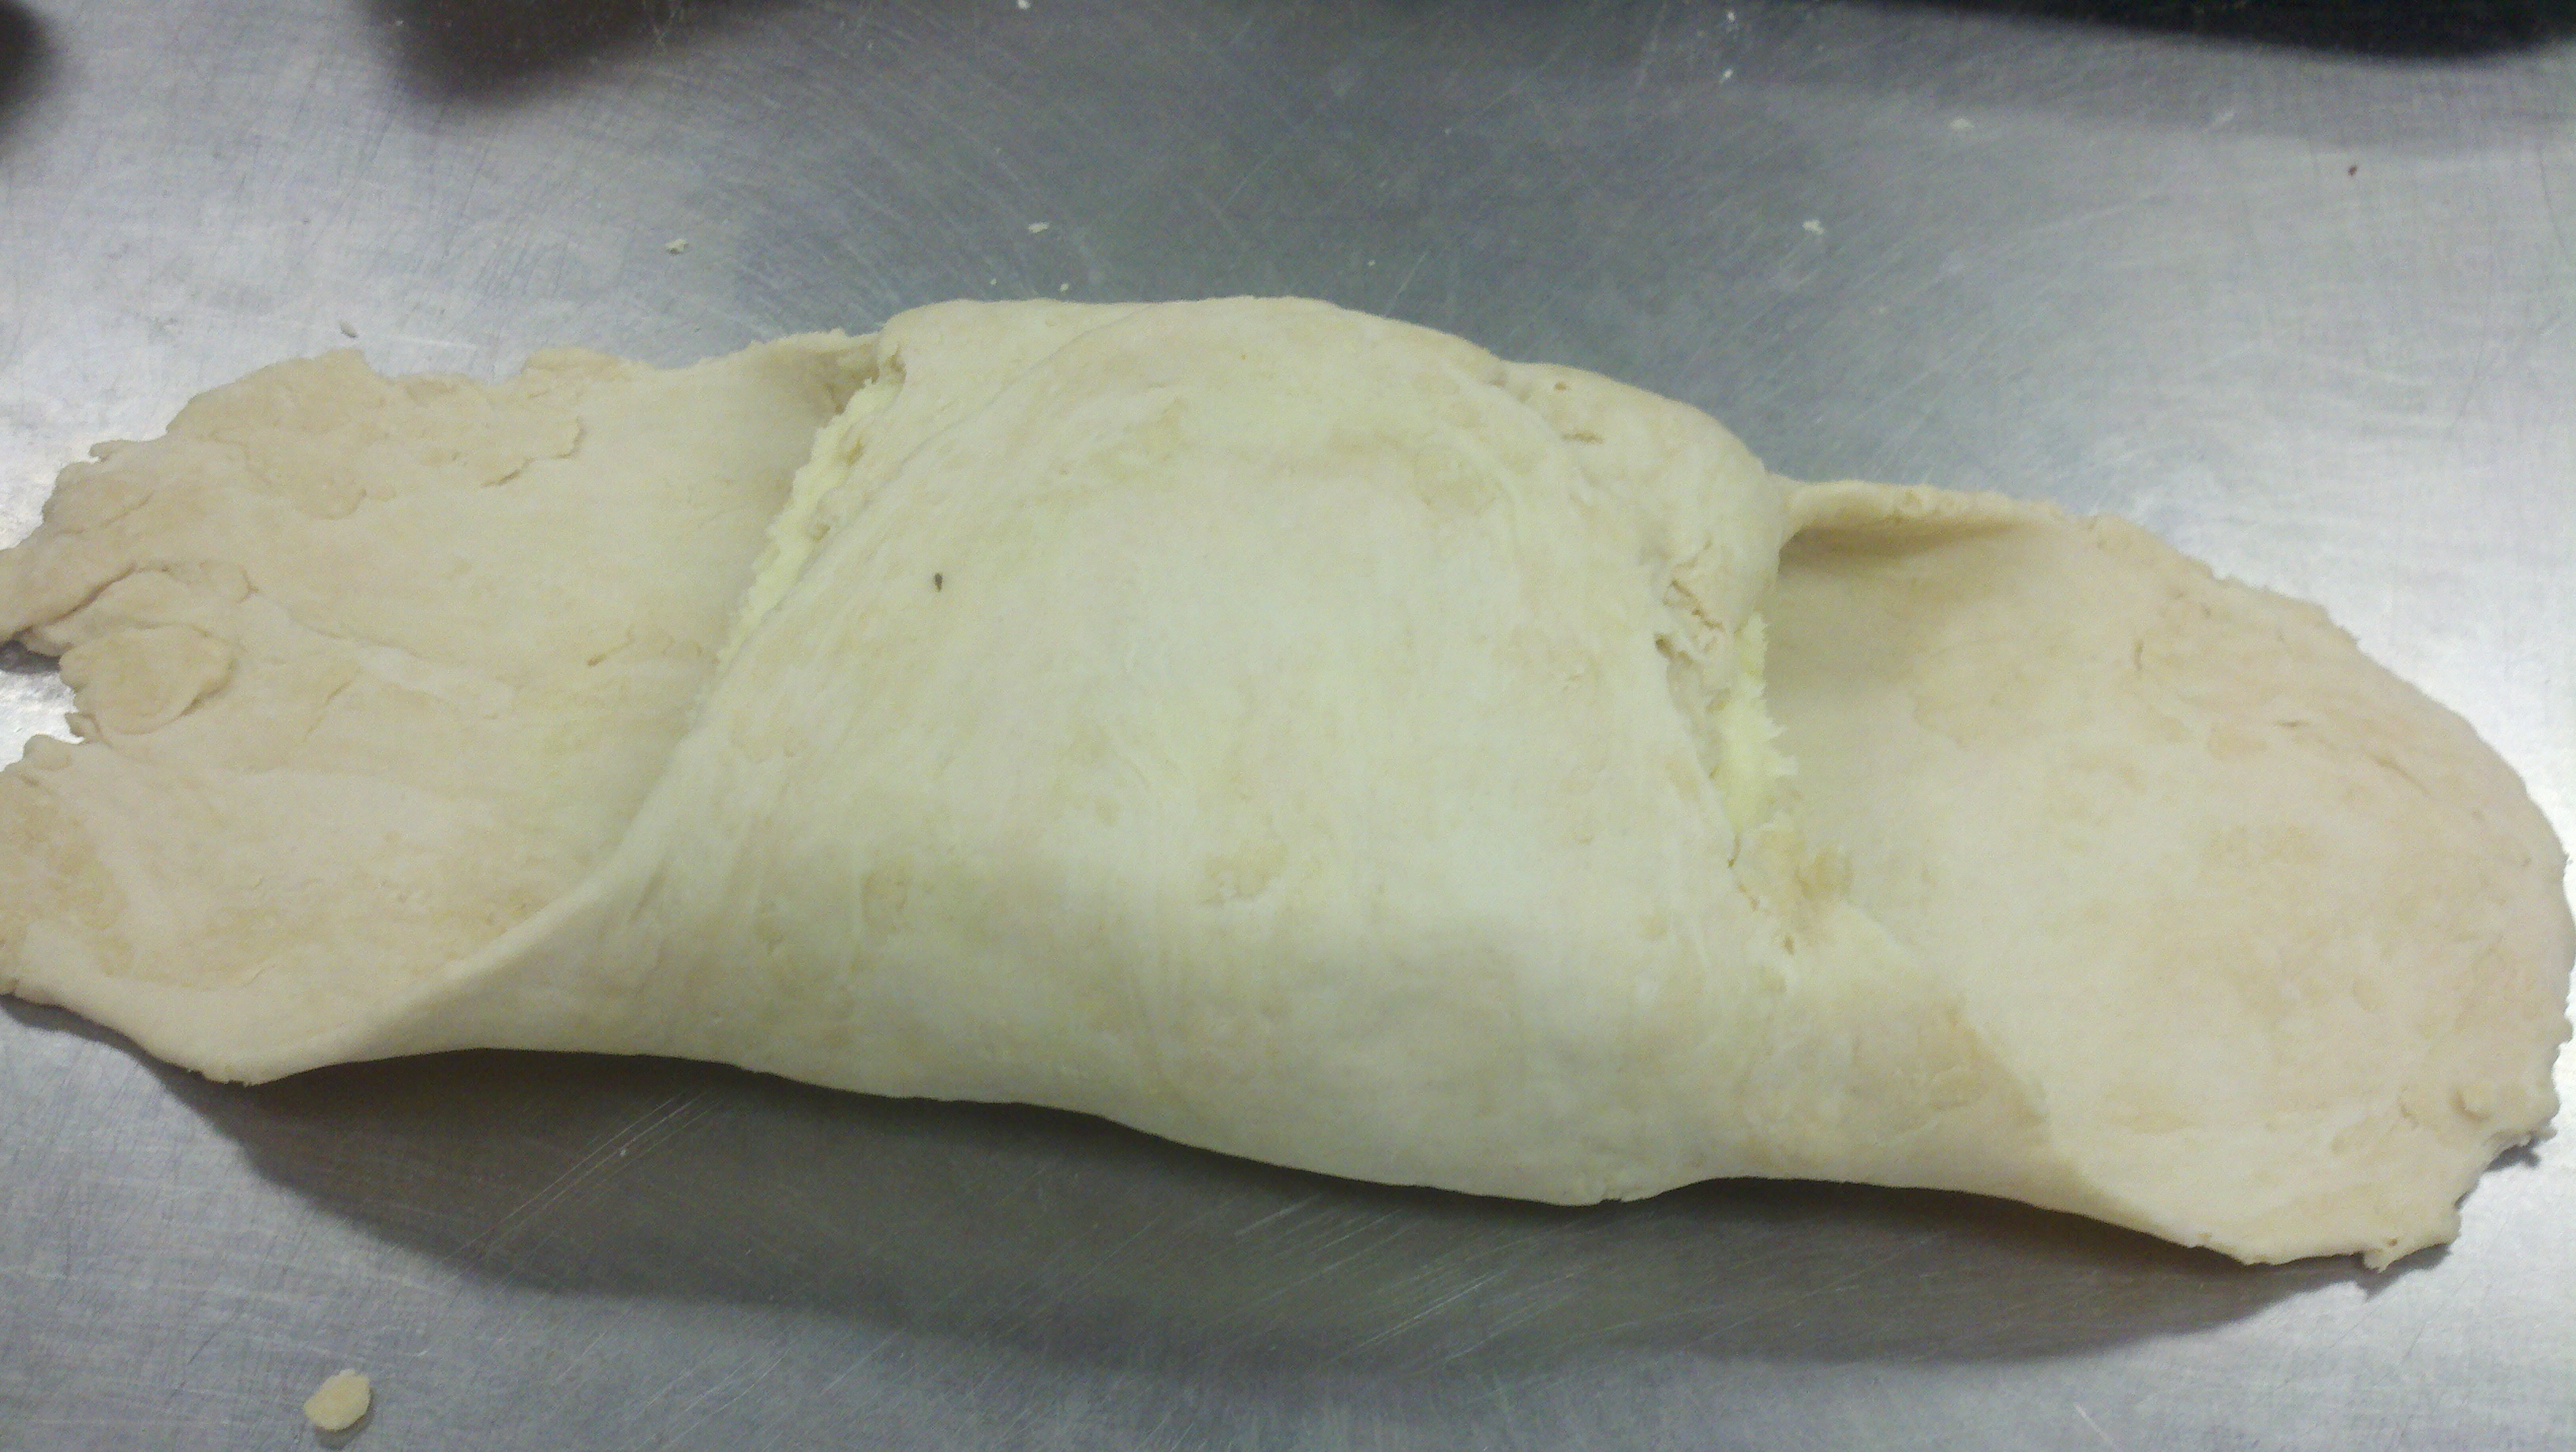
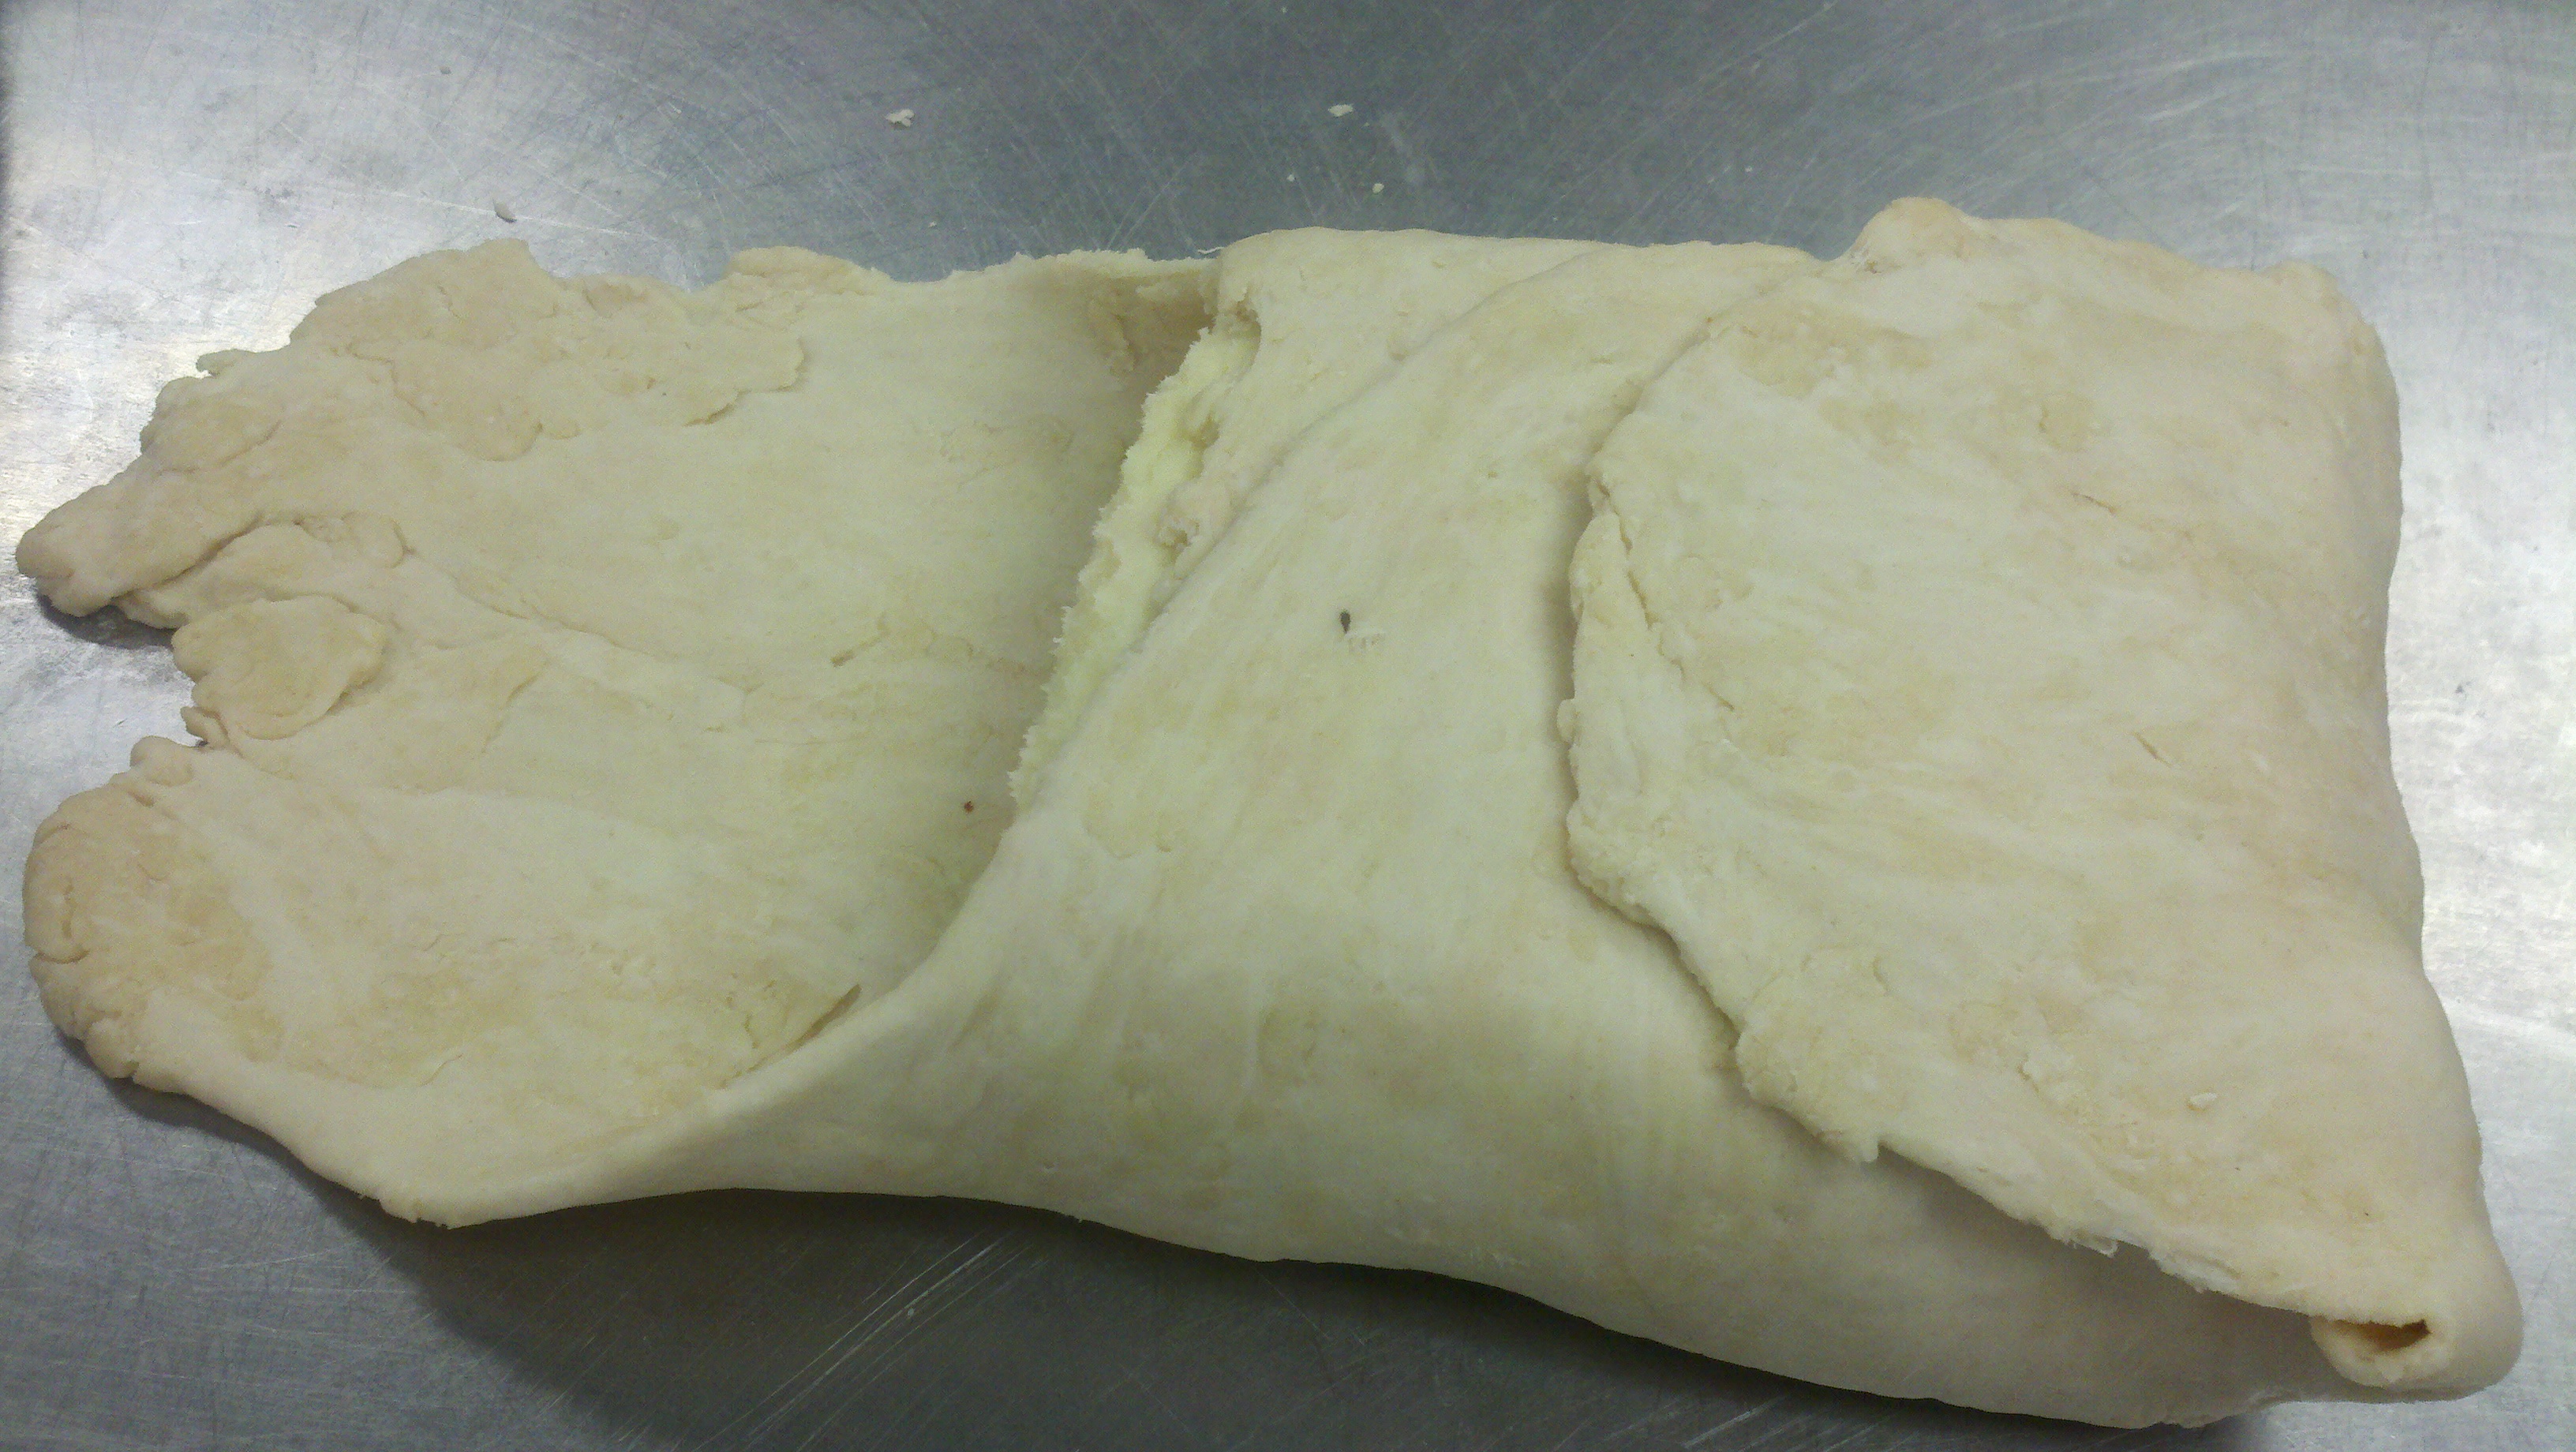
Now put the beurrage block on top of that center hump in the détrempe. Fold each of the four petals over the beurrage until you have a nice pastry envelope.
First fold…
… and second fold…
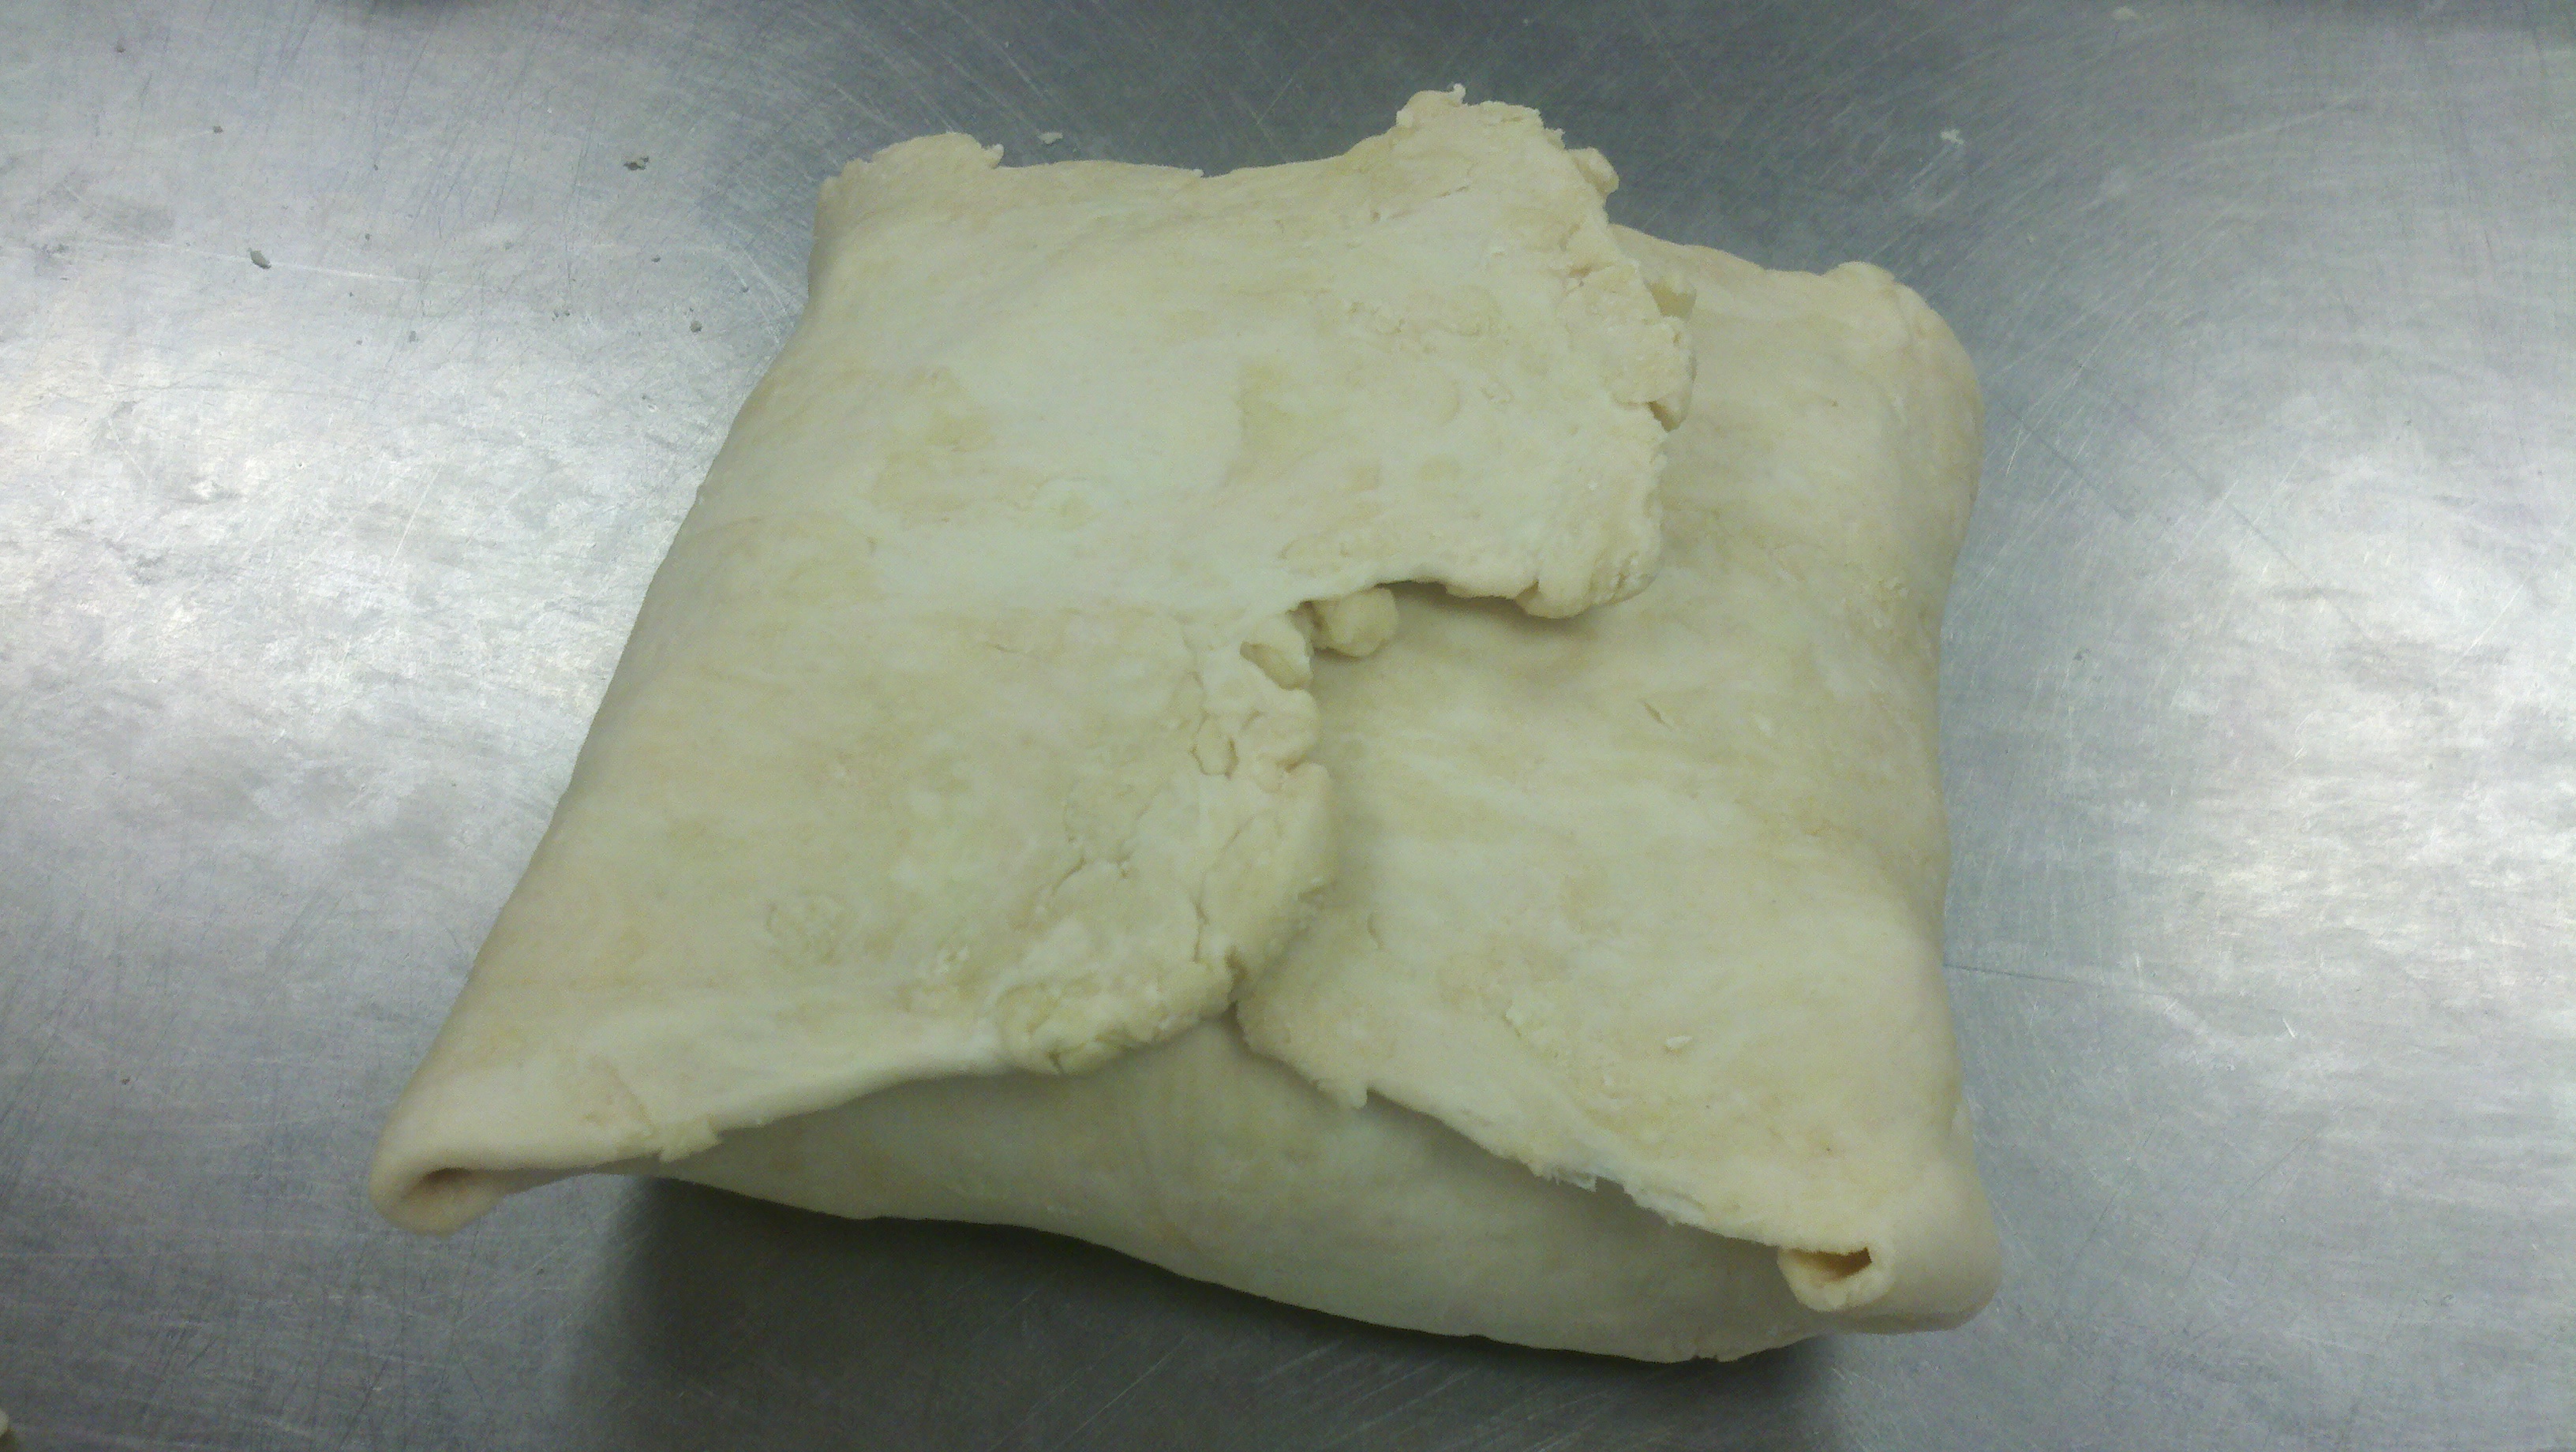
Then press and pinch all around to flatten and seal the edges. We flattened our little dough packages slightly with our rolling pins and rolled them out into thick rectangles, about 3/4 of an inch thick.
Making sure your surface, your dough and your pin are lightly floured, begin rolling out the dough. You’re looking for a rectangle of about 10 inches by 20 inches. Flip the dough over from time to time, to avoid expanding the top layers more than the bottom ones.
Turn the dough so that the long edge is parallel to your work-surface edge. Now you’re ready to do the first of six “turns” that make puff pastry.
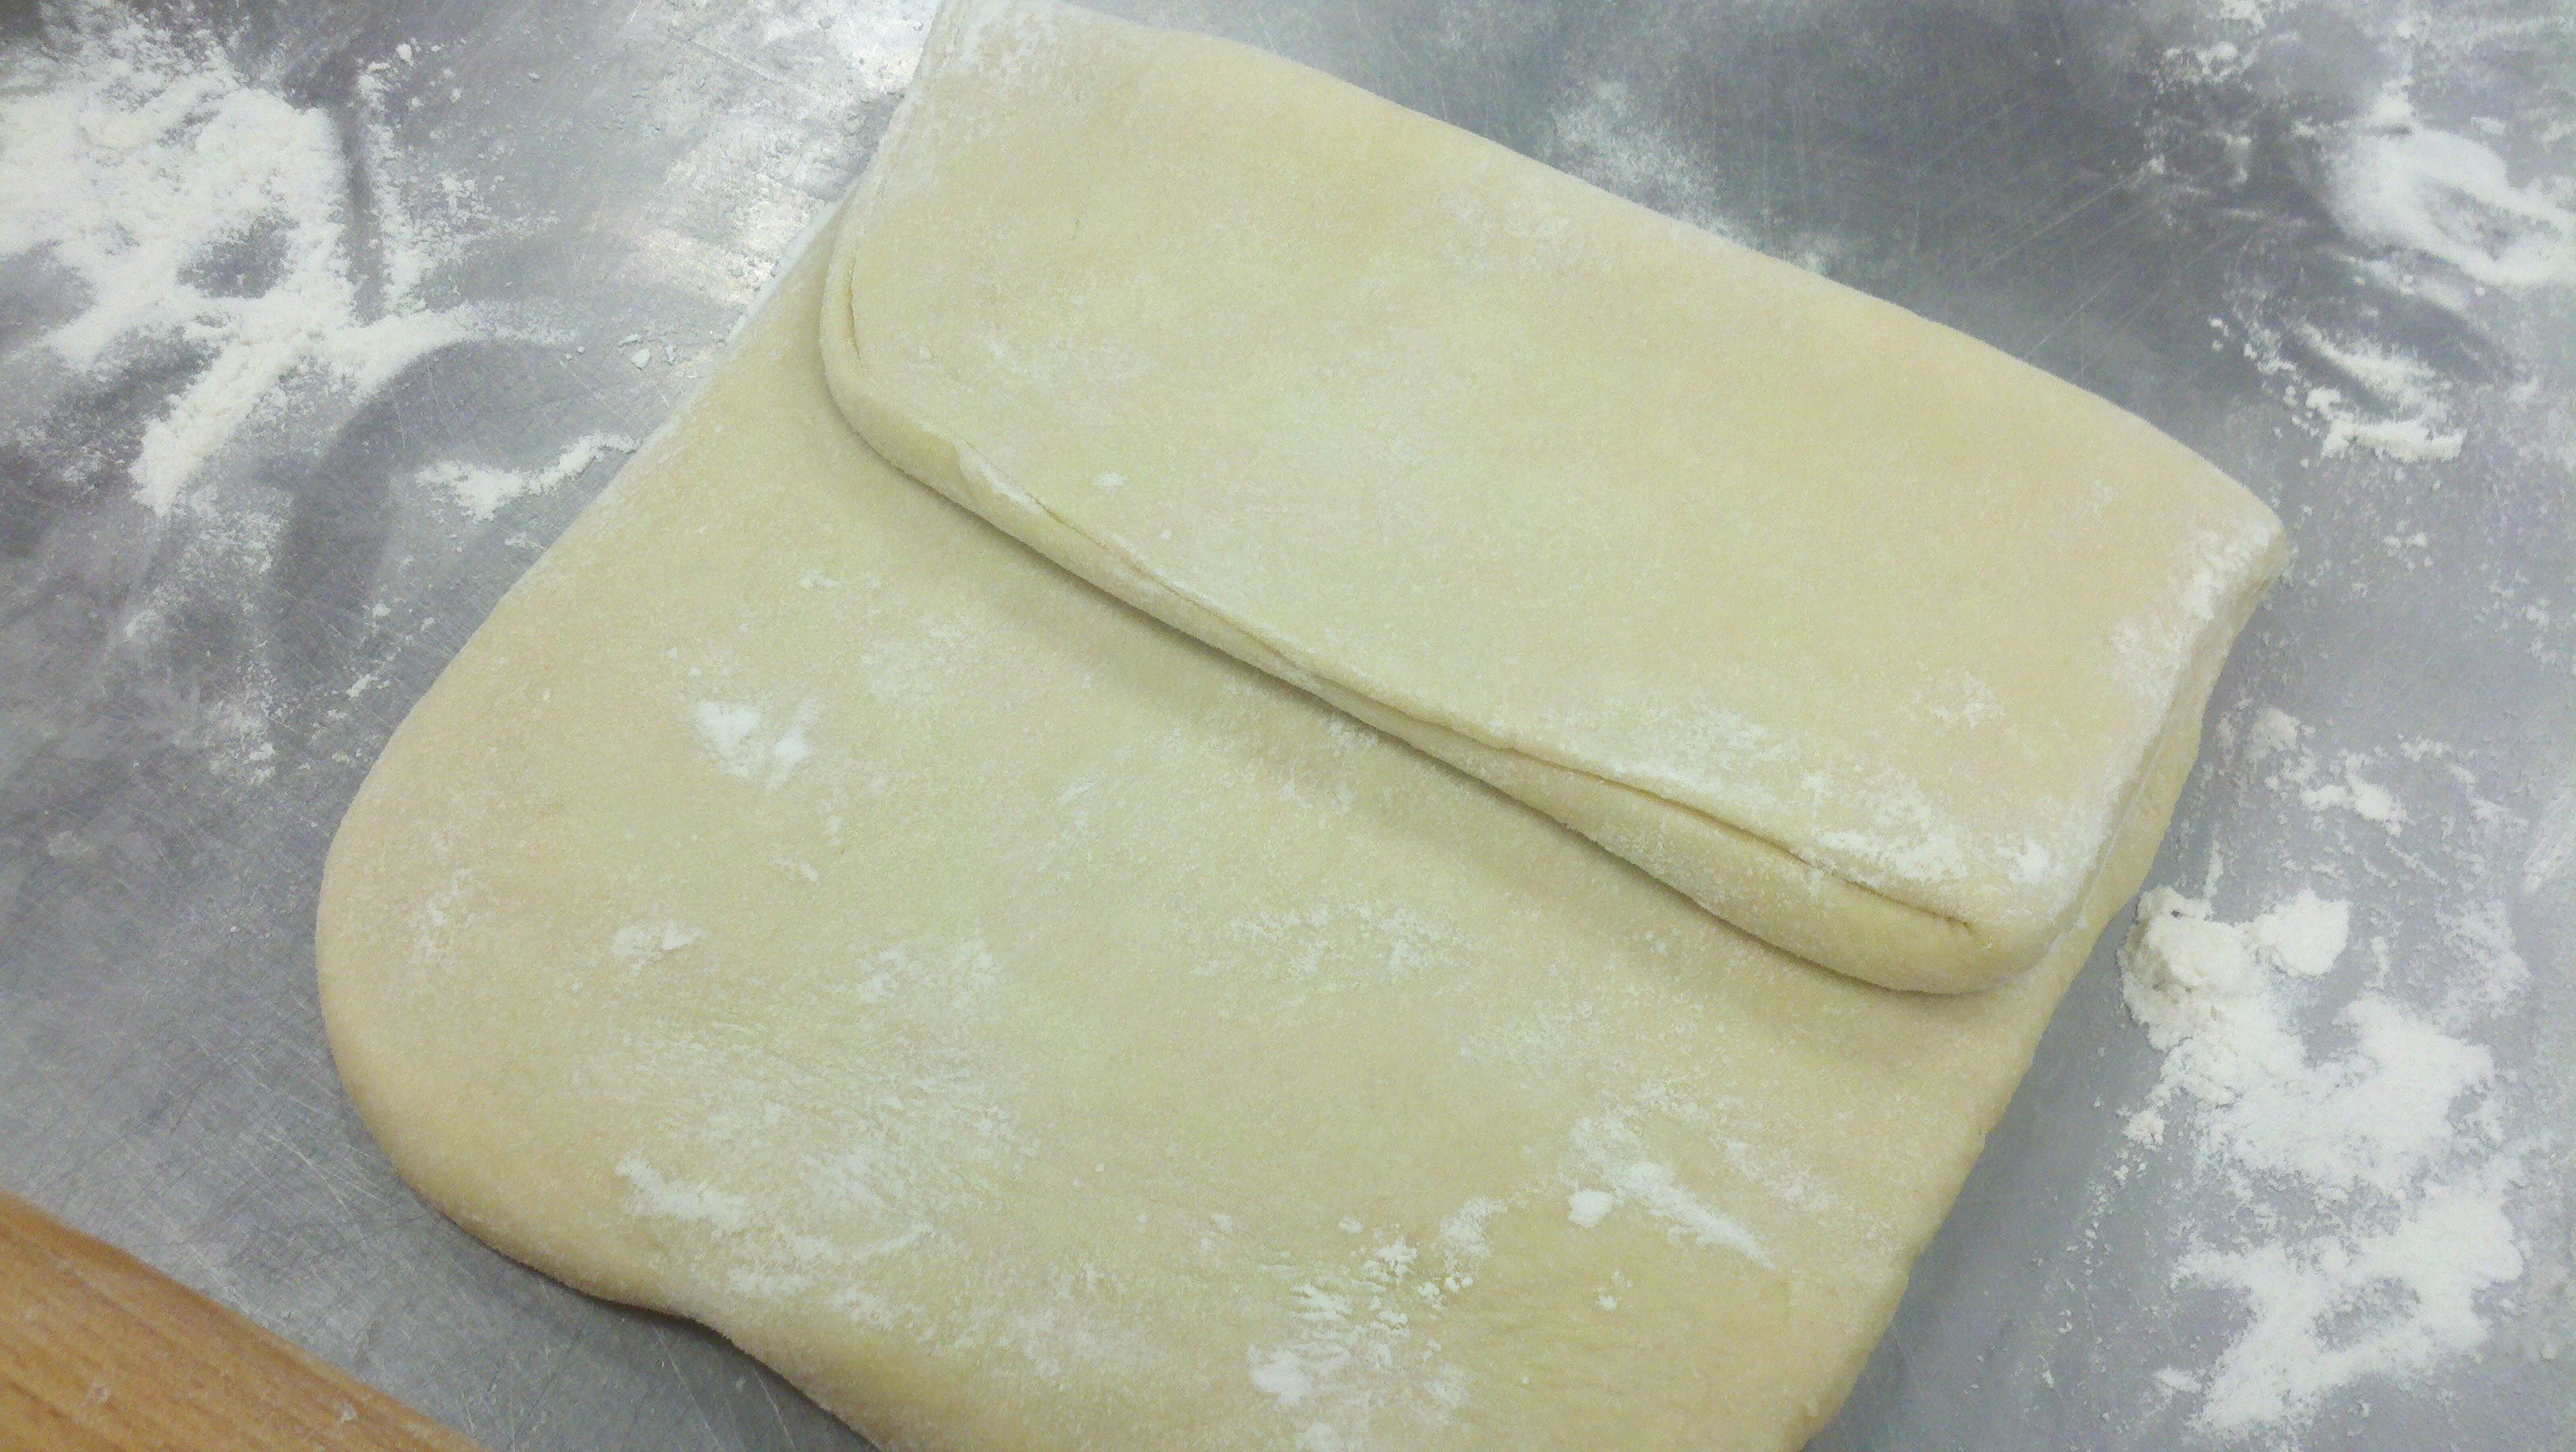
Fold the dough into thirds by folding one short edge in toward the center…
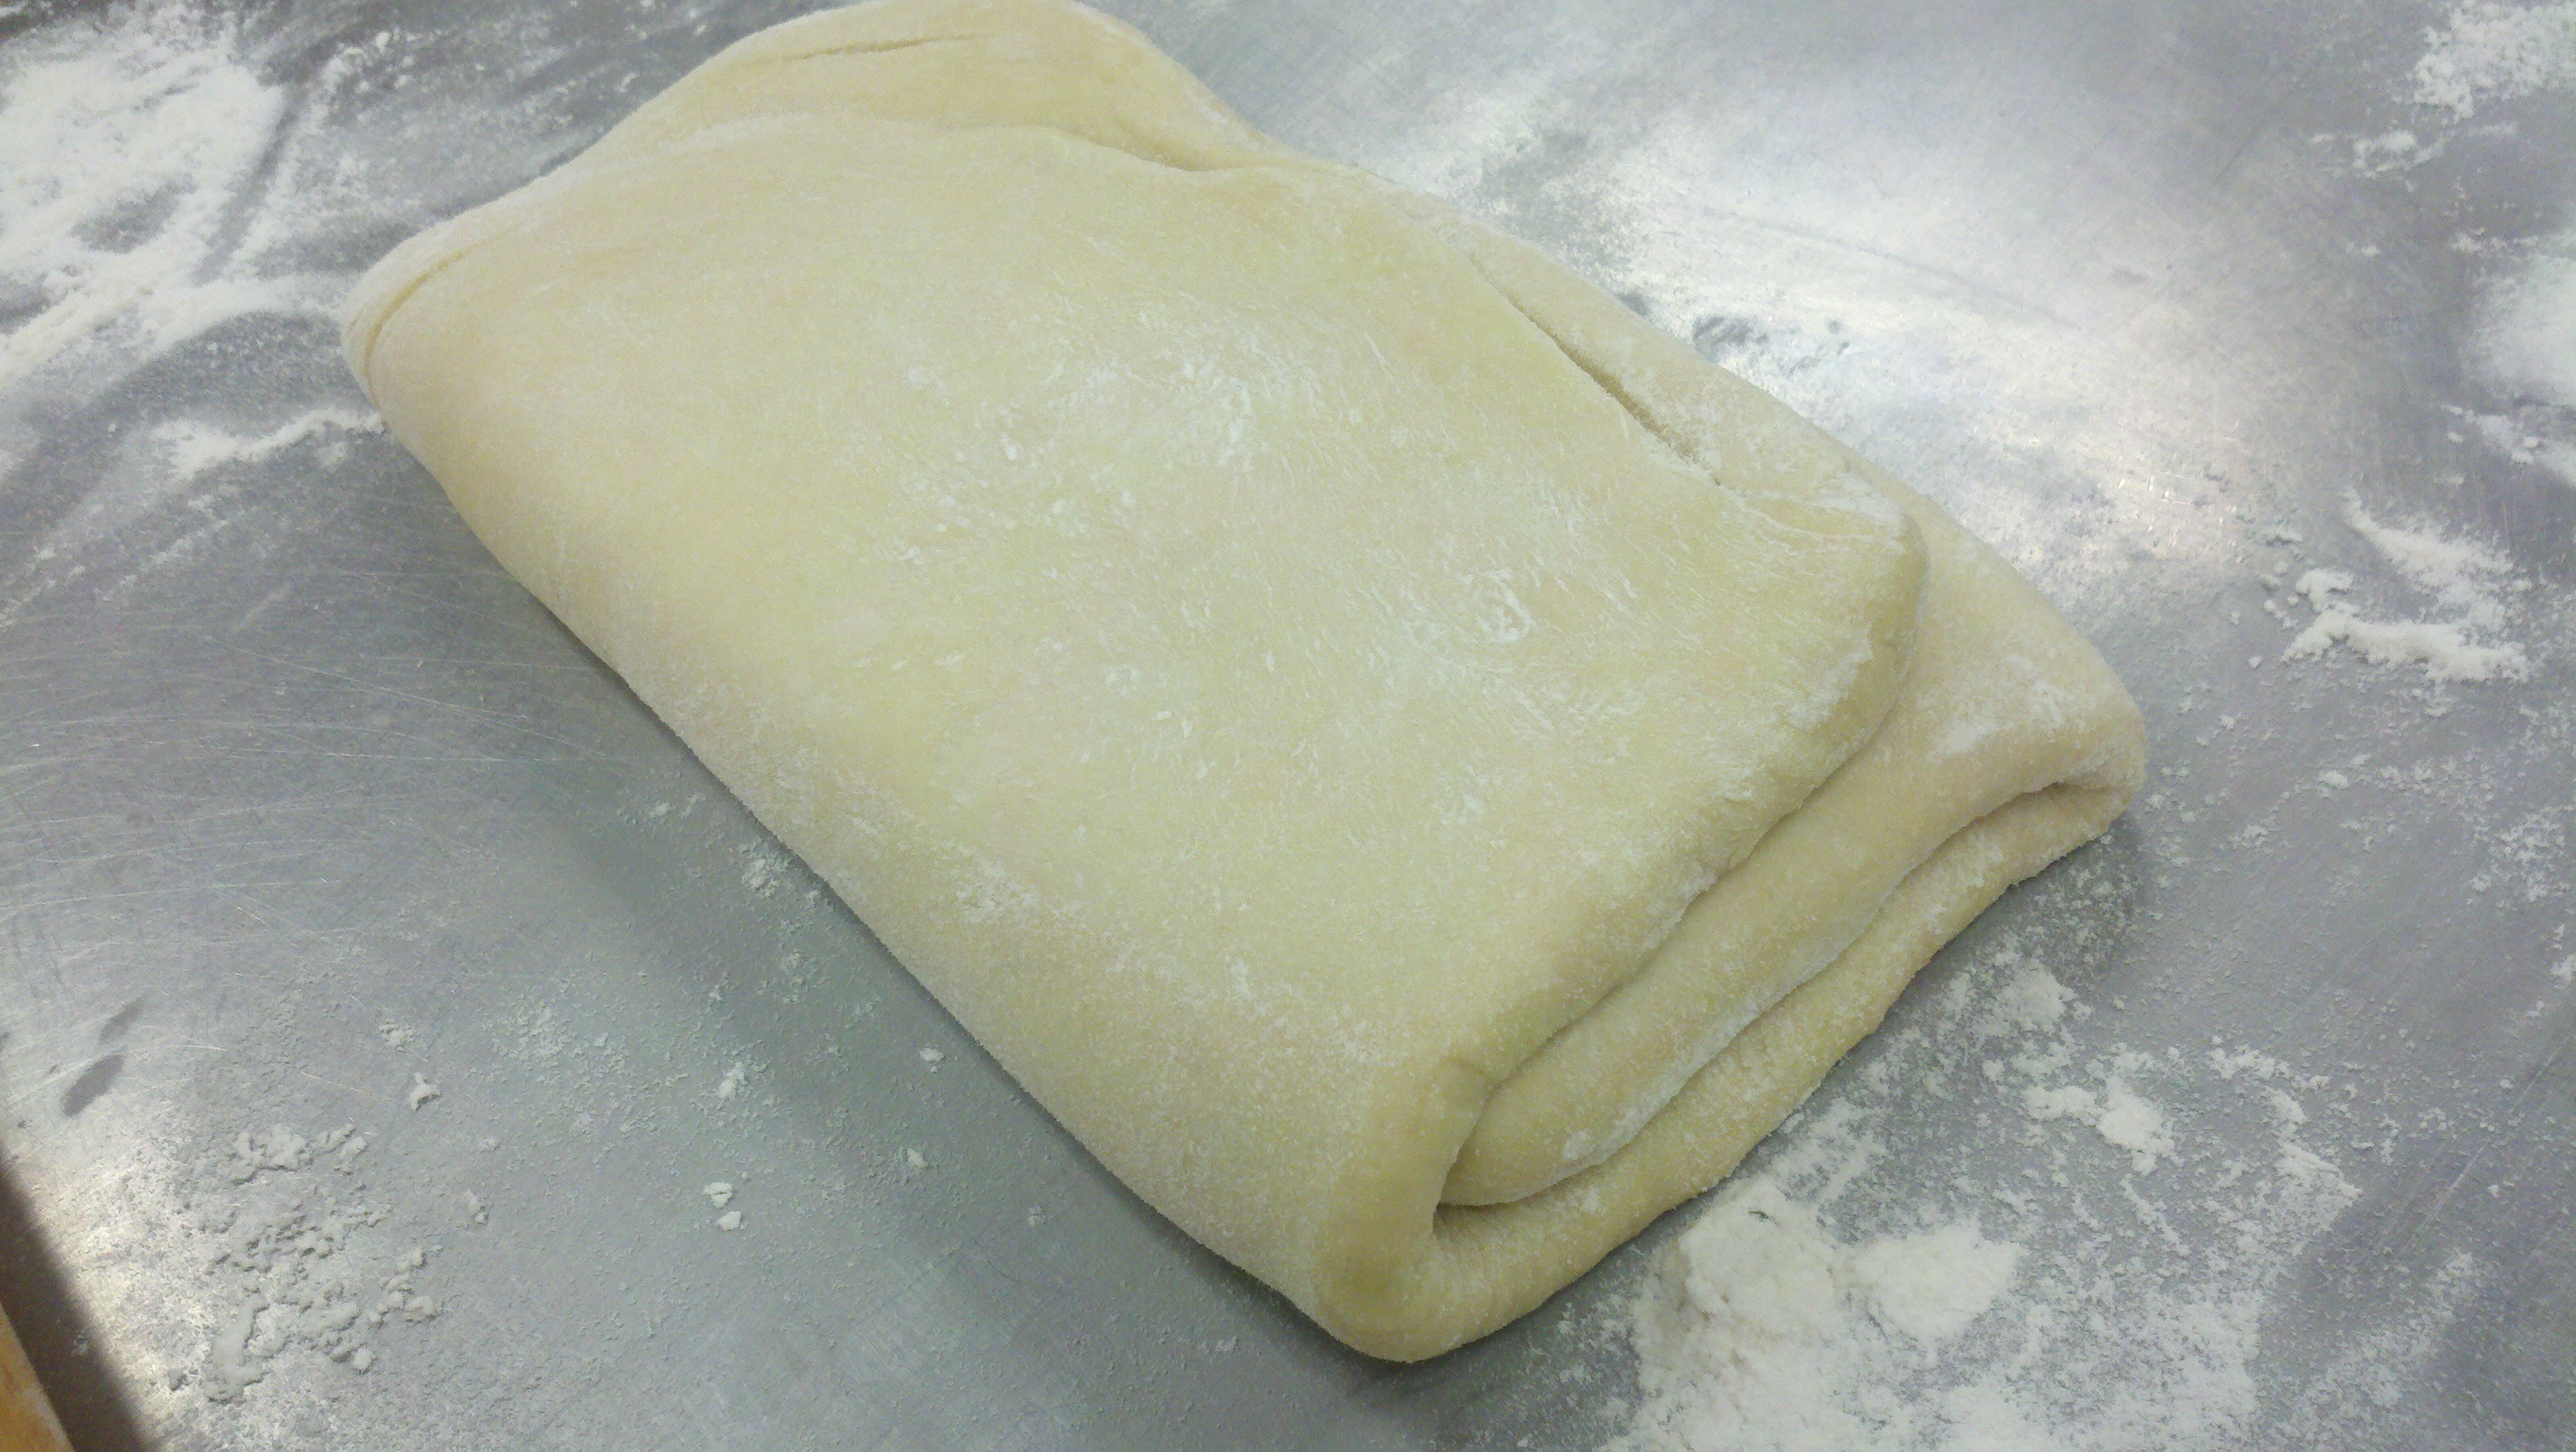
…and then doing the same with the other edge. It should now look like a business letter.
We took a few minutes to even up the edges of the dough and square off the corners, using our rolling pins to tap on all sides. We made a little finger indentation in the dough to signify that we had done one single “turn” (That’s the simpler kind of folding, which is what we just did. Stay tuned for the “double turn.”)
Then it was time to turn the dough 90 degrees, roll it out again, and do another turn. This time we learned the double turn, which creates more layers. With this one, you fold each short edge into the center…
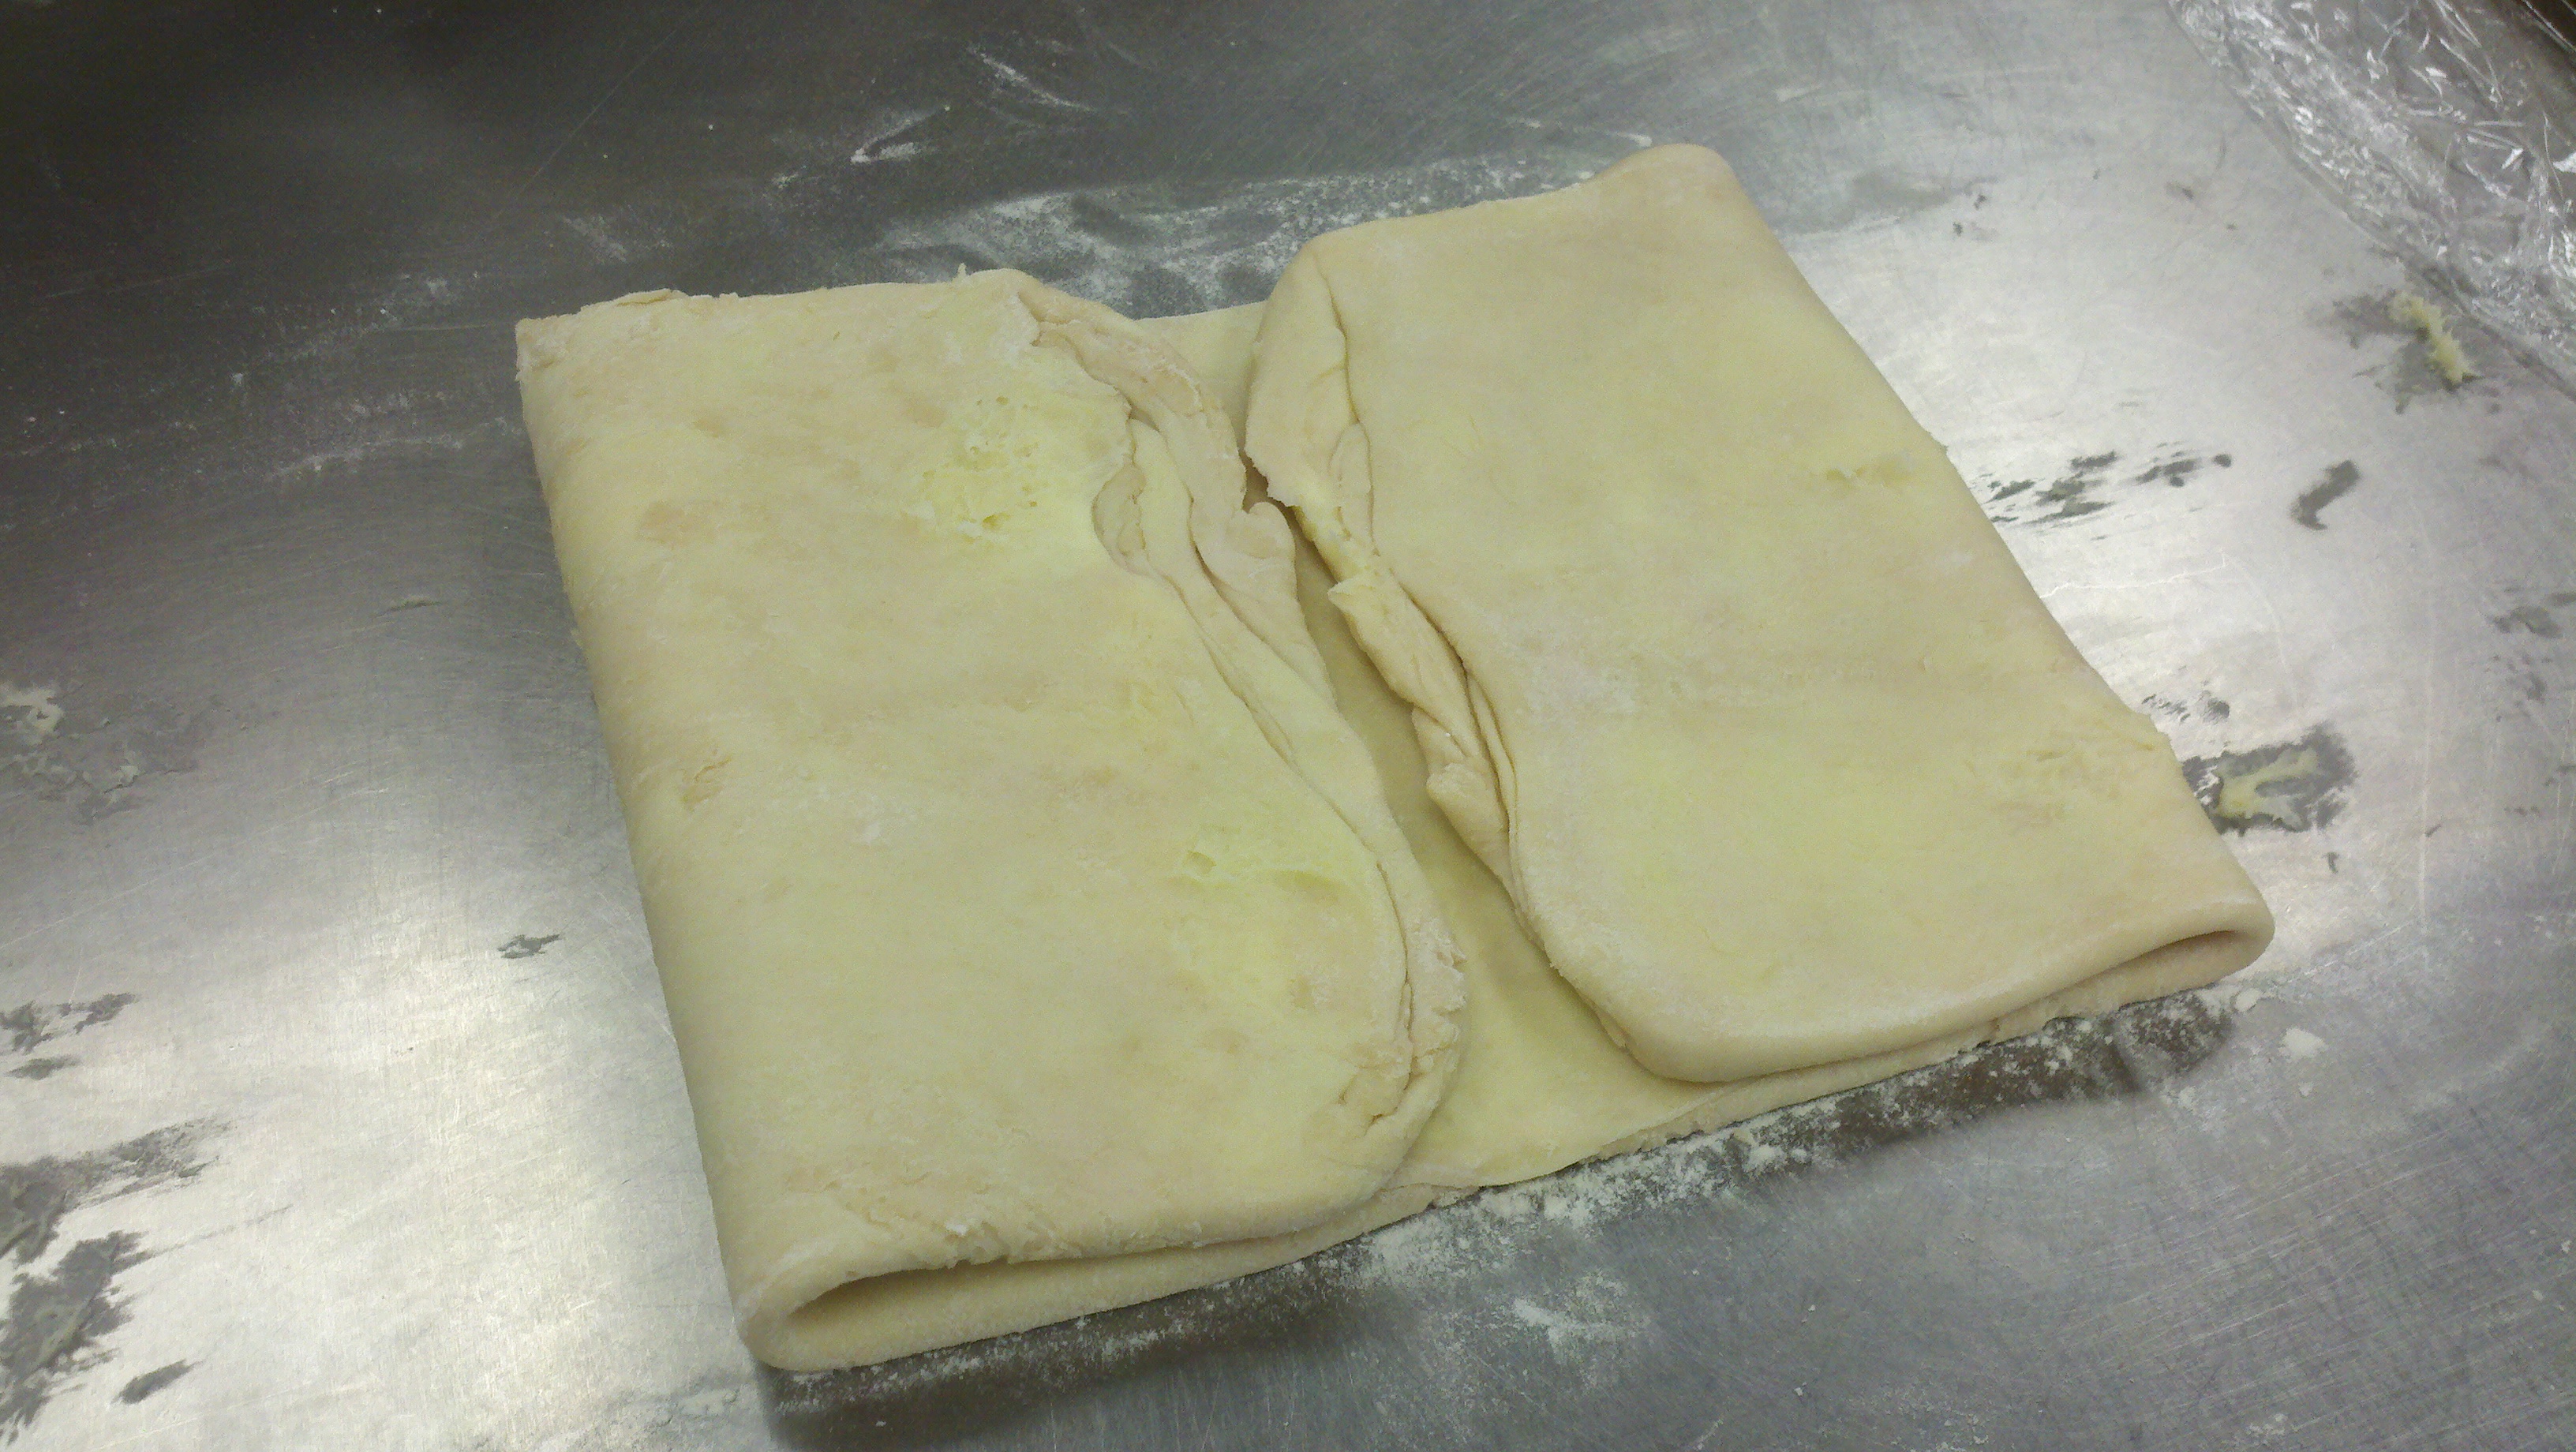 … and fold it in half at the point where the edges meet, like you’re closing a book:
Then you use your pin to square off edges and corners, and put two finger indentations in the dough to show that you’ve now done three “turns”–a single and a double. This comes in handy especially in restaurants and bakeries, since the dough has to rest in the refrigerator between turns, and if the folks who started the dough aren’t the ones on duty when it’s time for another turn, the newly arrived bakers can take one look at the dough and know just how many turns it’s had.
Chef Claude told us that we could use any combination of single and double turns that add up to six turns in total. We didn’t have to rest and chill our dough between the first and second turns because it was still cool enough. But if it had warmed up too much, we would have had to take a break and chill/rest it after the first turn. Once you hit the second turn, you have to wrap it in plastic and chill/rest it between after every turn for at least 45 minutes.
Once the dough has had its six turns, it needs to chill for an hour or more, and preferably overnight, before being cut and shaped.
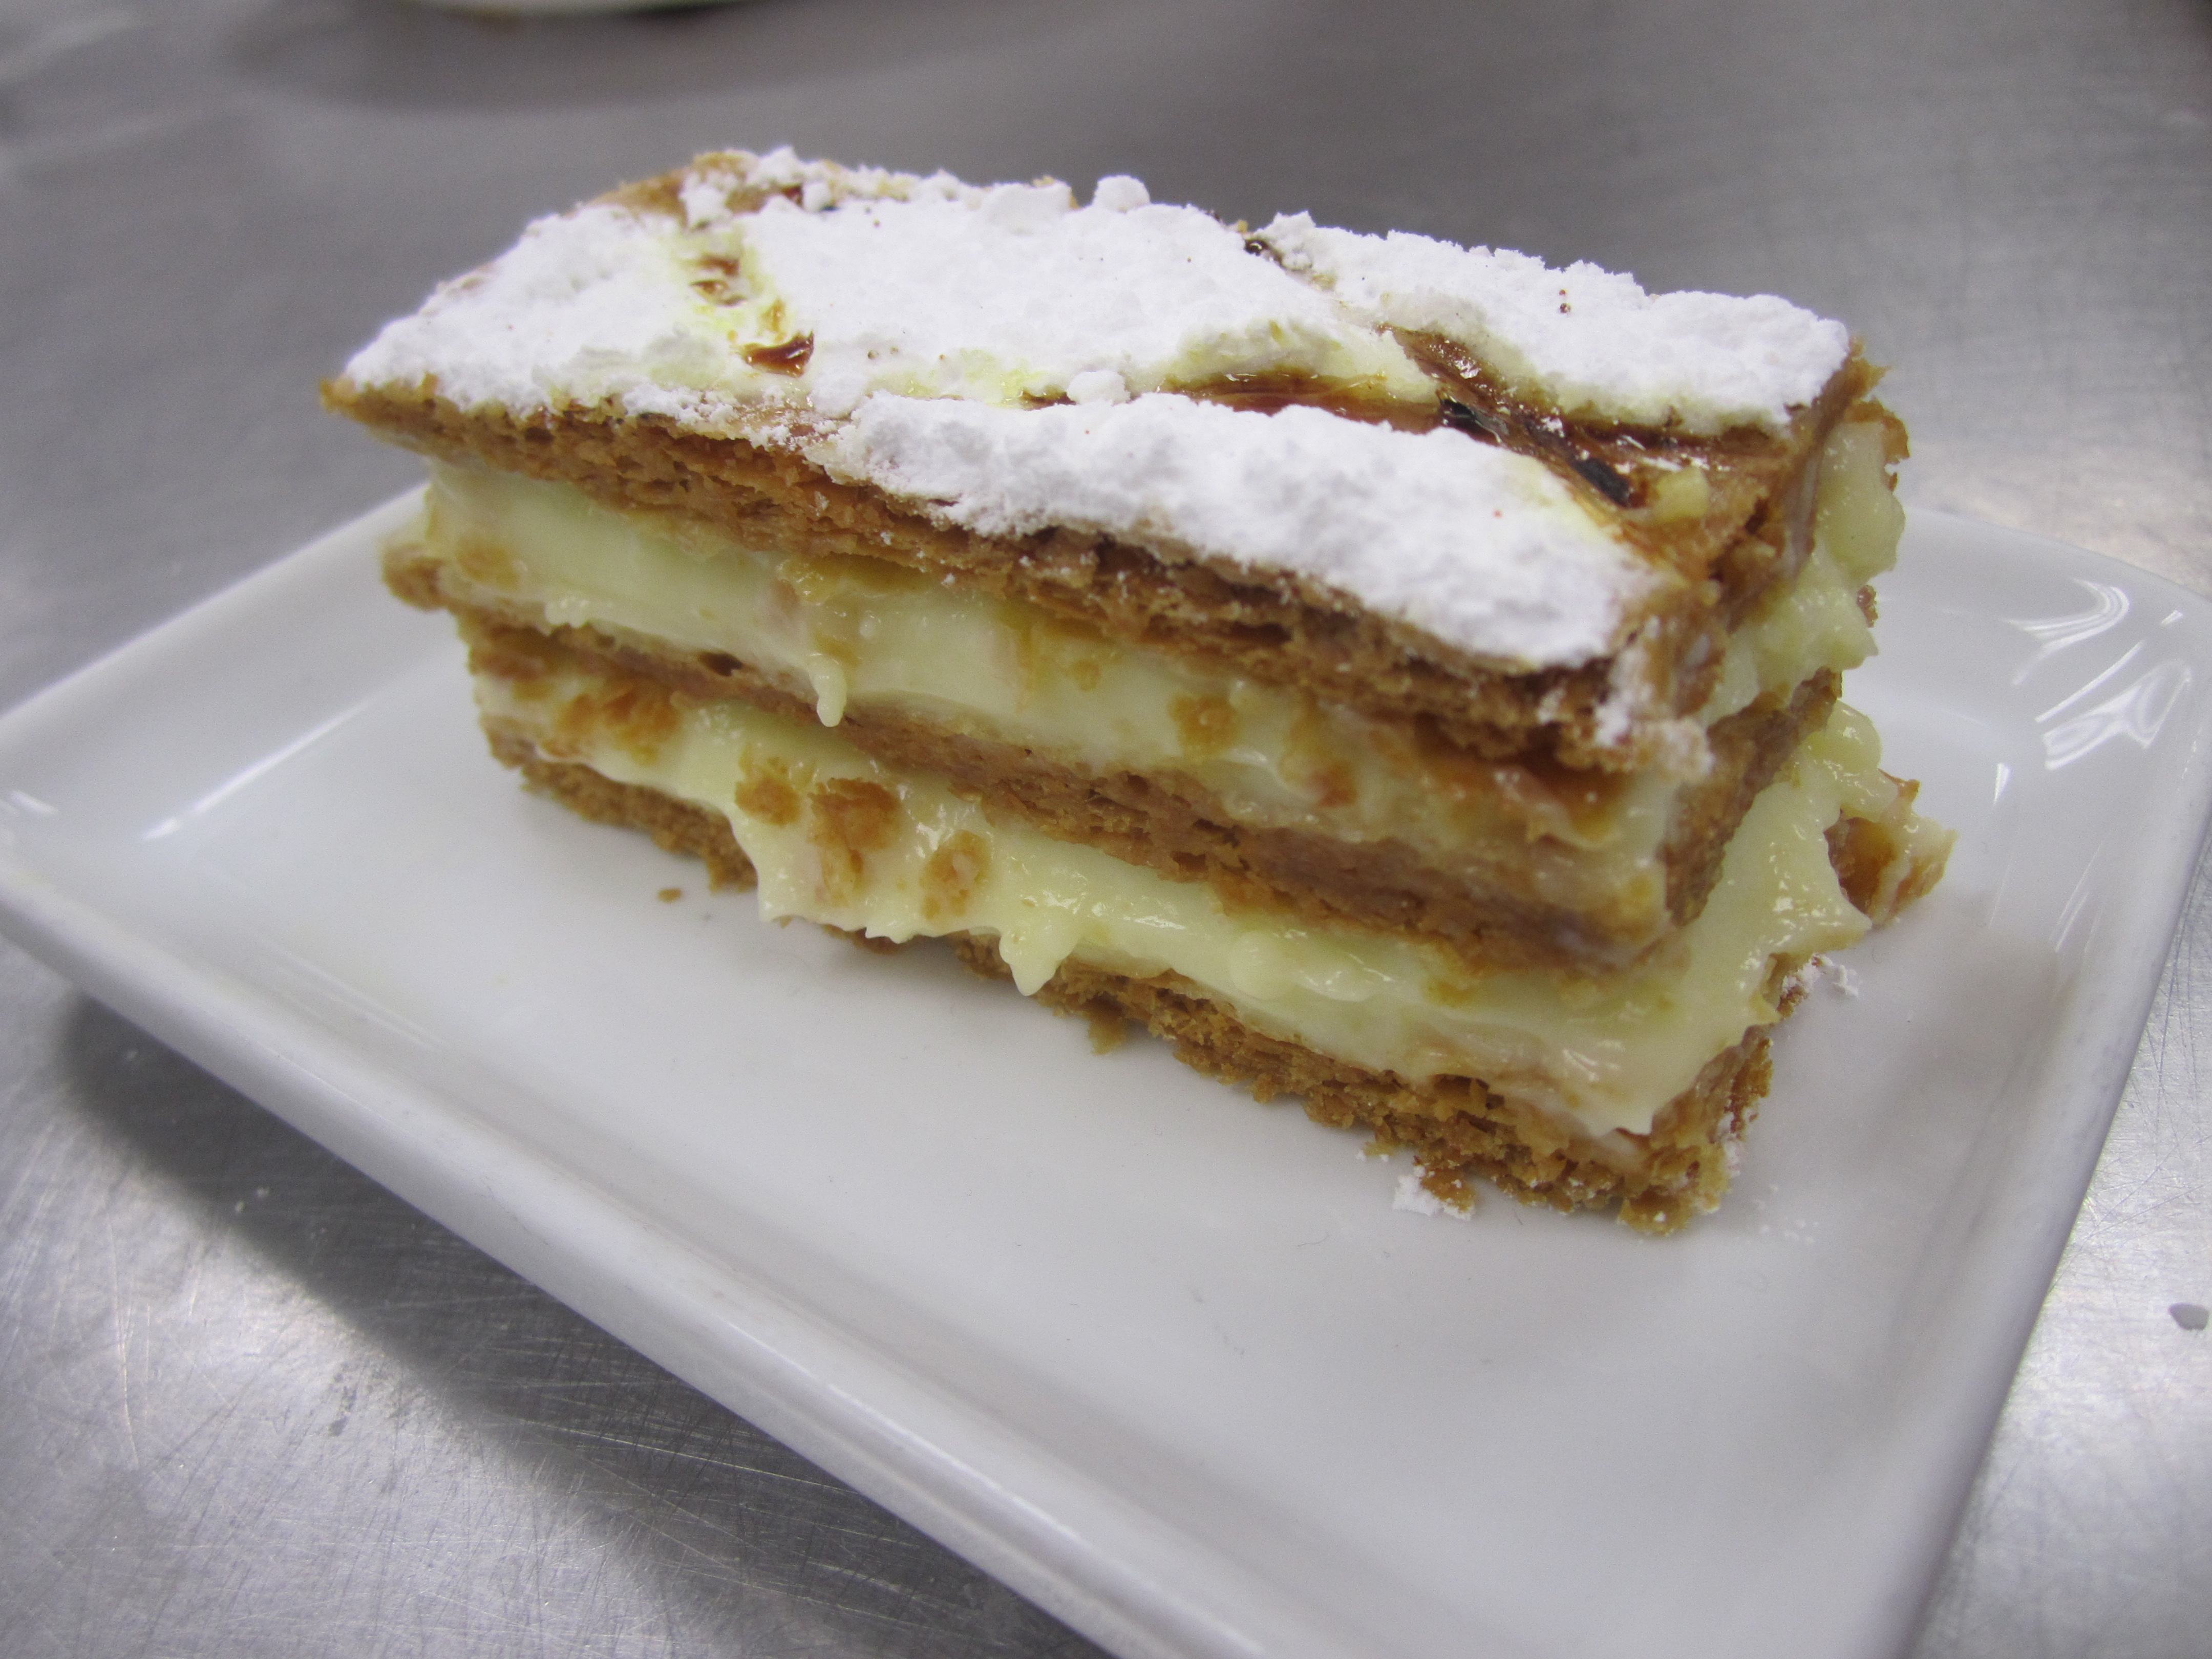
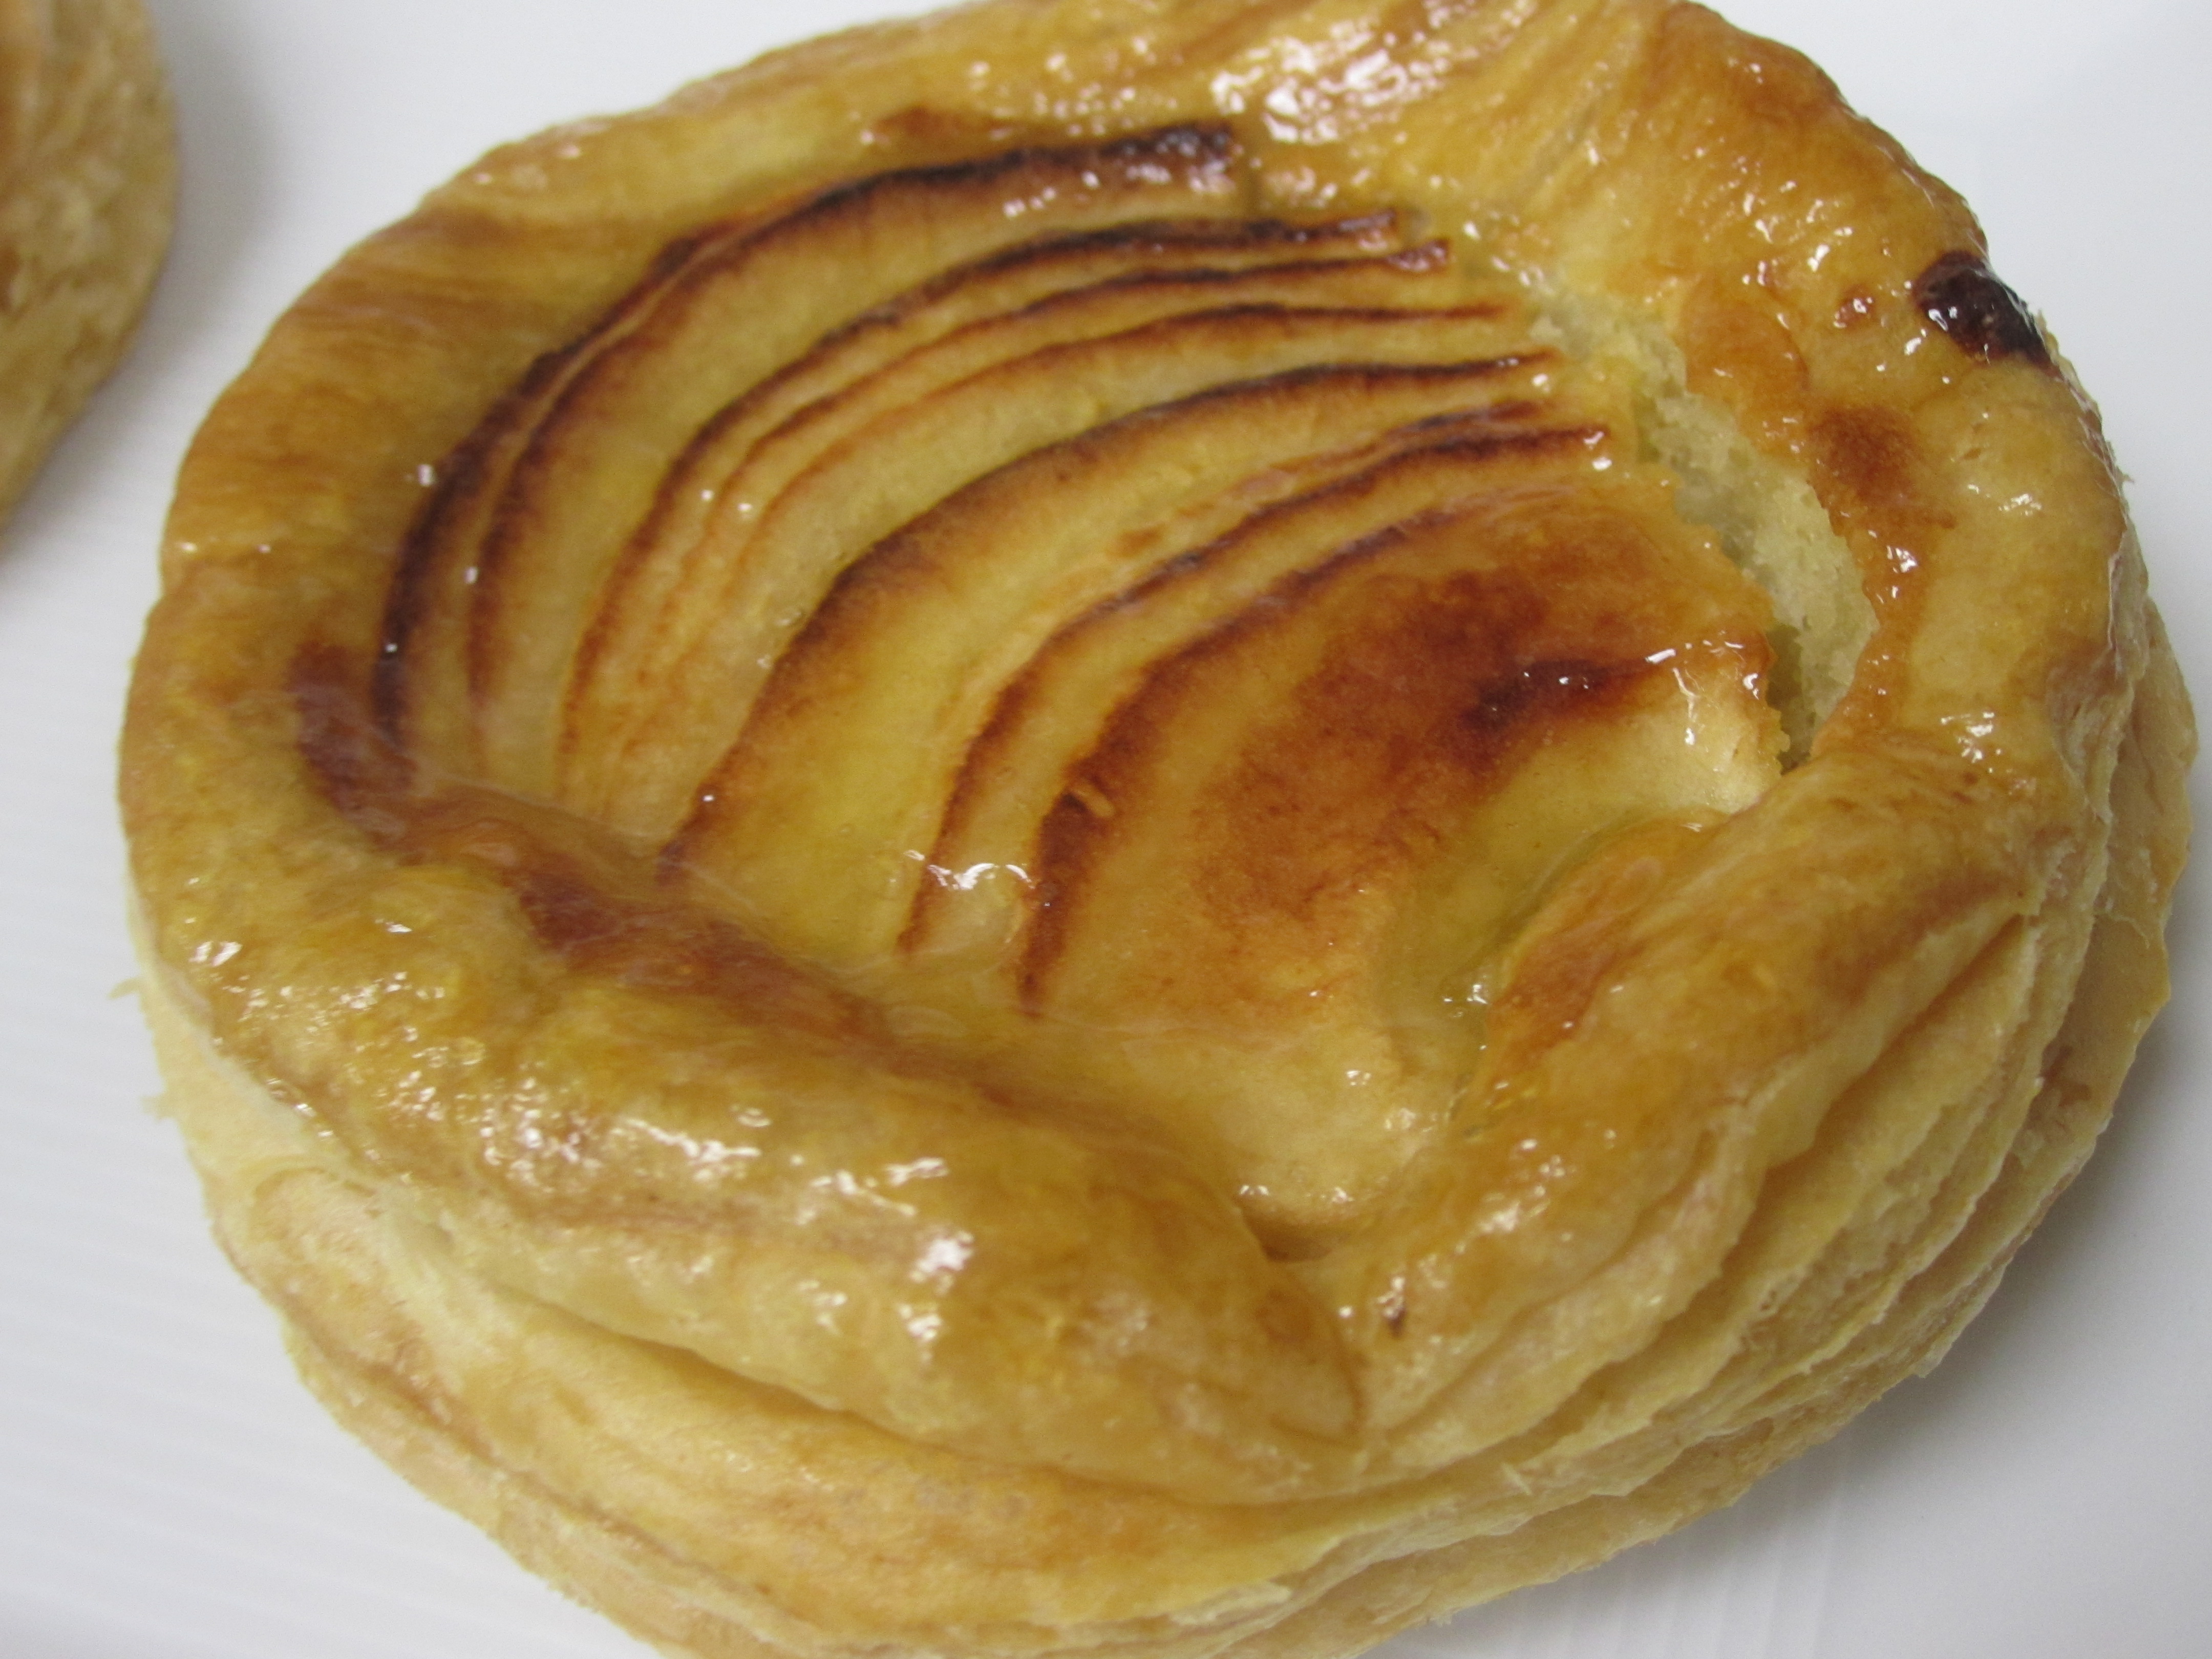
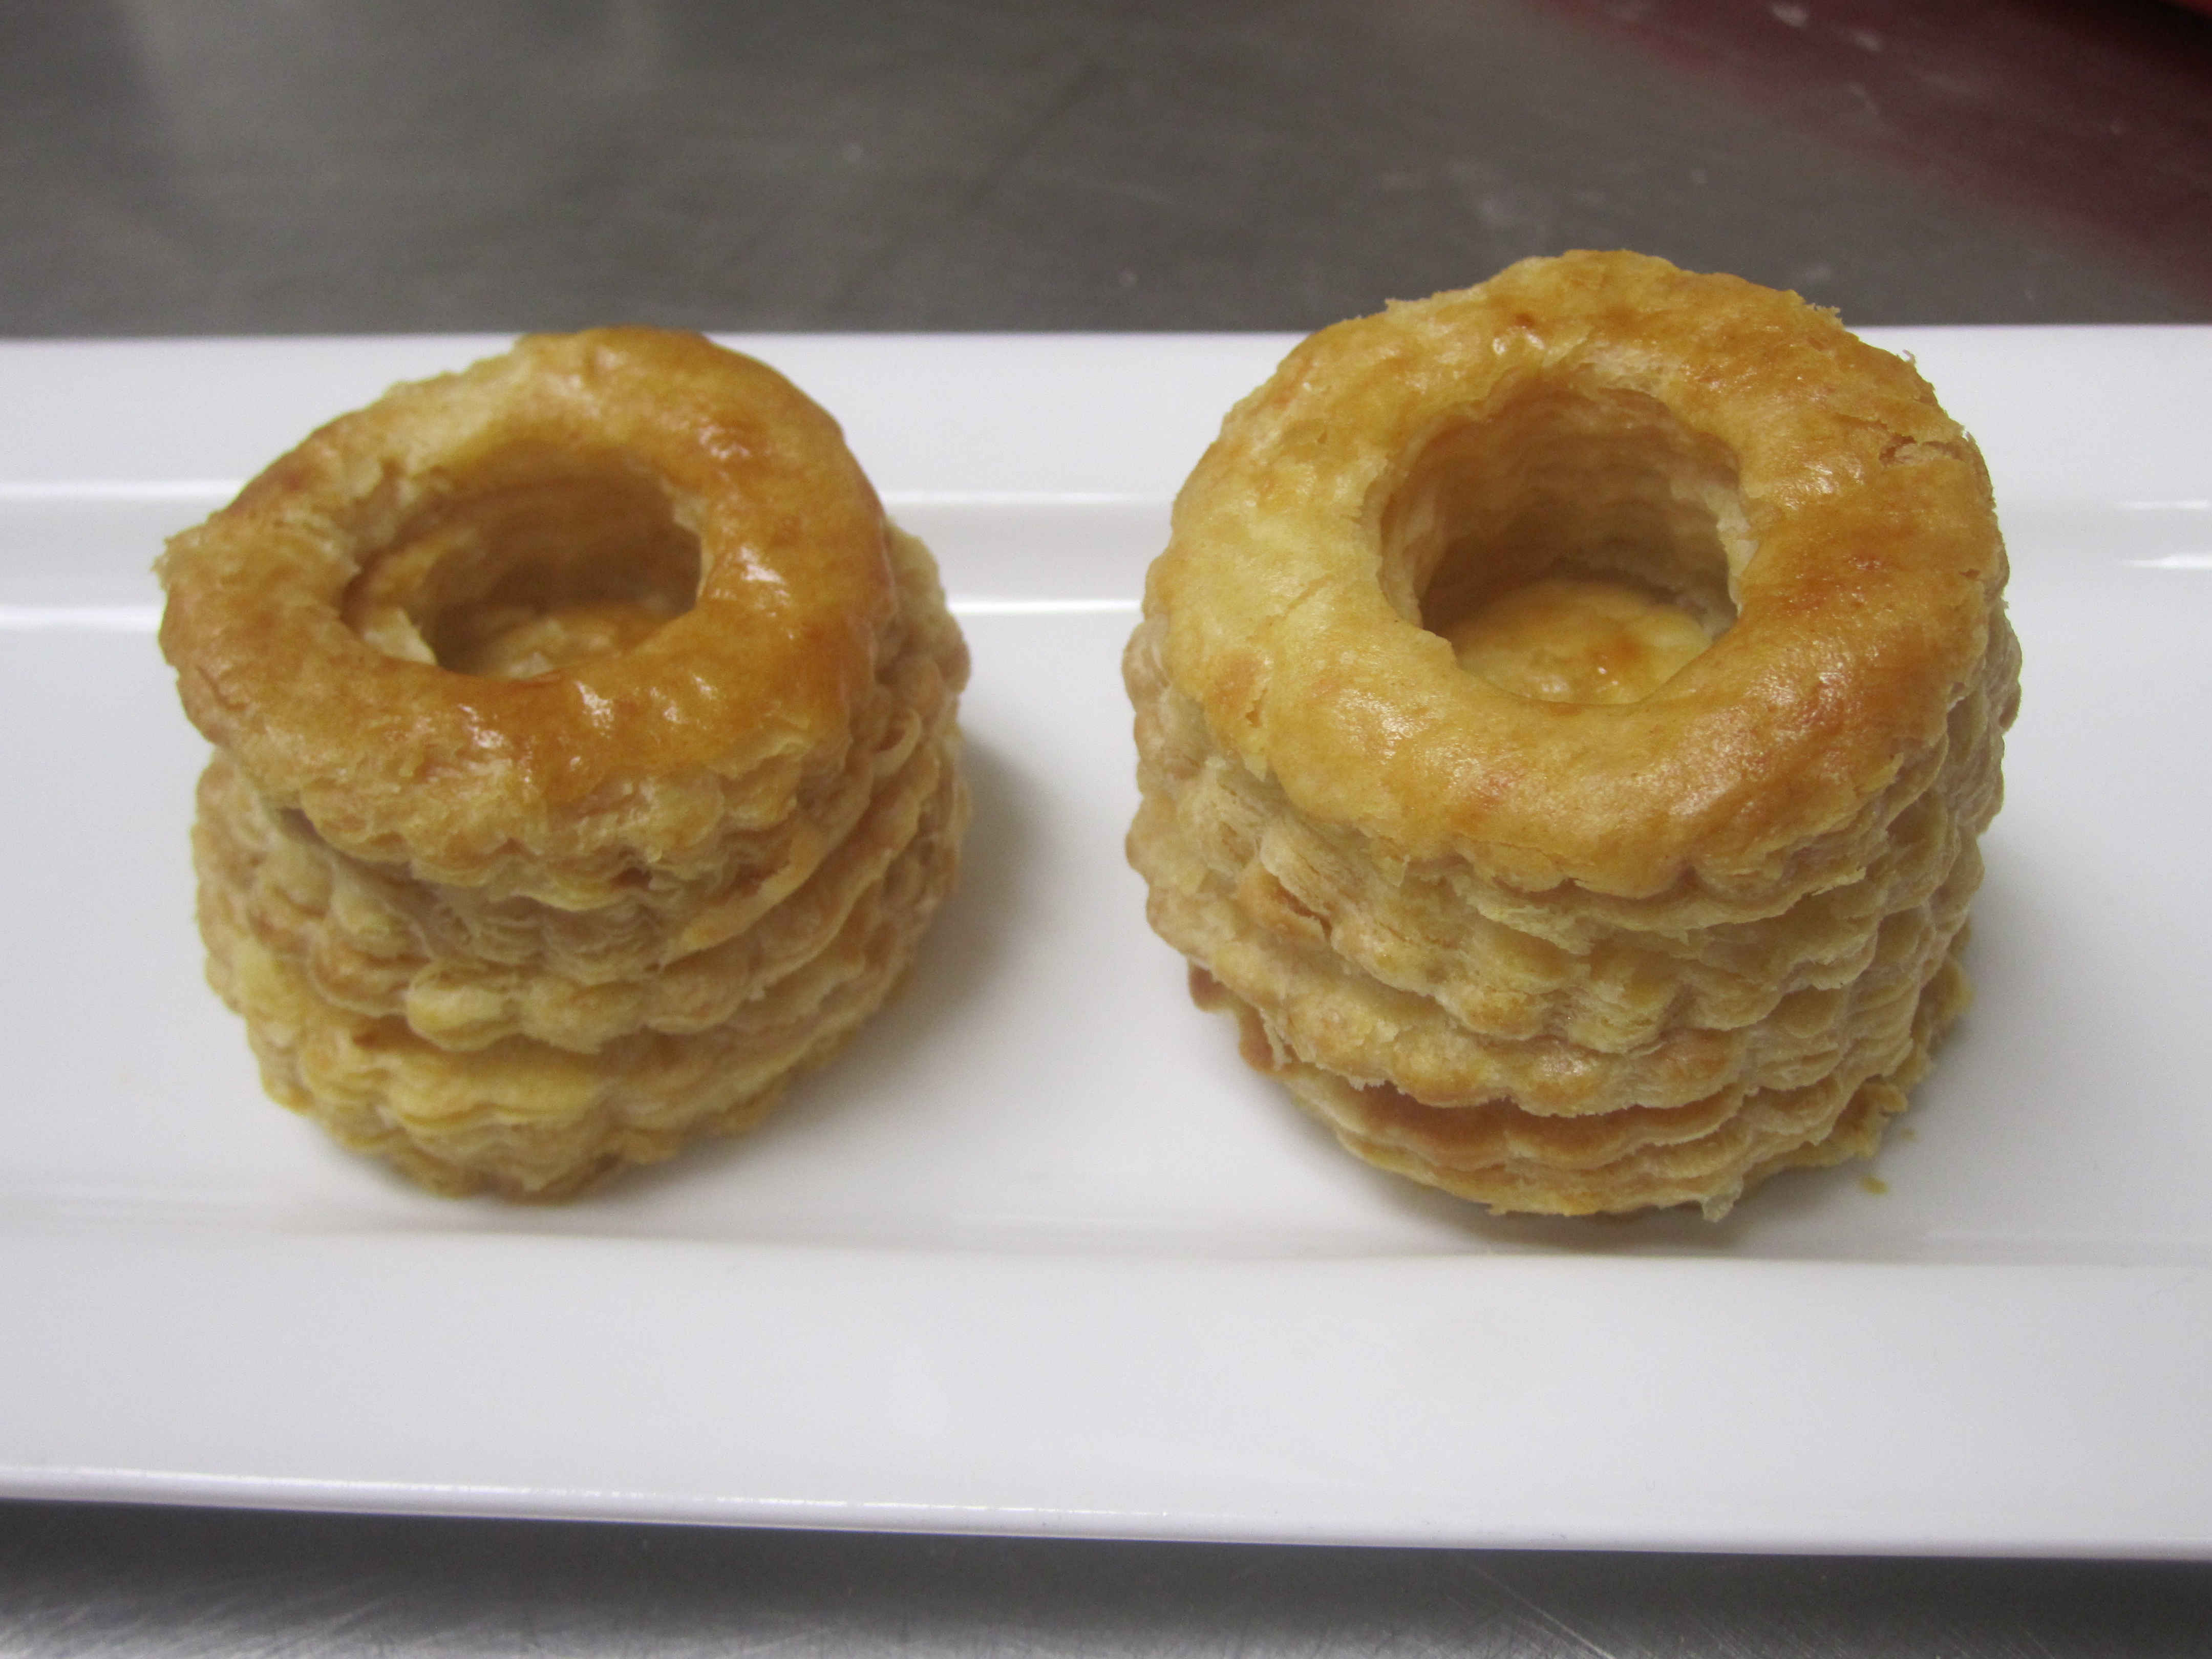
I was unfortunate enough to miss the next class, where they made wonderful things from the puff pastry. But my batters-and-doughs partner, Michael Edwards, generously shared photos of those things with me so I could post them for you. What a night of baking and eating I missed!
