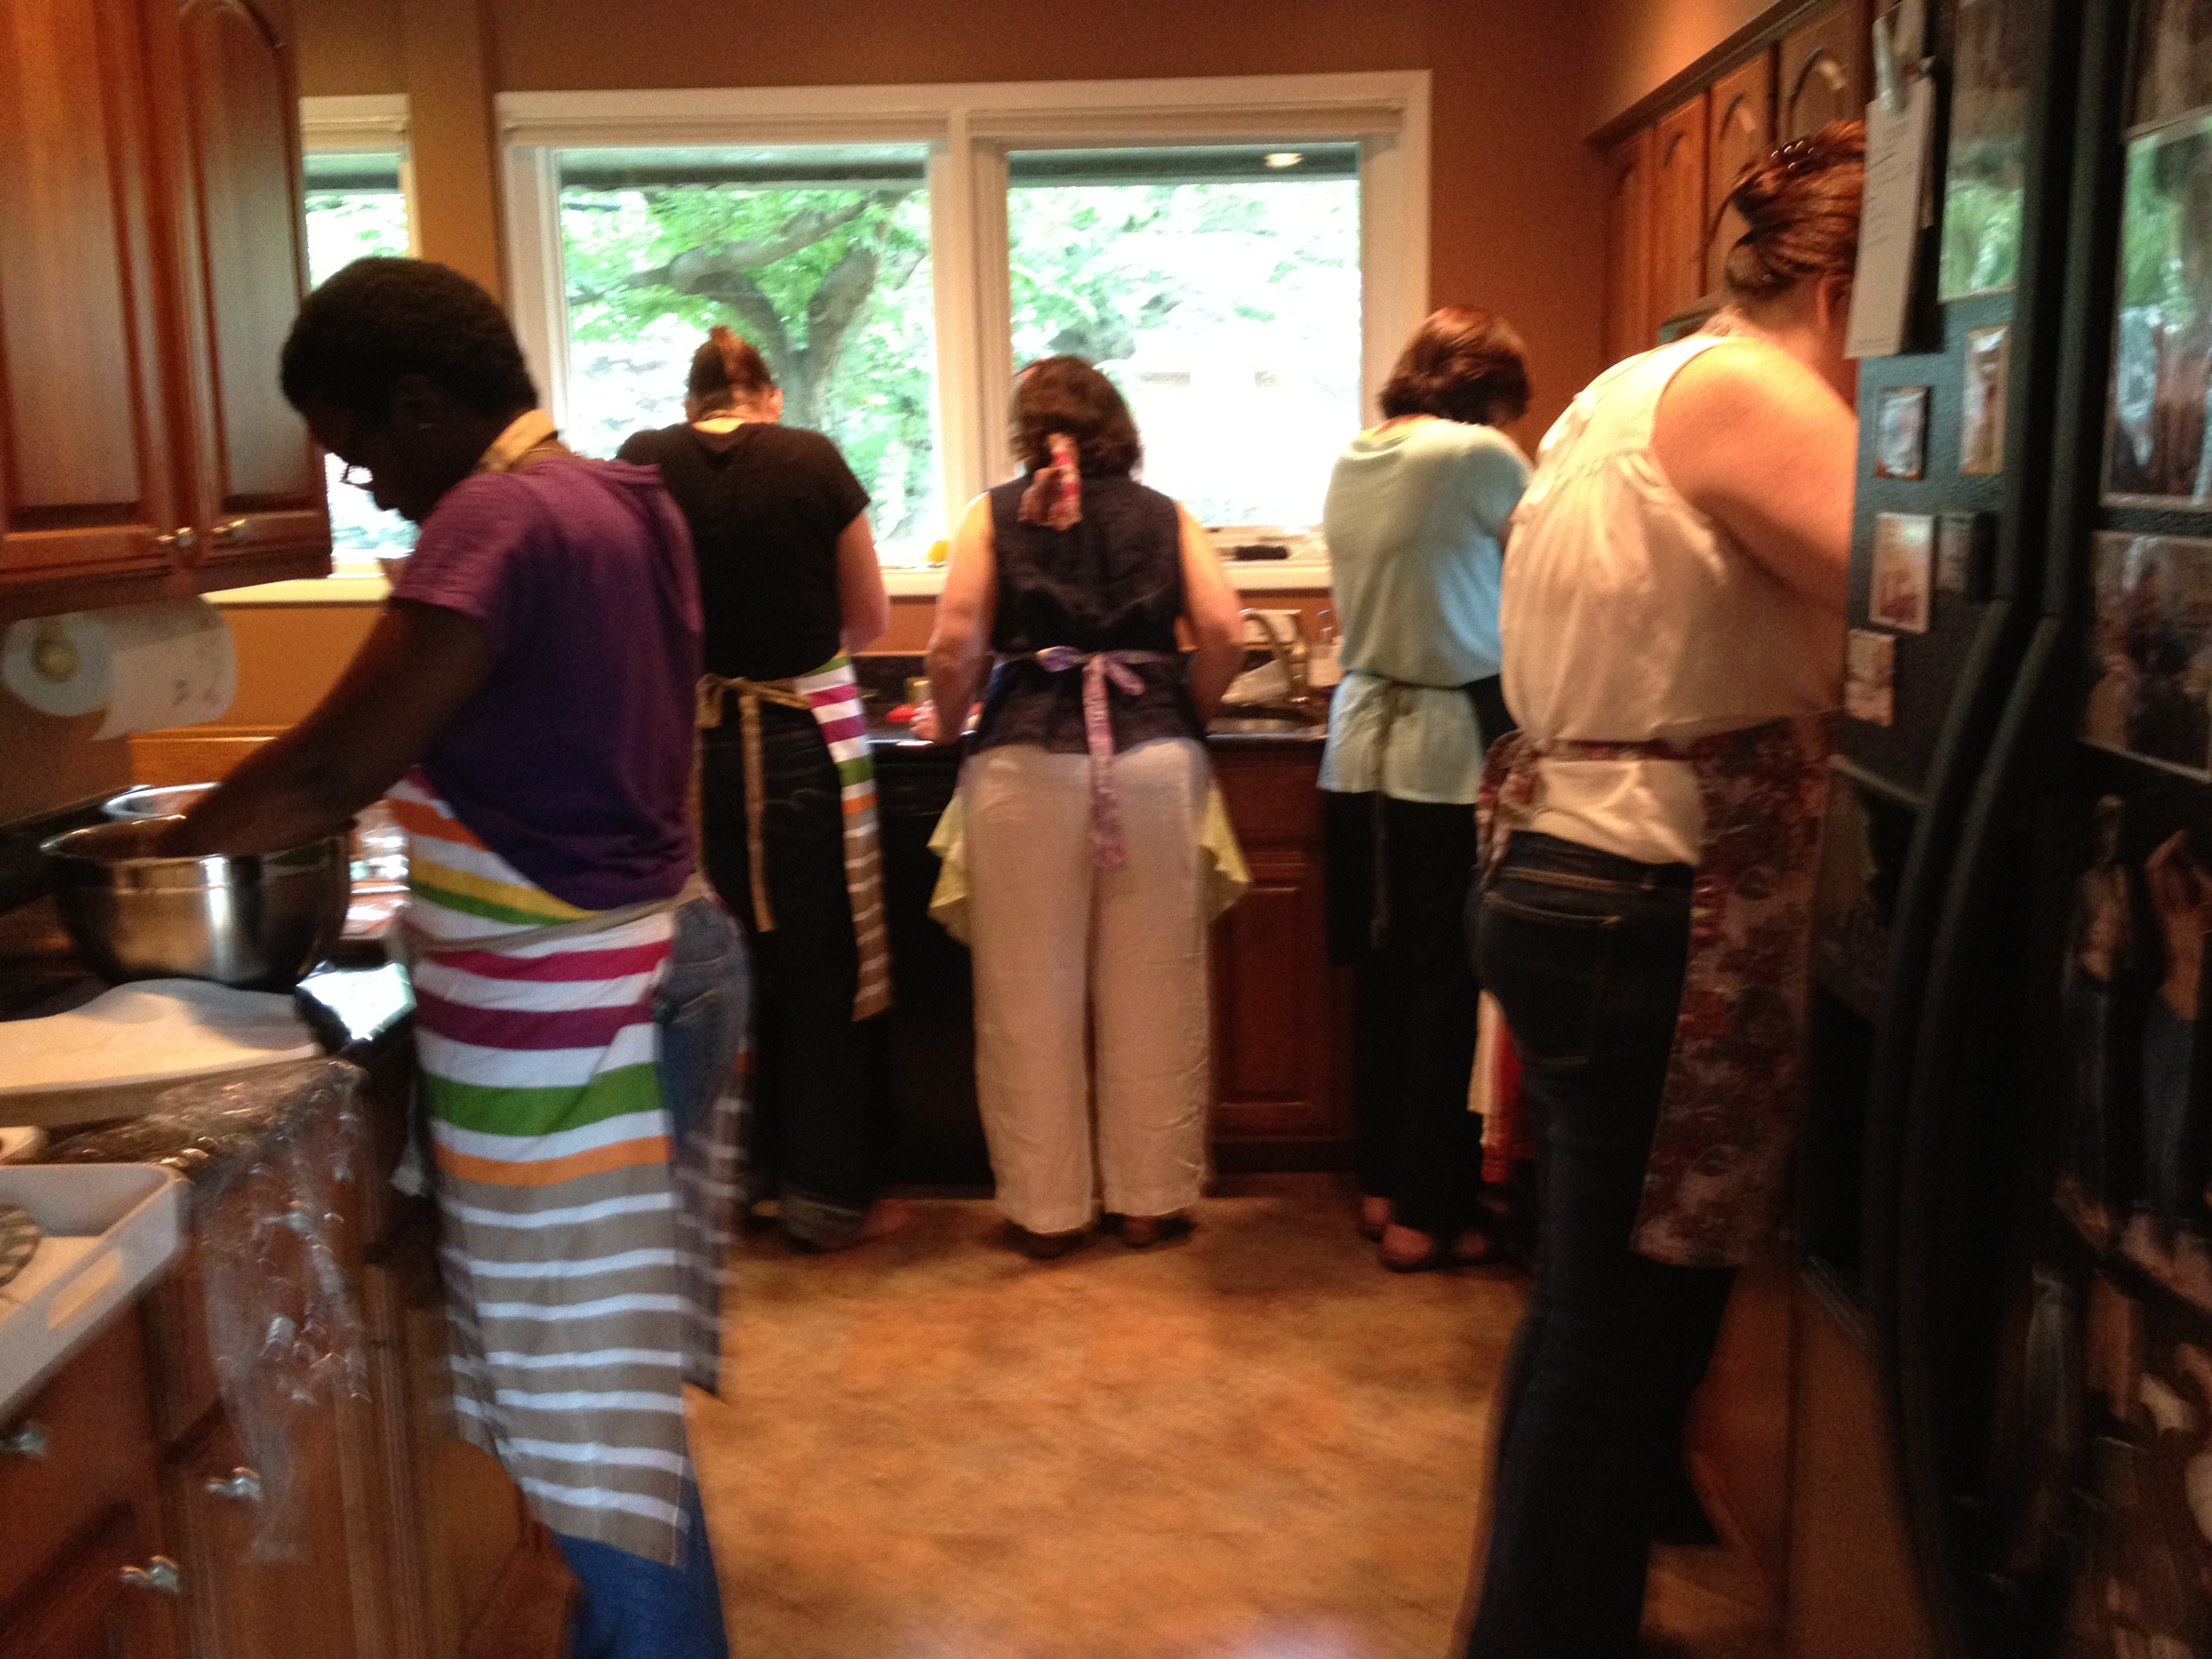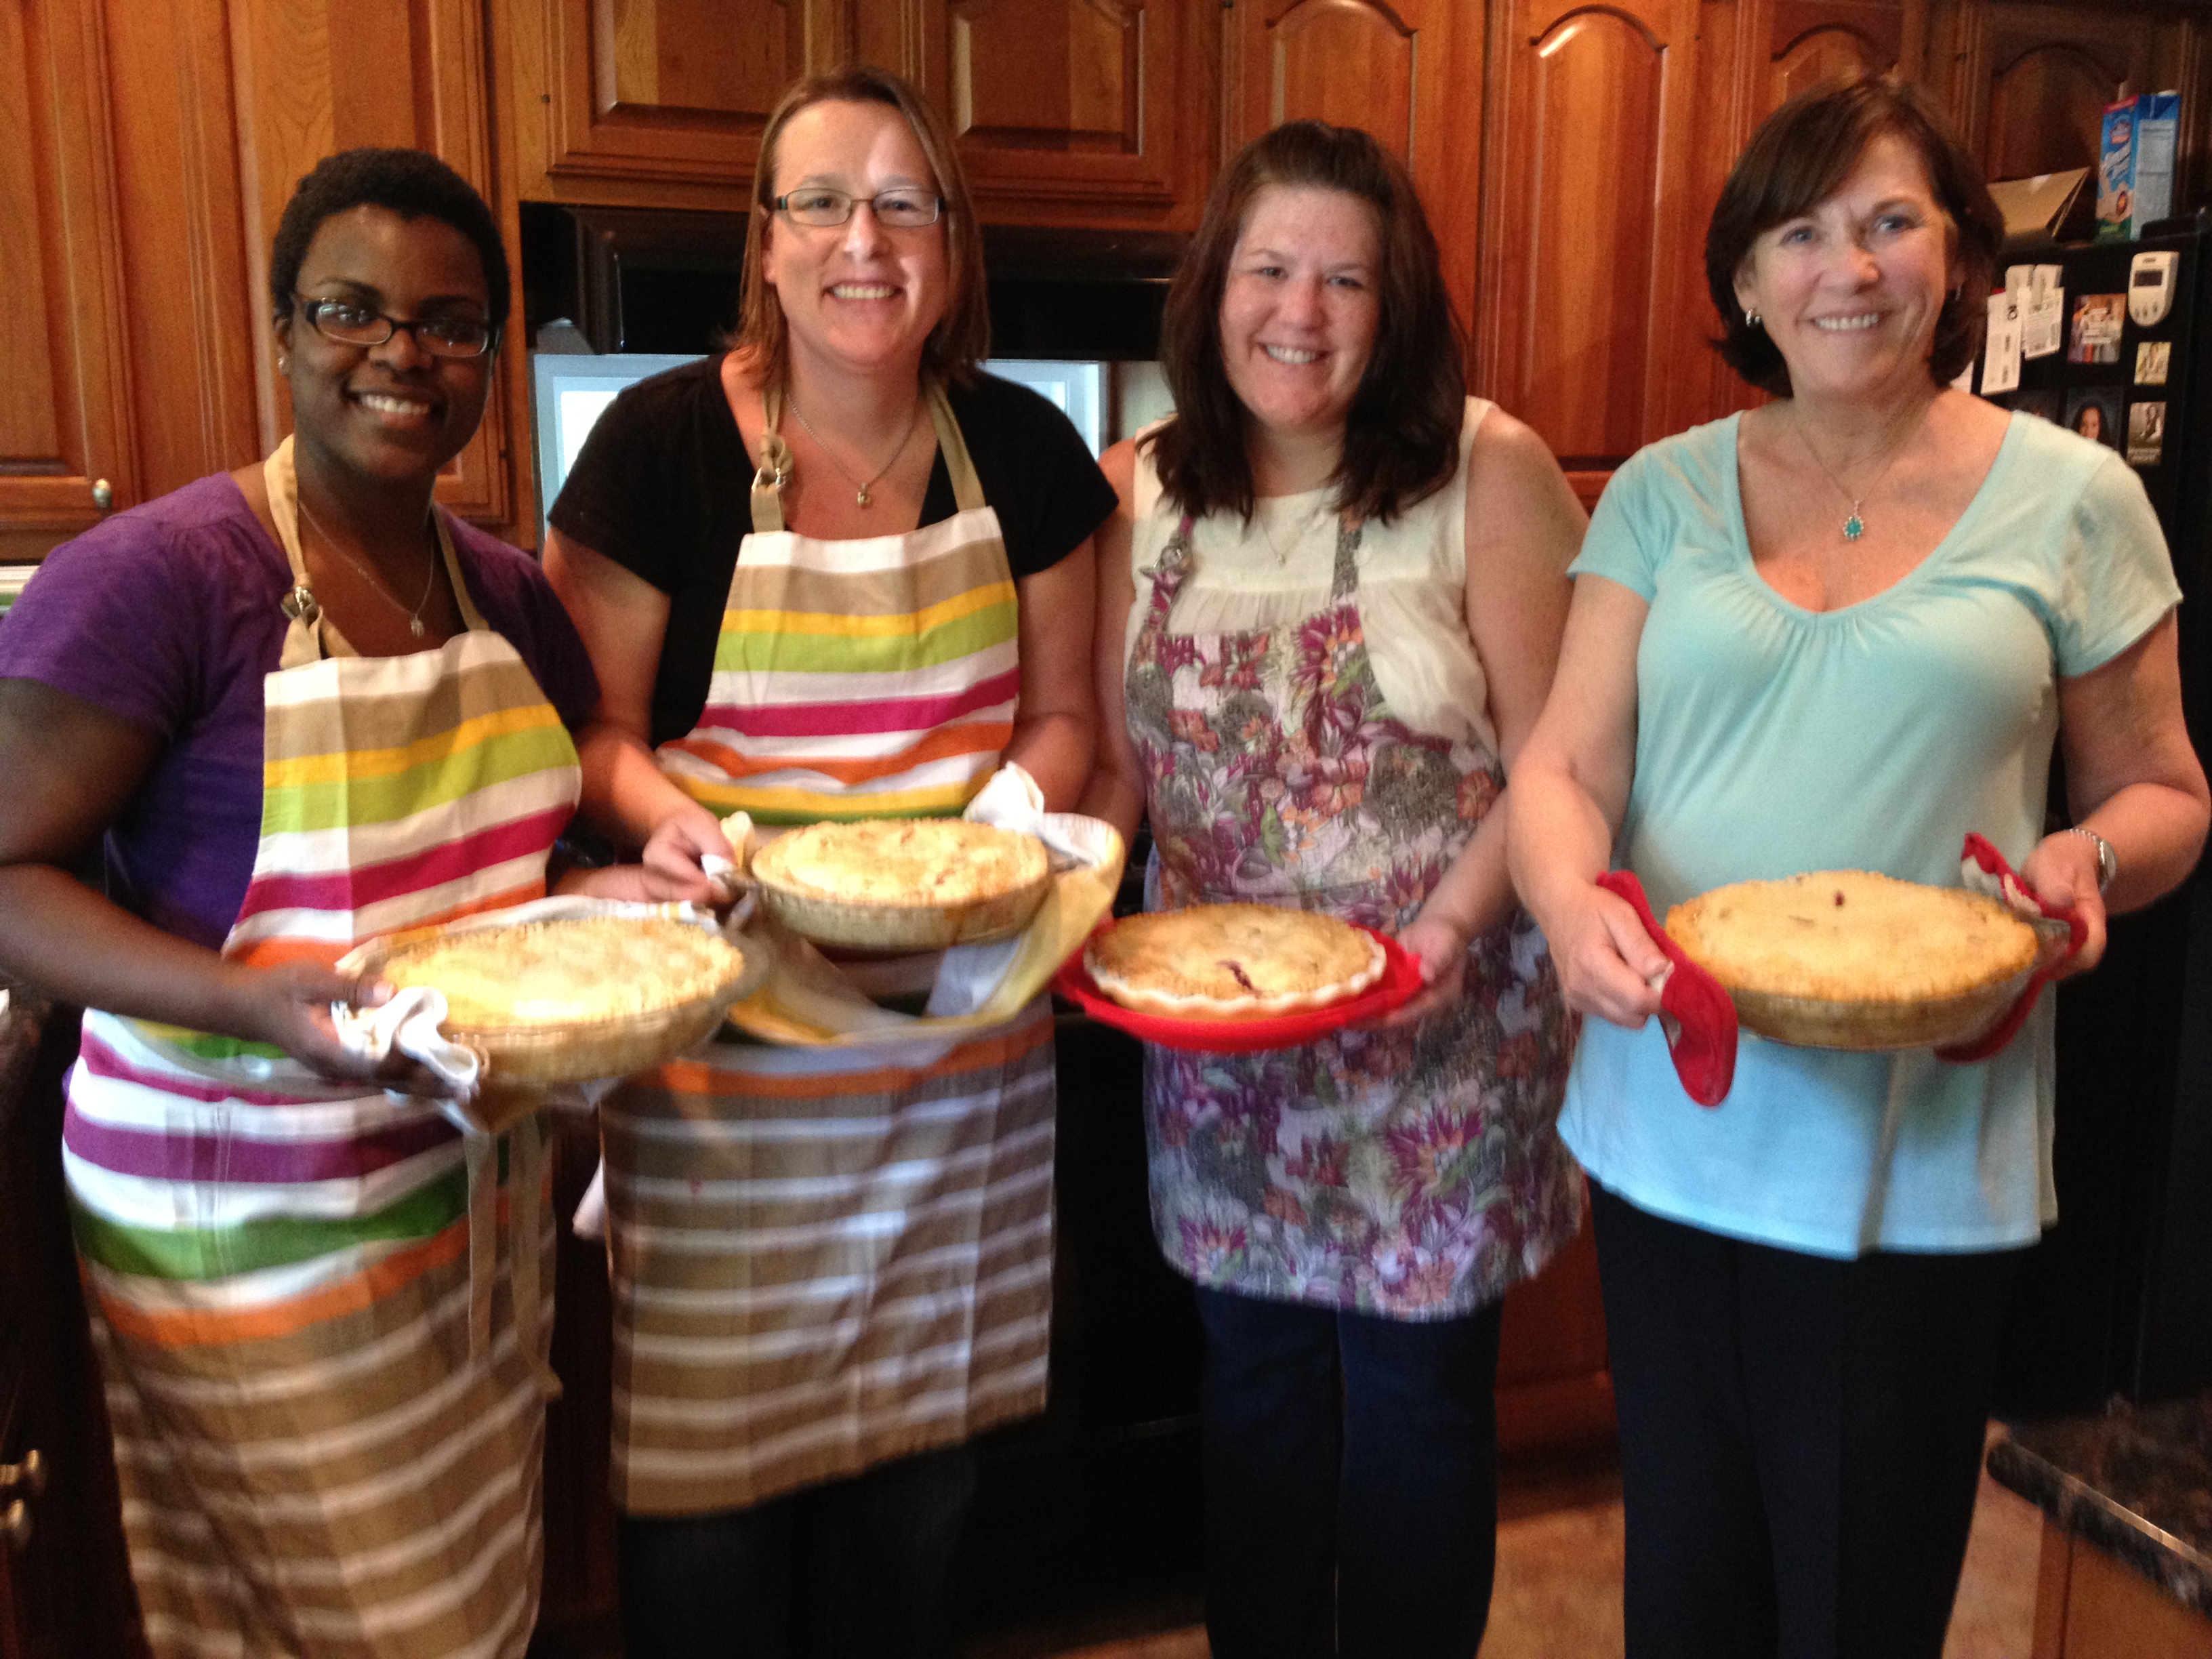
The proud graduates of Kate’s first Washington, D.C. pie workshop (left to right): Kristen, Elizabeth, Allison, and Maureen.
“I want you to be pie makers, not recipe followers.”
That’s how Kate McDermott opened the first of two Washington, D.C., pie making workshops today. As you probably already know from reading in this space, Kate agreed to leave behind her scenic little pie cottage on Washington state’s Olympic Peninsula to give two workshops here in my kitchen. She’s blogging about them in her Art of the Pie blog, and I’m writing about them here.
Only four people are allowed into her classes at a time, so they sell out quickly. The four very friendly women in today’s class learned the best-of-the-best pie wisdom in four hours; stuff I’ve spent years struggling to figure out. Kate’s advice that they learn to make pies with their hearts and their senses goes right to the core of why I wanted to bring her here. She is a pie maker that works from the heart rather than the book.
Some of her advice aligns with traditional pie wisdom, like her Number One Rule: Keep everything chilled. That includes the flour; her bags of King Arthur unbleached all-purpose flour were stashed in my freezer until she needed them. Her Number Two Rule: “get the most pie-worthy fruit you can get,” seems obvious, but it’s worth 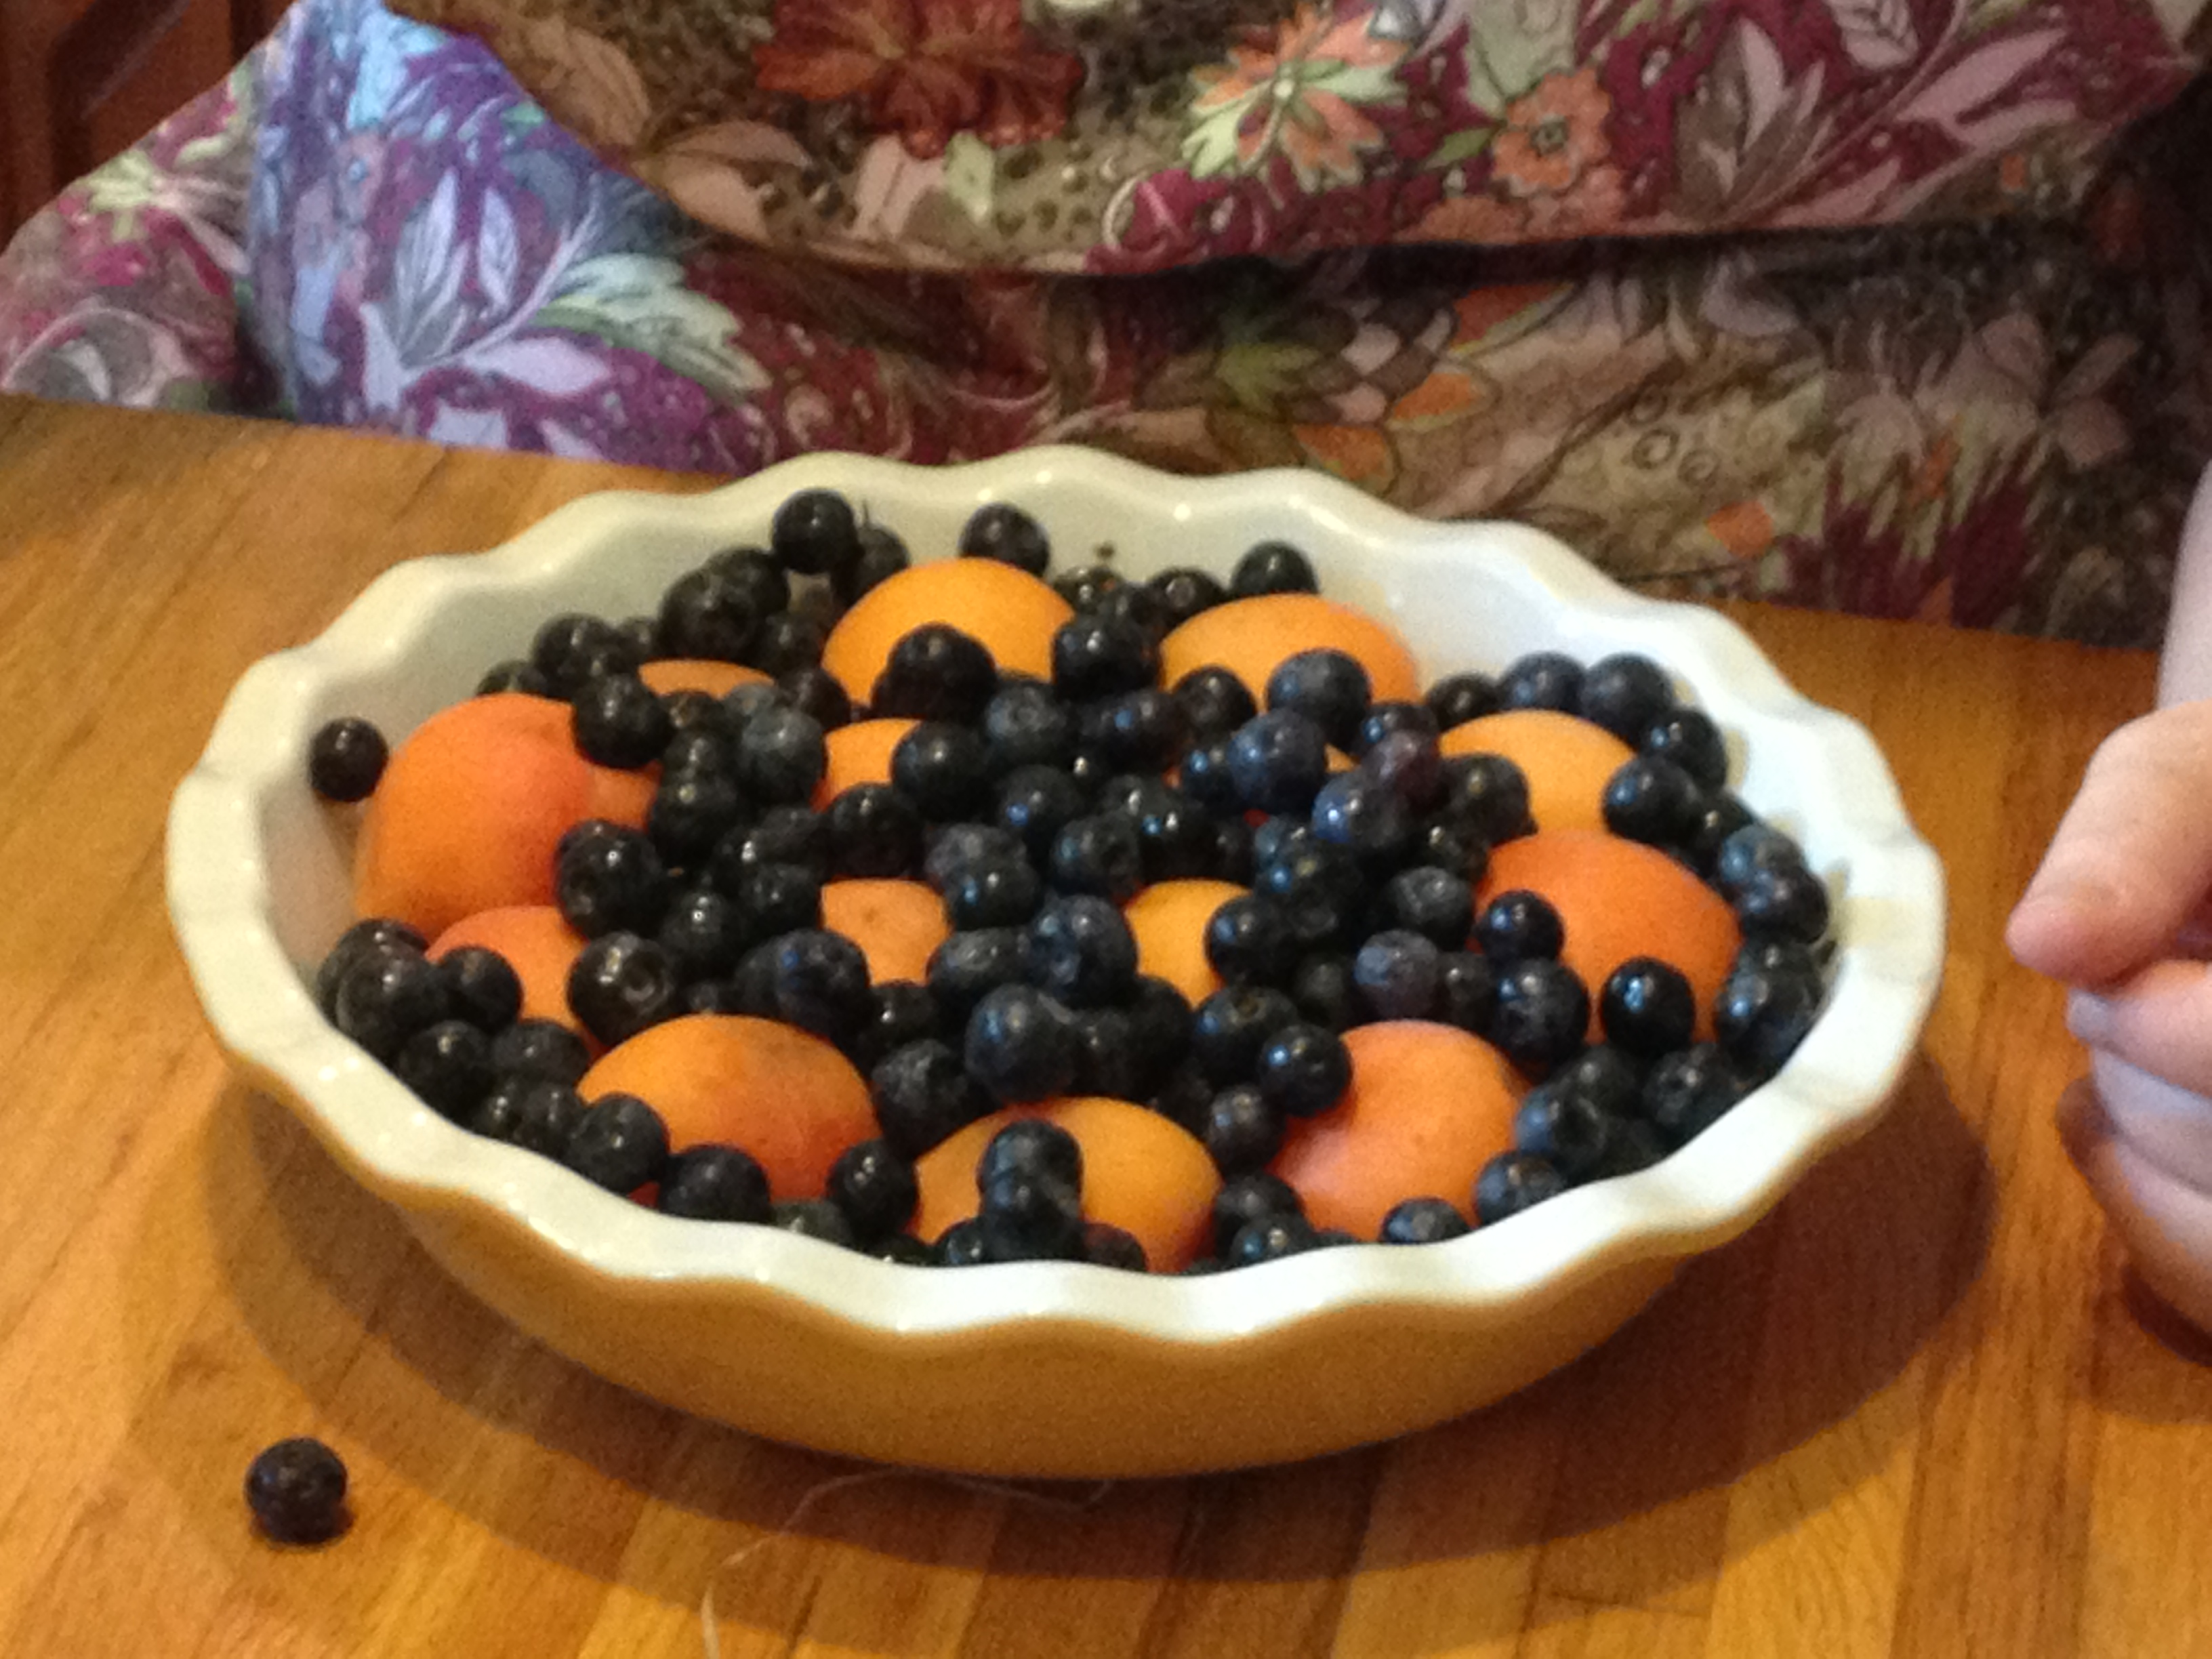 stating loudly. No one should be under the illusion that seasoning and baking inferior fruit will fool anyone.
But some of Kate’s commandments fly in the face of some bakers’ religions. Like measuring, for instance. What you hear about bakers as a species is, embarrassingly, true. We tend toward the exacting and the compulsive. We obsess about things like weighing flour versus the “dip and sweep” method, in which you swoosh your cup through the flour and level it off with a knife. All this does is draw an eye-roll from Kate; it just makes an easy, lovely thing difficult. According to Kate, you just reach into the flour with your measuring cup and come up with about what’s right. Don’t screw around with leveling-off, and certainly don’t waste your time fluffing, sifting or stirring. “Just reach in there and get it,” she told our four pie makers.
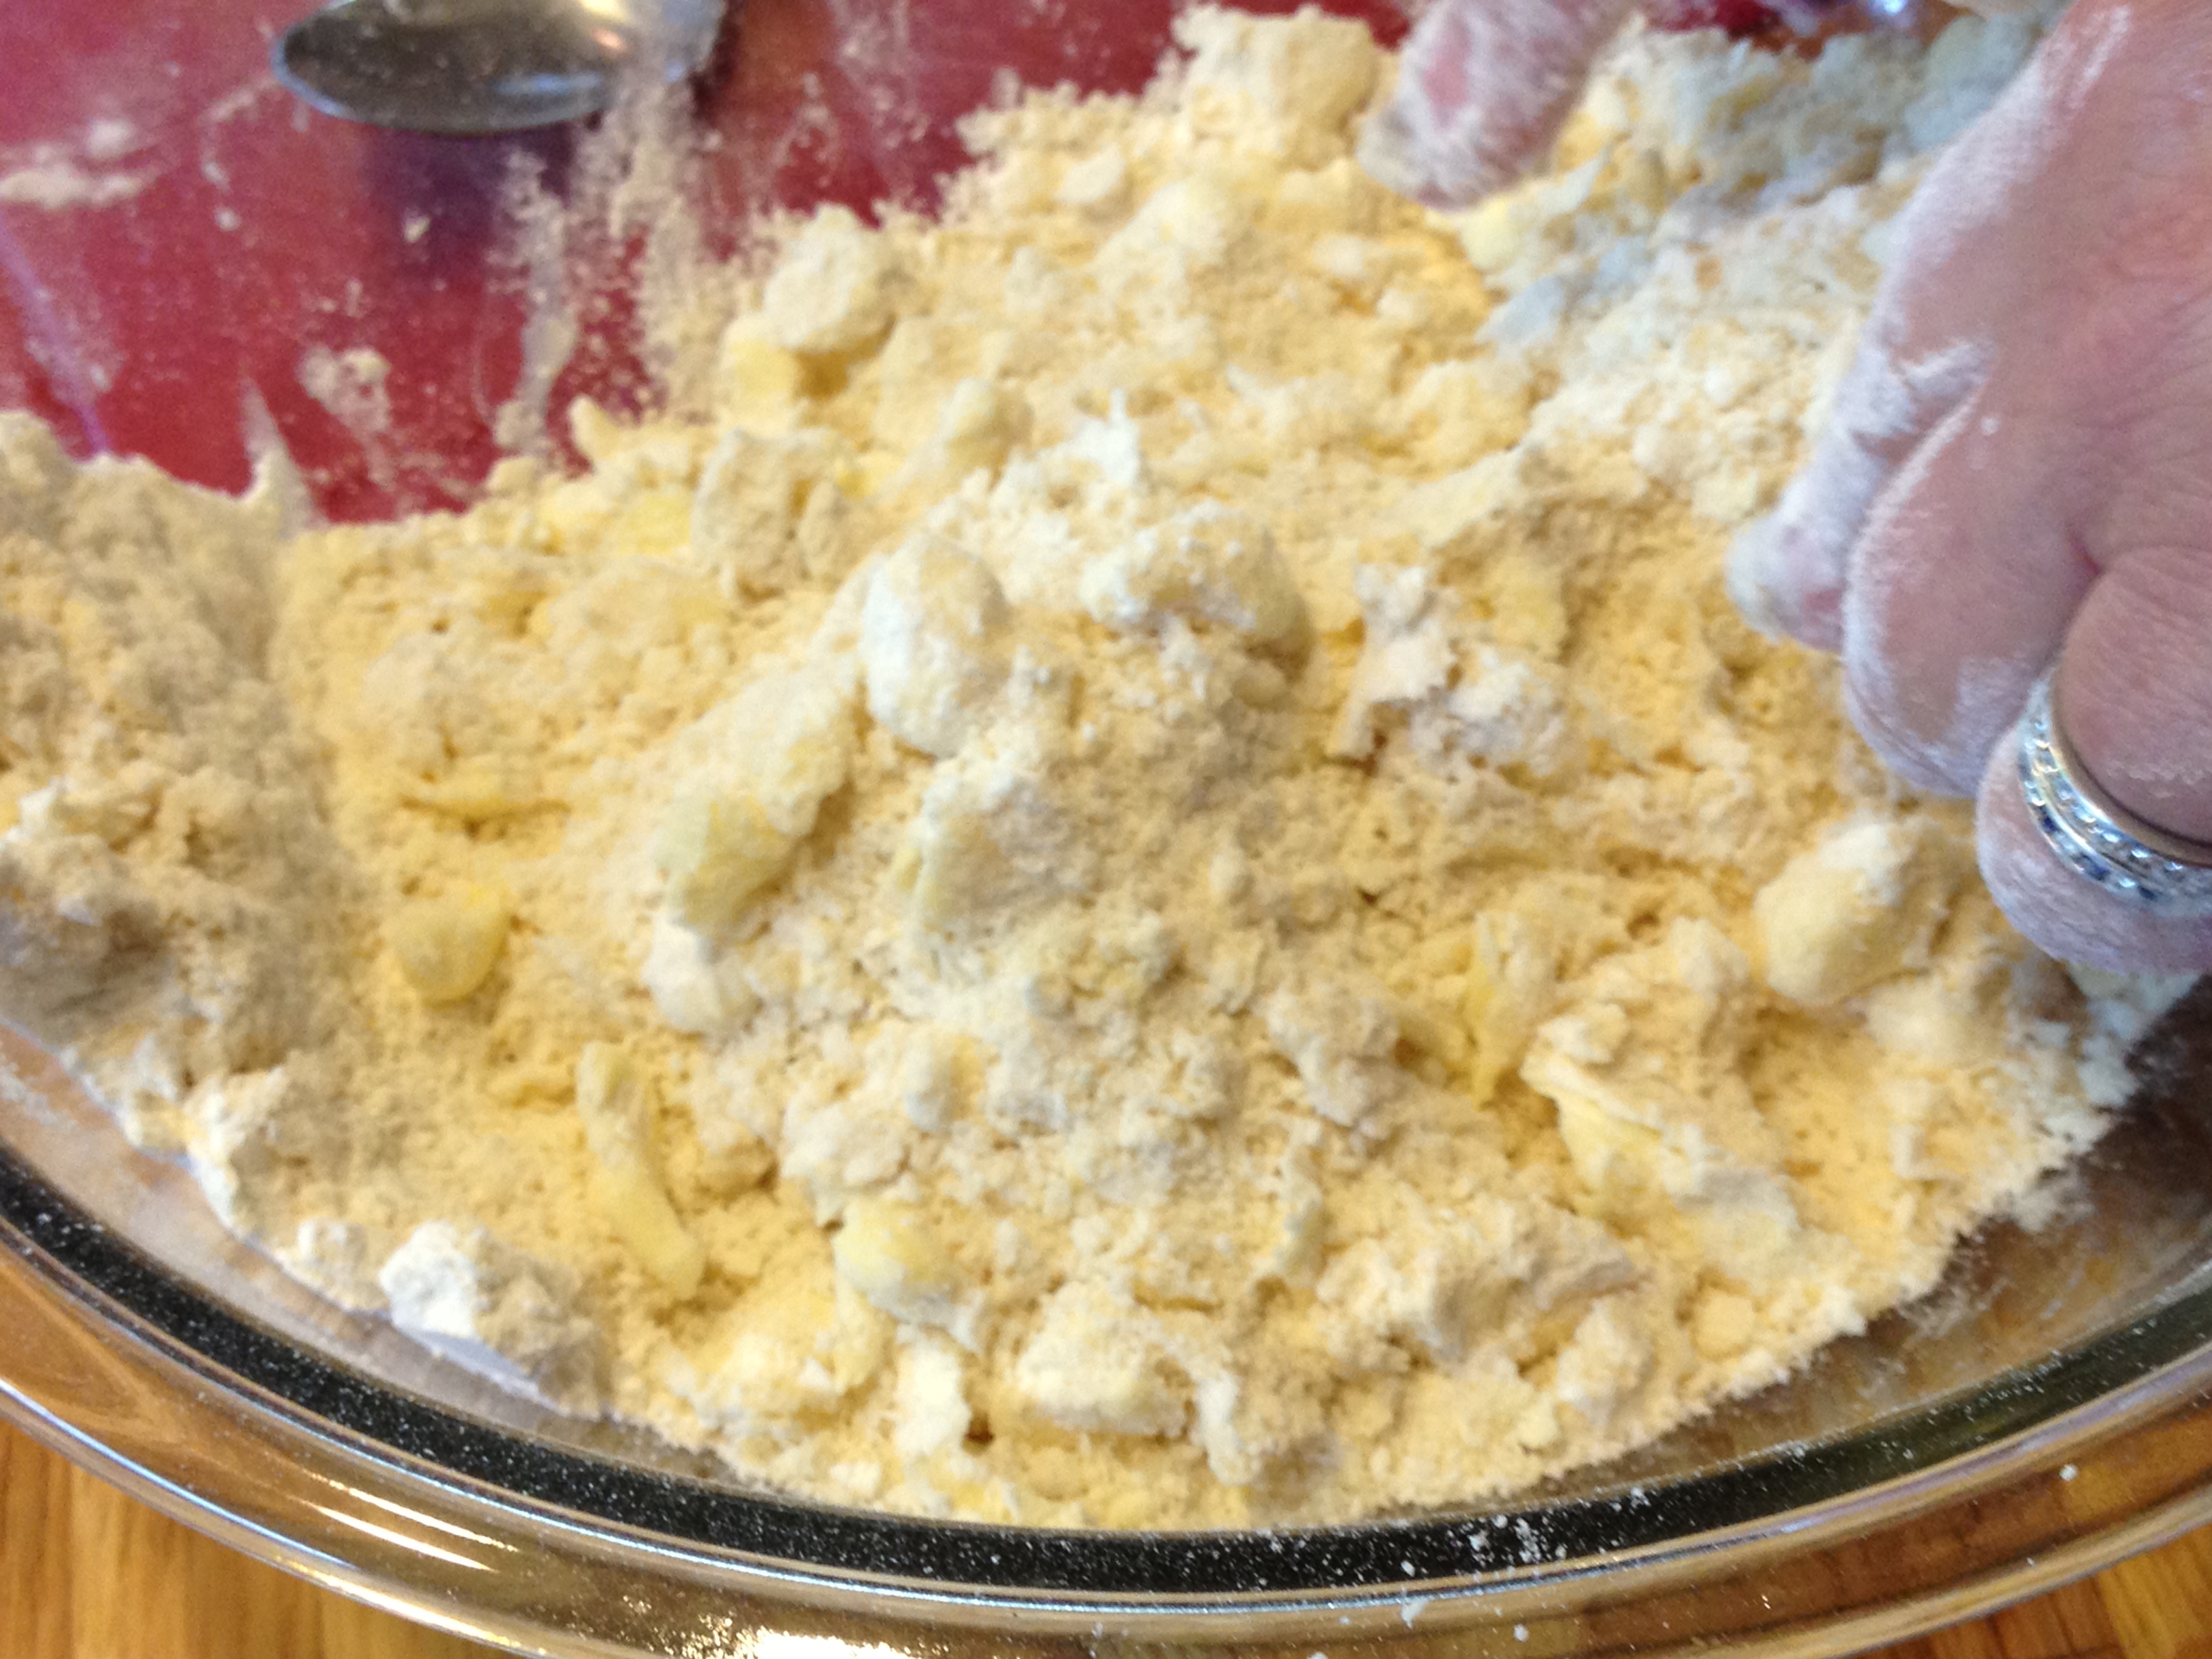
Likewise, when our bakers got to the point where they were cutting their fats into the flour to make dough, there were no pastry cutters. There were no fancy chill mats (yes, they have those) to keep the bowls cold. It was an old-fashioned fork, a pair of hands, and learning to rely on your good instincts. Demonstrating, Kate 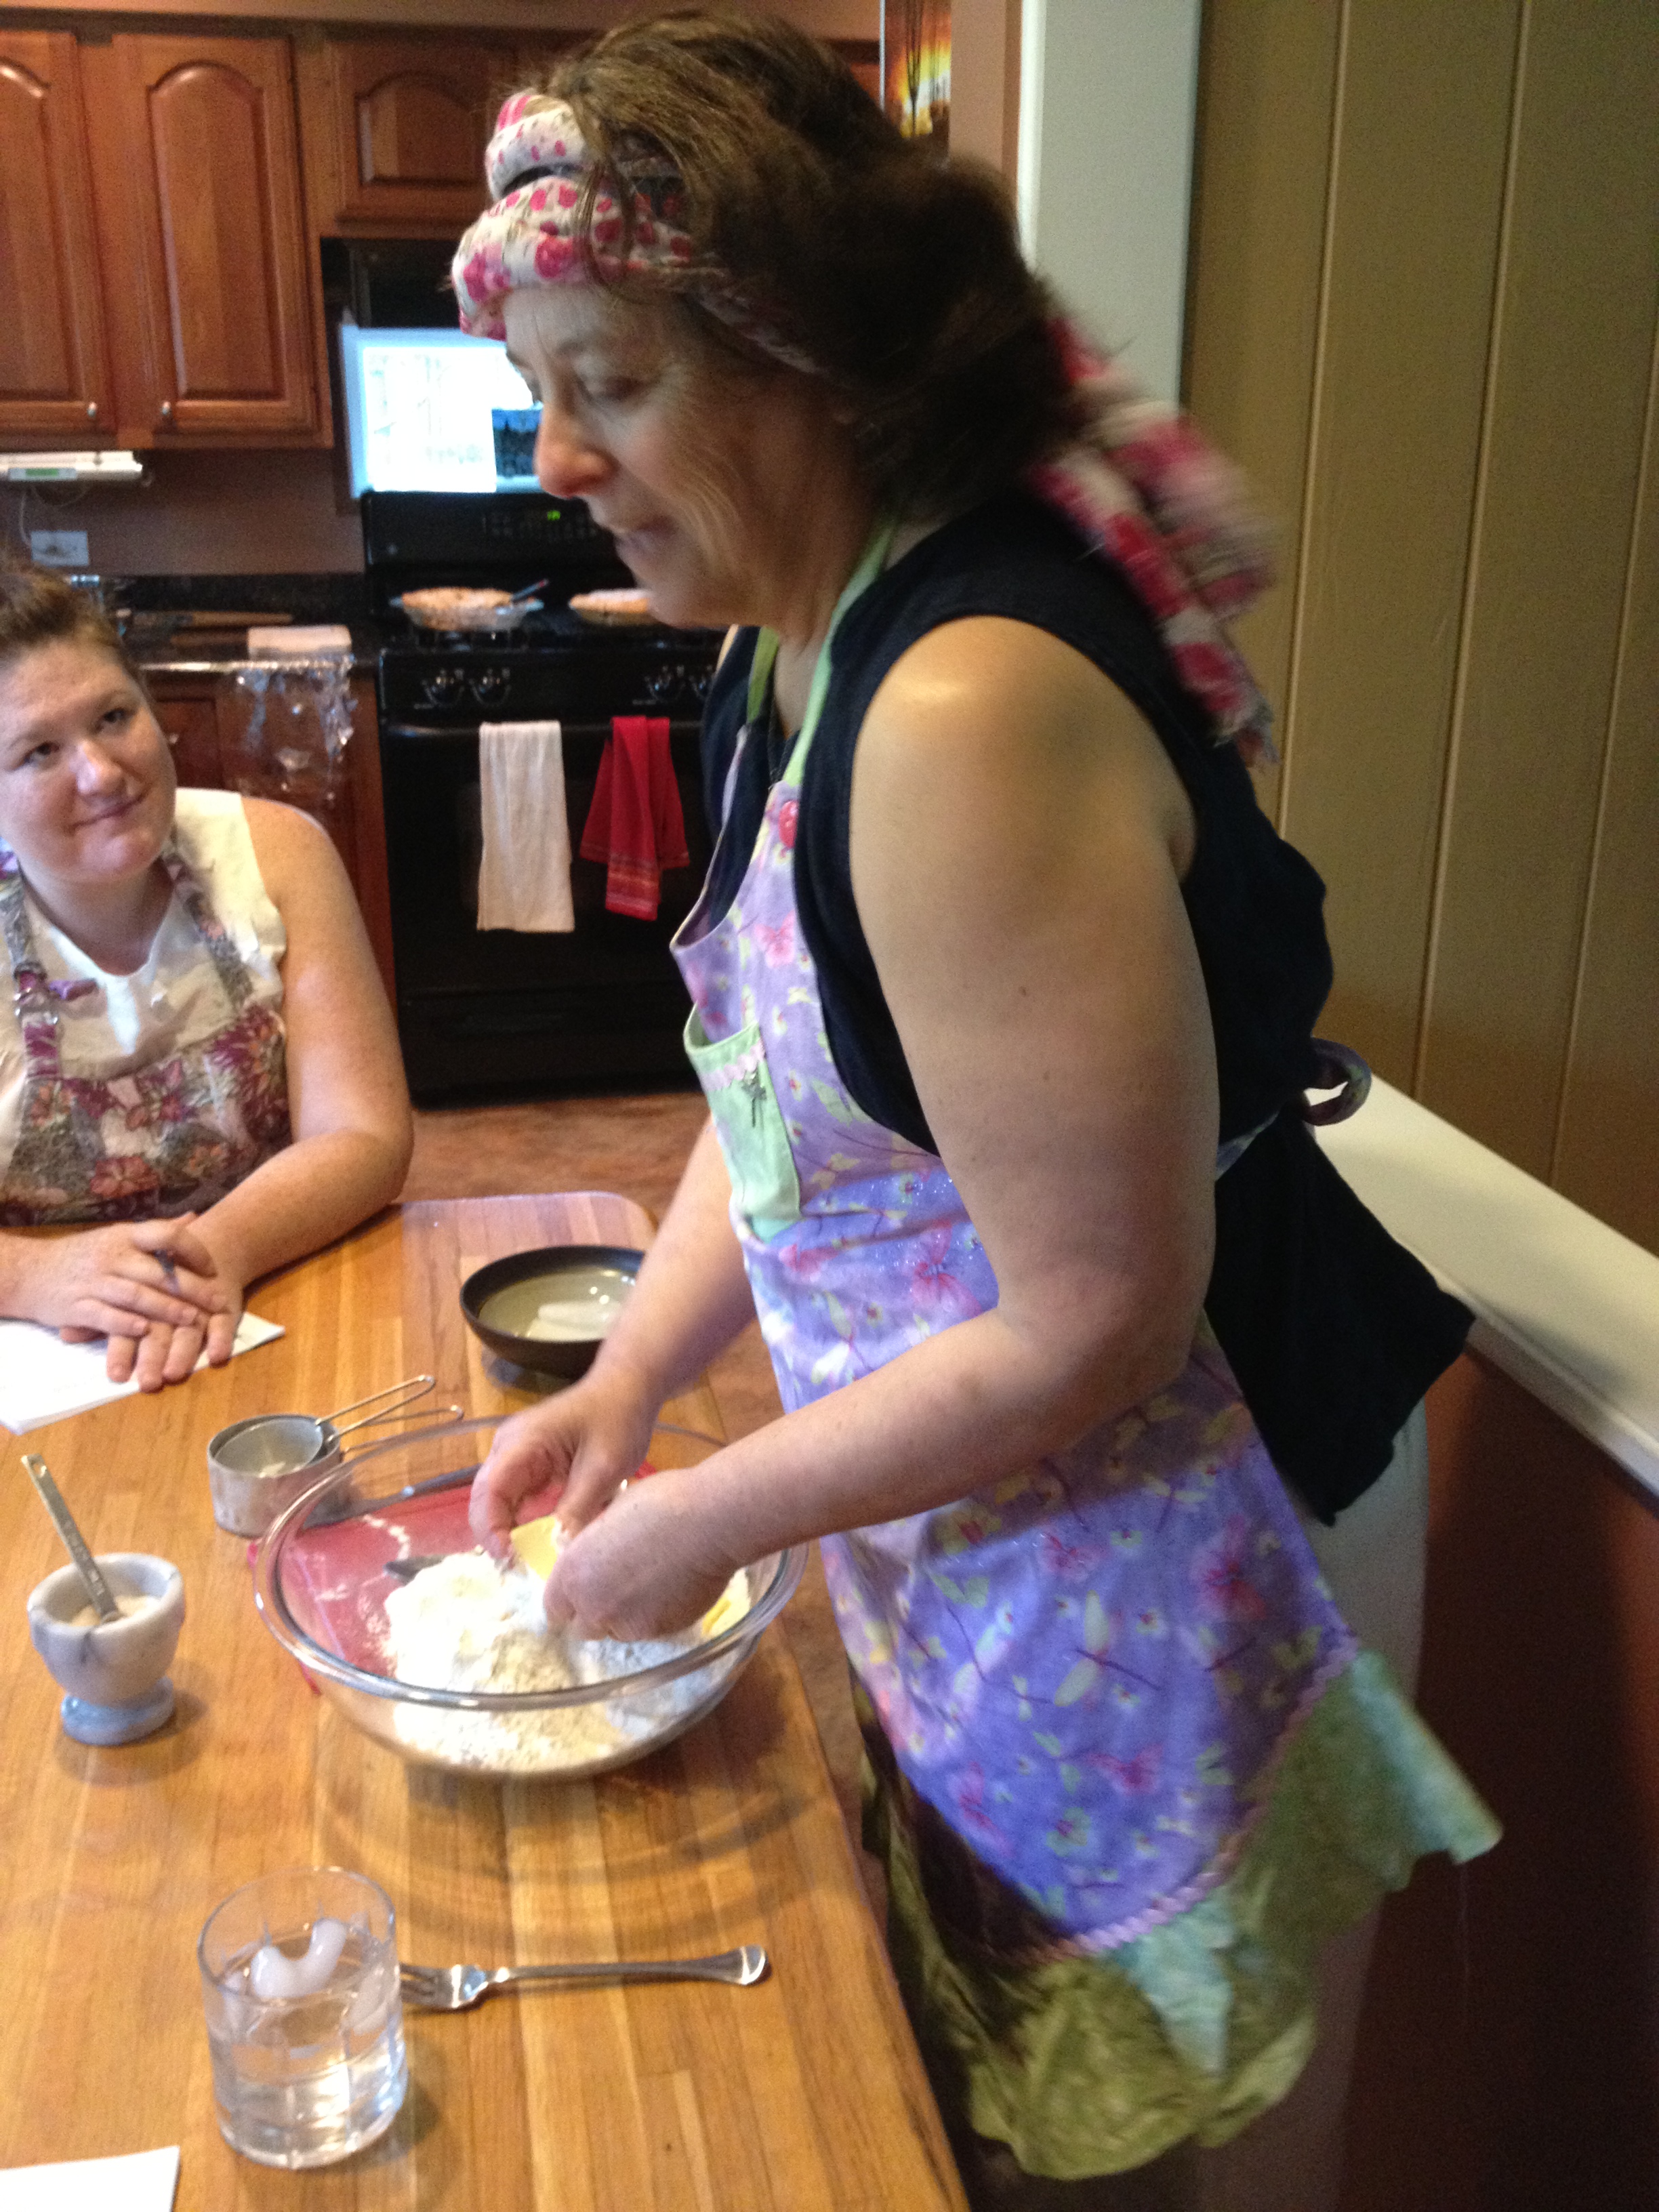 stuck her hands into her own bowl of flour, butter and leaf lard, and showed the women how she breaks up the fats with her fingers. Don’t crumble and crumble until the mix resembles cornmeal, she said; what you’re looking for is fat pieces in a mix of sizes.
“What you want it to look like is cracker crumbs, peas and almonds,” she told them. “I want this to look incompletely mixed.”
The italics are mine, because this is just plain awesomely perfect advice. It zaps right into what will undoubtedly hang some people up. They’ll look at this raggedy-ass dough and say, “Geez, is it supposed to look like that? I feel like I need to mix it some more, so all those pieces of butter and lard are nice and small and even.”
I know you feel like you need to keep mixing. But you don’t. This is just how you want it. Trust me on this; I’ve eaten Kate’s pie crusts, and they are testimony that she’s got it right. And if I can judge by the faces and sounds of the four women who ate the finished pie today, their new motto is, “In Kate We Trust.”
Next came adding the ice water. It’s a bit mysterious with pie dough, since many factors can affect how much water it will suck up. Kate made it easy: For a two-crust pie (which is what we were making today), think 3-2-1 to get started. That is, add 3 tablespoons of ice water at first, mix a bit with a fork, and pick up a little handful. Squeeze it kindly, like you would a friend. See if it holds together. [If it holds together after only 3 tablespoons of water, you’ve probably gone astray, and might have to start over. But let’s not get sidetracked with that now.]
If the dough crumbles after only 3 tablespoons of water, which is very likely, then drizzle on 2 tablespoons more and mix again. And do the little friendly-squeeze thing again. Does it hold together? Is there still a good deal of dry floury stuff around the bowl? If so, add 1 tablespoon of water and do the squeeze test again. Generally, you will be very close to being done with the ice water at this point. If you’re not, go very, very sparingly until the dough holds together. Depending on a bunch of factors, like the humidity in your kitchen, your dough could take up to 15 tablespoons of water. You just have to watch for the right consistency. Kate’s advice on that very last phase of adding water: “Stop just before you think you are done.”
 Once the gals learned when to stop mixing, and how to judge when they’d added enough water, then they had to learn how to get the dough into a nice disk without handling it too much. This is the thing that frightens people about pie the most: how much to “work it.” I know I was paralyzed with fear about pie crust for years. I would try baking virtually anything, but I wouldn’t go near pie, as I’ve told you. What if I handle it too much and it gets tough?, I’d say. What if I don’t work it enough and it doesn’t hold together? I just said the hell with it, and found reasons to make something else.
Here is how Kate solved the problem for these ladies, who were just as apprehensive about screwing up pie crust as I had been for years (until I got the hell over it). Once you’ve mixed the dough into cracker crumbs, peas, and almonds, and drizzled in your ice water, bring the dough together in a ball with your hands. Then you work it.
“What I want you to get here is the touch, the feel of it,” Kate told the bakers.
I confess that even after years of pie making, this drew a little silent gasp of horror from me. Really? I thought. Work it? Isn’t that what’s going to make it tough? Working it is what I’ve tried to avoid doing. But now I realize that working the dough isn’t my enemy; it’s overworking it that I need to avoid.
This is what Kate did: She stuck her hands in the bowl and gently squeezed the dough together into a ball. Then she massaged it for about 10 seconds. I can’t get exactly the right word to describe what she did to that dough, but 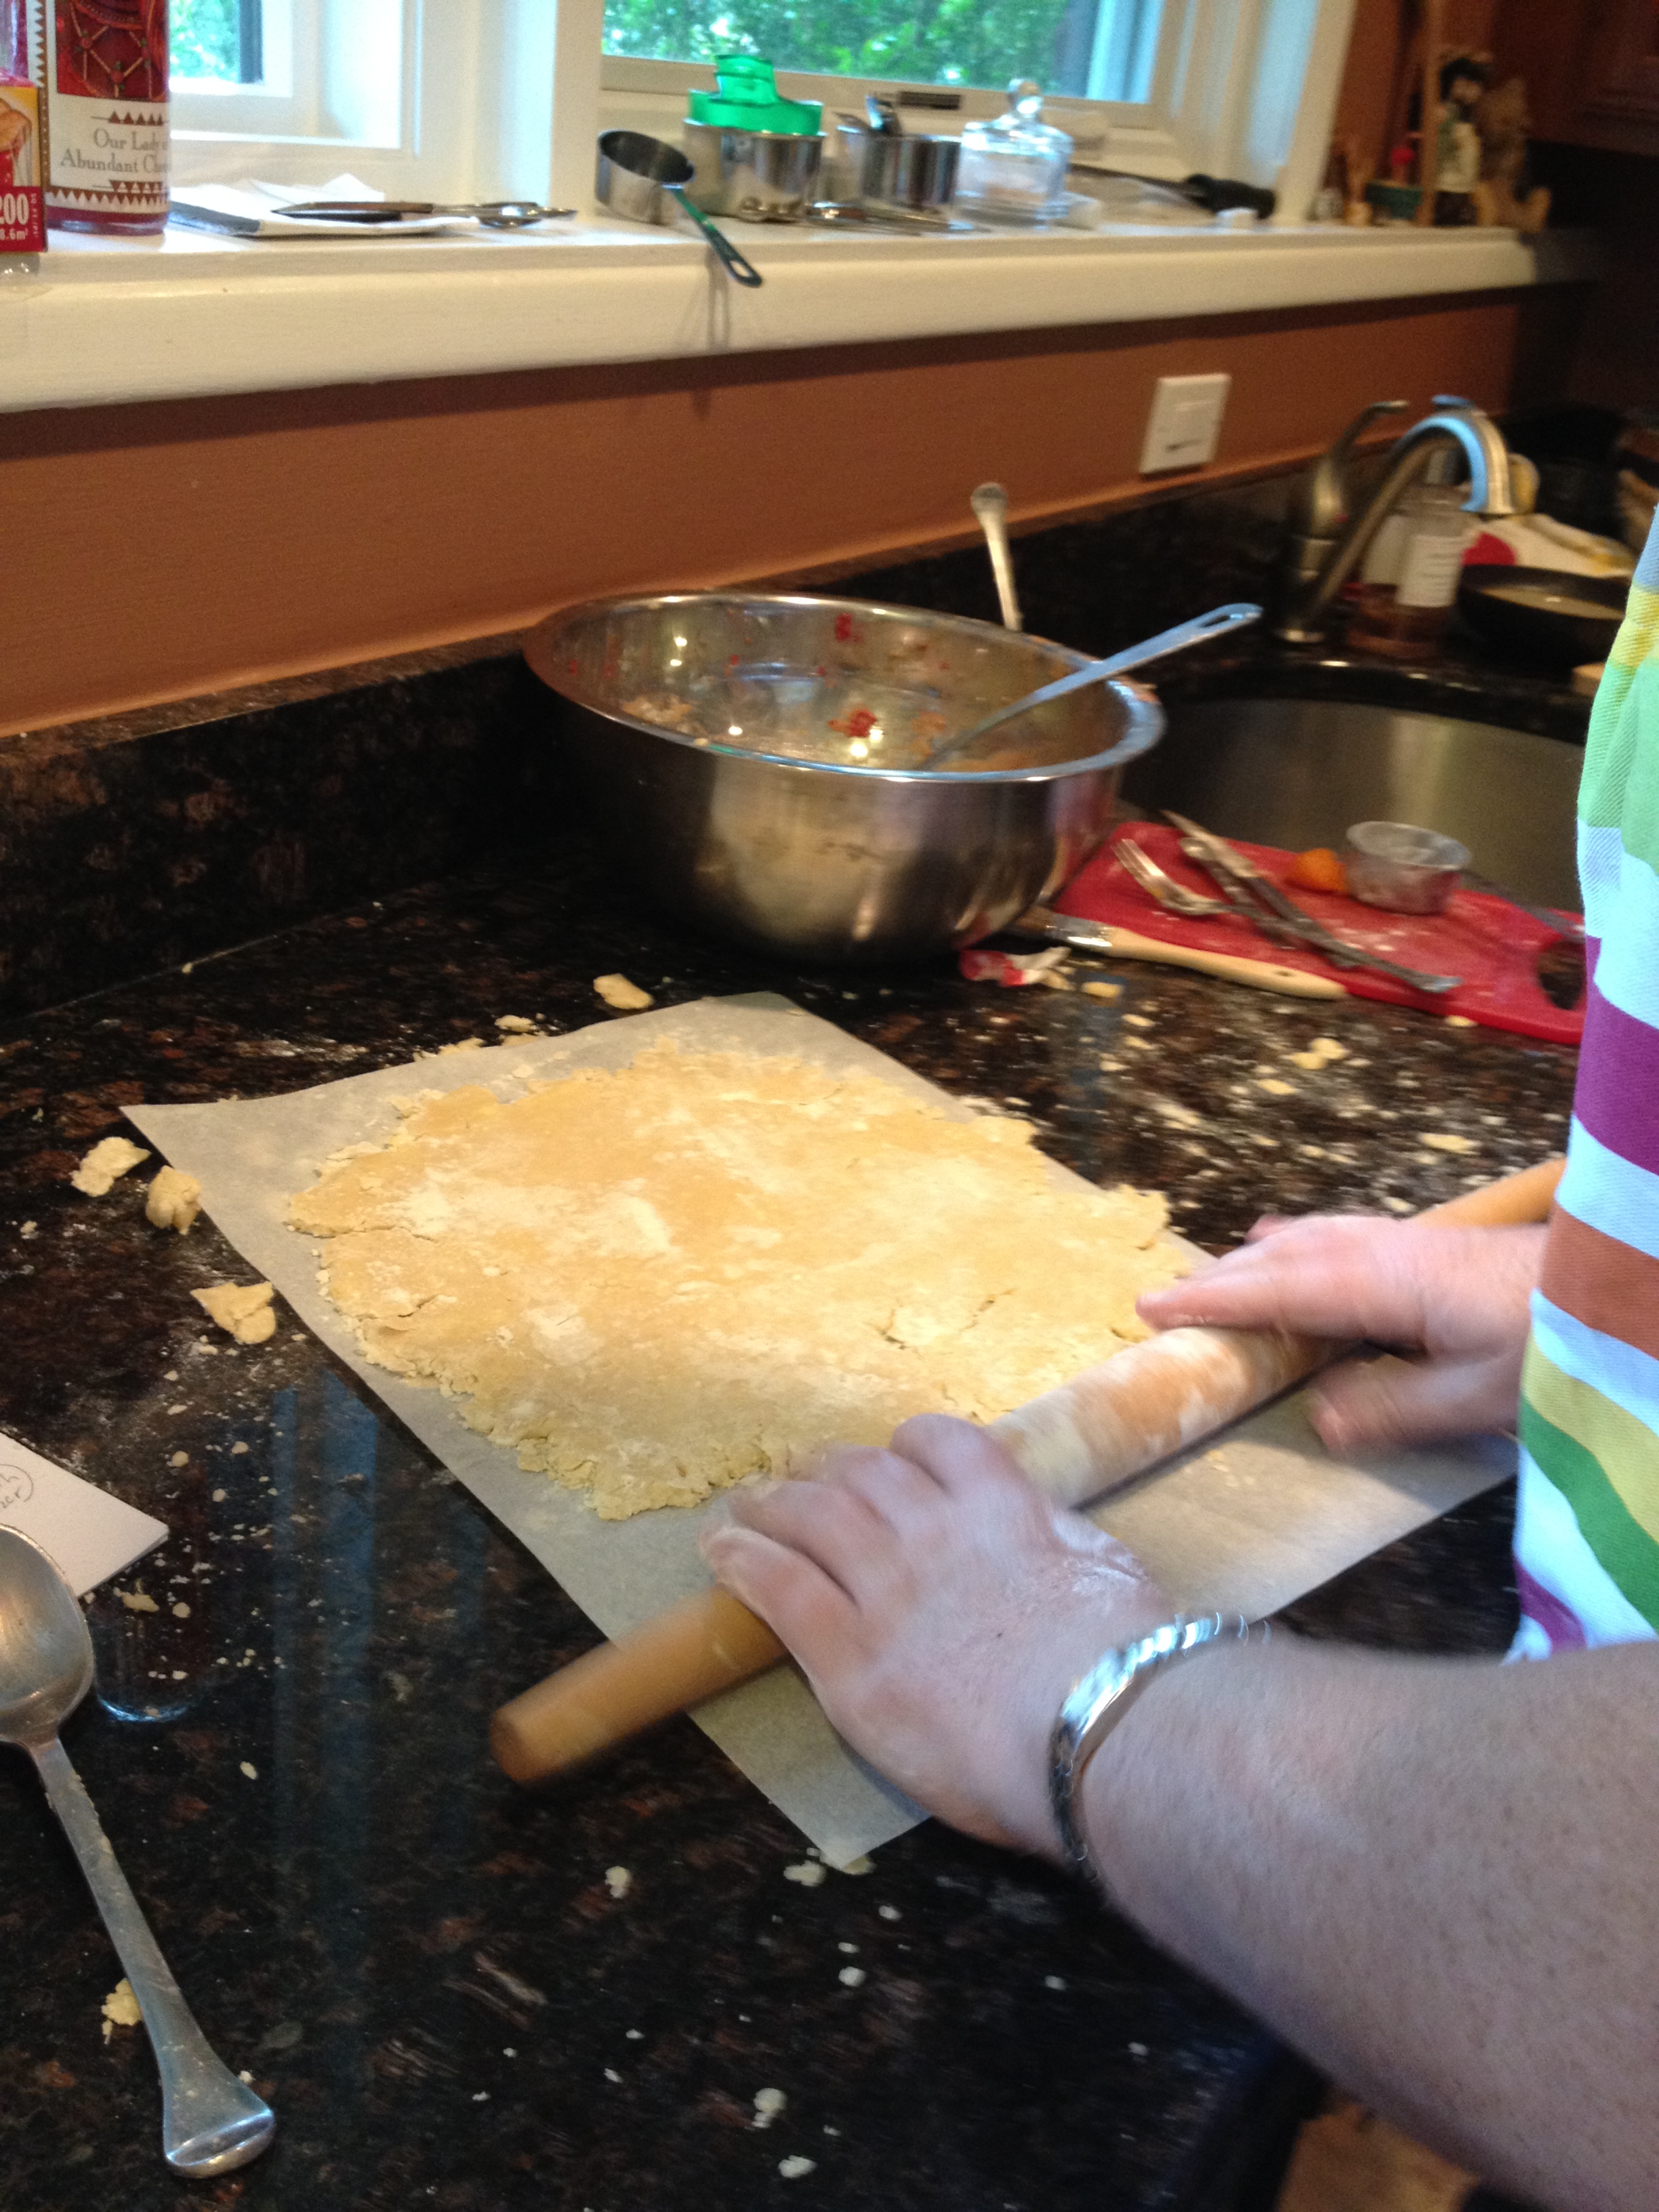 “massage” is the closest approximation I can make. Then she switched to a sort of folding-over action. She was deliberately trying to create layers of dough, sort of like you do when you make croissant or puff-pastry dough. She spent about 15 seconds folding the dough over onto itself a half-dozen times.
She told the bakers that if the ball of dough still seems a little floury on the outside, they could “anoint” the ball with a teensy bit more water here and there–applied by touching wet fingers to the dough. This little bit of moisture would “wick” into the dough and be just enough to make it smooth “as a baby’s bottom,” she said. The ladies, most of whom had had babies, totally got it.
Then the “chubby little disks,” as Kate calls them, were ready to rest in nice coats of plastic wrap in the refrigerator.
While they chilled, Kate shared a nice tip with the bakers: Take that bowl that you just mixed your dough in, and put the fruit for your filling in there. You will be adding thickeners to the fruit mix, but the little bits of flour and butter in the bowl will help the whole process along, and keep you from washing a second bowl. 🙂
The students had already figured out how much fruit they needed for their pies by using the Kate Method: they filled their pie dishes with enough cut-up fruit (in this case, pitted, quartered apricots from Frog Hollow Farm in 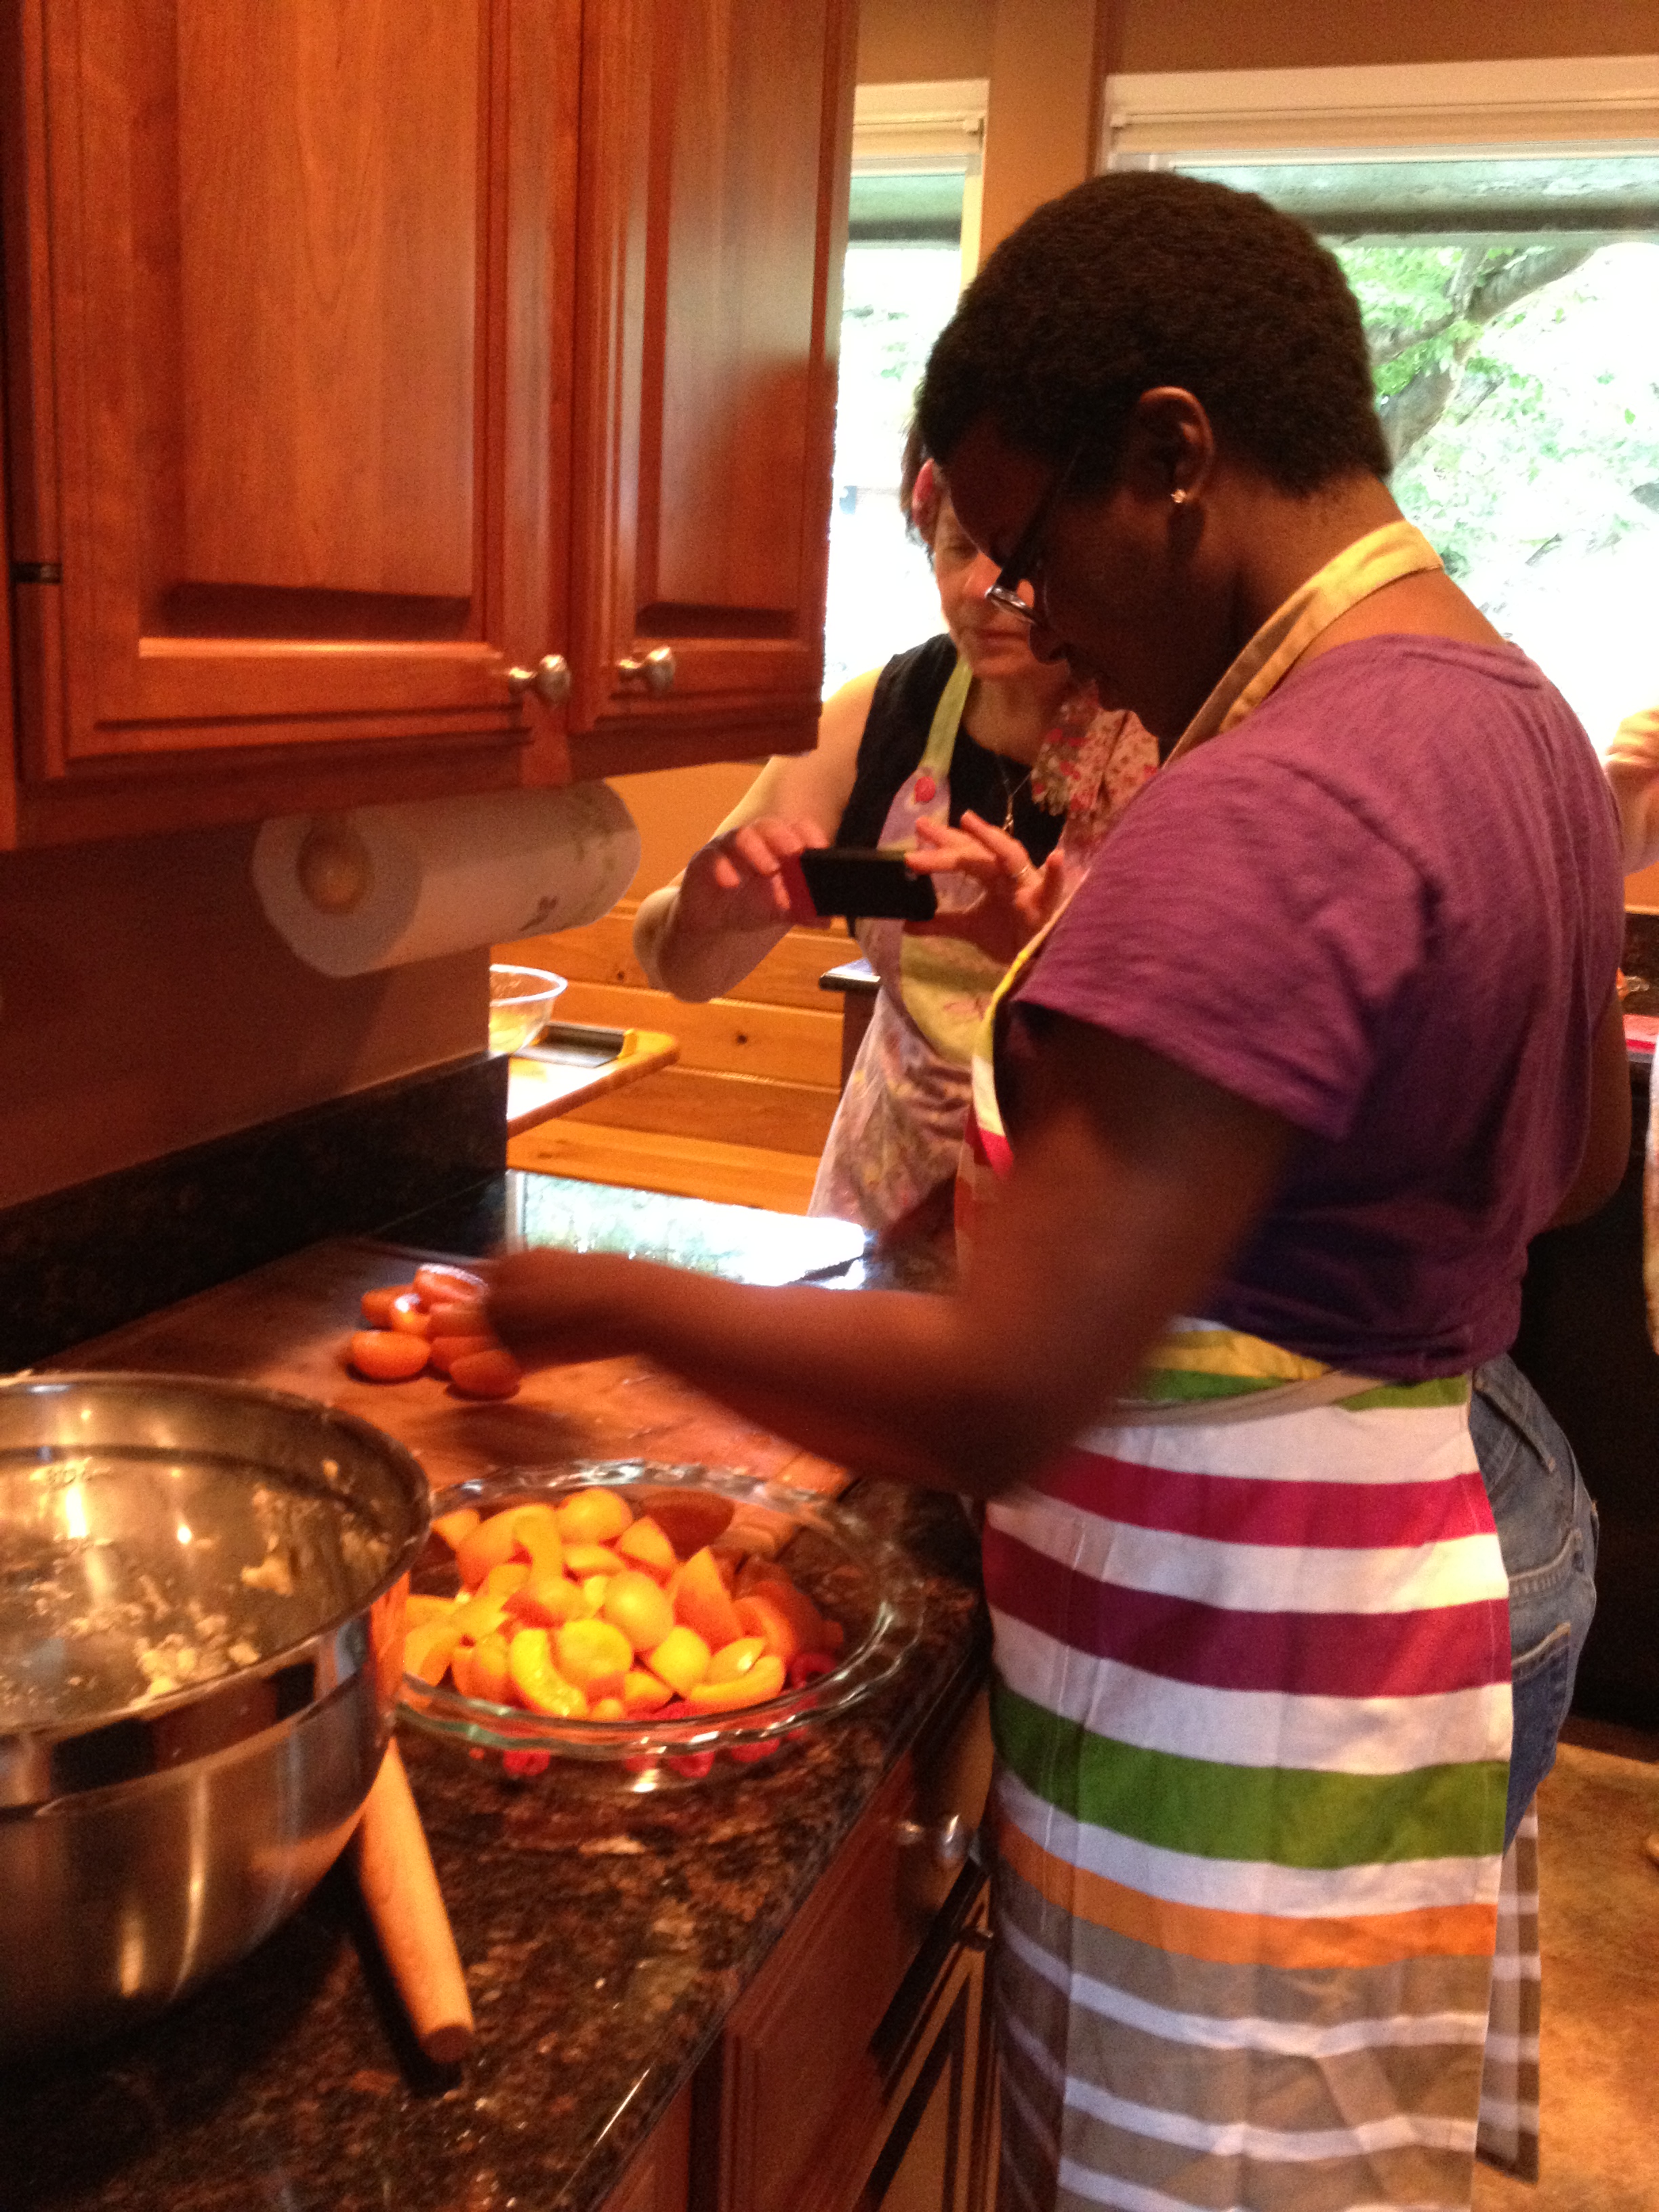 California) so that some of the fruit stuck up above the rim and some stayed below it. Easy, right? You could obsess over how many pounds of fruit to use, or you could just stick enough in the pie plate that it looks pretty full, without being heaping. Okay. Got it.
They added about 1/3 cup of flour to the fruit, along with 1/3 cup of sugar, about 1/4 teaspoon Kosher sea salt, and a little fresh nutmeg (about two scrapes, or “rasps,” of nutmeg on a fine-gauge microplane). Kate told them that the amount of sugar will depend on the sweetness of the fruit; sweeter fruit like apricots takes less, while apples take 1/2 cup, and tart cherries can take a cup and half, and a Shaker lemon pie will take two cups. Offering that range was a nice way to help bakers develop a gut feel for how to sweeten a fruit filling.
She did likewise with thickeners. Some pies will take more flour than others, depending on how juicy they are, she told the students. With some–like a cherry pie, where you want that nice glossy, transparent look to the thickener–you would choose quick-cooking tapioca instead of flour. For a filling made in a pan on the stove, you’d use cornstarch. These are Kate’s choices; they certainly work for her, though there are also many recipes that call for cornstarch, for instance, in an oven-baked filling. Each to her own! But I thought Kate’s framework was interesting and well worth trying. And she offered a neat little equivalency tip: 3 tablespoons of quick-cooking tapioca will equate to about 1/2 cup of flour.
With the dough and filling made, it was time to roll out the disks (and preheat the oven to 425 degrees. It takes at least 20 minutes to get up to temperature.). Kate’s go-to rolling pin is a slender French model by Vic Firth. It’s 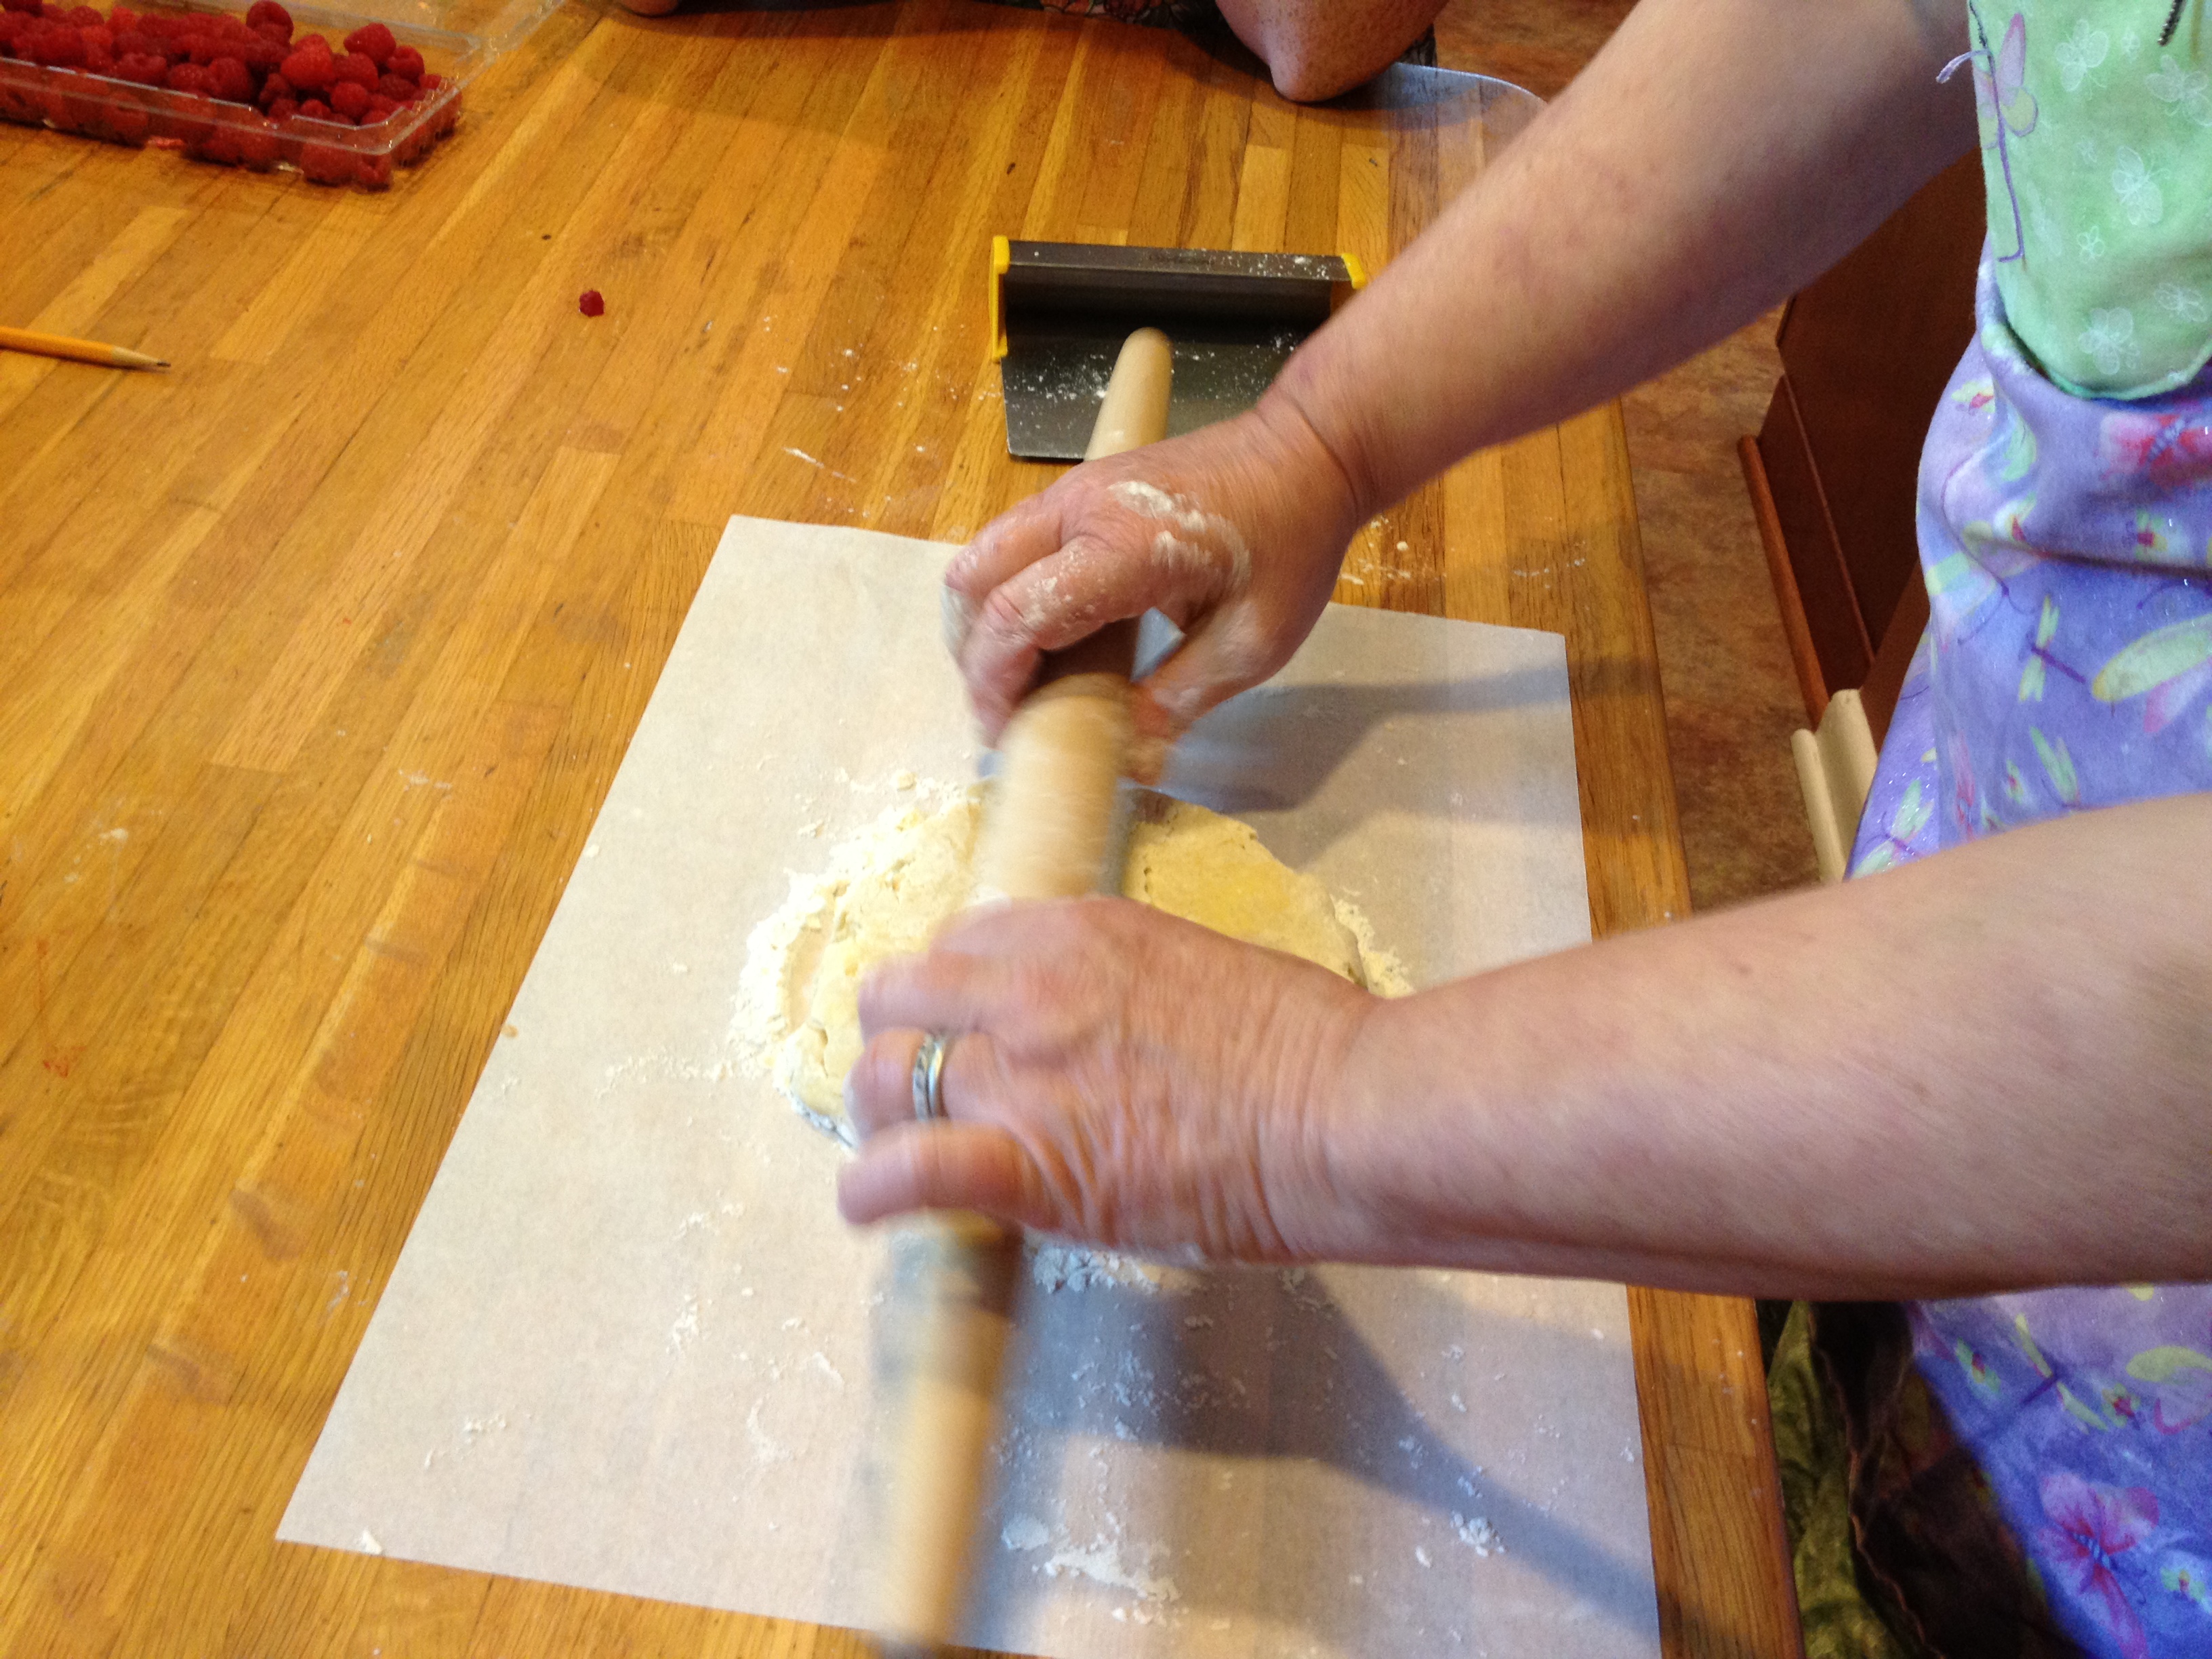 very nice to use. She rolls out dough on a piece of floured parchment paper, and unlike most bakers I know, she doesn’t roll the dough only from the center outward.
She does a forward-and-back thing. Then she turns the dough 90 degrees and does the forward-and-back thing again, stopping short of the edges of the dough. What she is doing is rolling forward, picking up the rolling pin and bringing it back to the center of the dough, and then rolling backward, toward her body. This accomplishes the same thing that a more traditional rolling-out-from-the-center accomplishes, but it was an interesting variation to see.
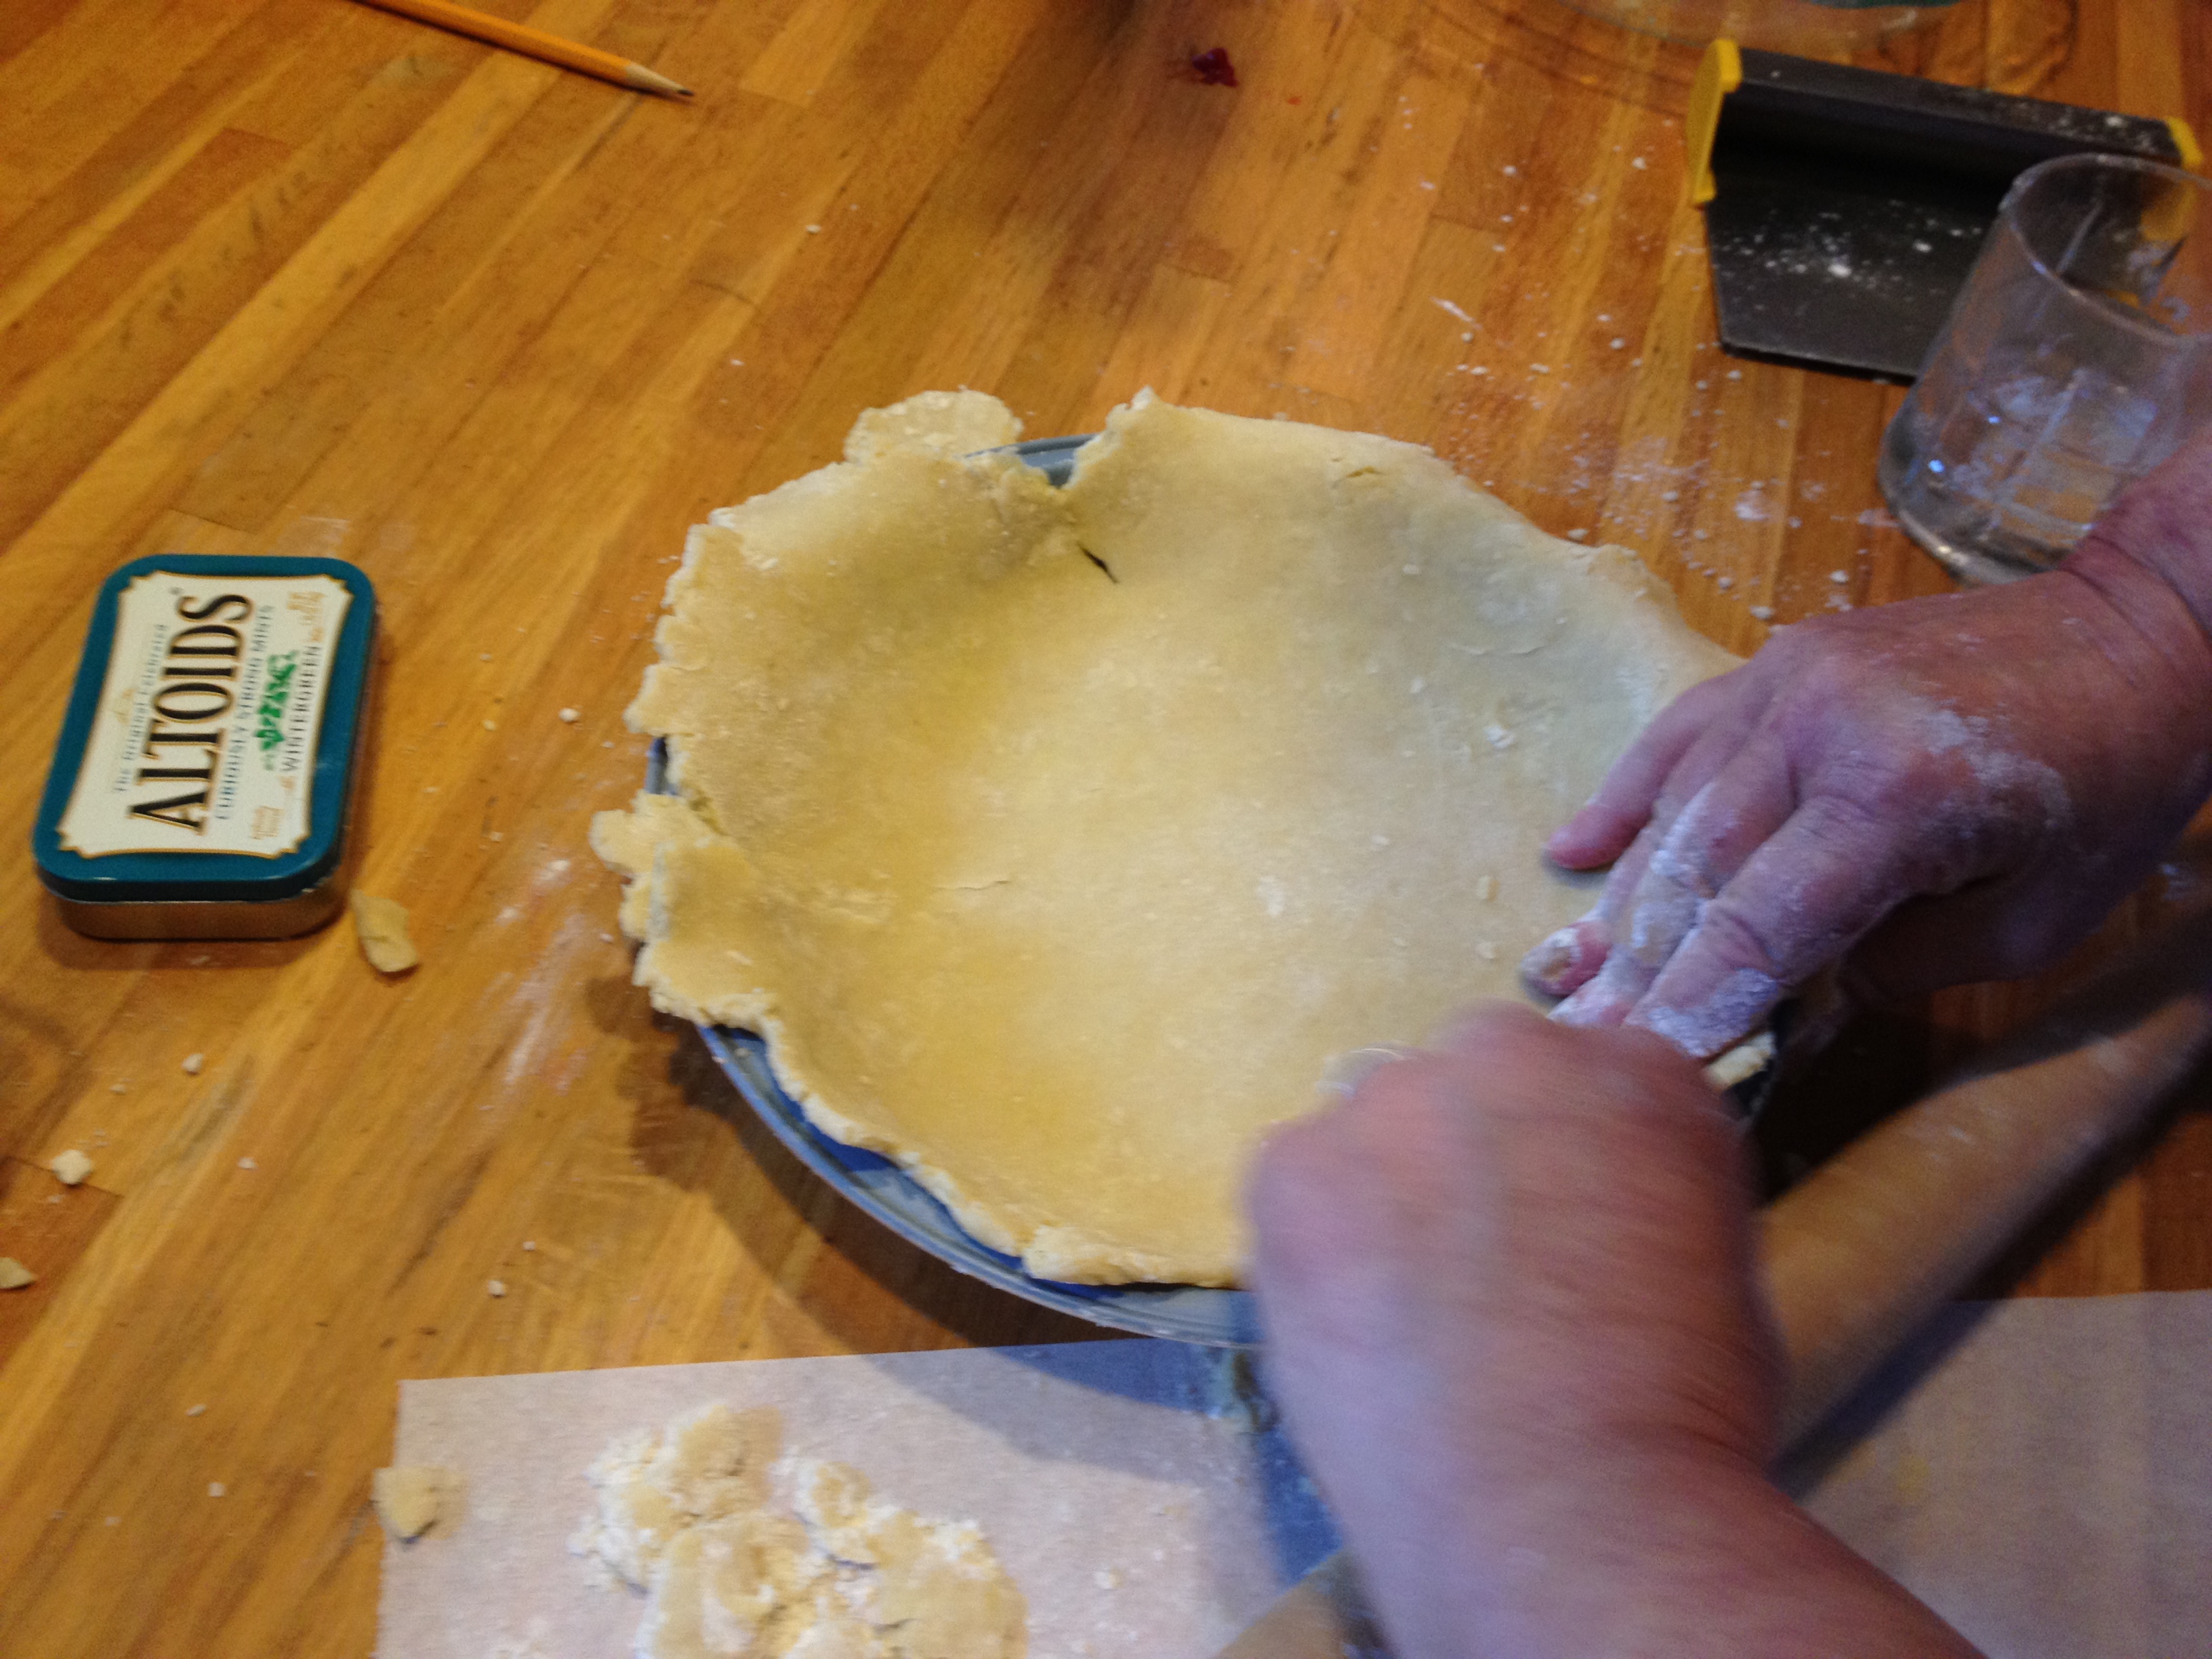
The students struggled a bit with their rolling, but they all managed to get their bottom crusts into the pie pans–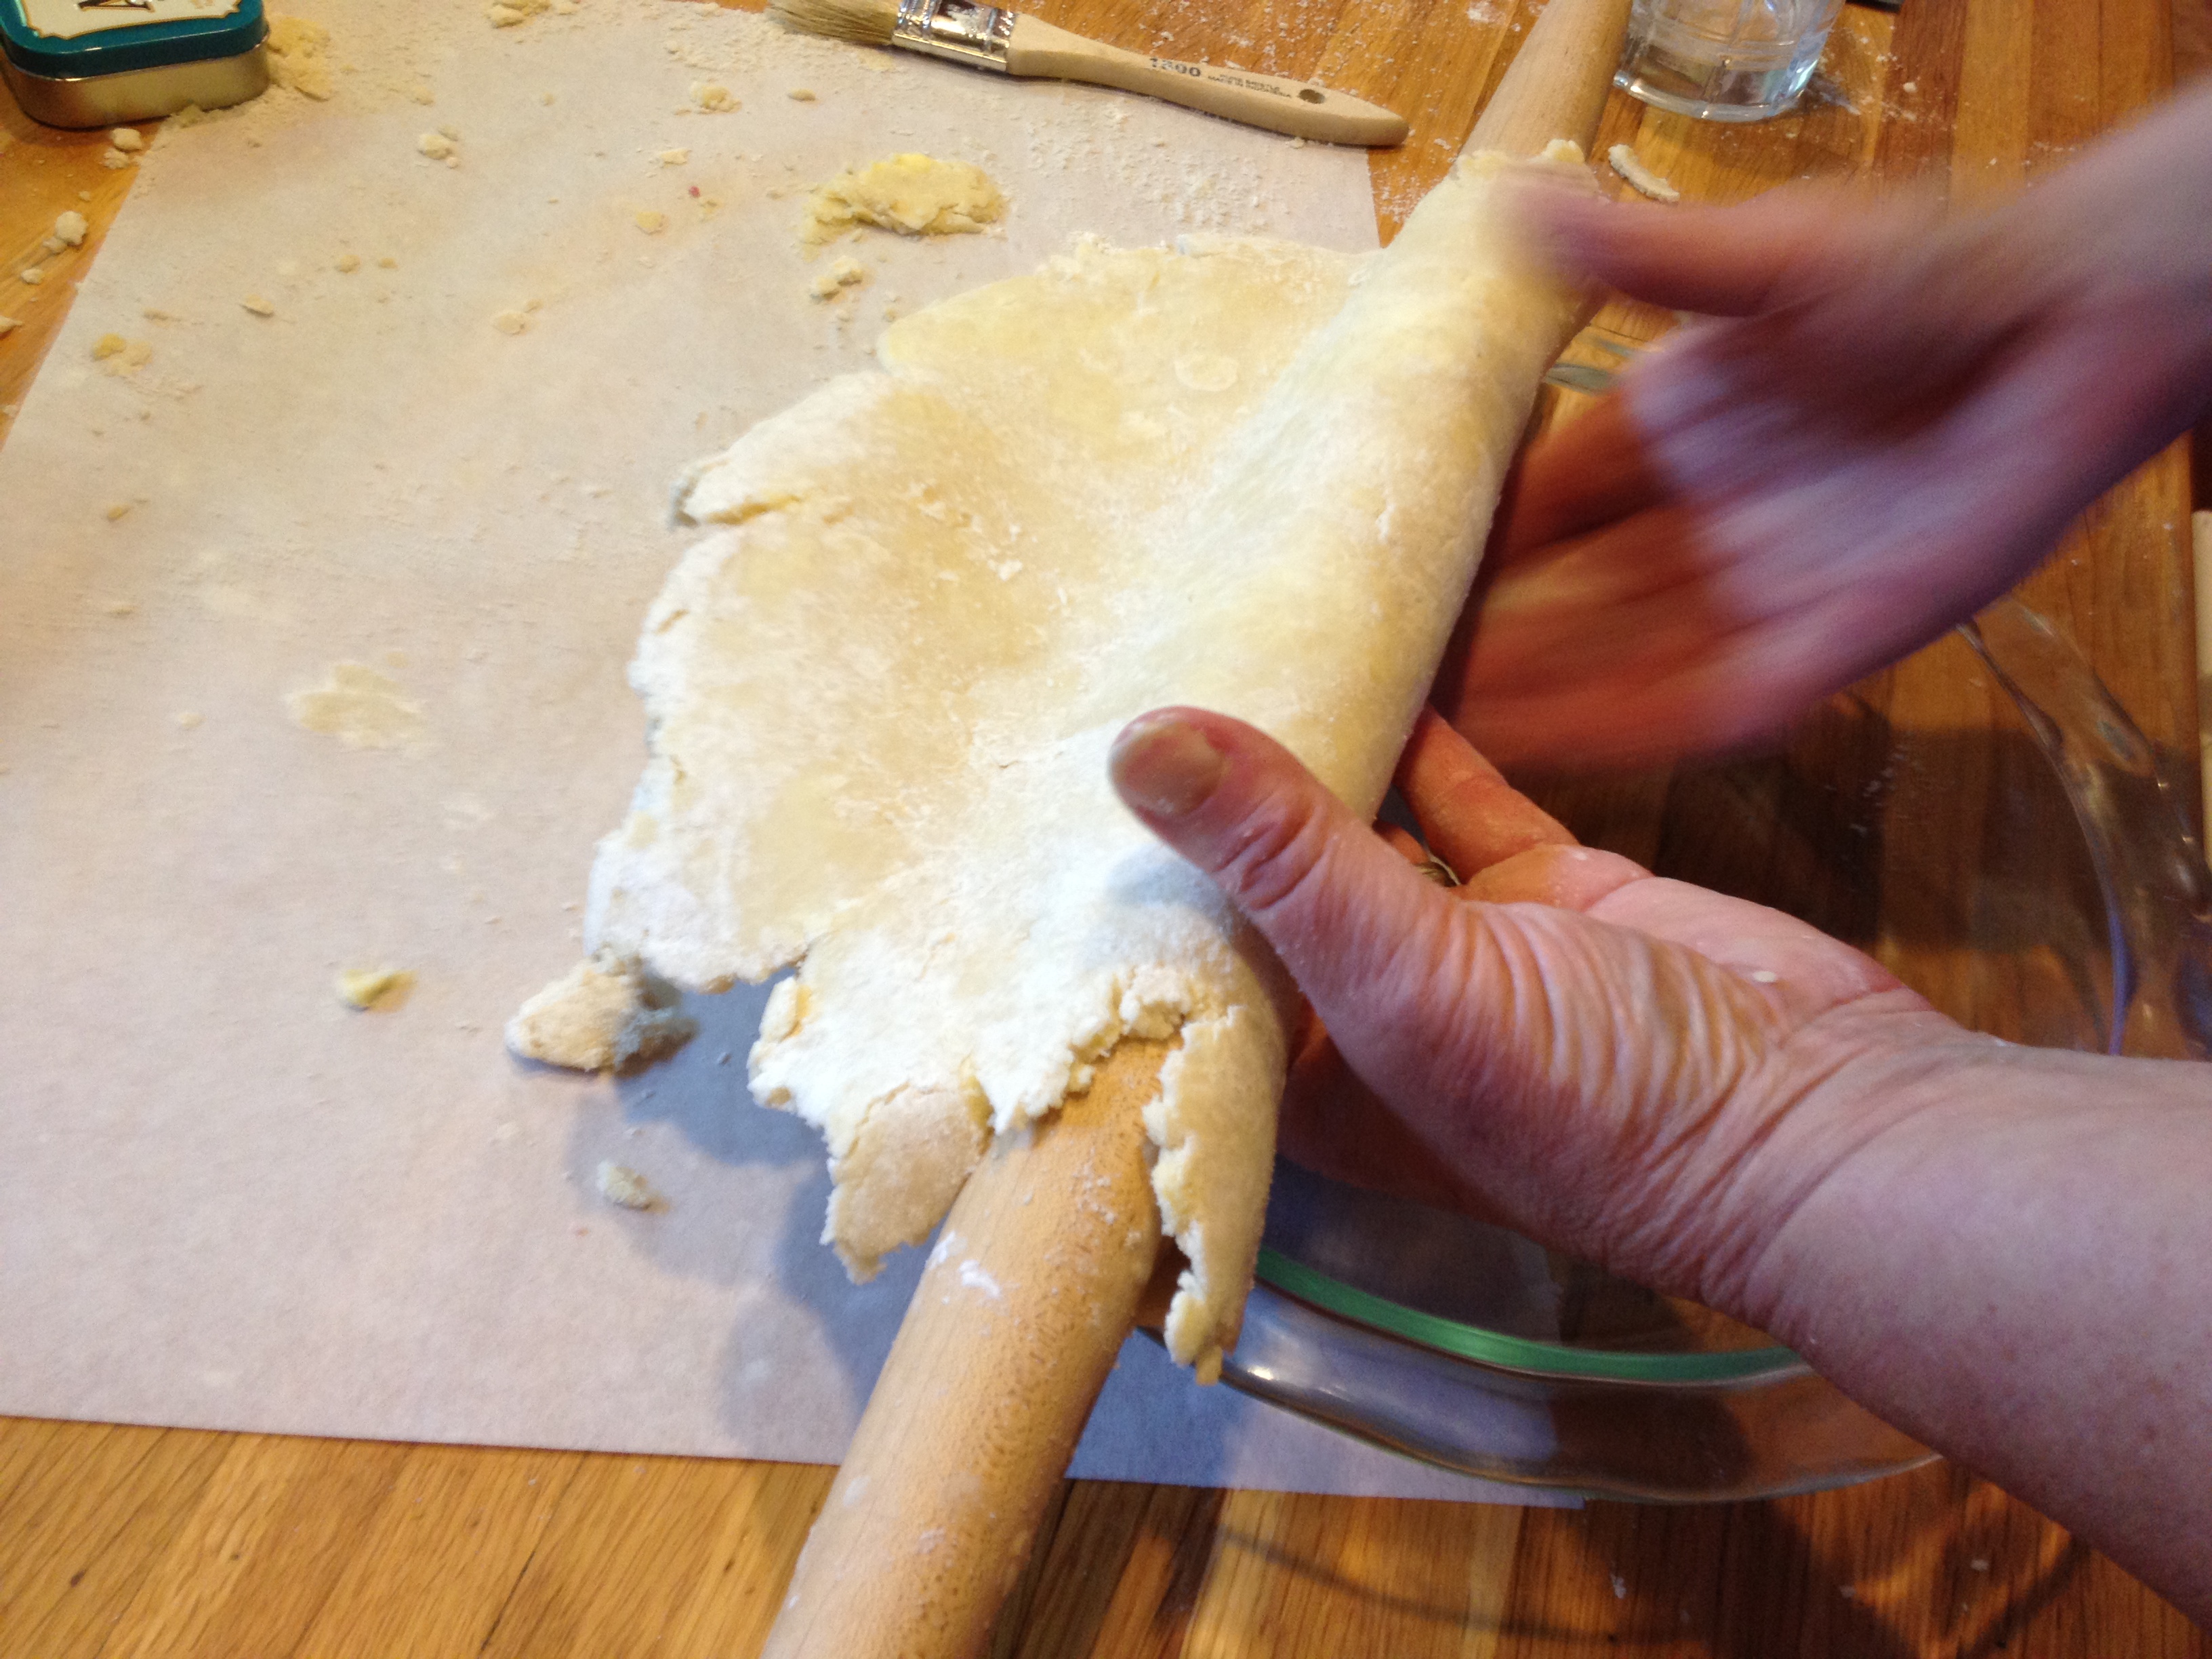 draped over the rolling pin, as Kate showed them–and they saw, with great relief, that patching a torn pie crust is easy-peasy. Another reason not to worry about pie crust! Whatever happens, Kate reminded them, you can fix it. Just relax! This is easy!
Finally, the top crusts went on. They were brushed with egg white, and their edges got sealed and finished with fork tines. And into the oven they went. They started in a hot oven (425) for about 20 minutes, and finished in a moderate one (375) for about 40.
While they baked, the women ate the apricot pie Kate had baked for them that morning, and sipped champagne. There was much chatting and storytelling, and all-around pie-bonding. By the time the four pies were ready to 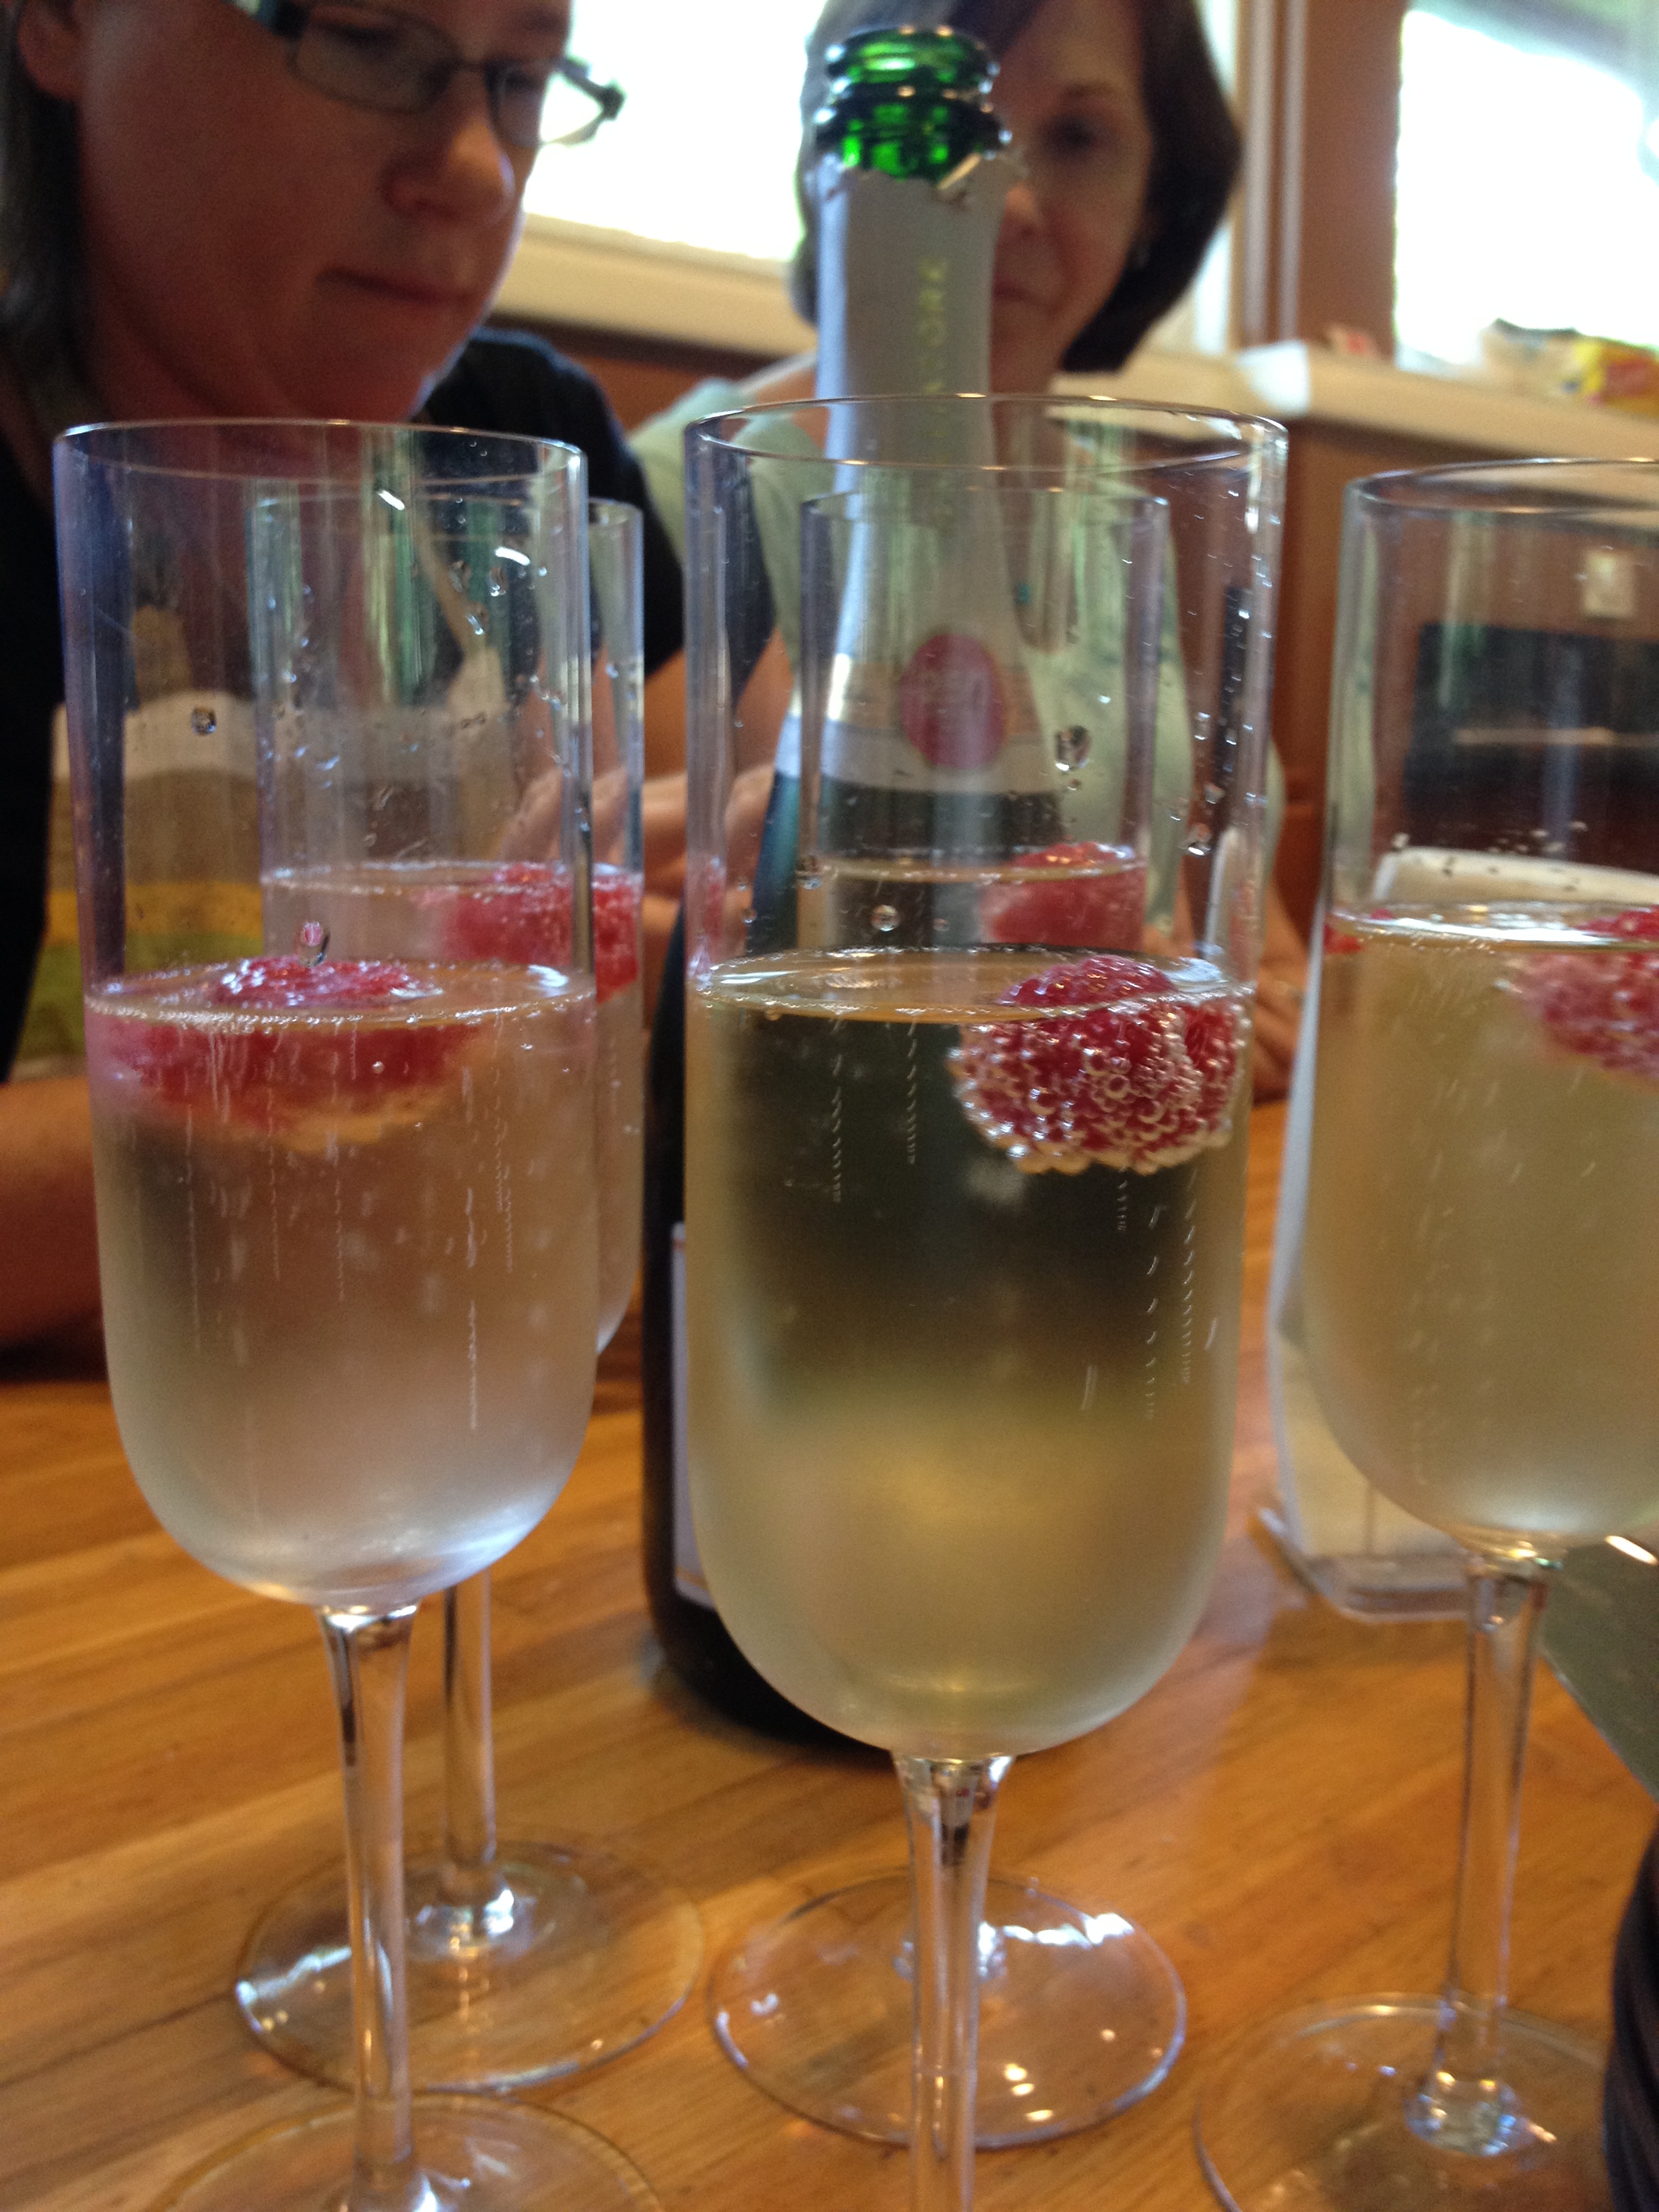 come out of the oven, we were all Pie Sisters, as Kate says, or what I like to call Members of Pie Nation.
When we pulled the hot pies out, Kate taught the ladies her signature “listening” method to see if they were done. As I told you yesterday, she listens for a sizzling from the crust and a soft little whumping sound from the fruit. The students listened for these sounds, and were delighted when they heard them.
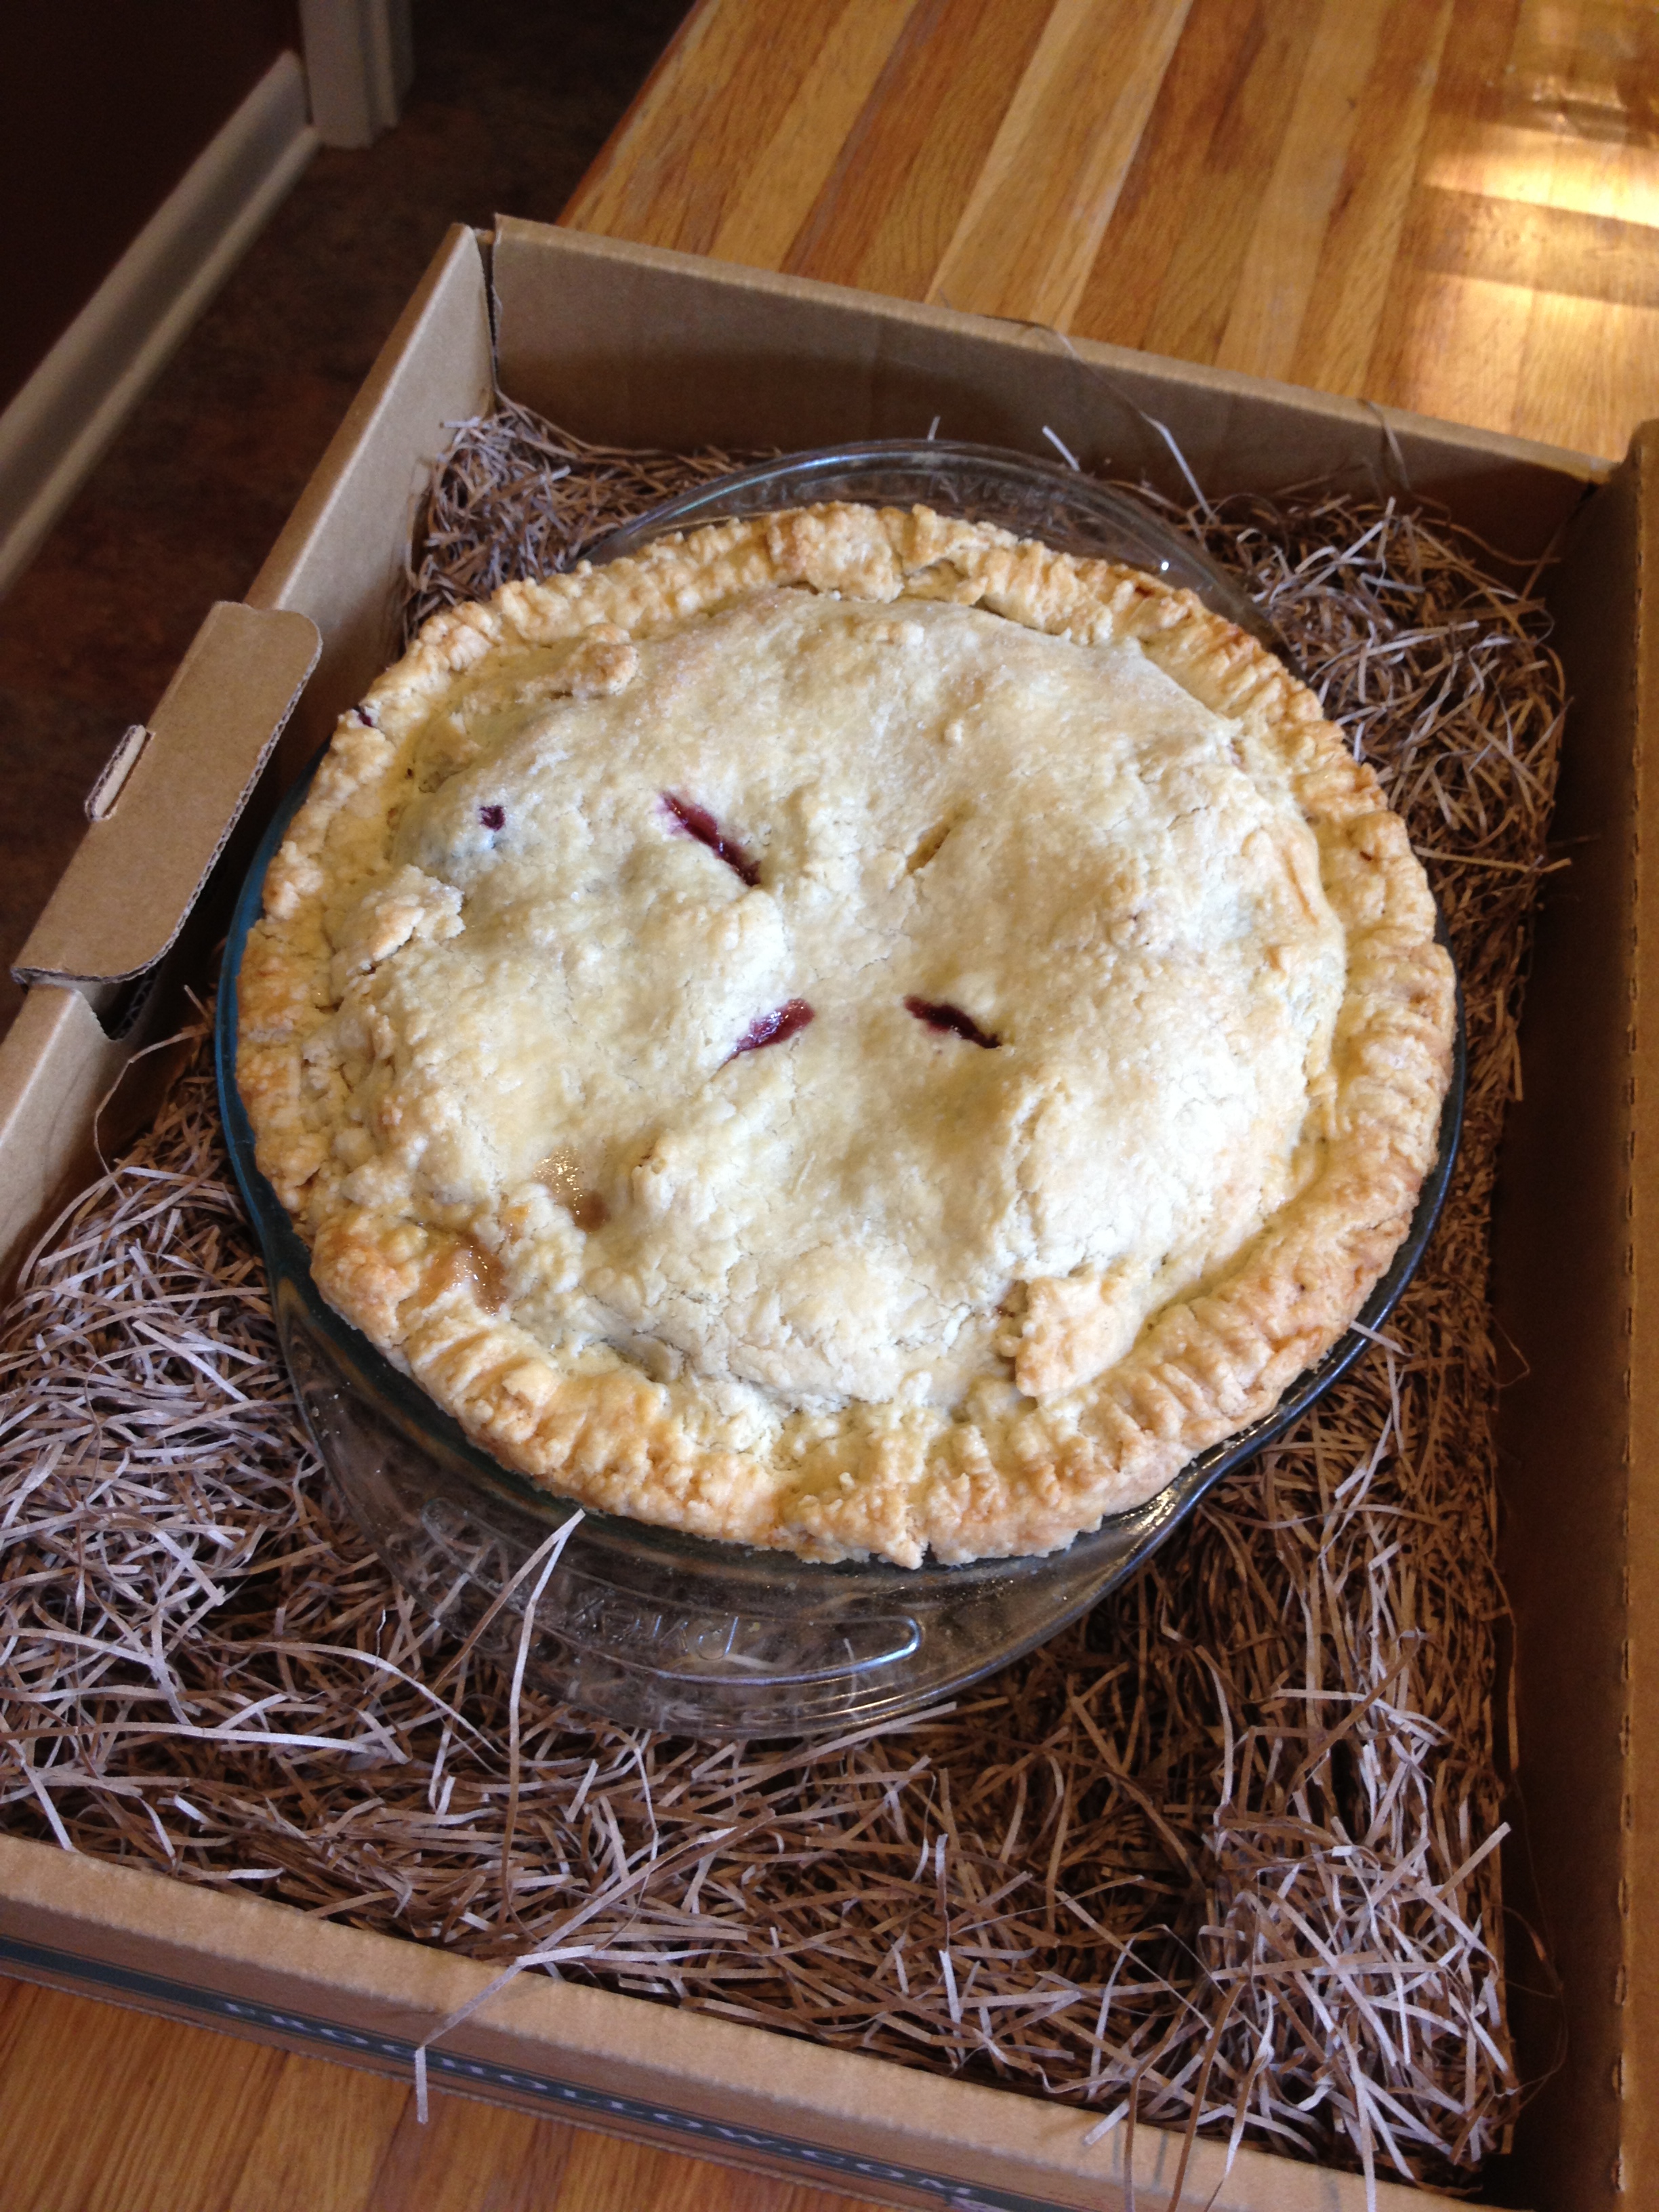 The kitchen was cleaned, the pies were boxes, proud graduation photos were snapped. And the students went off, pies in arms, with promises to stay in touch via Facebook
and email. I hope I get to bake with them again soon!
Kate McDermott’s Butter and Leaf Lard Pie Crust
2 1/2 cups unbleached, all-purpose flour (preferably King Arthur)
1/2 tsp. Kosher sea salt, ground a bit finer with your palms or a mortar & pestle
8 Tbsp. chilled leaf lard, cut into 1-Tbsp.-size pieces
8 Tbsp. chilled Kerrygold butter, cut into 1-Tbsp.-size pieces (try to use the foil-wrapped European butters if you can get them; it not, use whatever you can!)
Ice water as needed, probably 6-8 Tbsp., but more importantly, until the dough is the right consistency
Kate’s Apricot Filling
Enough pitted, quartered apricots to nicely fill your pie plate
1/3 c. sugar
1/3 c. flour
1/4 tsp. Kosher sea salt
A couple of rasps of fresh nutmeg
