There is so much to tell from pastry class last night that I am going to take a new blogging approach: I’m going to write about it piece by piece. Otherwise you will be reading this one long blog post until mid-summer. And you won’t make it. I want you with me at the end!
And since much of the evening has already escaped me, I’m going to save our puff pastry adventure for another evening (and a much longer post).
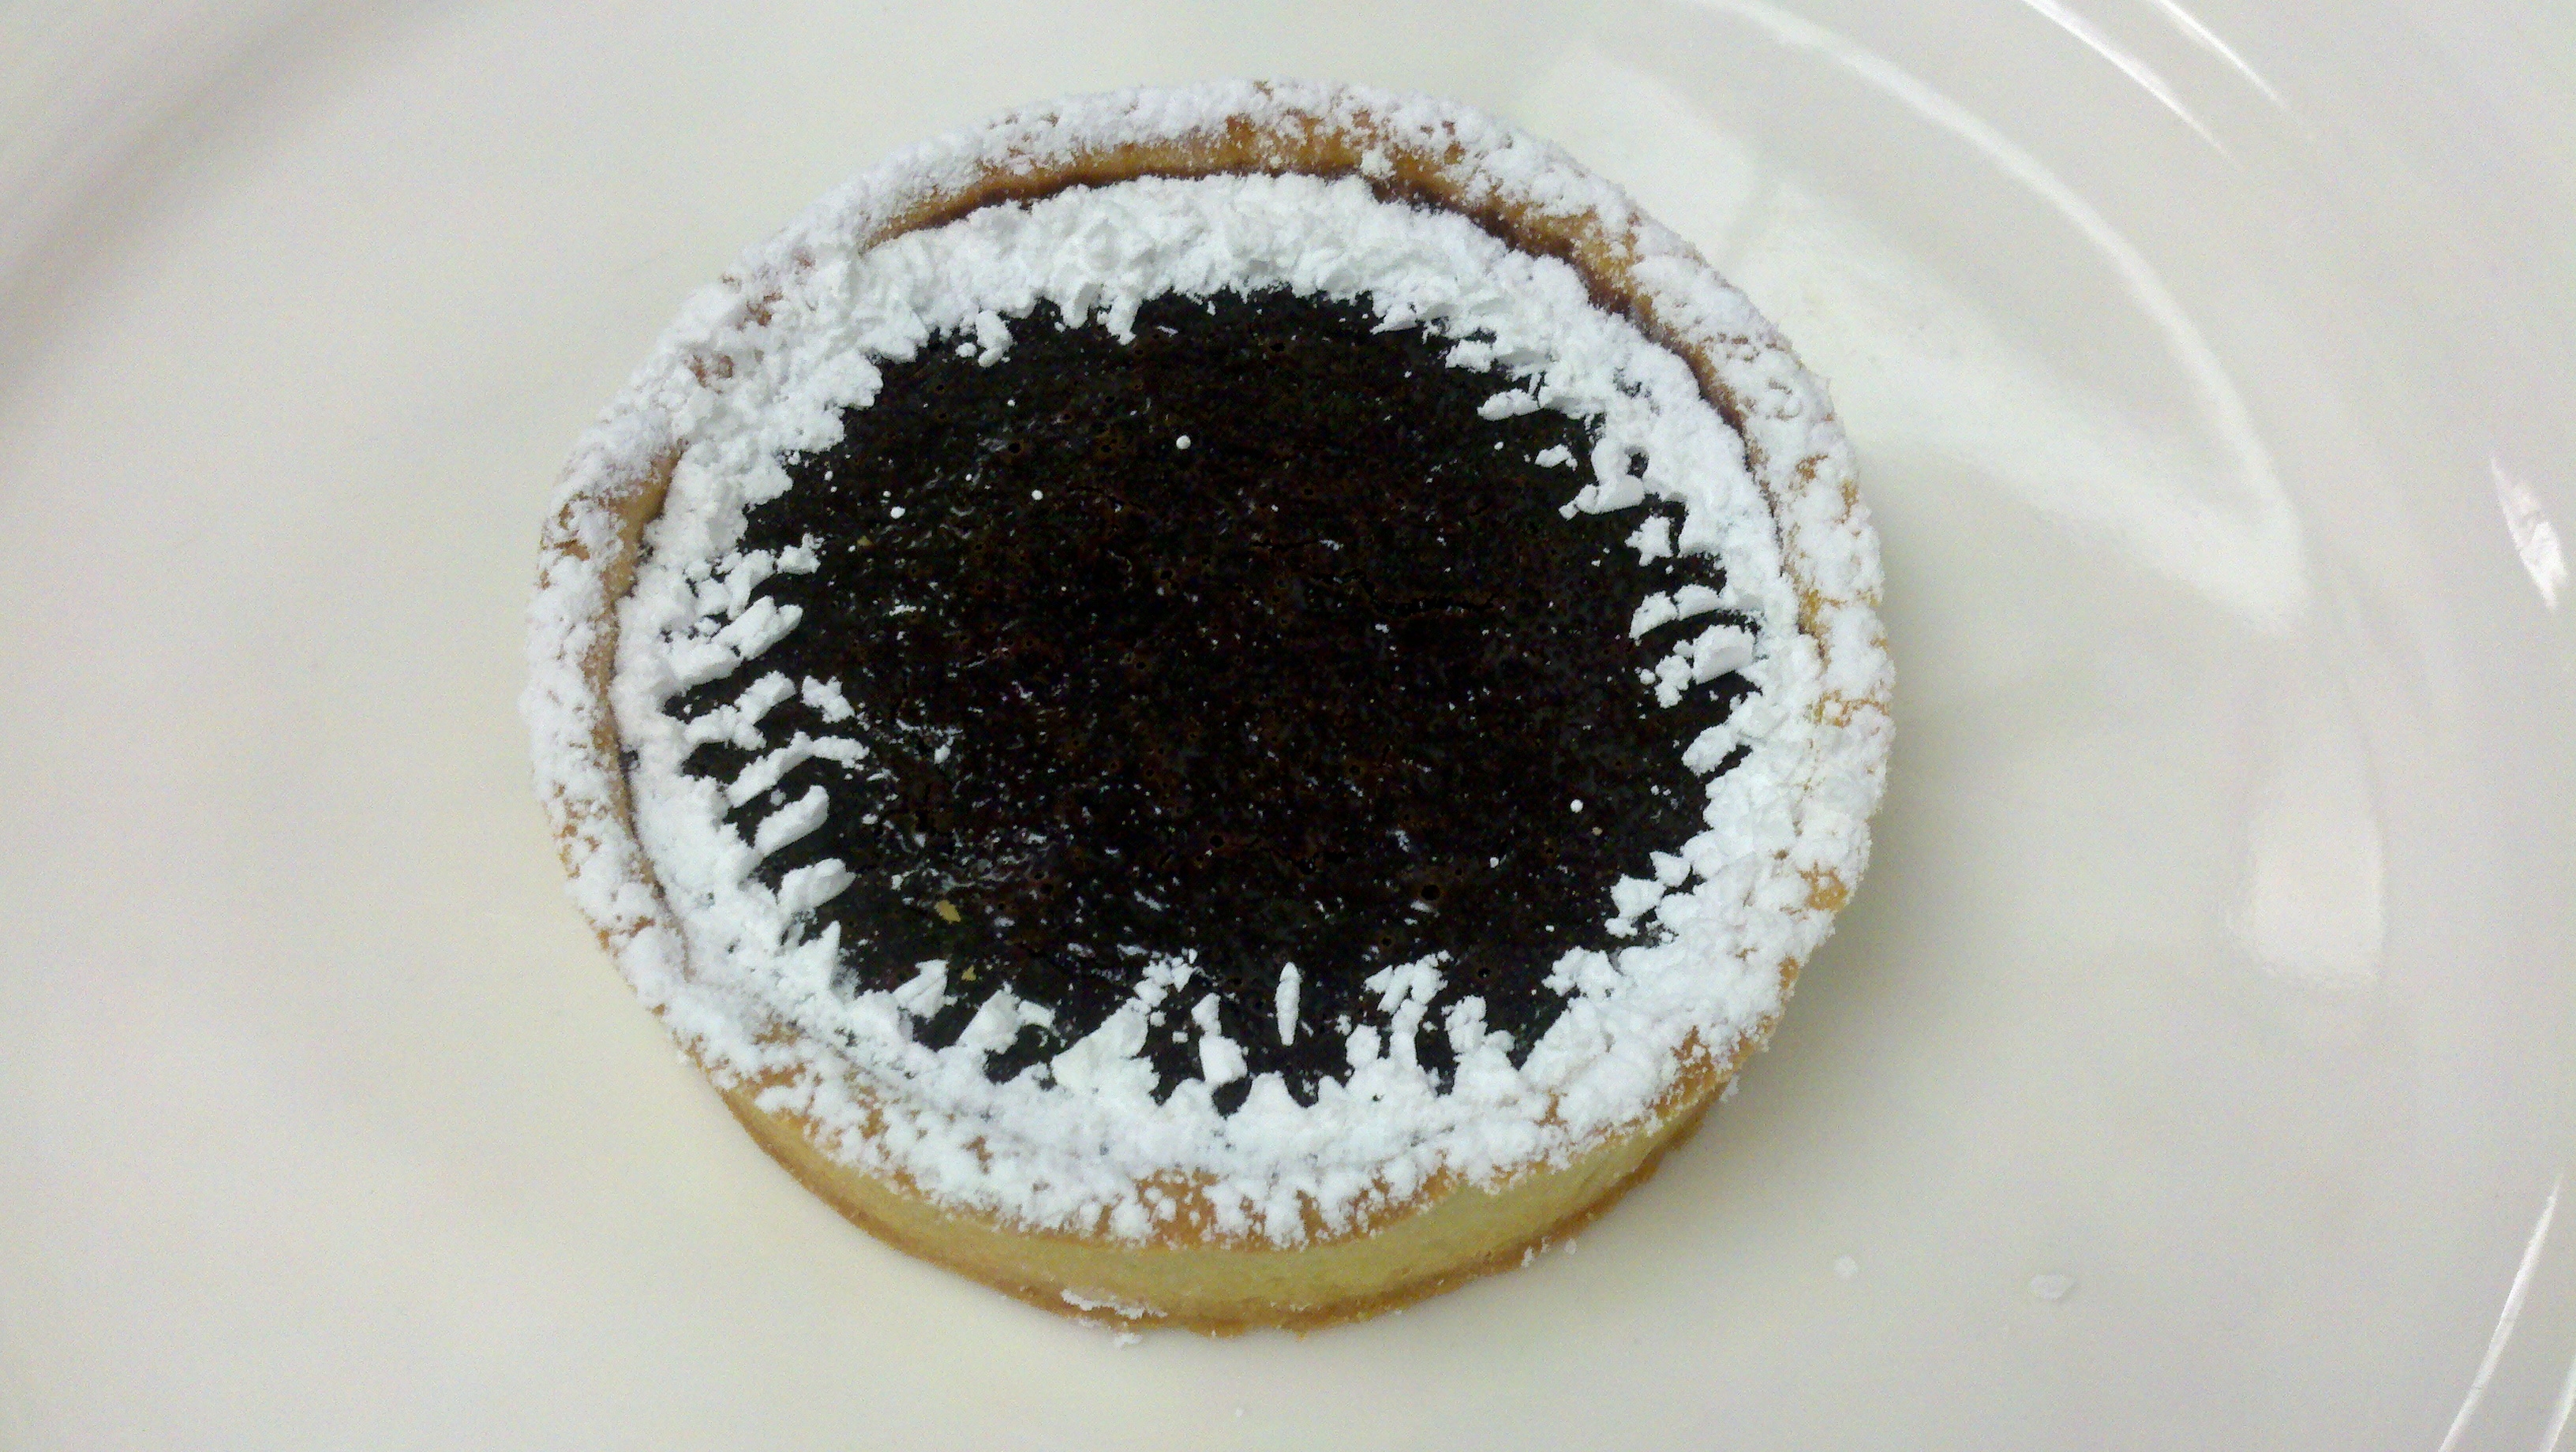
Before you yell at me, though, consider that I am about to tell you how to make this:
It is one of the loveliest things I have eaten in a long time. So if you are disappointed that you don’t get to hear every single thing that happened in class last night, content yourself, at least, my dears, with this: the little chocolate tart will make your disappointment seem like a hazy dream from another day.
So with that, let’s get to work. Gene Ammons on the iPod, Carmenere in my glass; I’m ready to go. Whatever your equivalent of jazz-and-wine might be, I hope you have it.
That said, you won’t need any intoxicants to get through this tart. It’s simple and unbelievably delicious.
We started with a pâte sucrée crust (you remember pâte sucrée, I know you do, after all that I’ve written about it.).
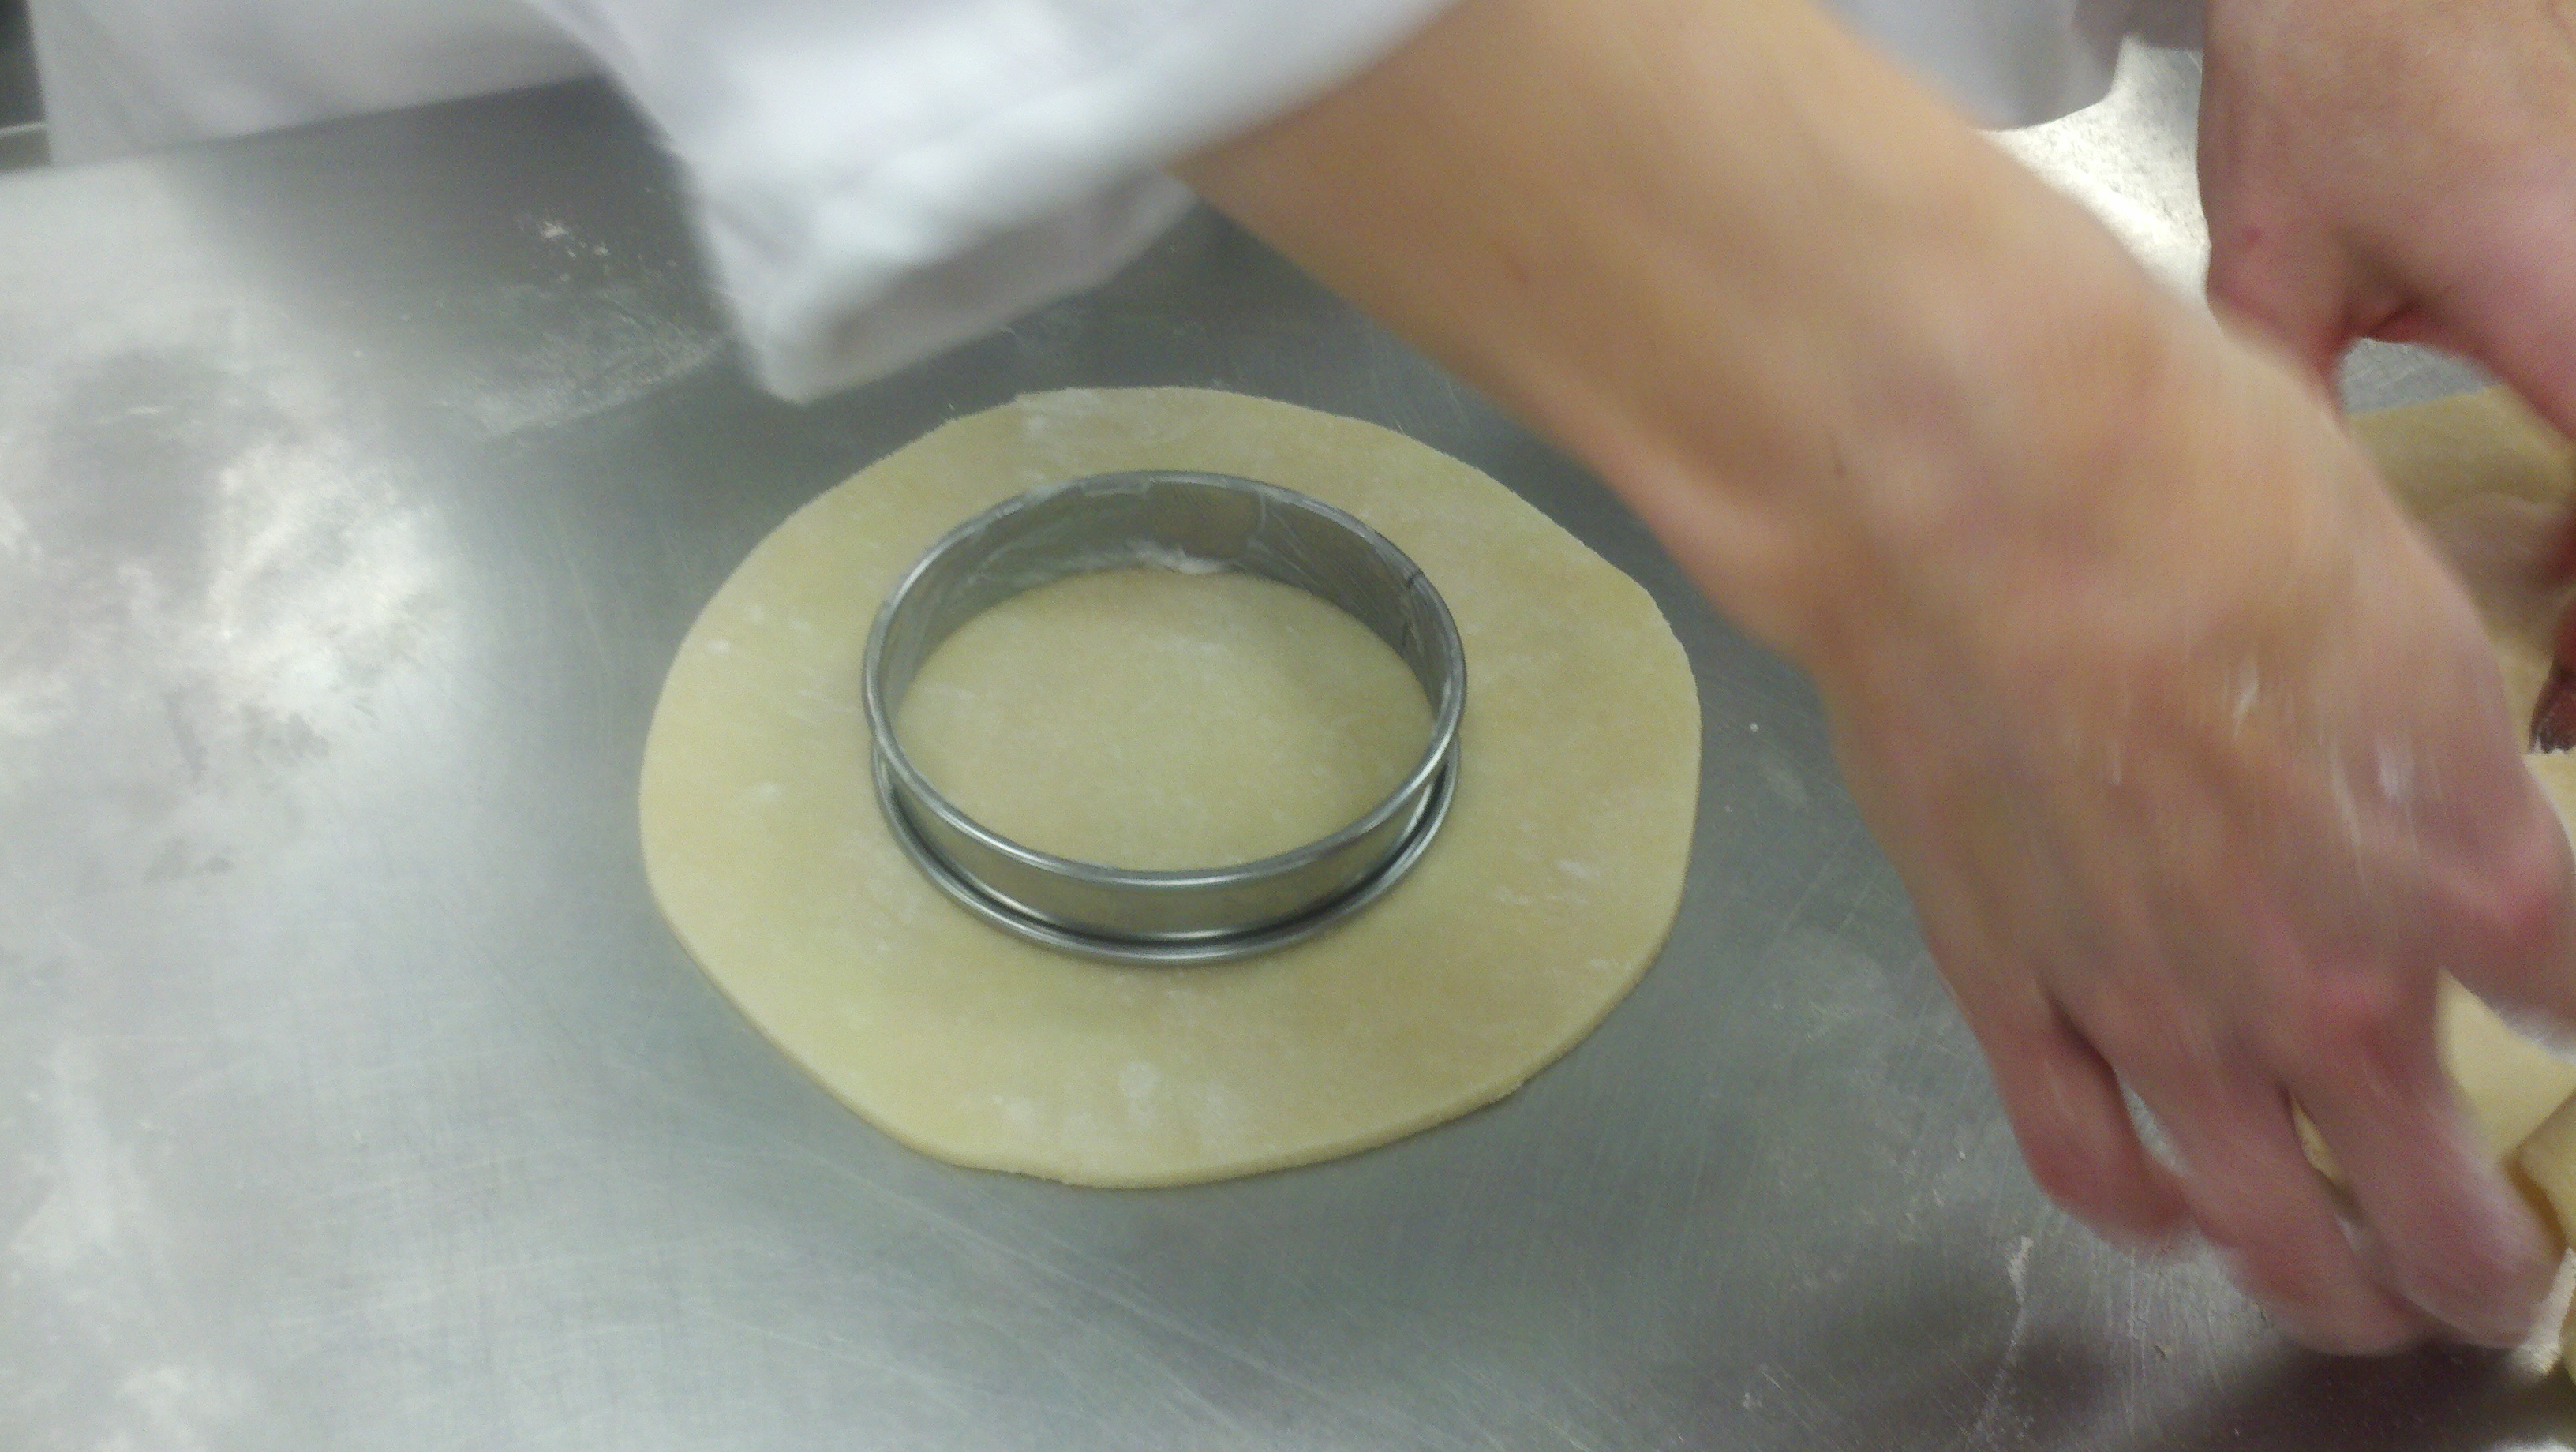
So we rolled out a little circle of that sweet tart dough …
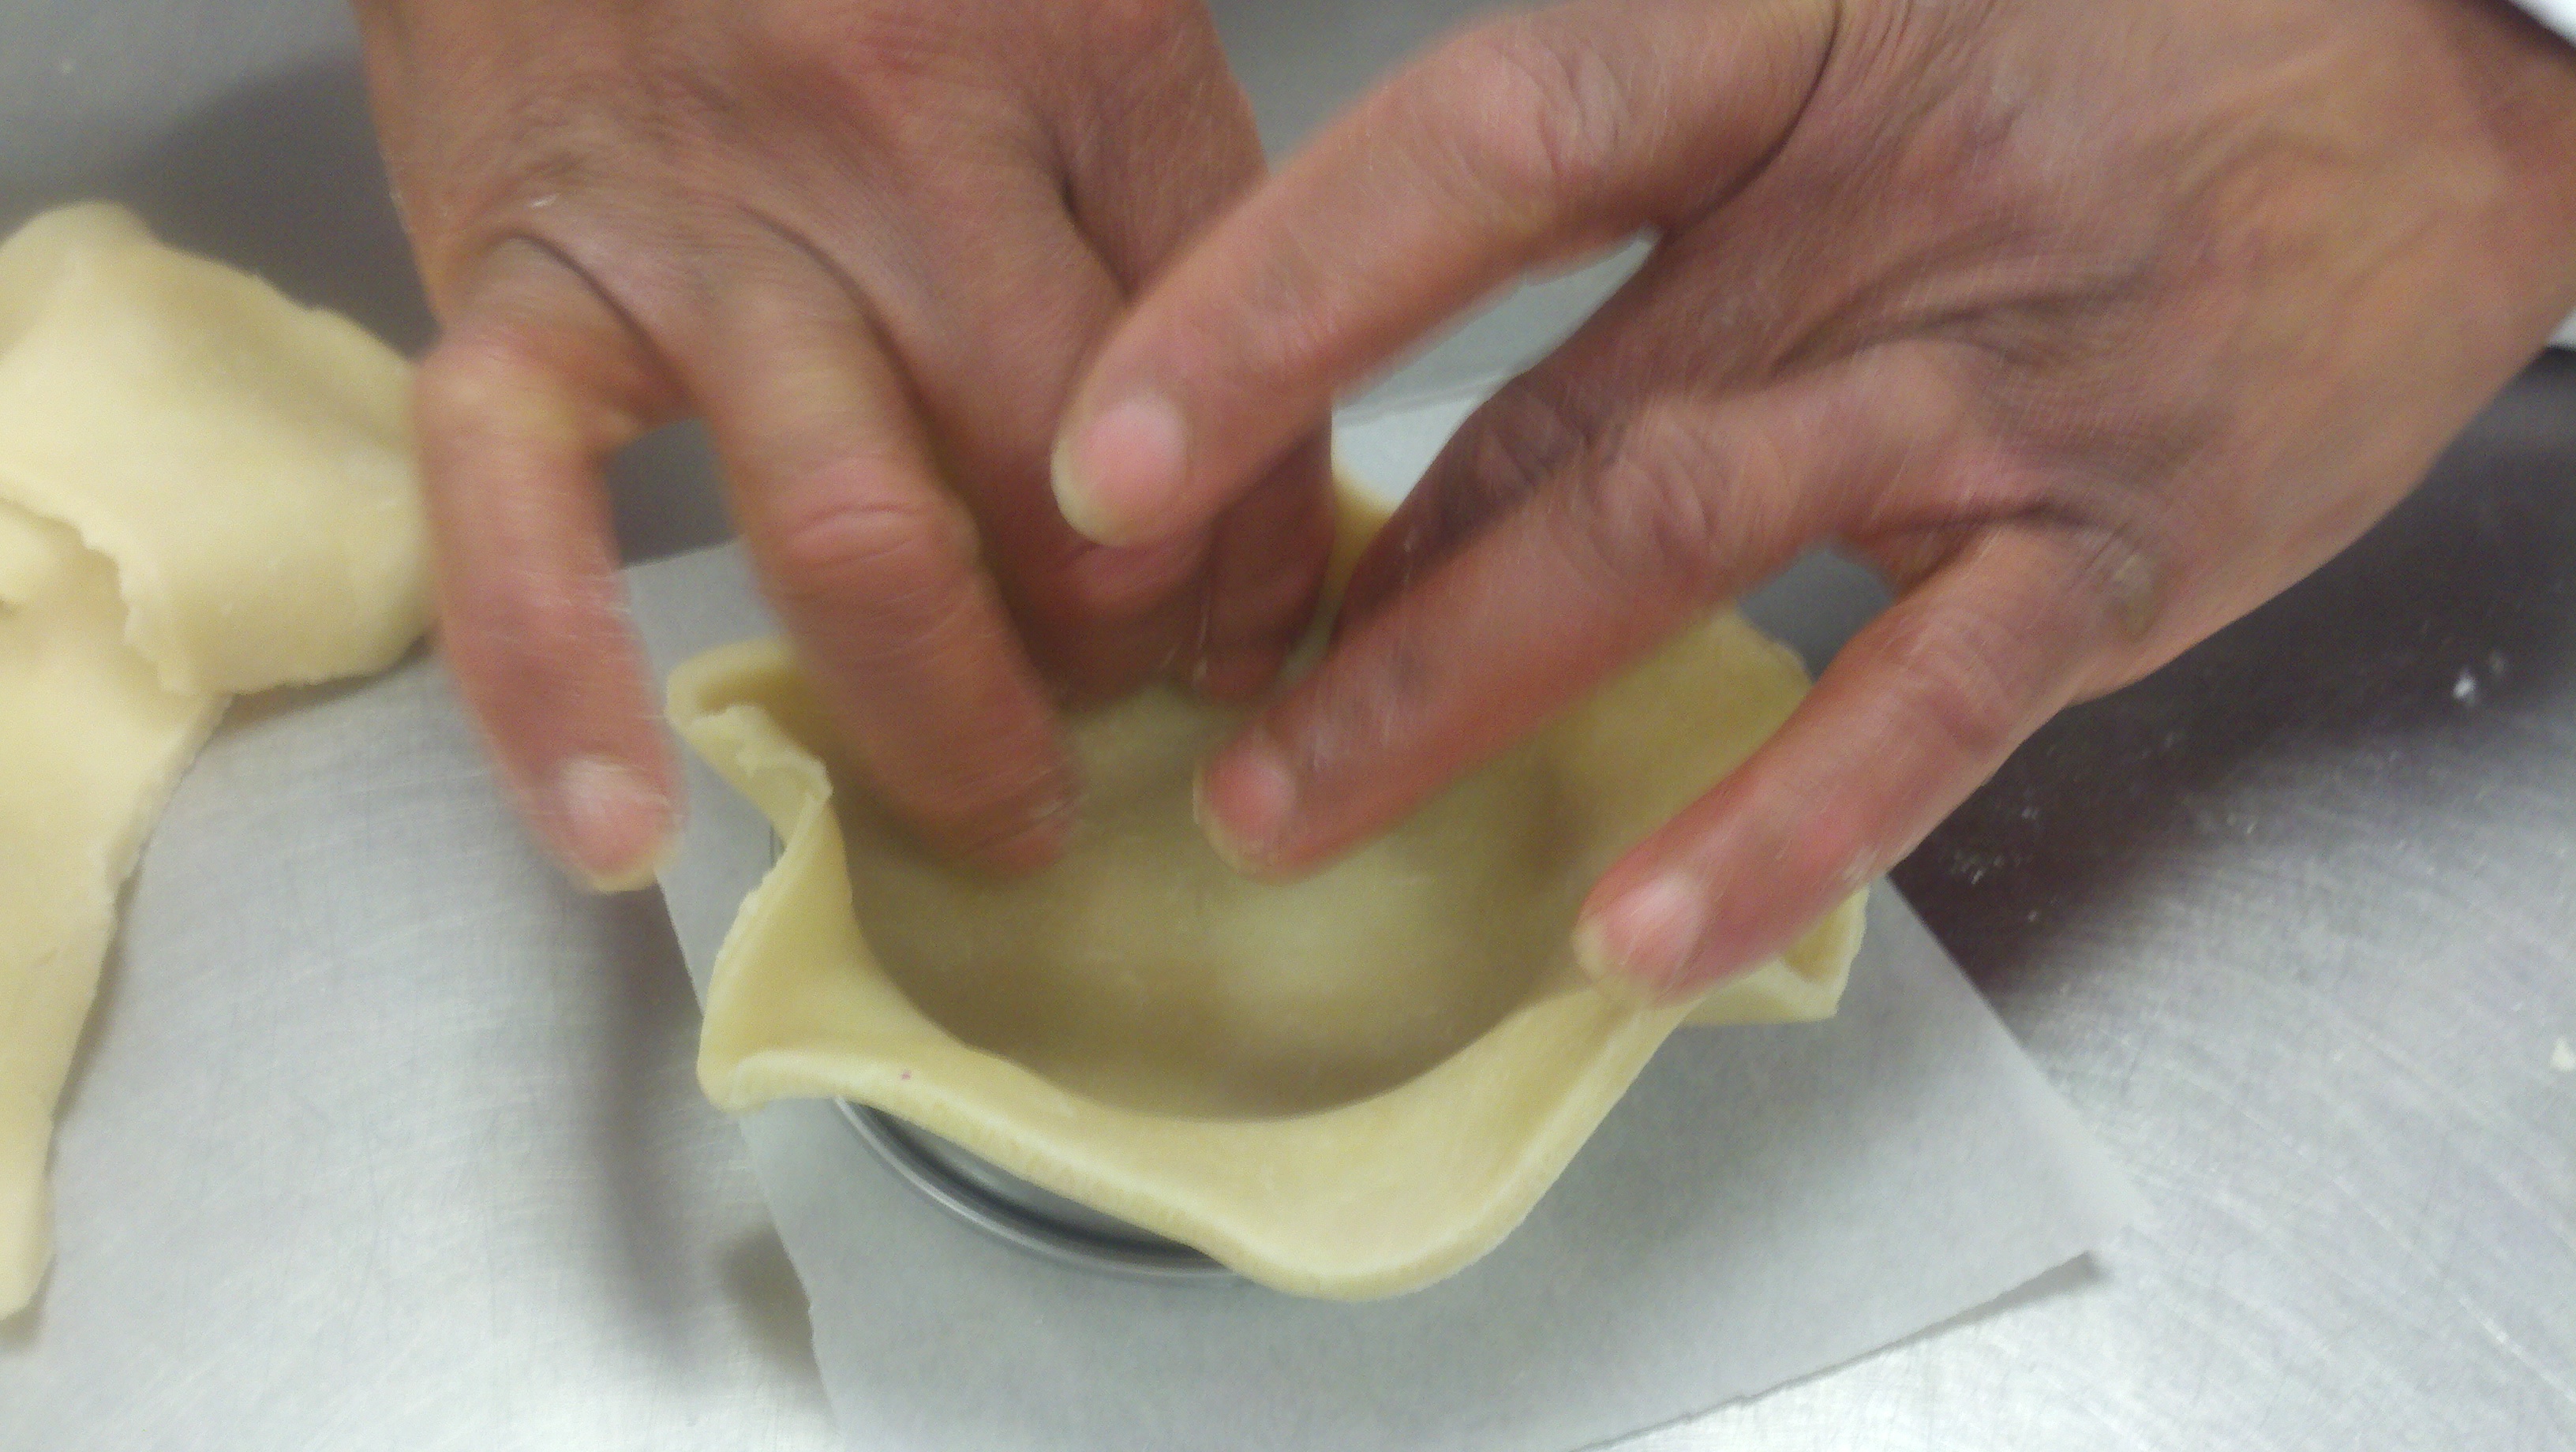
… and eased it into a 4-inch-wide flan ring, making sure the dough got into the corners.
We trimmed the excess dough so we had a nice clean edge. Then Chef Claude and his flock of assistants filled the tart shells with plastic wrap and dried black beans, and baked them about 10 minutes at 375. They removed the beans and baked them a few more minutes, til barely golden, and then whisked them out of the oven. They applied a thin coating of egg wash to the inside base of the tart shell, and baked them a couple minutes more to seal that surface.
While all this was going on, Chef demonstrated the making of the chocolate filling. He made one batch for all the students to spread in their tarts; this was one of the occasions where the lesson was “demo only,” since our hands were occupied largely with puff pastry that evening.
Here are the ingredients: 6 ounces cream, 4 ounces milk, 8 ounces bittersweet chocolate and 1 egg.
Chef Claude combined most of the milk and cream in a saucepan over medium-high heat until it was good and hot–giving off steam–but not boiling. While it was heating, he cracked the eggs into a bowl and whisked them with the bit of milk and cream that he held back (the exact proportions of what you put in the saucepan and what you hold back to whisk with the eggs isn’t crucial, Chef told us).
When the milk and cream in the saucepan reached a nice steamy point, Chef dumped the chocolate pieces (Orchid couverture 58 percent) into the saucepan and whisked until the heat of the dairy mix melted the chocolate. Then he poured the chocolate/milk/cream mix into the bowl with the eggs, gradually, whisking all the while, to temper the eggs. He poured this mixture through a larger-gauge strainer.
He filled each of our little tart shells about 3/4 full, and baked them in a 375-degree oven until they were just barely set, still jiggling slightly in the center. When they were cooled a bit, he taught us a neat trick for a powdered-sugar presentation: invert a mini cupcake-paper over the tart and shake the sugar around the edges. That’s what makes the nice pattern you see in the photo (although mine is a bit irregular; you get the idea, anyway).
You might have caught on that what we were making was a custard that was simply a ganache with eggs. Cool, huh?
I’ll risk ridicule and condemnation here by saying that the 58 percent chocolate created just the right smooth, hushed experience that a slightly warm, late-night chocolate tart should offer. As a chocolate devotee, I have always felt my loyalty ought to be to the darkest possible chocolate. But I find that much over 70 percent makes me curl my tongue and wrinkle my nose slightly; its sour edge undermines the experience. So I loved the 58 percent, and I’m sticking to that neighborhood, for this tart at least.
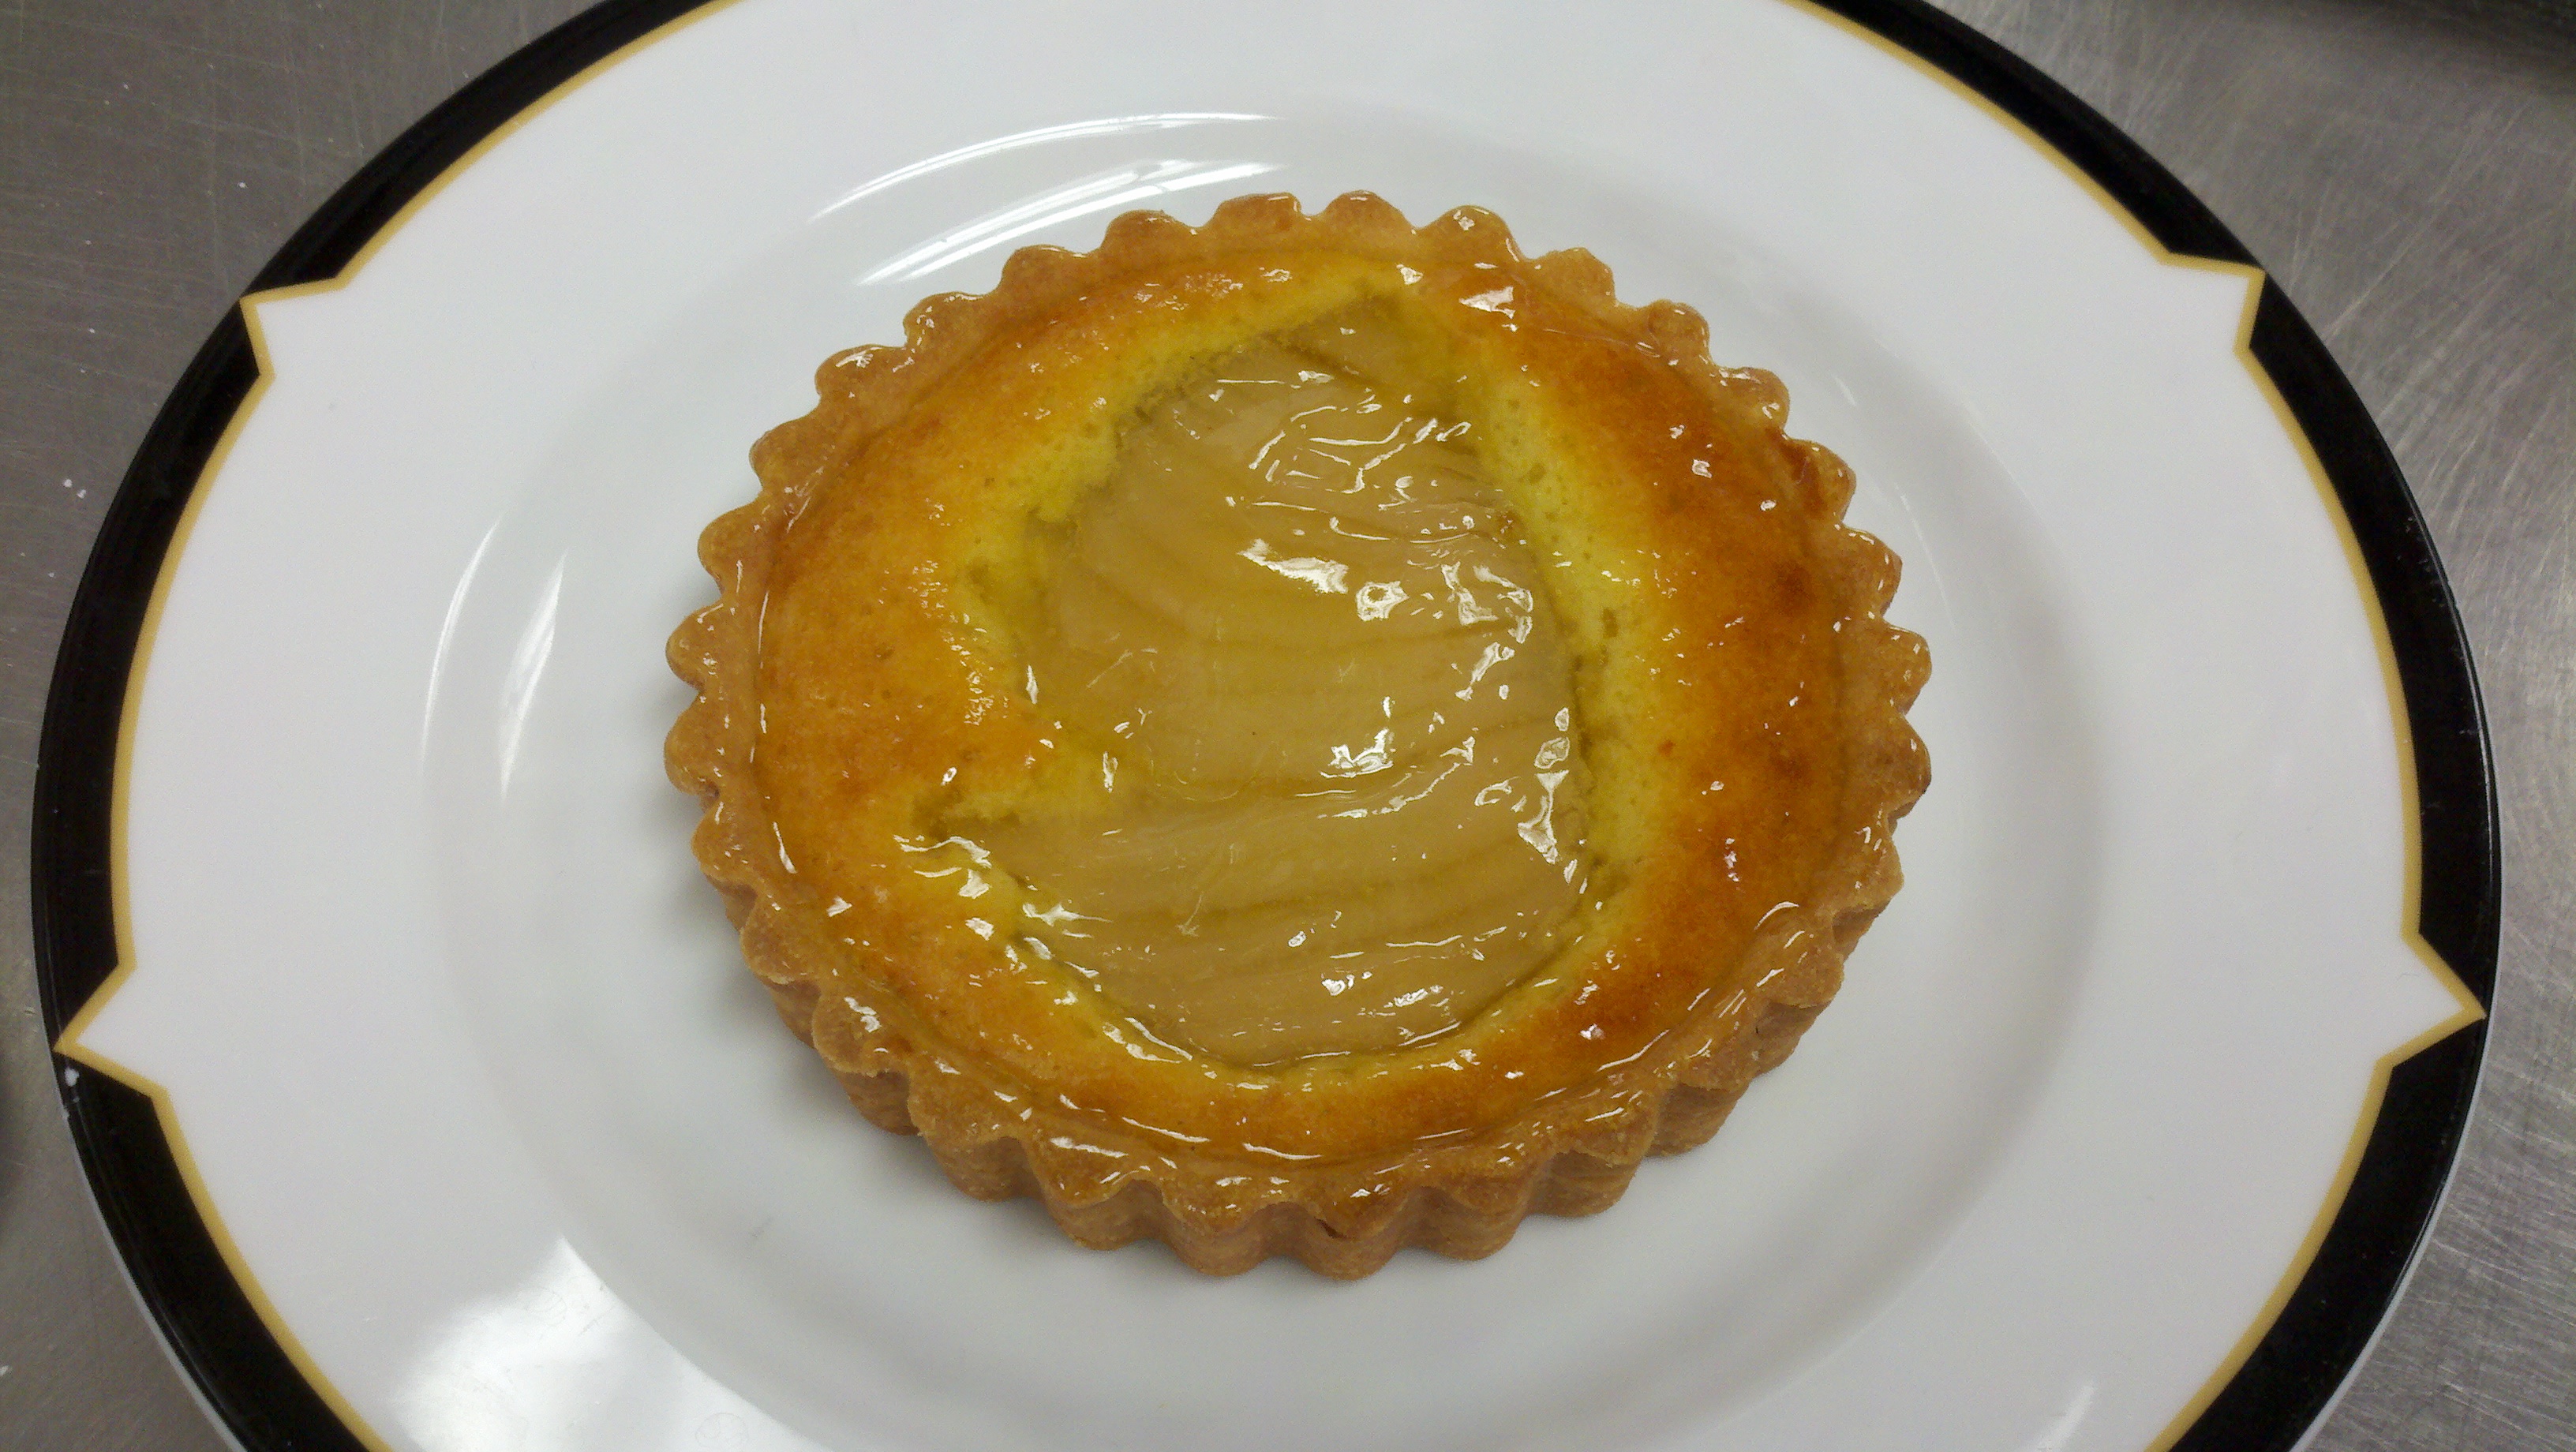
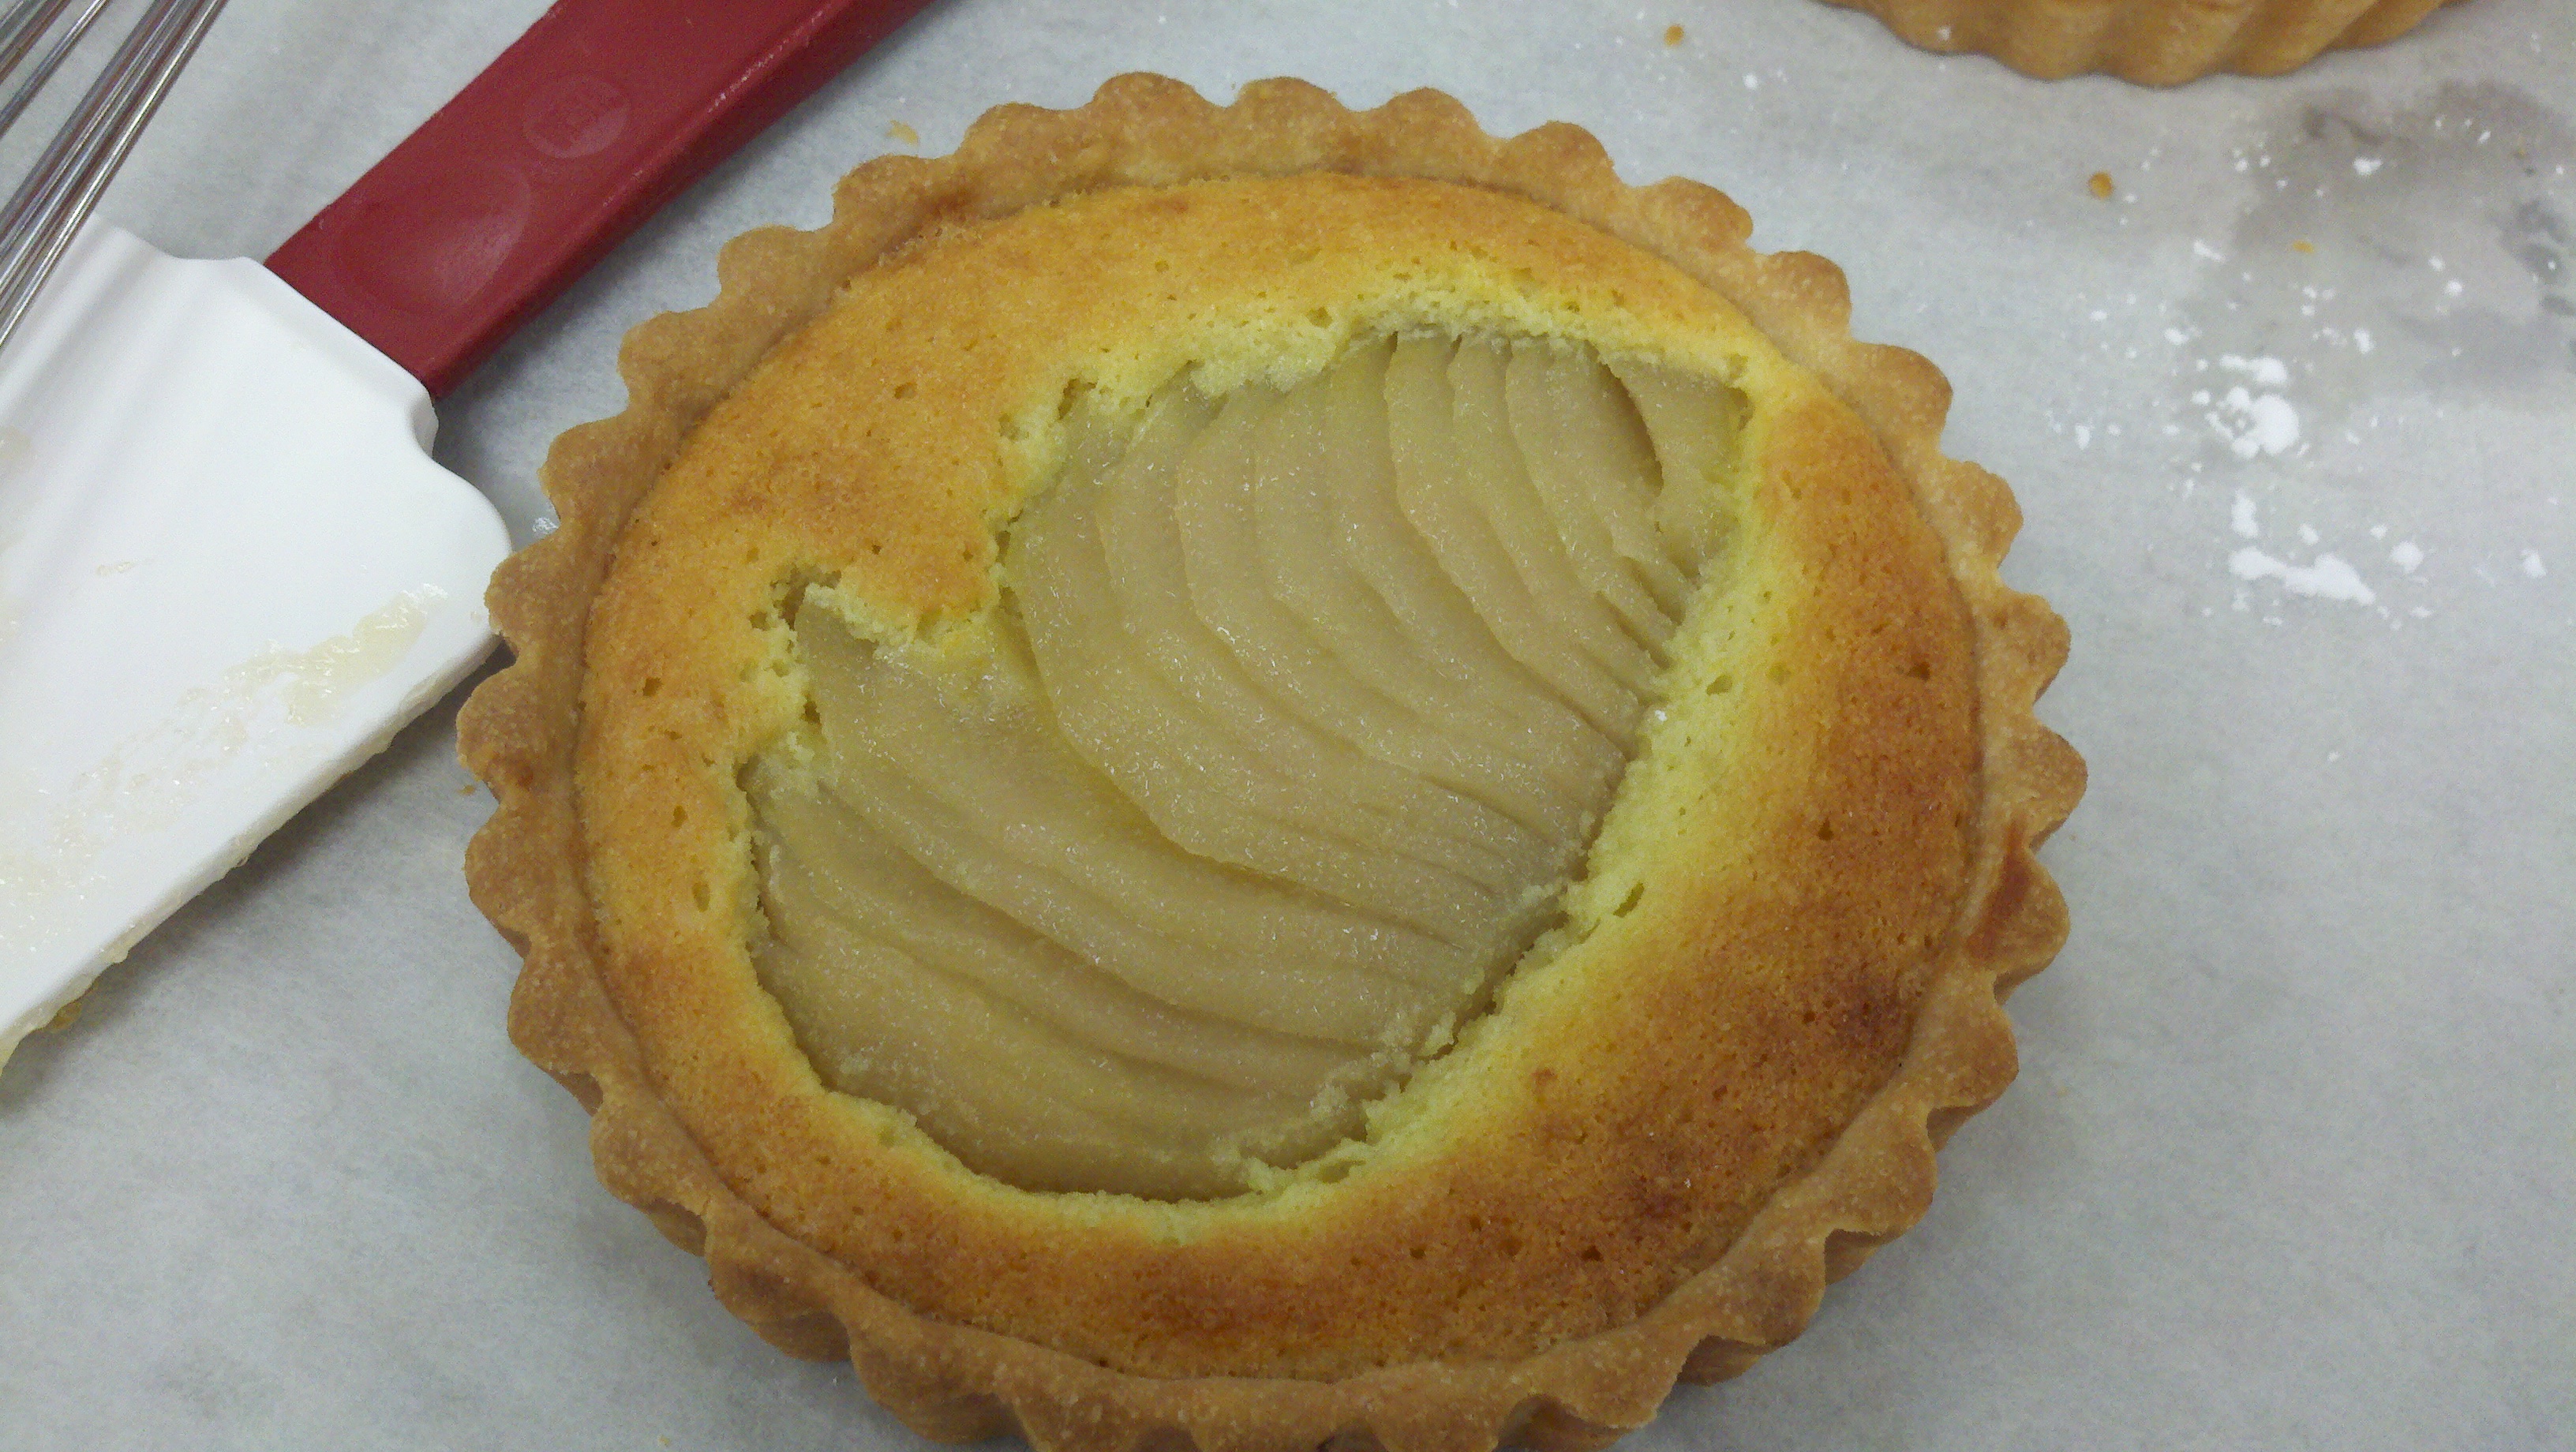
Our pear frangipane tart started in a similar way. Here’s a refresher image in case you forgot last night’s close-up:
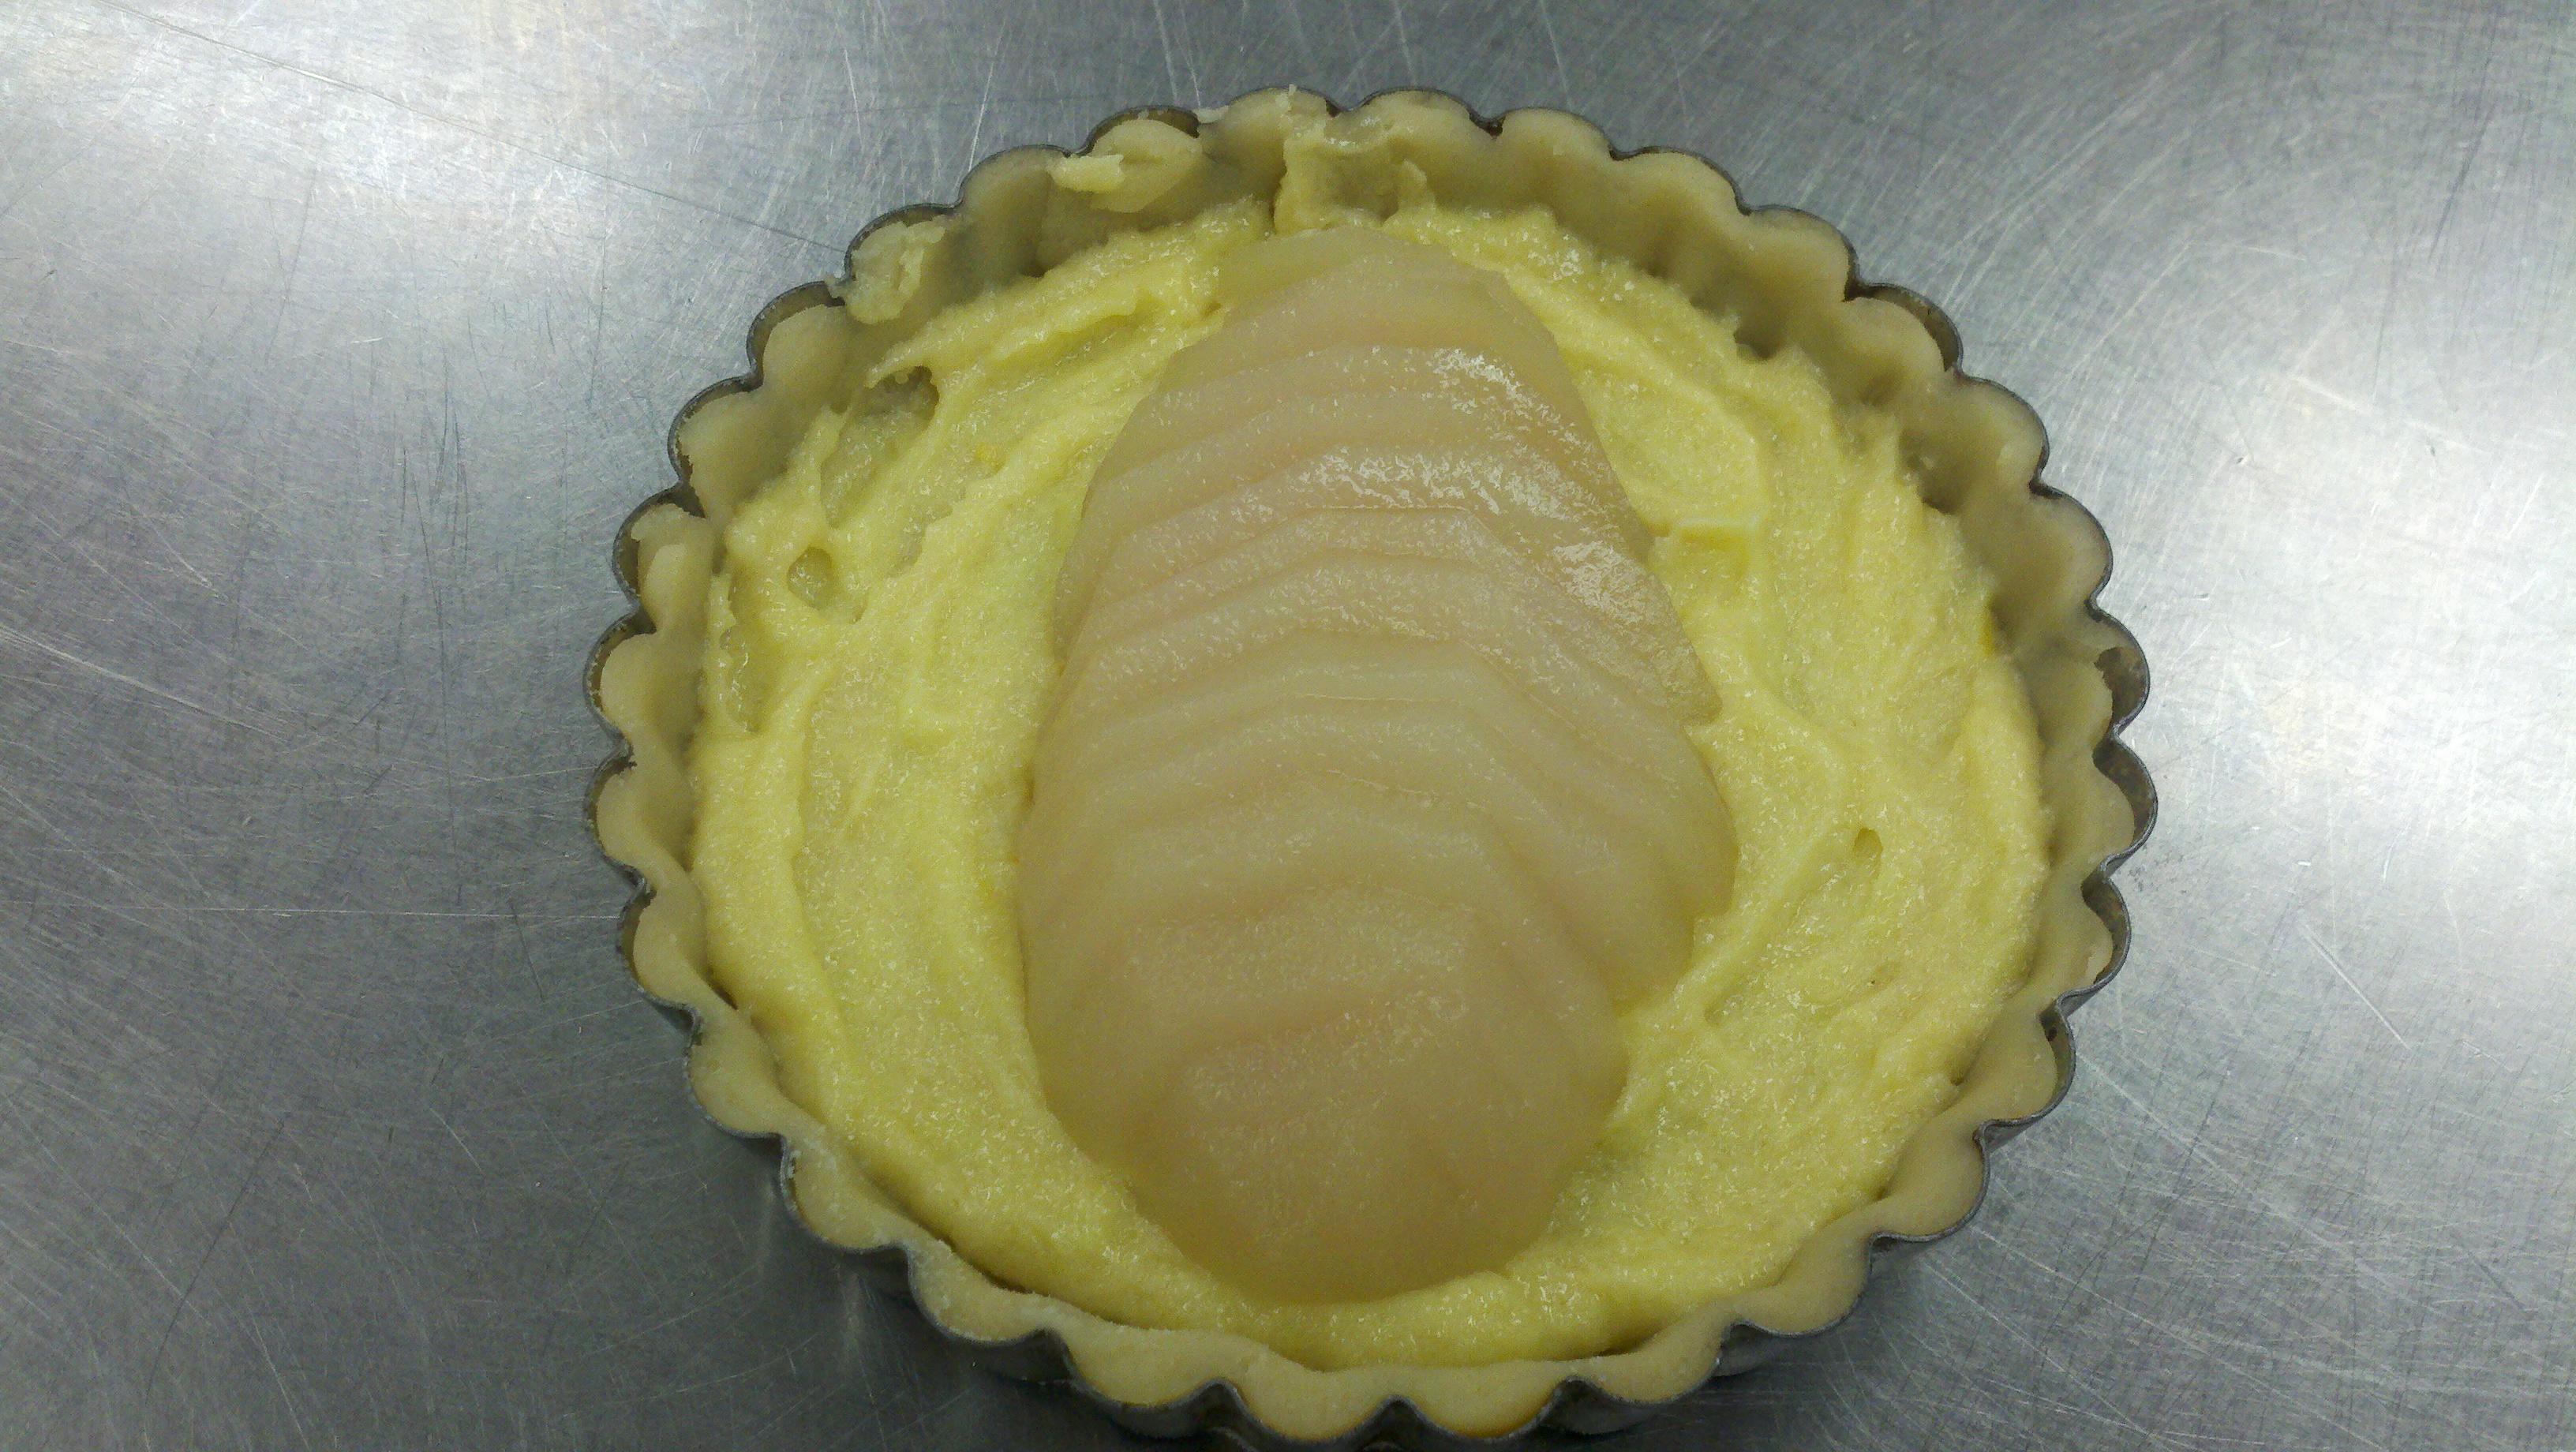
We rolled out little circles of pâte sucrée and eased them into 4-inch fluted tart pans with removable bottoms. We left these crusts unbaked, since the frangipane inside would have to bake a while. We spread a thin layer–about 2 teaspoons–in the crust.
Then we sliced, thin and crosswise, fresh pears that Chef and his staff had poached earlier in the day (peeled, cut in half, cored, stems removed, simmered in sugar-water syrup with a cartouche resting on top of the simmering liquid. The whole cartouche thing is amazing in and of itself. We learned how to make one, too. We’ll get to that another day.). We laid the sliced pear lovingly across the frangipane.
We let the staff whisk them away to bake in a 375-degree oven “until they’re done,” as Chef told us.
When they were out and had cooled a bit, we brushed on a glaze made from warmed apricot preserves and a bit of water.
A light, lovely way to say goodnight!



This looks wonderful! I am taking the Culinary Techniques 101 course right now, and it seems like we are both learning so much! We have been learning to make cartouches also. Who knew, right? Gotta love L’Academie de Cuisine! I hope one day I will get to take the Pastry Techniques course, as well.
Happy Baking!
Melissa
Hello, Melissa! How great that you’re taking CT 101! On Mondays, I see a group in the adjoining kitchen… is that your class? Drop by and say hello! Or I will! Keep reading and commenting!
Hi,
I love your blog! I wonder if you can help me….
I am struggling with making small tartets to look professional from pate sucree that I am baking blind – I can never get the tops to be straight across or even thickness- do you trim them level before baking blind or leave them slightly higher – conflicting information in my recipes!!
How thin do you roll the pastry and do you chill again after putting in the tart tins (before it goes in the oven?)
Rebecca
Hello! So glad you are reading and baking! Yes, getting those edges right can be tricky! Before you cut the top edge of the pastry, tamp the inside walls with your fingers to make sure you have it all the way down into the corners of the tart pan (where the walls meet the bottom). Then use a knife or whatever else seems right to cut the pastry cleanly off across the edge of the tart pan. You can smooth it a bit w your fingertips to make it look nice if it’s raggedy. And YES by all means chill it before baking!! It likes to chi the whole time your oven is preheating! Then take it out and fill it with parchment and pie weights or dried beans for that first part of the baking. Partway through, remove the beans/weights and parchment and bake the rest of the way. Write back w pictures of your tart! Would love to see and share! Keep on baking! -CurvyMama