
 In honor of National Pie Day–and everyone who loves pie–I made a really big version of my Signature Tart Cherry Pie.
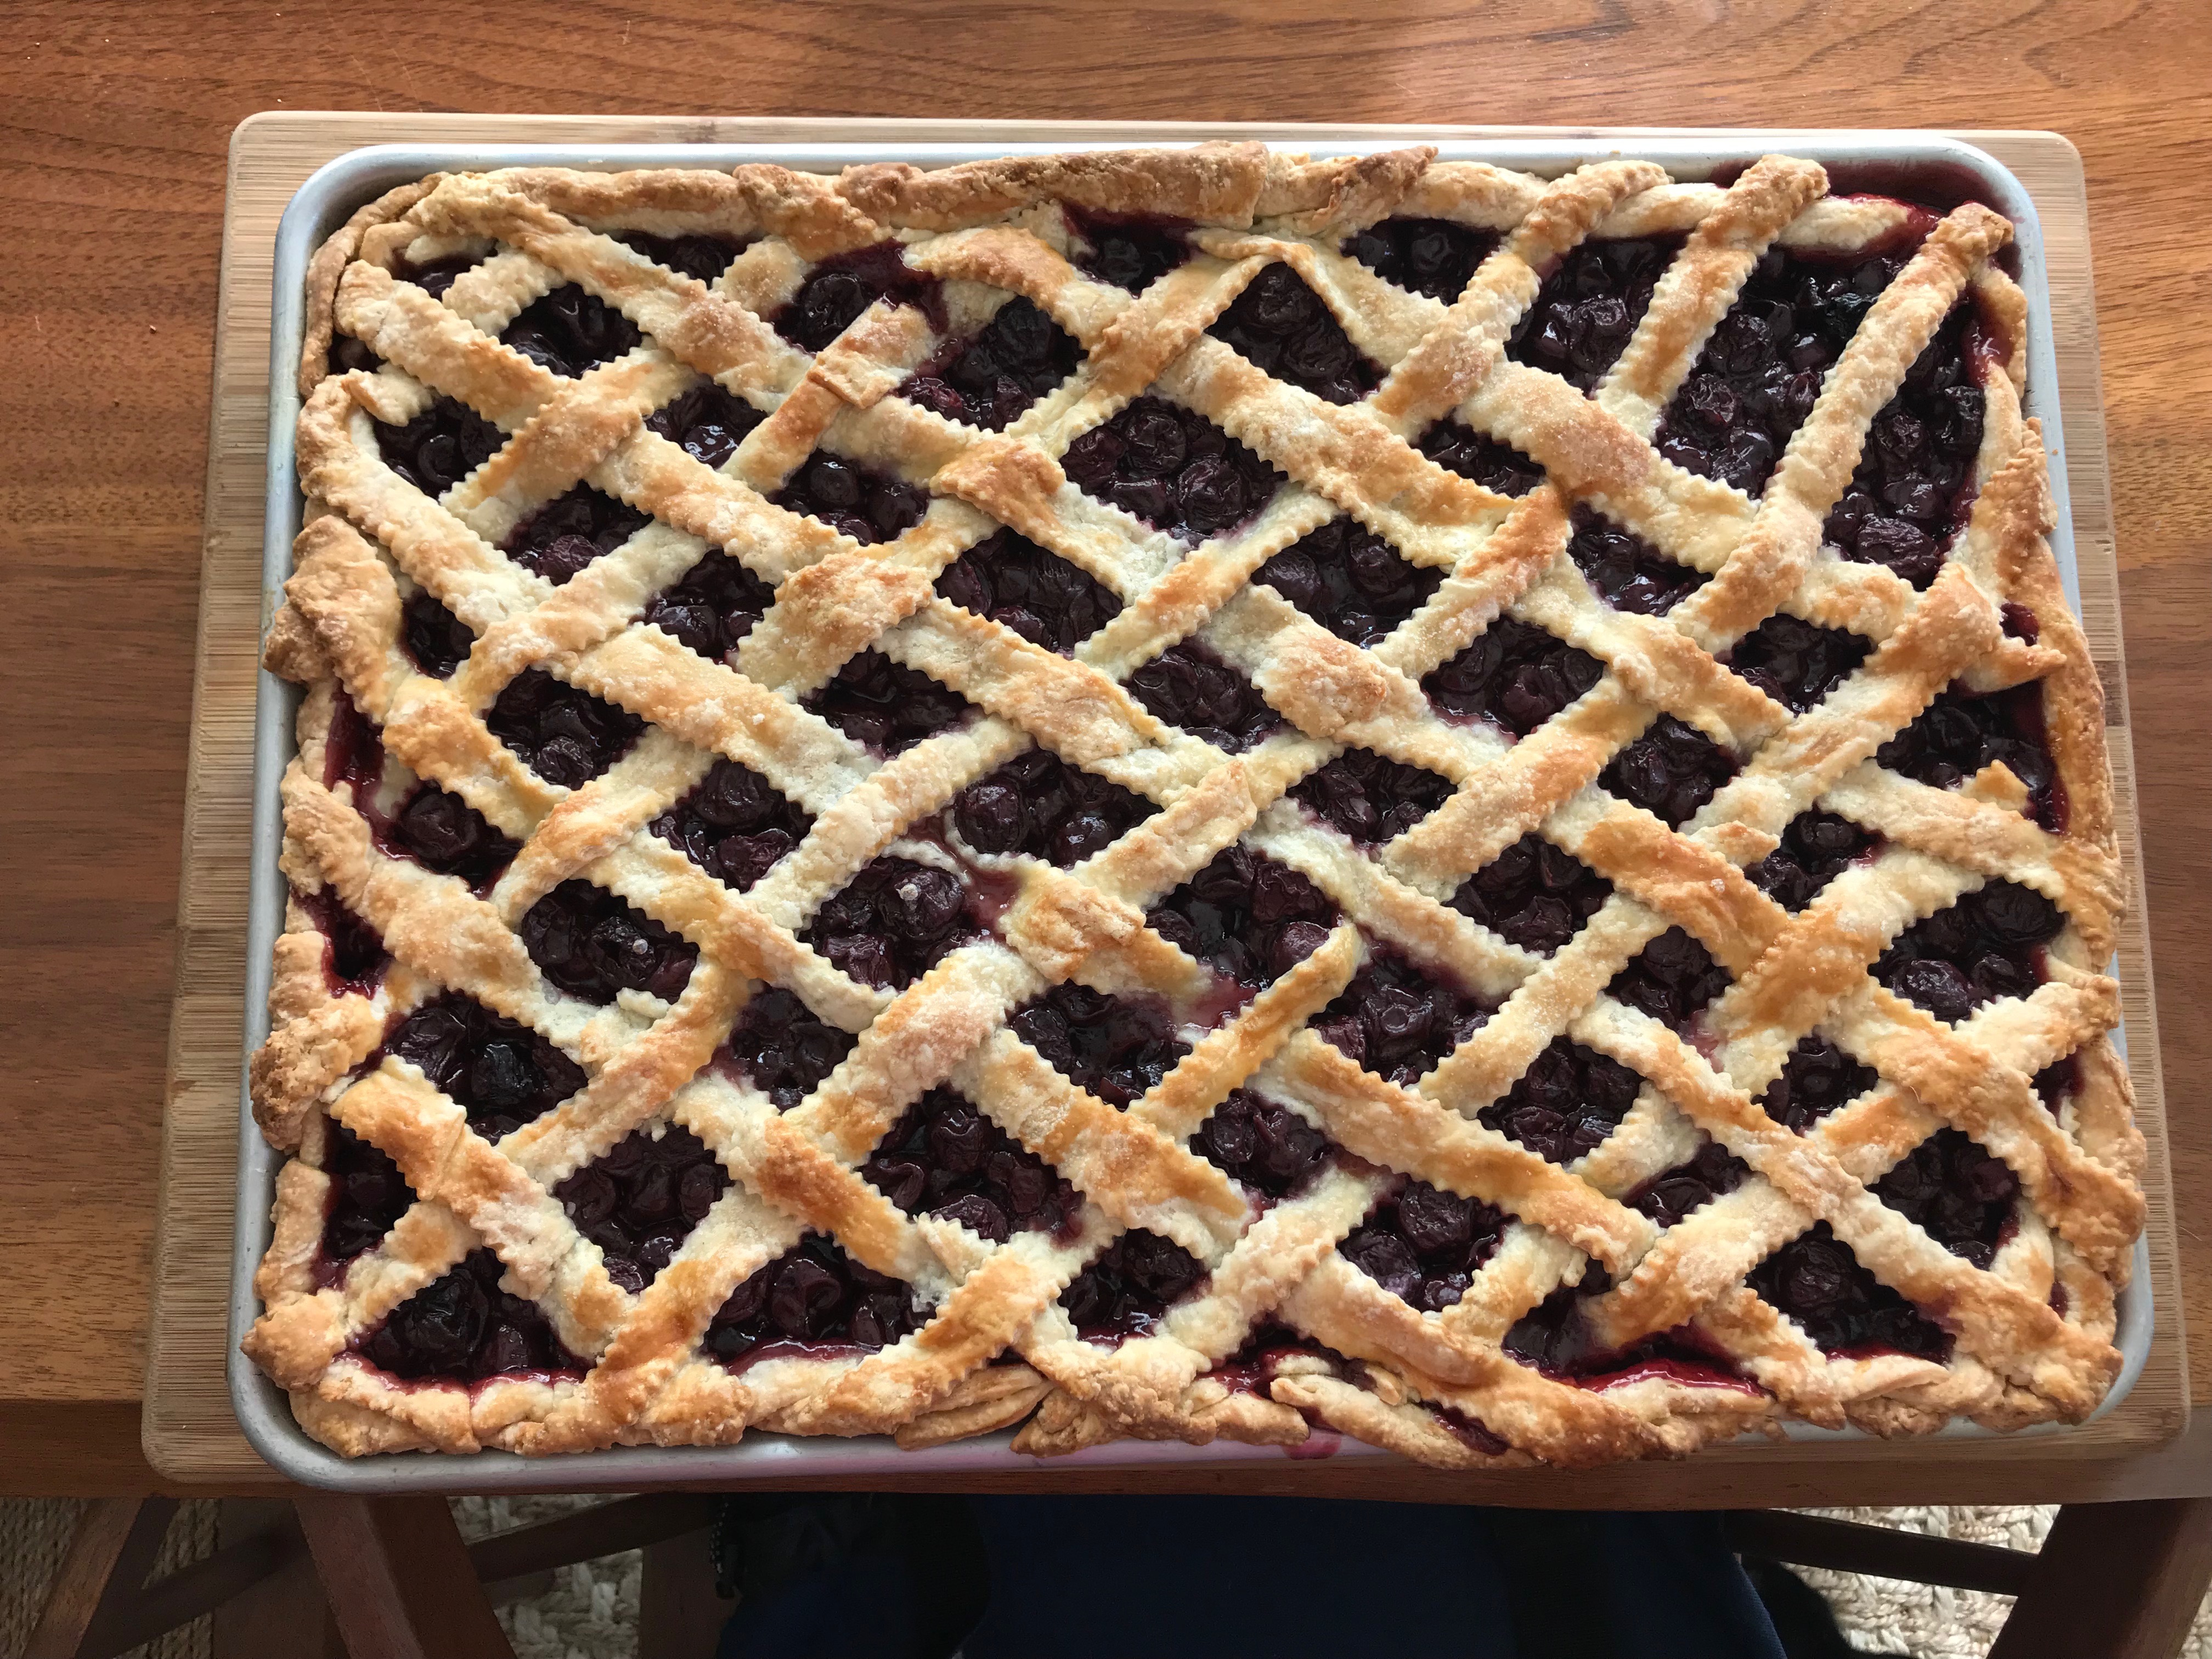
Making a “slab pie” is a great thing to do when you’re baking for a big crowd and one 9- or 10-inch pie just won’t be enough. Bringing one slab pie is like bringing two regular round pies; for each slab pie, you use double the dough and double the filling of its traditional round cousin.
These pies make a big splash when you carry them into an event, since they’re impressively large. You make them in “half-sheet” size baking pans, which measure about 12 1/2″ by 17 1/2,” and 1 inch deep. I made my cherry slab pie for my choir’s first 2018 rehearsal. We’d shared the excitement of our December concerts, then gone on a six-week break. For our joyful reunion, what could be better than pie?
 One added advantage of slab pies: They’re really easy to cut and serve. The square pieces are charming, and they don’t fall apart as easily as the deeper, wedge-shaped ones when you try to get them out of the pan. All around, slab pies are a great thing to have in your pie-making repertoire!
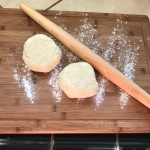
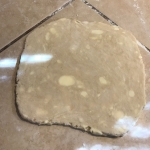
Rolling out dough for a big rectangular pan is a bit of a different experience than rolling those familiar circles for standard pie pans. I was a little intimidated at first, but I quickly saw that it’s no harder than putting together a typical round pie. When you roll out each disk, you aim for a little bit more of a square shape than a circular one. You can see mine here.
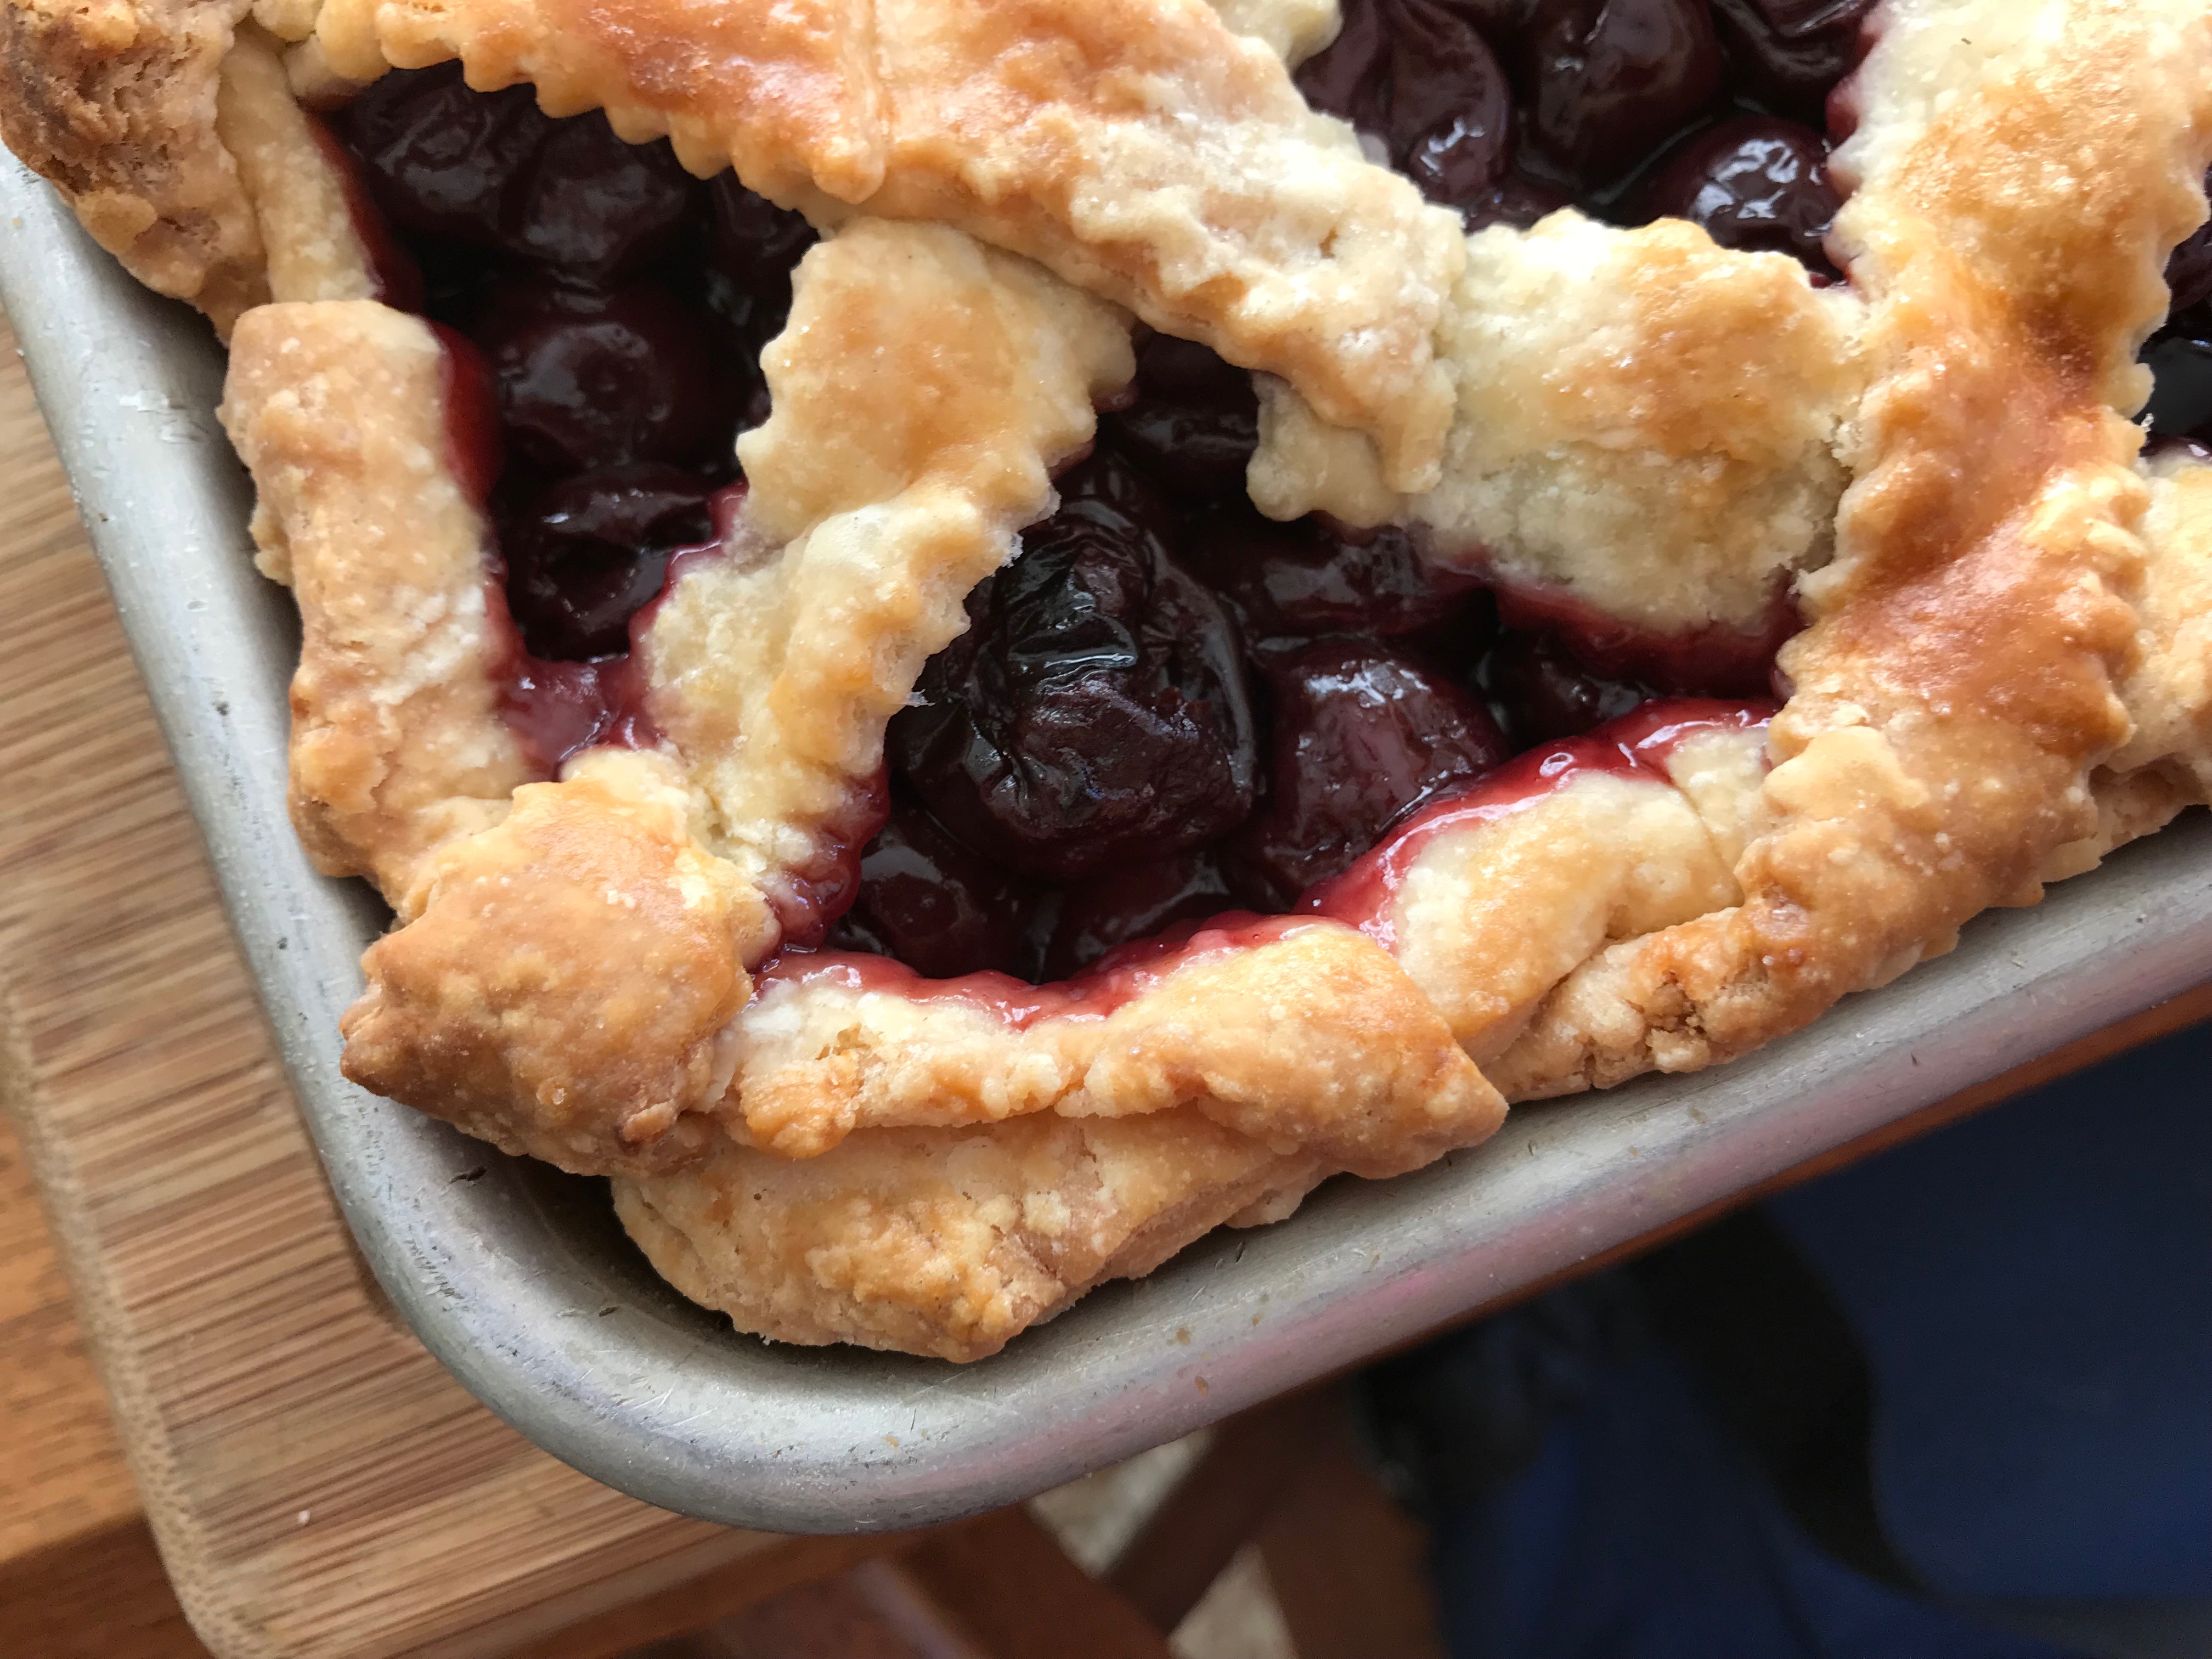
Don’t fret about rolling the dough to fit the pan precisely. You can patch here and there, and once the filling’s in, and it’s baked to a gorgeous seductive shade of brown, no one will notice. 🙂

This is so easy, really! Try it! Just make a double batch of my standard butter/leaf lard dough (or my all-butter dough, or your favorite dough recipe for a two-crust pie). Whip up a double batch of my cherry pie fruit filling (or whatever fruit filling you want to use).
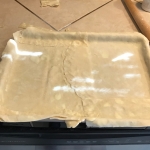
Divide each batch of dough into two equal sections, so you have four altogether. Roll out two of the disks in square-ish shapes and line the bottom and sides of your half-sheet pan with them, leaving a bit of overhang. Refrigerate this bottom crust if you can fit a pan this big in your fridge. (I couldn’t, so I just worked fast!)
Roll the other two disks out and use a fluted cutter to make lattice strips. Refrigerate your strips until they’re nice and firm. Set your oven to 425.
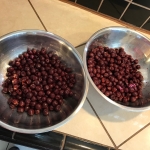
While the dough is chilling, put together your fruit filling. In my case, it was six jars of drained Morello cherries from Trader Joe’s, double the amount I use for my normal 9-inch pie, mixed with 6 tablespoons of tapioca starch (again: double my usual amount. You get the pattern here?), a couple dashes of Kosher salt, 1 teaspoon of almond extract, and 2 cups of granulated sugar.
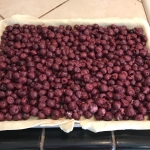
Assemble the pie and put it in the freezer for 10-15 minutes if you can fit this pie in your freezer (I couldn’t). Then brush the top with lightly beaten egg white and sprinkle it with sugar, and bake at 425 for 15 minutes. Reduce the heat to 375 and bake another 45 minutes. (These are the same cooking times for a regular 9-inch pie.)
If you can’t fit the pie in your freezer, assemble it, brush it with egg white and sugar and get it into the 425 oven as soon as you can, following the same routine: 15 minutes at 425, and then 45 minutes at 375. I baked mine without chilling it first, and it came out just fine!
When it’s fully cooled, cut into charming little squares and enjoy! 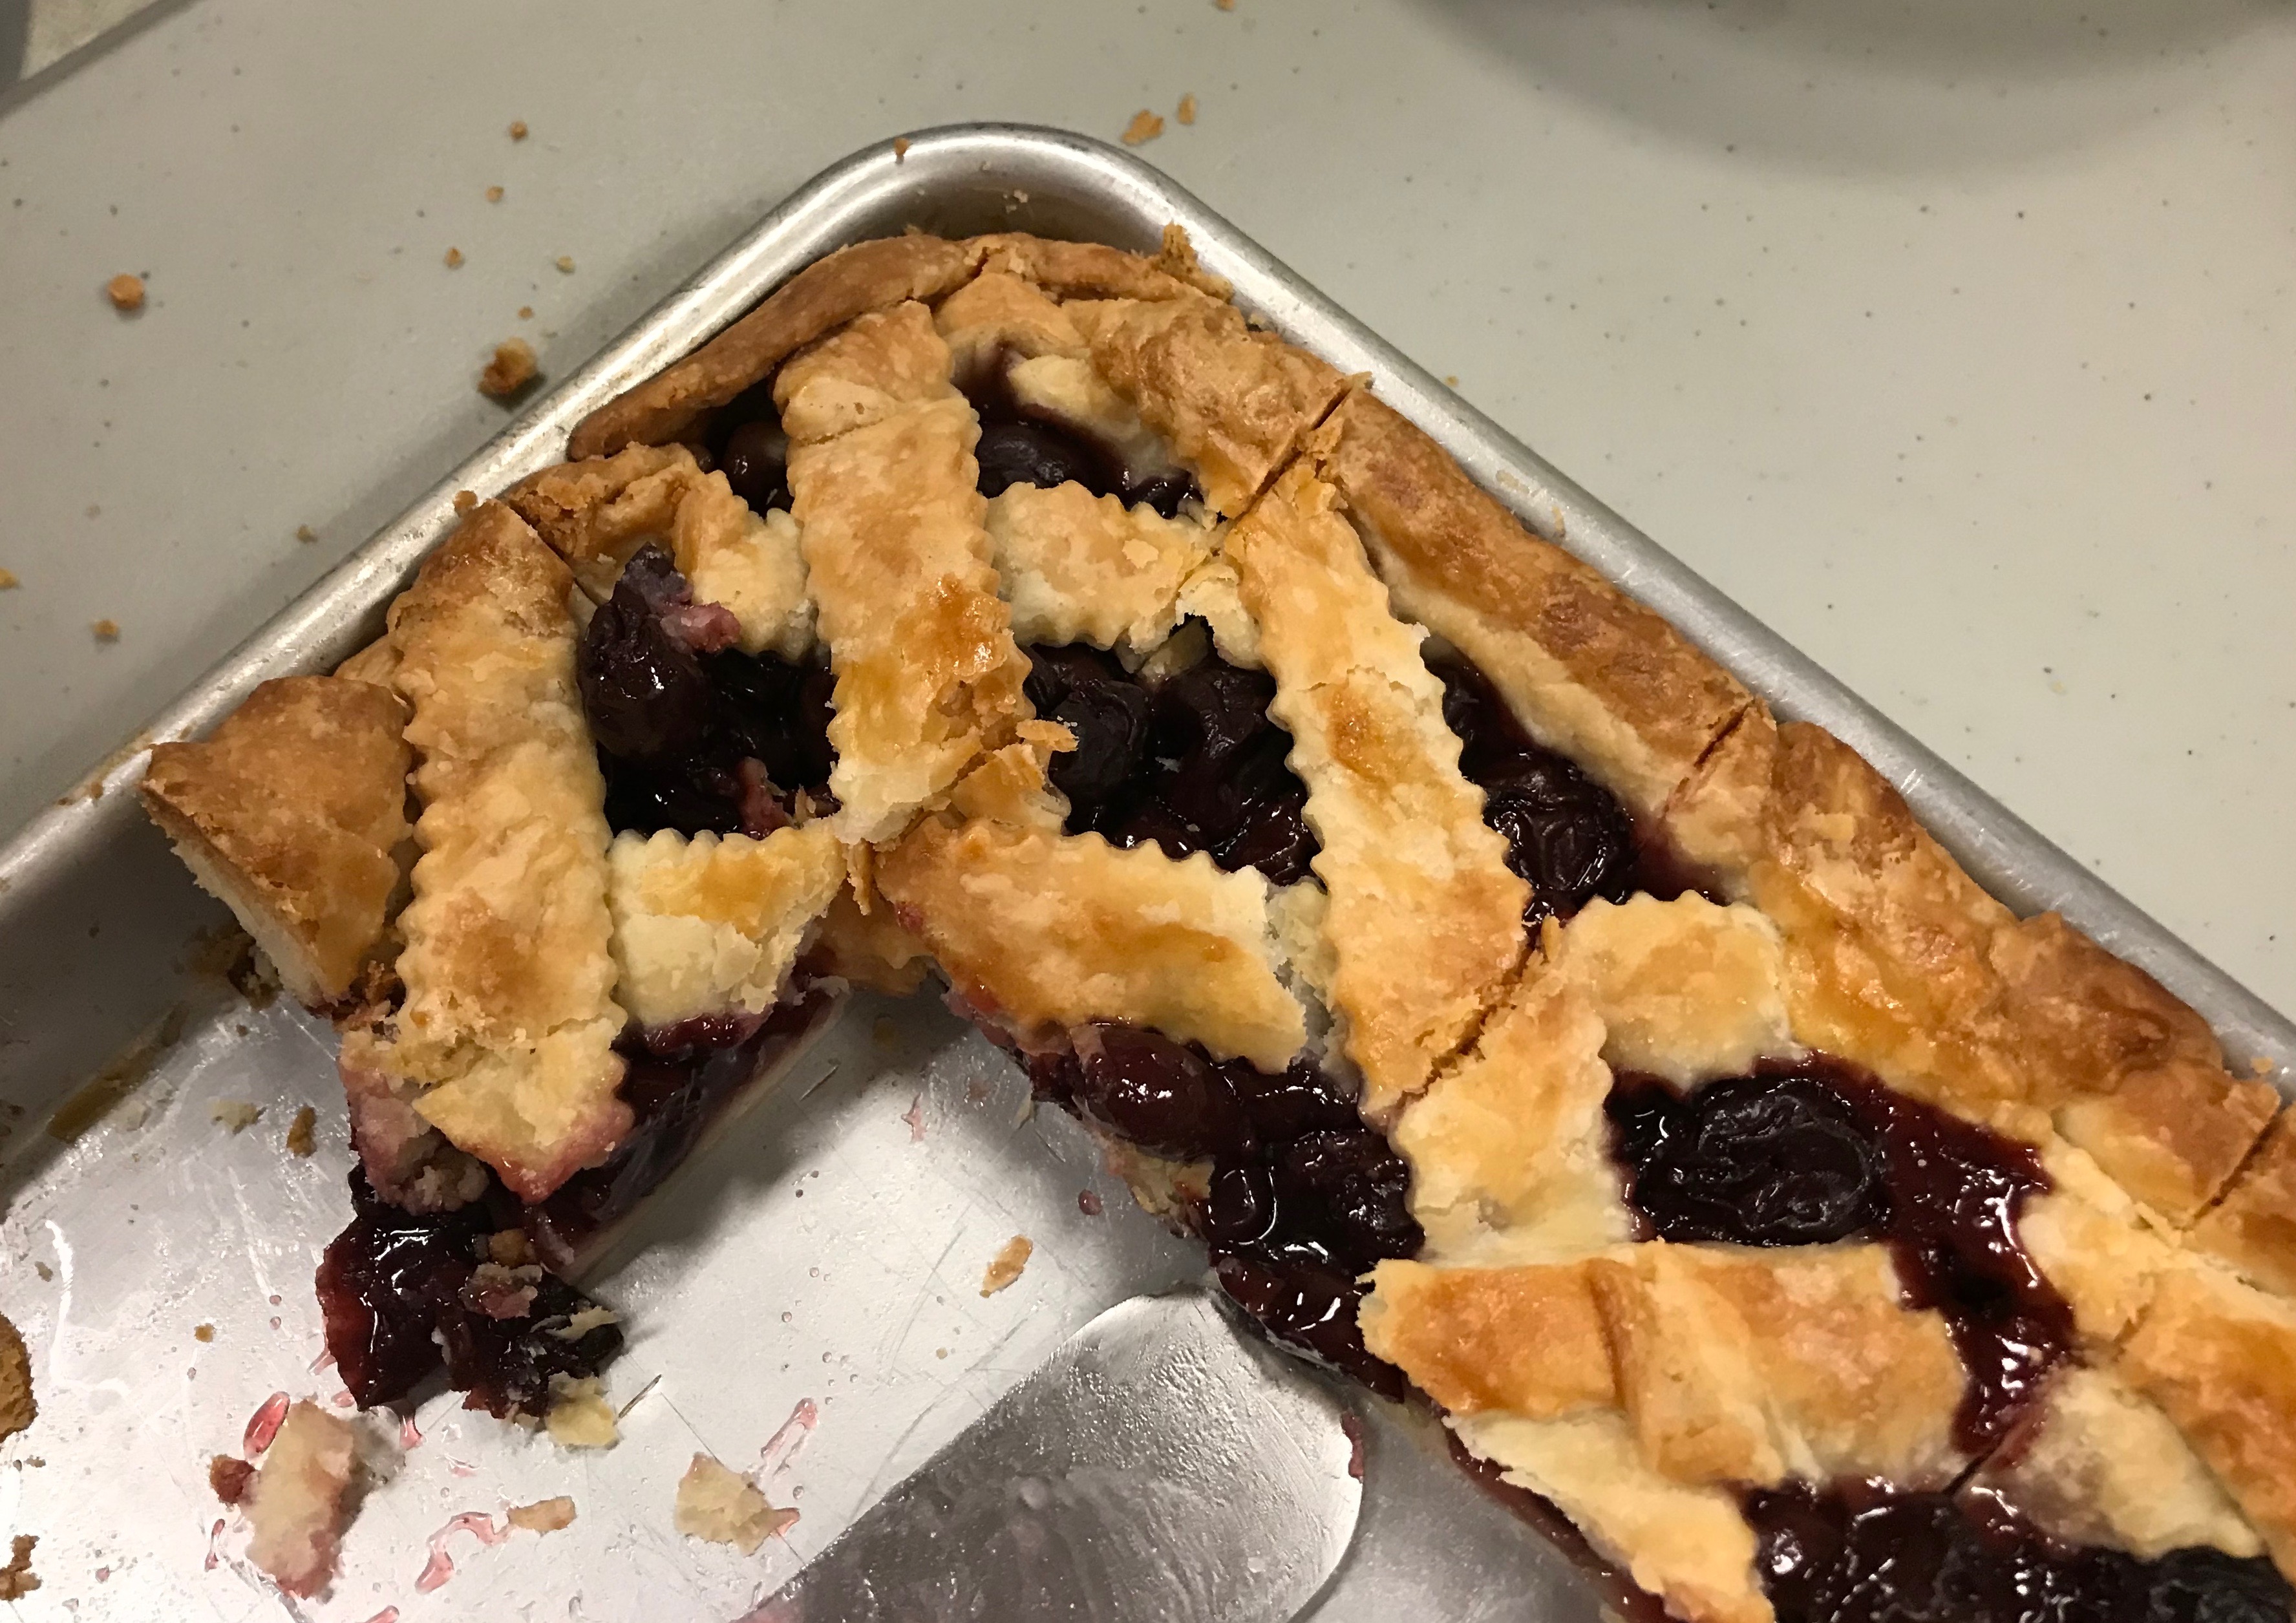
I’m so glad Curvy Mama has resumed her writing and dispensing piemaking advice for us civilians! Thanks very much and welcome back.
Thanks for reading along, Elyse!! Maybe you’ll take up the rolling pin one afternoon!! Hope all’s well with you!! Hugs!